
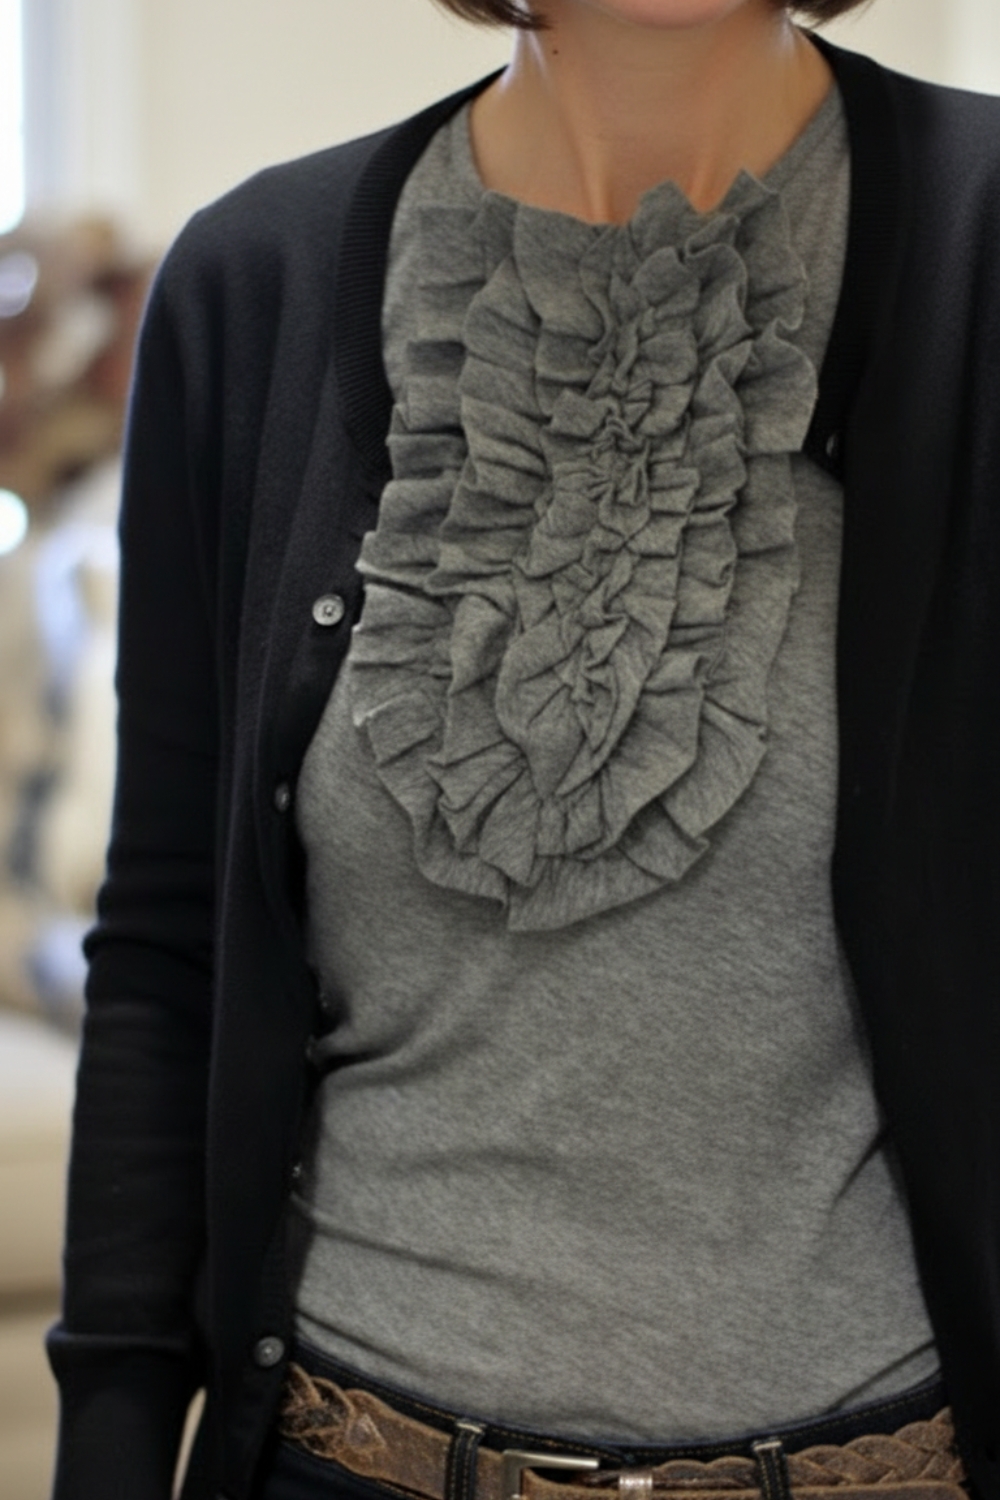
How to Add Ruffles to a Basic T Shirt for a Custom Boutique Look
There is something satisfying about transforming a simple wardrobe staple into something that feels intentionally designed.
If you have a plain knit tee sitting in your closet, you can turn it into a soft, feminine statement piece in less than an afternoon. No hemming. No complicated pattern drafting. Just strategic cutting, gathering, and stitching.
This tutorial walks you through exactly how to add knit ruffles to a basic T shirt for a custom, boutique-style finish.
Why This Works So Well With Knit Fabric
Knit fabric does not fray, which means:
- No hemming required
- Raw edges look soft and natural
- Ruffles drape beautifully
- The project stays beginner-friendly
If you are working with lightweight "tissue tees" or thin cotton jersey, the result is especially soft and flowy.
Materials You'll Need
- 2 lightweight knit T shirts (same color or coordinating shades)
- Sewing machine
- Matching thread
- Pins or clips
- Fabric scissors or rotary cutter
- Iron (optional but helpful)
Tip: Thrift stores are excellent sources for soft, worn-in tees that ruffle beautifully.
Step 1: Cut Ruffle Strips
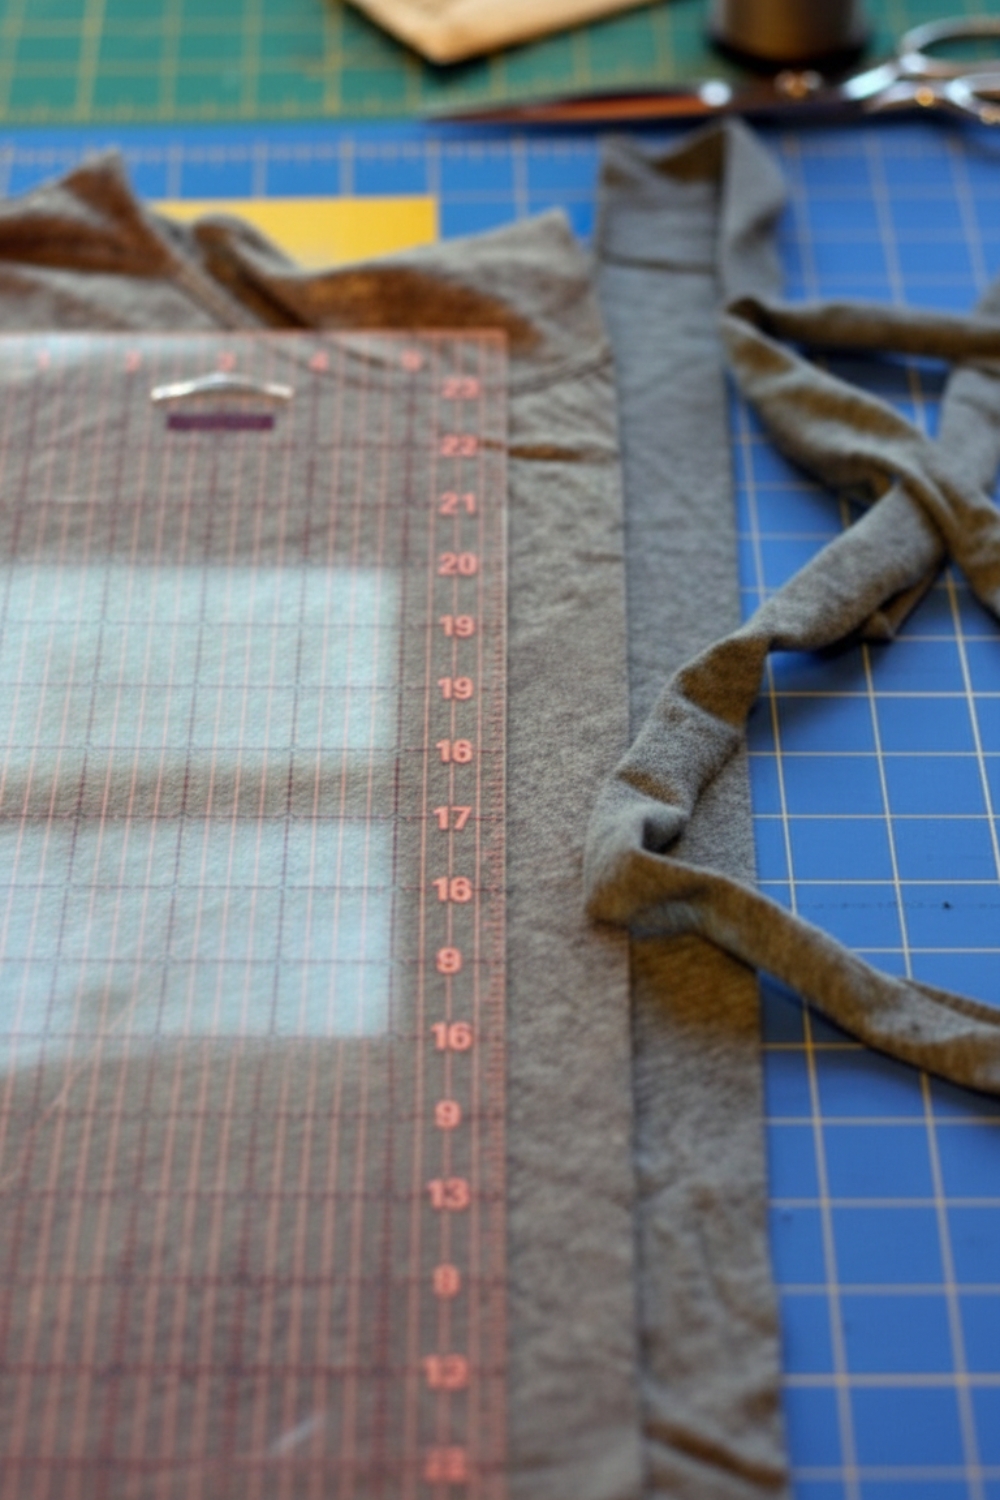
Take one of the shirts and cut it into long horizontal strips.
For a soft layered look:
- Cut 6 strips
- Each strip approximately 2-3 inches wide
- Use the full width of the shirt whenever possible
The length of your strips determines how full your ruffles will be. Longer strips = more gathering = more drama.
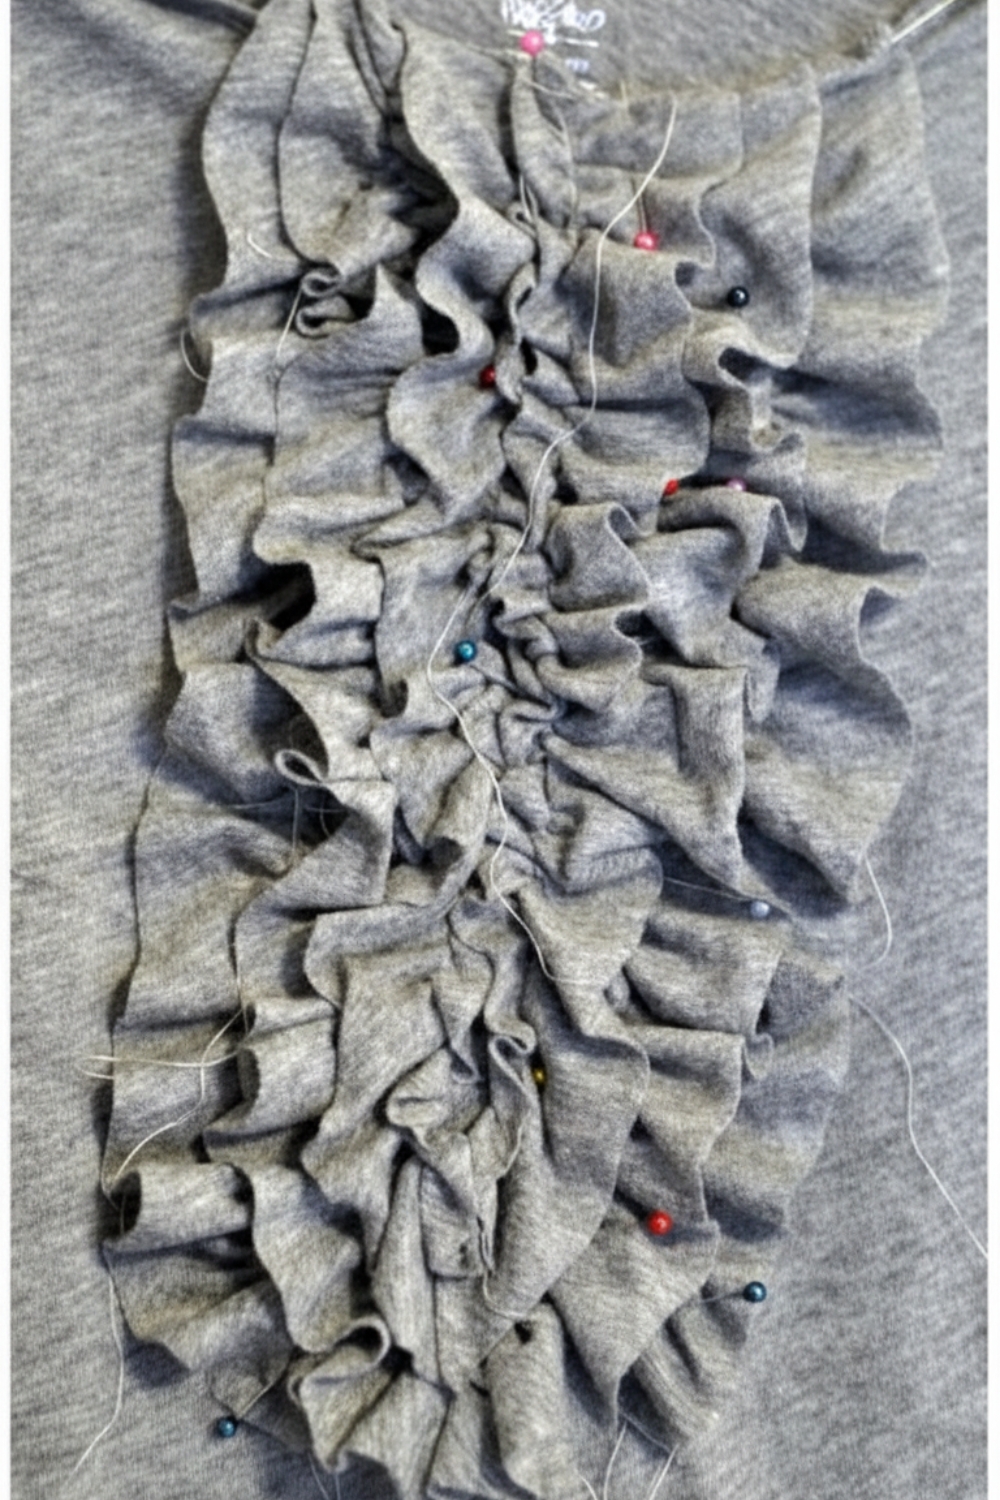
Step 2: Create the Ruffles
- Set your sewing machine to a long basting stitch.
- Sew a straight line close to one long edge of each strip (about ¼ inch from the edge). Do not backstitch.
- Gently pull the bobbin thread to gather the fabric into ruffles. Adjust until the ruffle fits the area where you plan to place it.
Because this is knit fabric, you do not need to hem the raw edge. The slight curl adds softness and texture.
Step 3: Plan Your Placement
Before sewing anything permanently:
- Lay your base T shirt flat
- Play with ruffle placement
- Try vertical lines, asymmetrical cascades, or centered panels
- Step back and evaluate balance
Pin each ruffle in place once you are happy with the design.
This step is where your shirt goes from homemade to intentionally styled. Take your time here.
Step 4: Stitch Ruffles in Place
- Sew directly over your basting line to secure each ruffle to the shirt.
- Use a straight stitch if your tee is not fitted tightly. If it is more form-fitting, consider a narrow zigzag stitch to maintain stretch.
- After sewing, lightly press with an iron to help the ruffles settle naturally.
Fit and Design Notes
- Keep ruffles off high-stretch areas (like directly across the bust) for better comfort.
- Vertical ruffles elongate the torso.
- Diagonal placement adds movement and modern flair.
- For a subtle look, use tone-on-tone fabric.
- For contrast, use a second shirt in a coordinating color.
Beginner Tips
- If gathering feels uneven, redistribute the fabric gently with your fingers.
- Do not pull the thread too quickly - knit fabric can stretch.
- Test on scrap strips first to adjust stitch length.
- If your knit is very thin, lower presser foot pressure to prevent stretching.
Variations to Try
Once you master this basic technique, you can:
- Add ruffles to sleeves only
- Create a ruffled neckline detail
- Add layered ruffles for a statement piece
- Use striped fabric for visual texture
- Combine different knit weights for dimension

This simple refashion works because it uses the natural properties of knit fabric instead of fighting them.
Why This Is a Great Upcycle Project
- Budget-friendly
- No pattern required
- Perfect for beginners
- Sustainable fashion option
- Easily customizable
Instead of buying another embellished top, you can redesign what you already own.
If you enjoy clothing refashion projects, this technique opens the door to endless variations. A basic T shirt is just a starting point - texture and layering can completely change its personality.