
Deck Makeover Using Behr DeckOver (Before You Replace Your Deck)
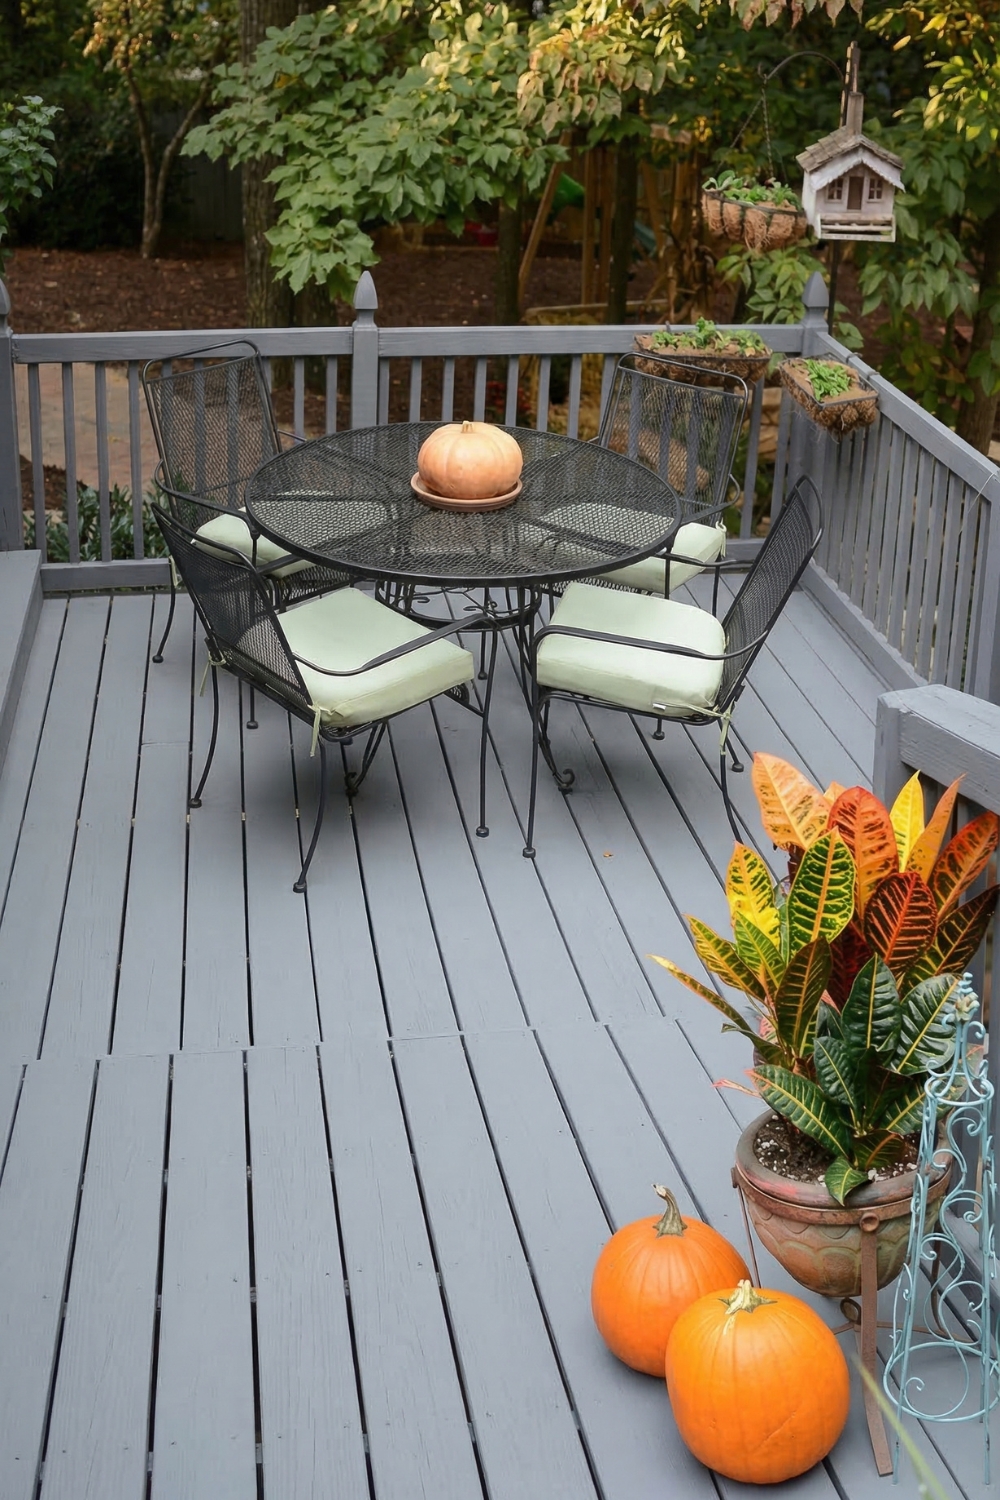
An aging deck can make an entire outdoor space feel worn out. Faded boards, rough texture, and visible wear often lead people to assume replacement is the only option. But in many cases, a full rebuild isn't necessary.
Deck Makeover Using Behr DeckOver
A resurfacing product like Behr DeckOver offers a way to restore the look and feel of an older deck without the cost and effort of starting over. Instead of replacing the structure, you're reinforcing and refreshing what's already there.
This approach works especially well when the deck is still structurally sound but visually worn.
When a Deck Coating Makes Sense
Before choosing any product, it's important to evaluate the condition of your deck.
Deck resurfacing is a good option when:
- The wood is weathered but still solid
- There are surface cracks or rough areas
- The overall structure is stable
- You want a faster, more affordable upgrade
If the foundation is compromised, repairs should come first. But for surface-level wear, a coating can make a dramatic difference.
What Makes DeckOver Different
Unlike standard paint or stain, this type of coating is designed to be thicker and more protective.
It works by:
- Filling small cracks and imperfections
- Creating a uniform, textured surface
- Sealing the wood against moisture
- Adding a slip-resistant finish
The result is a deck that not only looks updated but also feels smoother and more comfortable underfoot.
Materials and Preparation
Before applying any coating, proper prep is key to long-lasting results.
You'll need:
- Pressure washer
- Deck coating product
- Rollers or brushes designed for thick coatings
- Time for the surface to fully dry
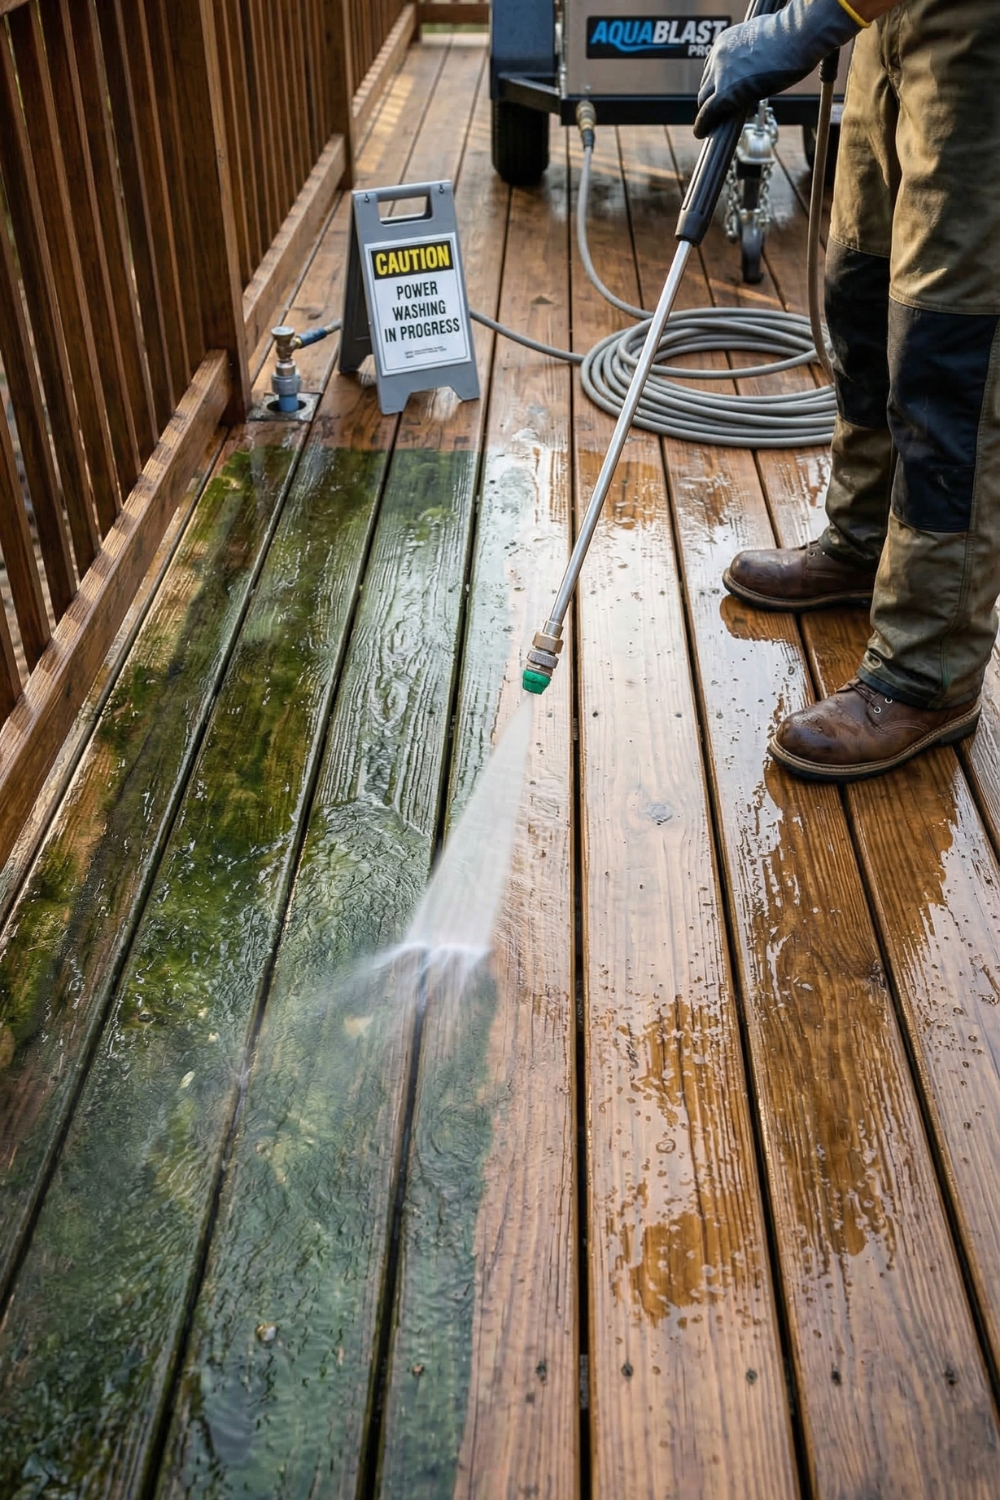
Step 1: Clean the Deck Thoroughly
Start by pressure washing the entire surface.
This step removes:
- Dirt and debris
- Old residue
- Loose or flaking material
Allow the deck to dry completely before moving on. Skipping this step can affect how well the coating adheres.
Step 2: Apply the First Coat
Using a roller or brush, apply the first coat evenly across the surface.
You'll notice right away that the texture is different from traditional paint-it's thicker and more substantial. This helps it fill in small imperfections as you work.
Step 3: Apply the Second Coat
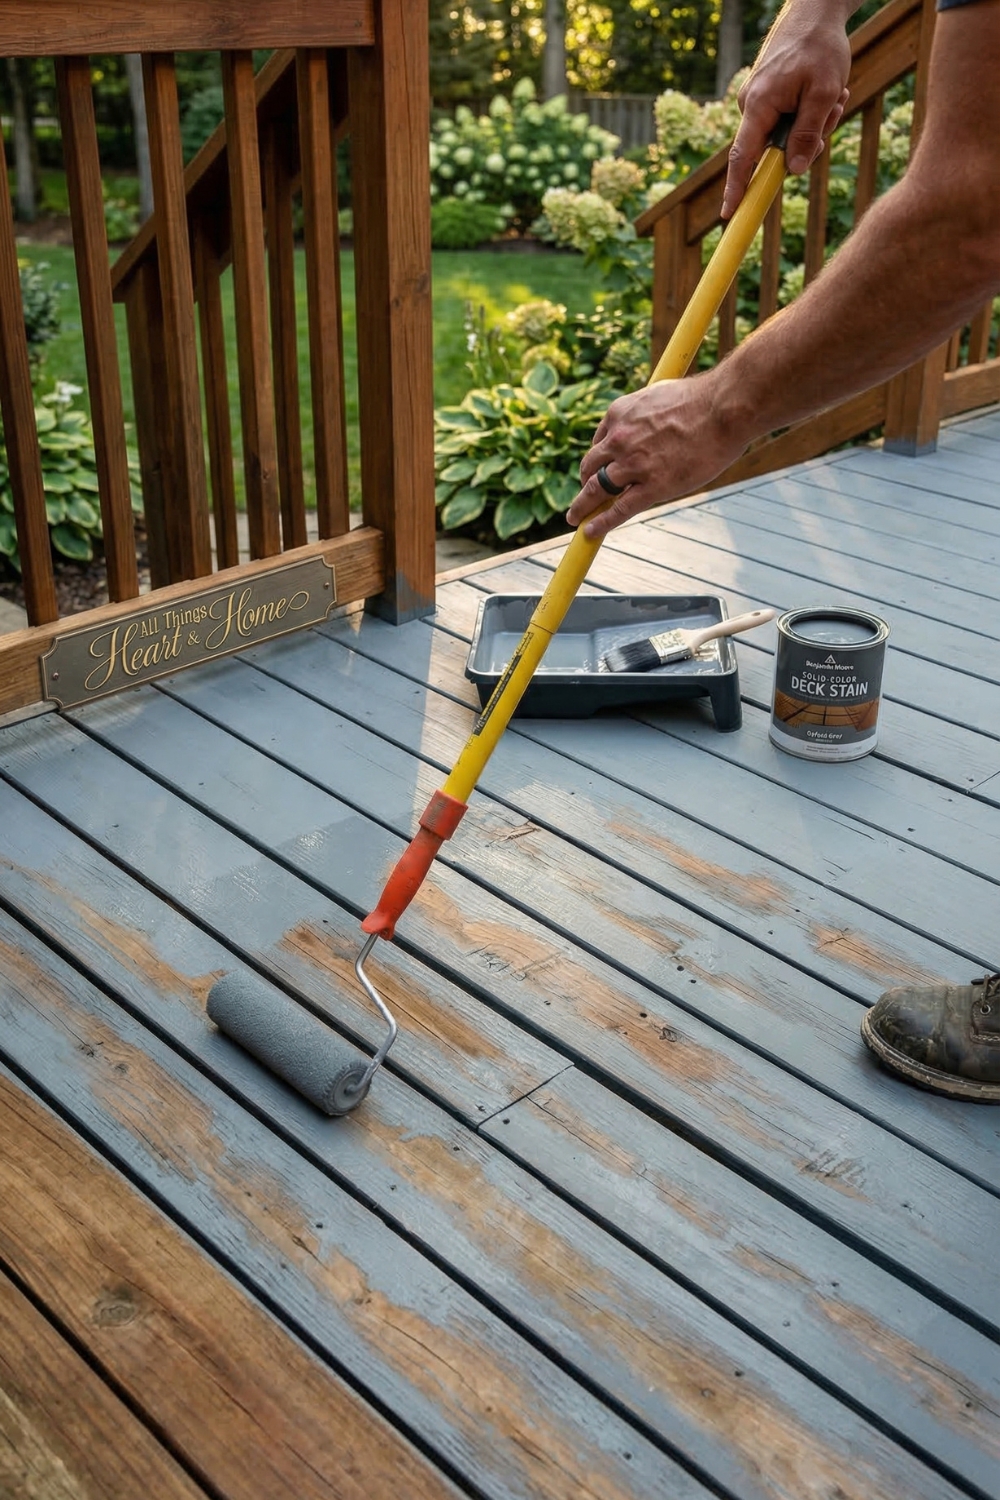
After the first coat dries, apply a second coat for full coverage and durability.
Two coats are typically enough to:
- Even out the color
- Build a protective layer
- Create a consistent finish
Step 4: Don't Forget Railings and Edges

For a cohesive look, apply the coating to:
- Railings
- Edges
- Visible trim
This ties the entire deck together visually and makes the upgrade feel complete.
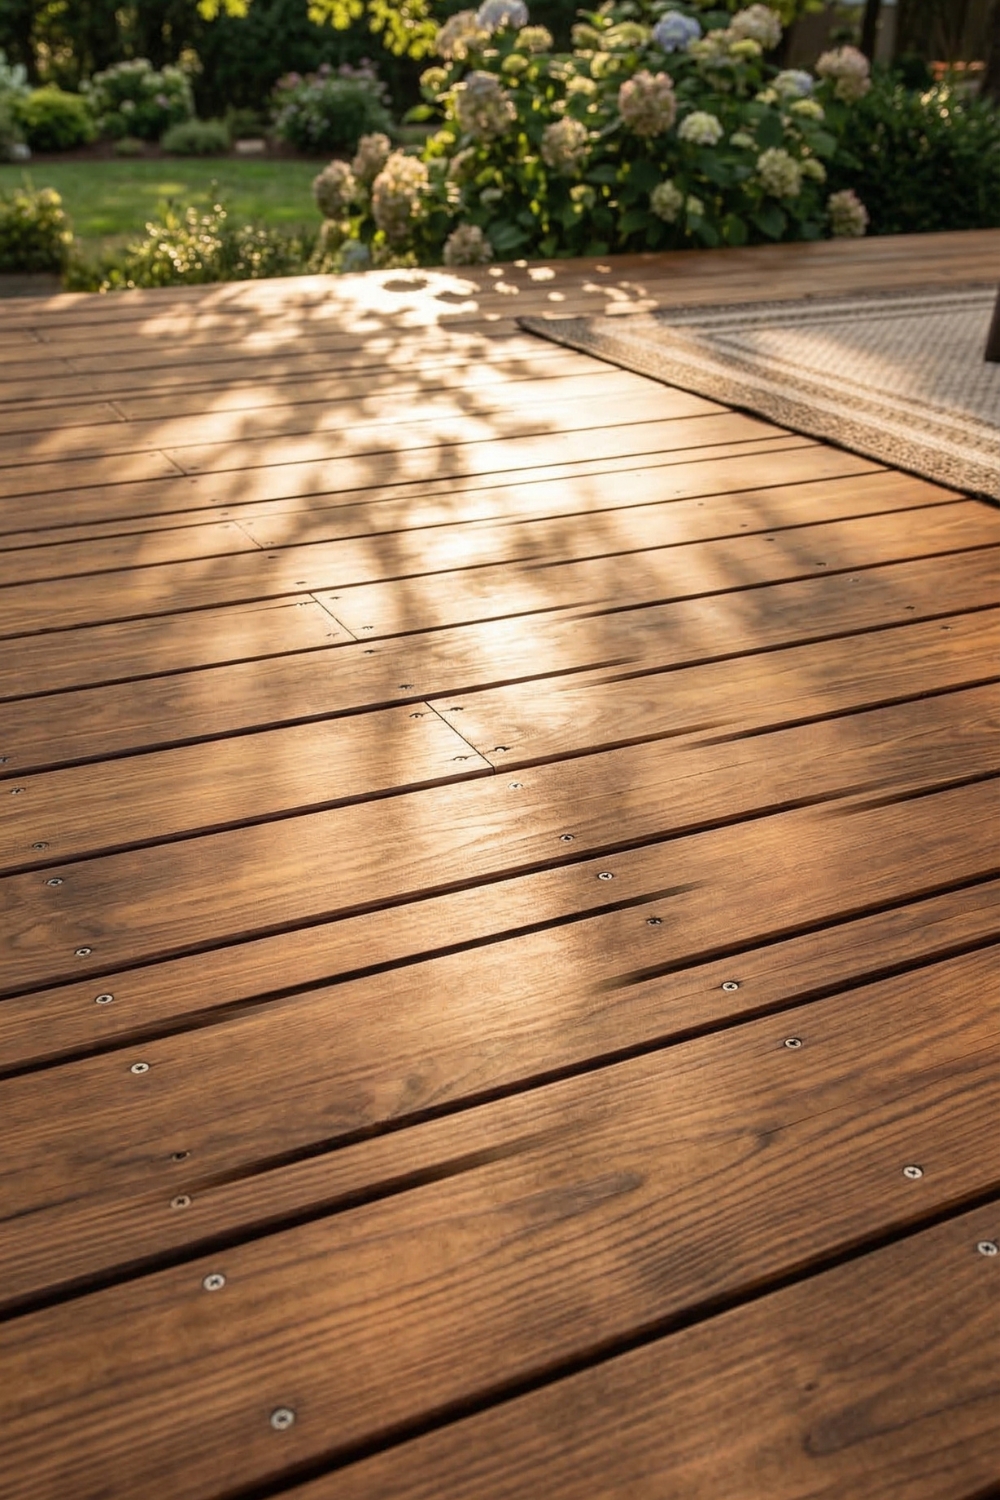
What Kind of Results to Expect
Once finished, the difference is noticeable immediately.
- The surface looks more uniform and refreshed
- Color adds contrast and definition to the space
- The deck feels smoother and more comfortable
Choosing a neutral tone, like gray, can also help connect the deck visually with surrounding elements like stone, pavers, or landscaping.
Why This Upgrade Matters
If your deck is visible from inside your home, it becomes part of your overall decor. Updating it doesn't just improve your outdoor space-it changes how your entire home feels.
Instead of looking out at a worn surface, you're creating a clean, intentional extension of your living area.
A Practical Alternative to Replacement
Replacing a deck is a major project. In many cases, resurfacing can deliver a similar visual transformation with far less time, cost, and effort.
If your deck is structurally sound but showing its age, this kind of upgrade is worth considering before committing to a full rebuild.
Final Thoughts
This type of project stands out because of how accessible it is. With the right preparation and a bit of time, you can dramatically improve the look of your outdoor space without complicated steps.
It's one of those upgrades where the impact feels much bigger than the effort-and those are always worth doing.