
DIY Burlap Bulletin Board Makeover (Easy, Budget-Friendly Upgrade)
Old bulletin boards are one of those things that tend to sit unused-not because they aren't useful, but because they don't quite fit your space anymore.
DIY Burlap Bulletin Board Makeover
This simple burlap makeover turns a basic cork board into something textured, neutral, and decorative enough to leave on display. It works as both a functional pin board and a soft, farmhouse-style accent piece.
What makes this project especially worth doing is how little it requires. If you already have a bulletin board, this becomes a quick transformation rather than a full build.
What You'll Need
- Burlap fabric (enough to wrap around your board with extra margin)
- Bulletin board (any size)
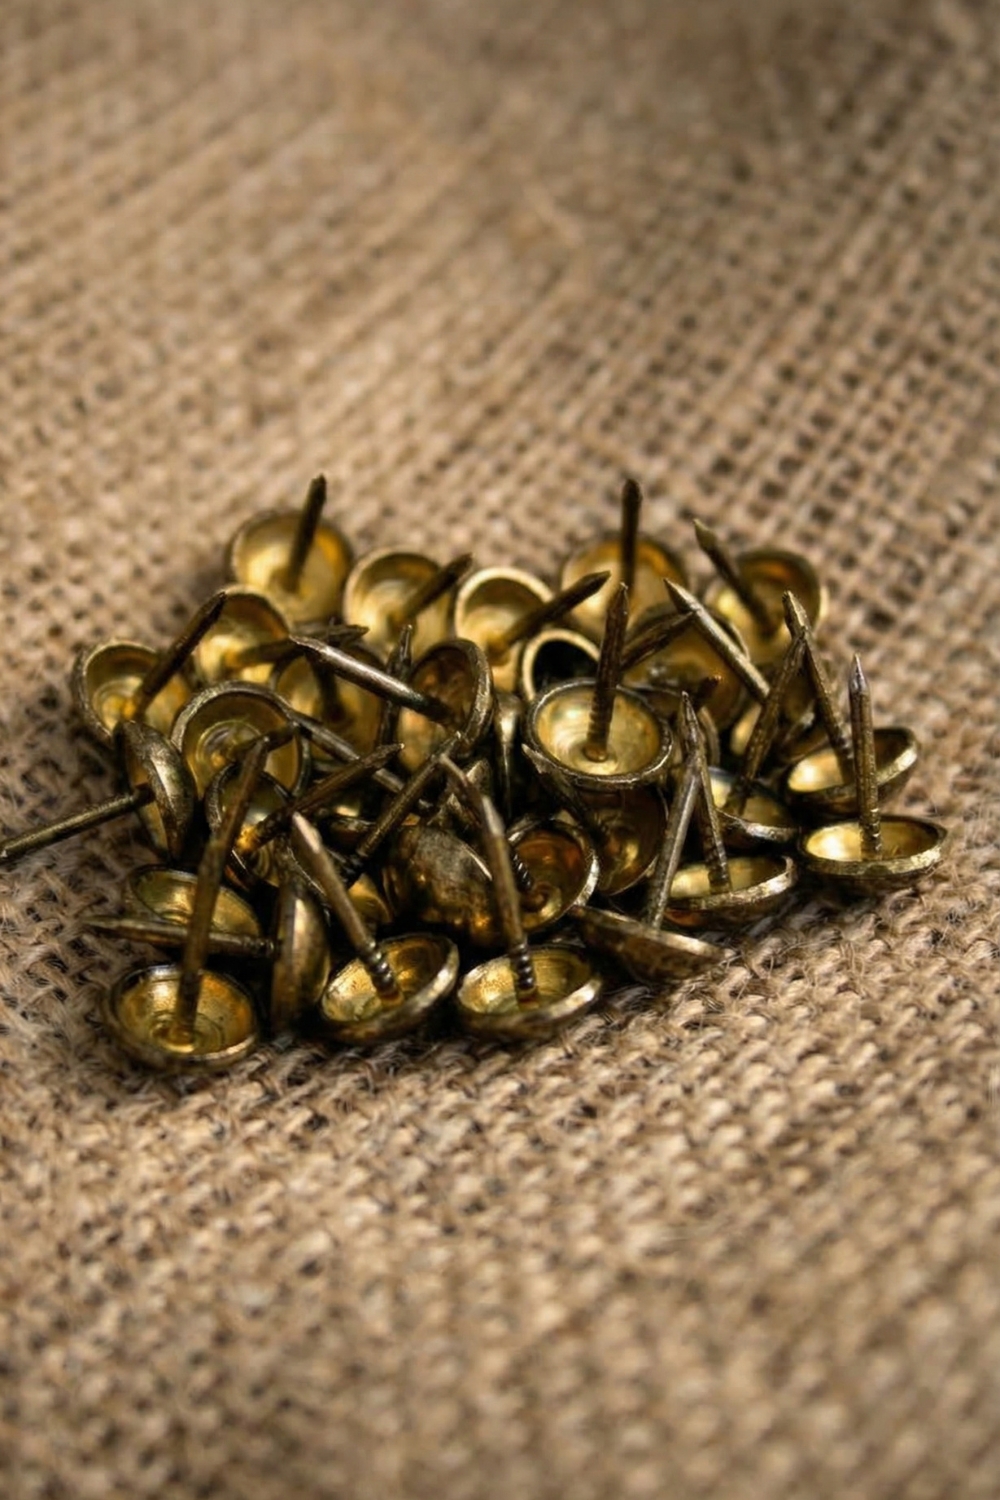
- Nailhead pins or trim
- Staple gun
- Twine or picture hanging wire
- Screws and drill (optional, for hanging method)
Why Burlap Works So Well
Burlap adds texture without overpowering the space.
- Neutral tone fits most interiors
- Slight imperfections make it forgiving to work with
- Holds pins easily while hiding wear over time
You can leave it slightly wrinkled for a relaxed look or smooth it out for a cleaner finish.
Step-by-Step: Burlap Bulletin Board Makeover
1. Measure and Cut the Fabric
Lay your burlap flat and place the bulletin board on top.
Cut the fabric with 4-5 inches of extra space on all sides.
Why this matters: The extra fabric gives you enough room to pull tightly around the edges without gaps.
2. Optional: Remove Wrinkles
If your burlap is heavily creased, lightly iron it.
Or leave it as-is for a more relaxed, rustic texture.
3. Wrap and Staple the Board
Place the board face-down onto the fabric.
- Pull one side of the fabric tightly over the back and staple
- Move to the opposite side and repeat
- Continue with the remaining sides
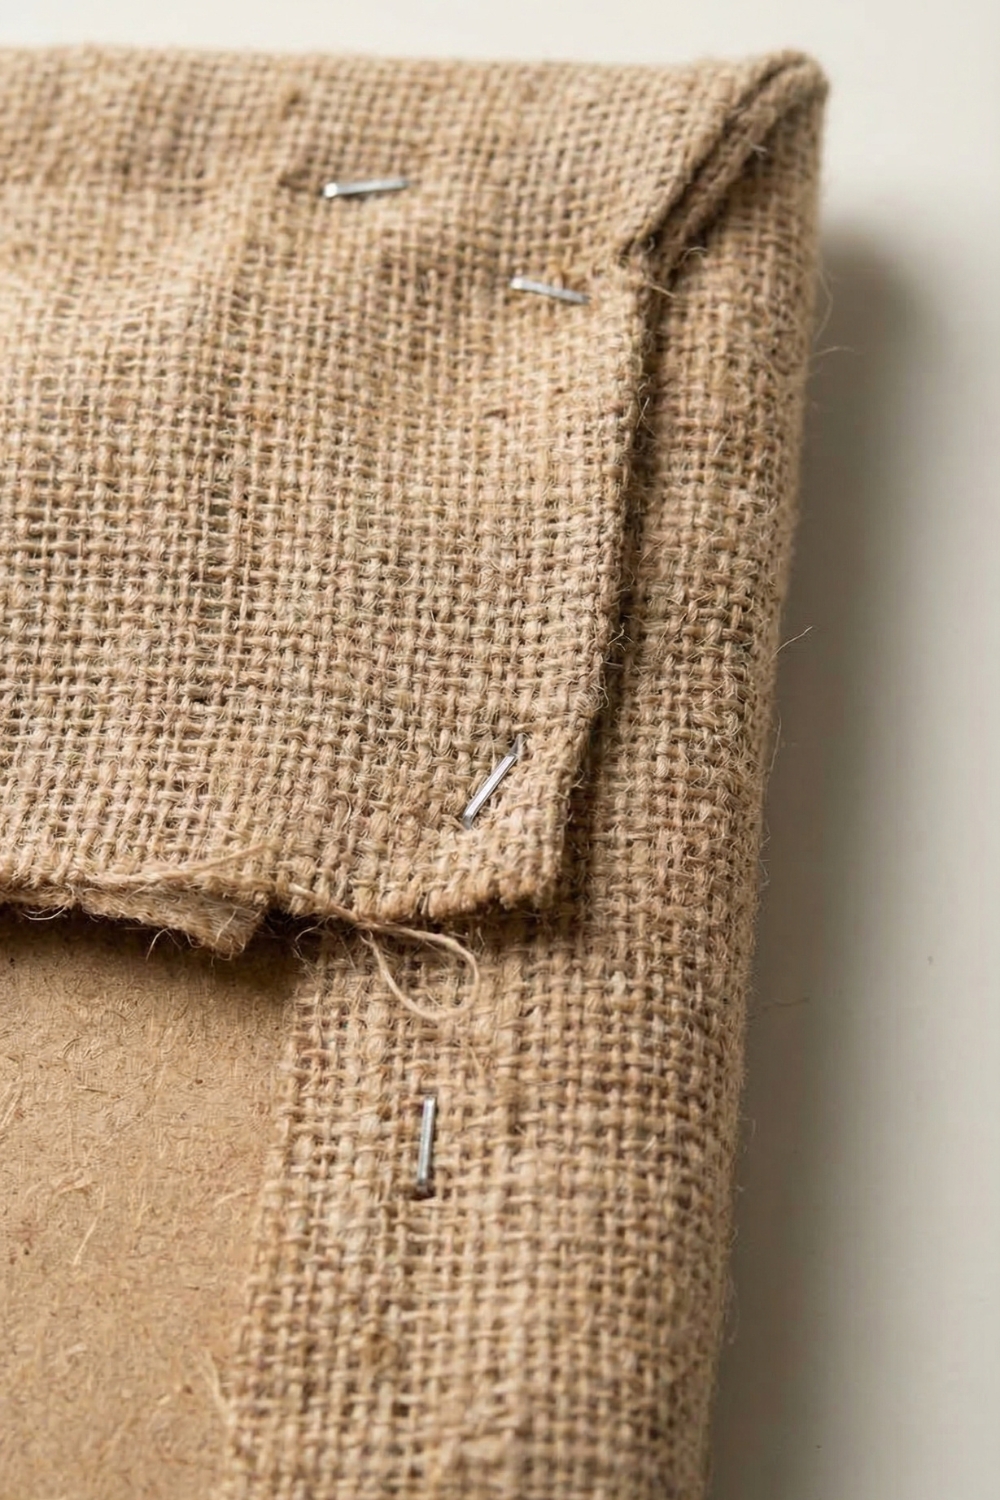
Focus on keeping the fabric taut as you go.
For corners:
- Fold neatly
- Pull tight
- Staple securely
If needed, remove staples and adjust tension.
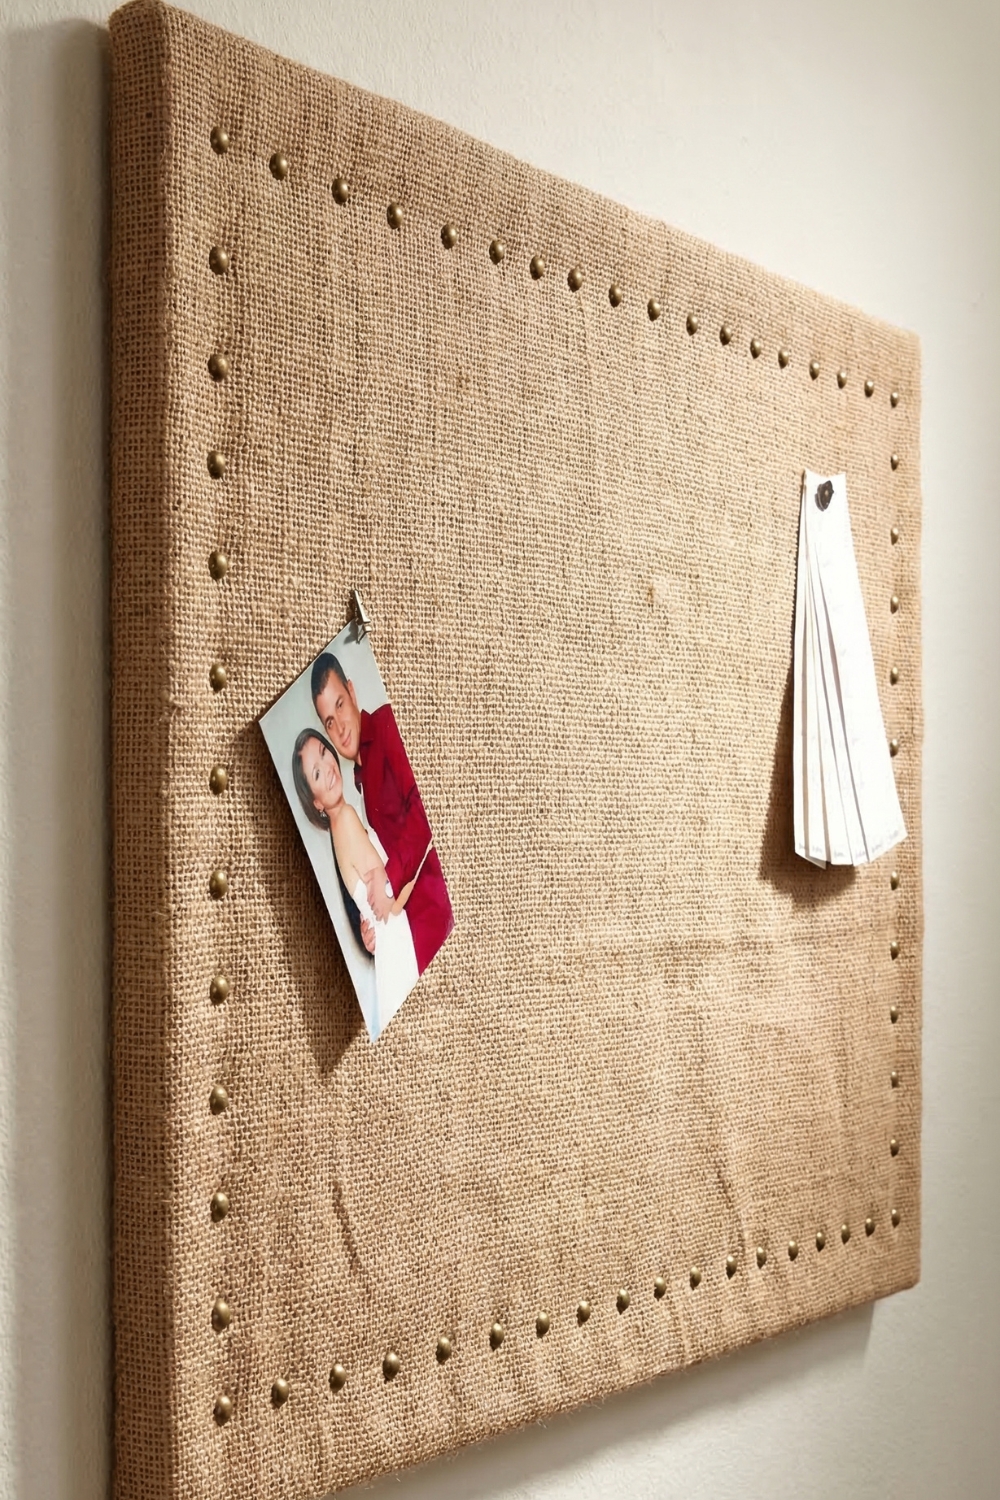
4. Add Nailhead Detail (Optional but Recommended)
Decide how far in from the edge you want your nailhead pins.
- Use a ruler to keep spacing even
- Press pins into the board along the edges
Helpful tip: Count how many pins you use on one side and repeat on the opposite side for balance.
Why this step matters: This detail gives the board a finished, intentional look instead of feeling like a simple wrap.
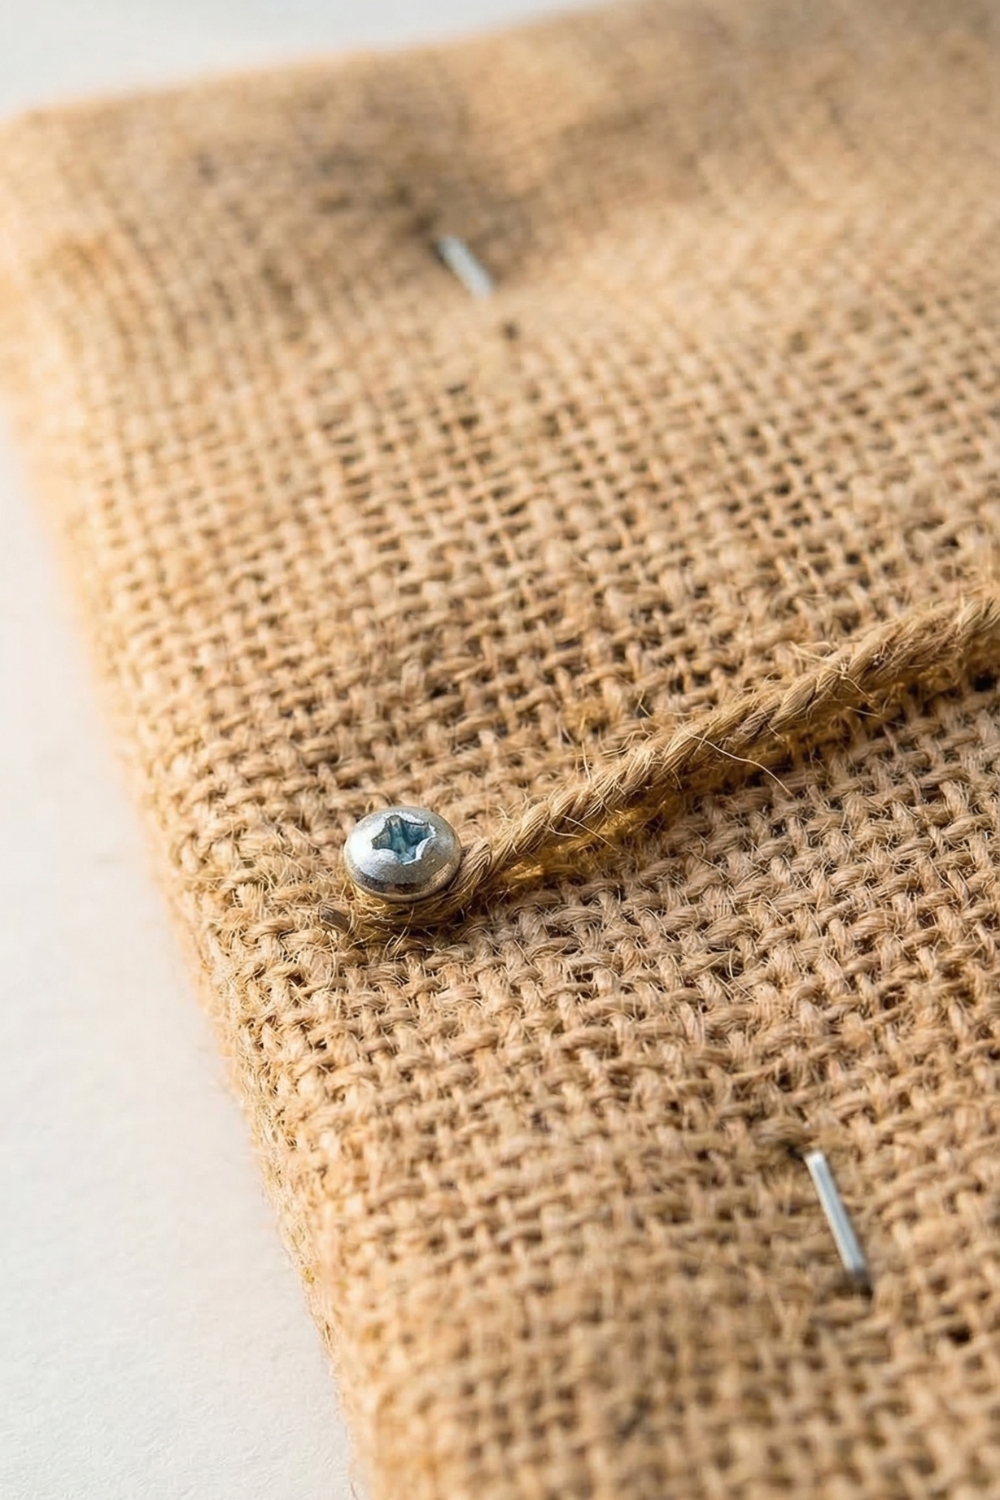
5. Add Hanging Support
There are a few ways to hang your board, but this method keeps it simple:
- Drill two screws into the back frame
- Attach twine or picture wire securely
- Hang from two evenly spaced nails to keep it level
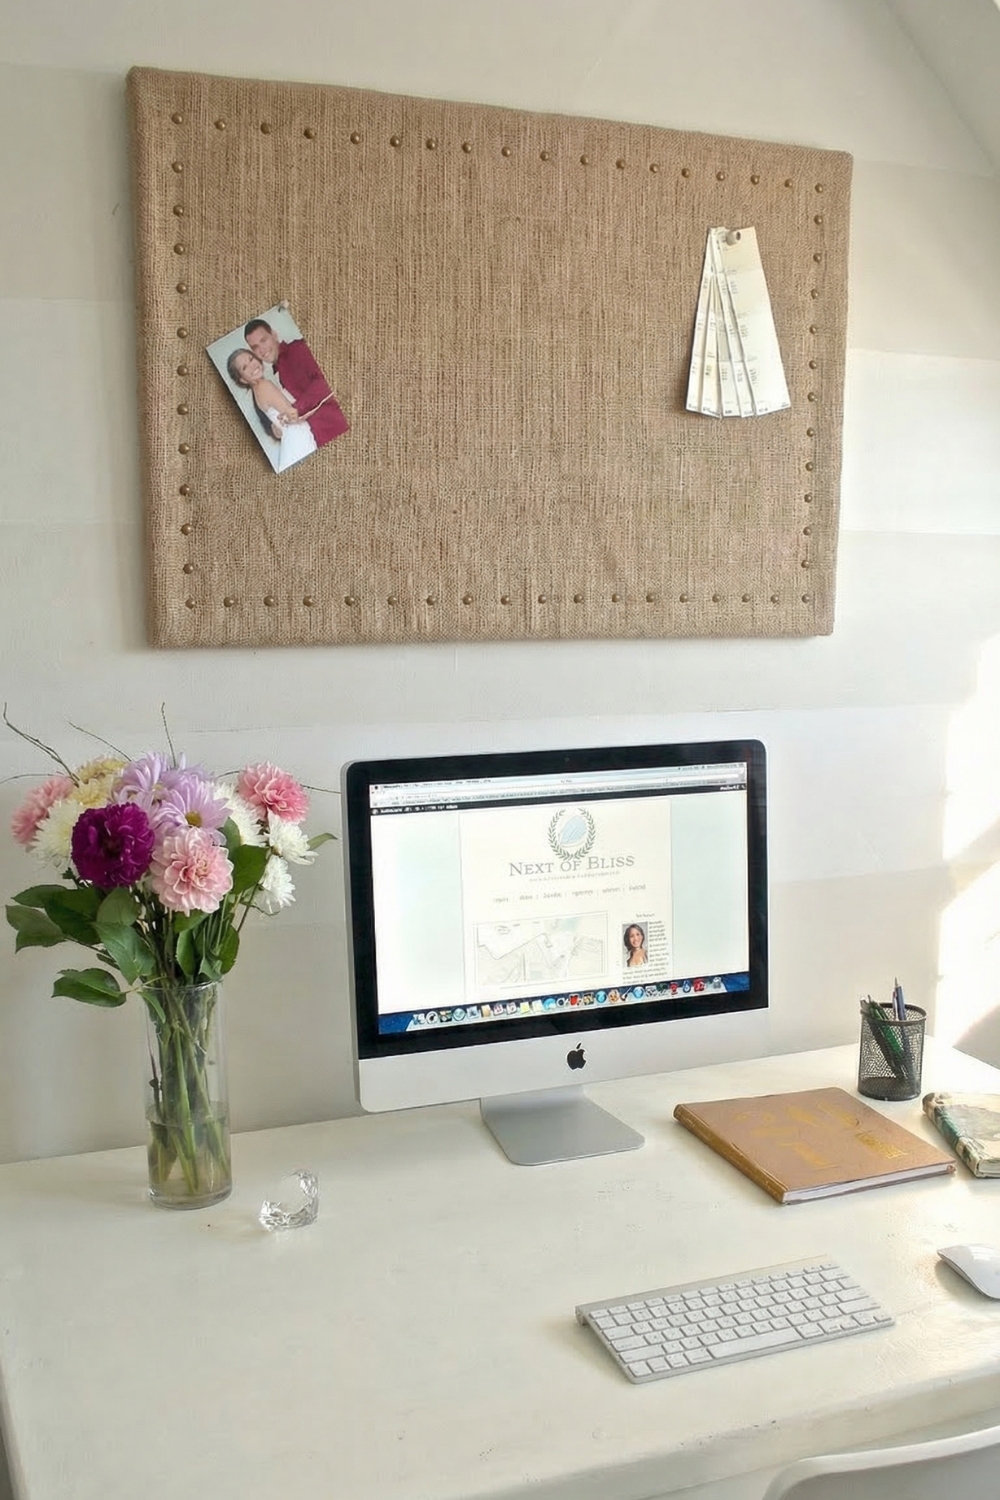
How to Use Your Bulletin Board
This isn't just for notes-it can become part of your decor.
Use it as:
- An inspiration board
- A place for photos and personal reminders
- A rotating display for color palettes or project ideas
- A lightweight wall feature in an office or craft space
Tips for Best Results
- Pull fabric tighter than you think-it loosens slightly over time
- Avoid over-stapling; adjust as needed for a smoother finish
- If burlap frays, trim edges cleanly before stapling
- Use neutral twine or wire to keep the look cohesive
Common Mistakes to Avoid
Loose fabric on the front
Caused by not pulling tightly enough during stapling
Uneven edges or ripples
Fix by removing and re-stapling sections gradually
Crooked hanging
Always use two anchor points on the wall
Final Thoughts
This project works because it upgrades something you already have instead of starting from scratch. The result feels intentional, not temporary-and it blends into your space rather than standing out for the wrong reasons.
Once finished, it becomes one of those pieces you actually use daily, while still adding texture and warmth to the room.