
Beachy Cottage Meets Shabby Cottage Kitchen Cabinet Makeover
One of the most dramatic ways to refresh a kitchen without a full renovation is by painting the cabinets. Older kitchens-especially those with traditional oak cabinetry-can feel dated, but a fresh coat of paint can completely transform the space.
Cottage Kitchen Cabinet Makeover
With the right colors and a simple painting process, cabinets that once felt heavy and dark can become light, bright, and full of personality.
This kitchen project blends beachy cottage style with shabby cottage charm, creating a relaxed space that feels both fresh and welcoming.
Starting with Traditional Oak Cabinets
Many homes built in the 1980s and 1990s were finished with stained oak cabinets. While they were durable and well made, the darker wood tone can make a kitchen feel heavier than many homeowners prefer today.
In this kitchen, the cabinets originally had a stained oak finish before being painted and antiqued during an earlier makeover.
Over time, however, the finish began to show wear-especially on the trim and cabinet fronts. Once the walls were repainted, it became clear that the cabinets needed a refresh as well.
Sometimes a simple update like repainting cabinets can bring an entire kitchen back to life.
Choosing a Beachy Cottage Color Palette
To keep the kitchen light and inviting, the cabinet colors were inspired by soft coastal tones.
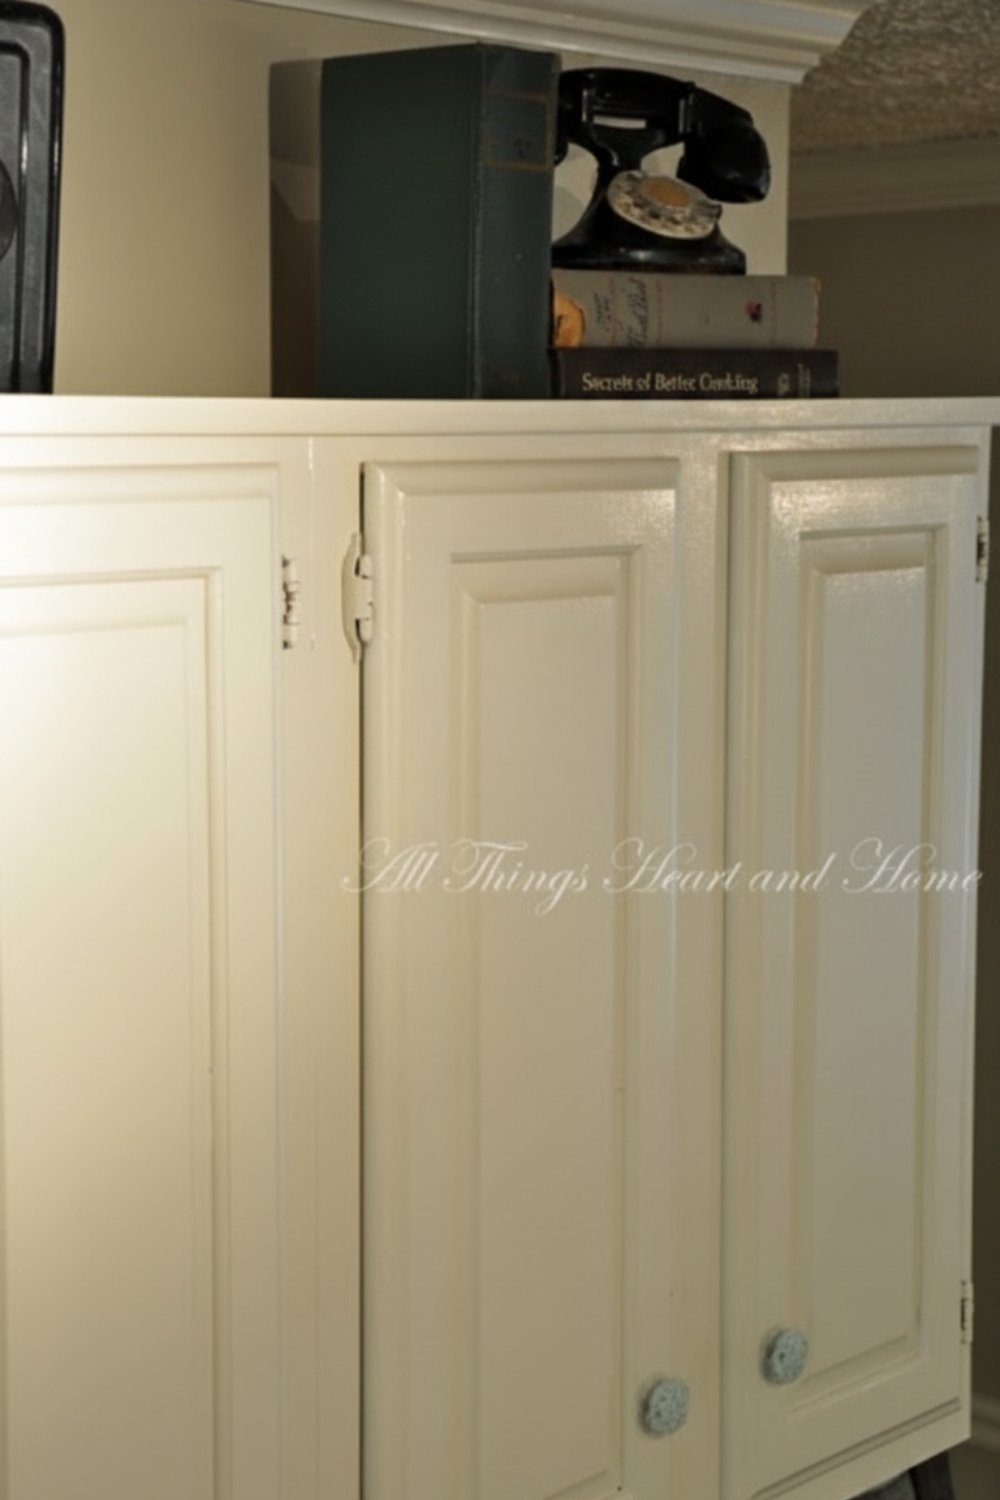
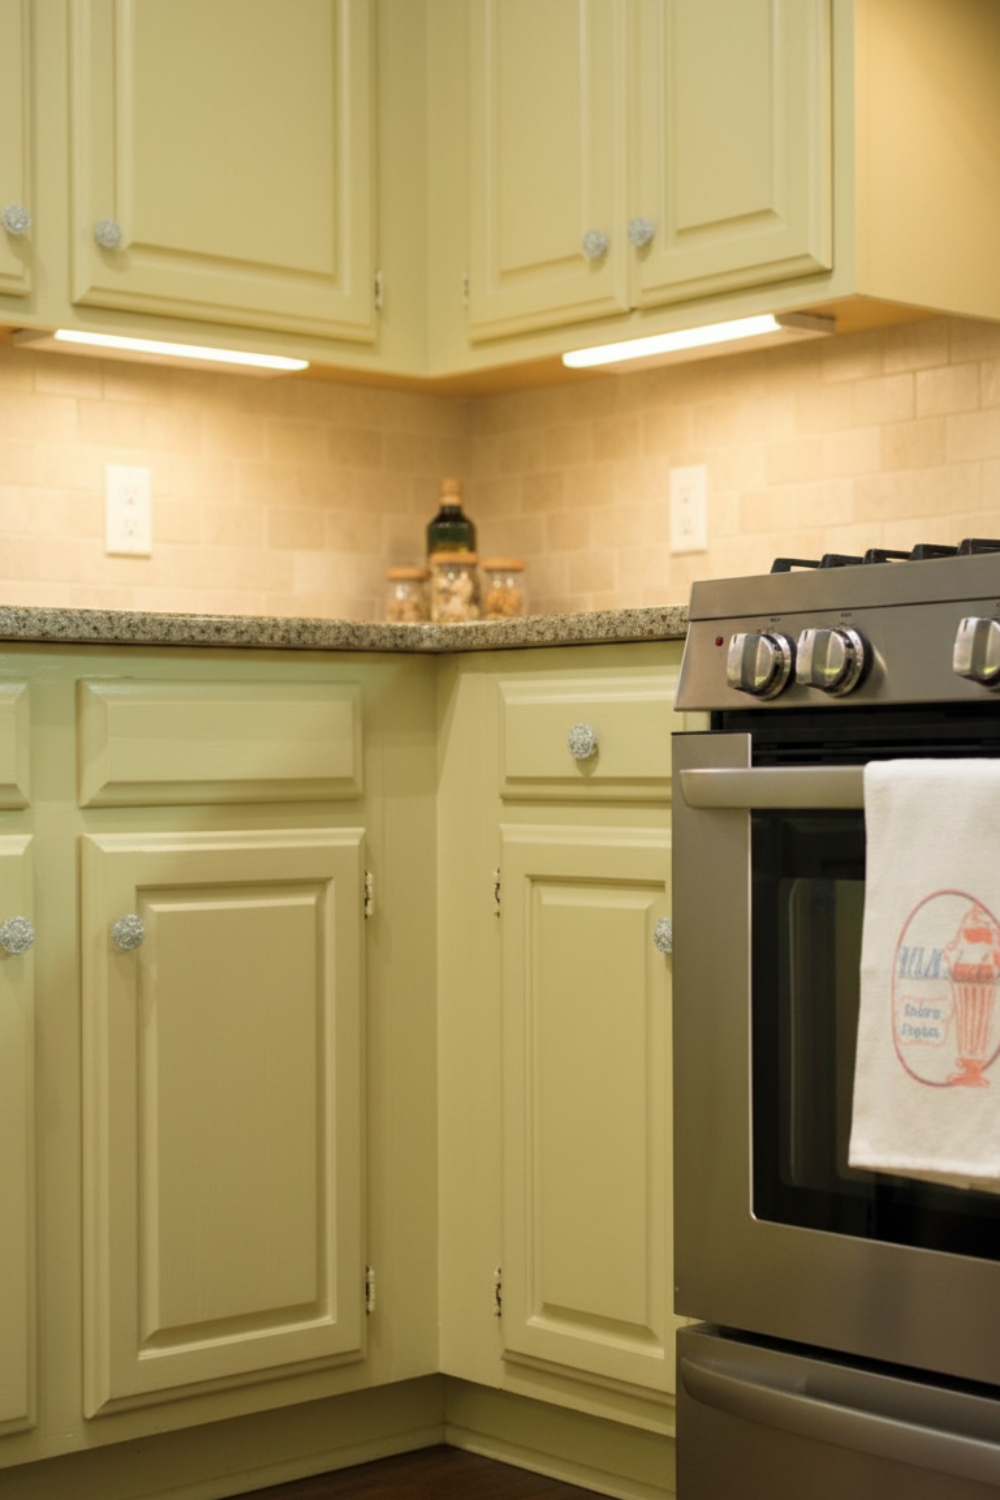
Most of the cabinets were painted in a warm neutral shade that works beautifully with cottage-style interiors.
Main Cabinet Color
Sandstone Cove (semi-gloss)
This color keeps the room feeling bright while still adding warmth.
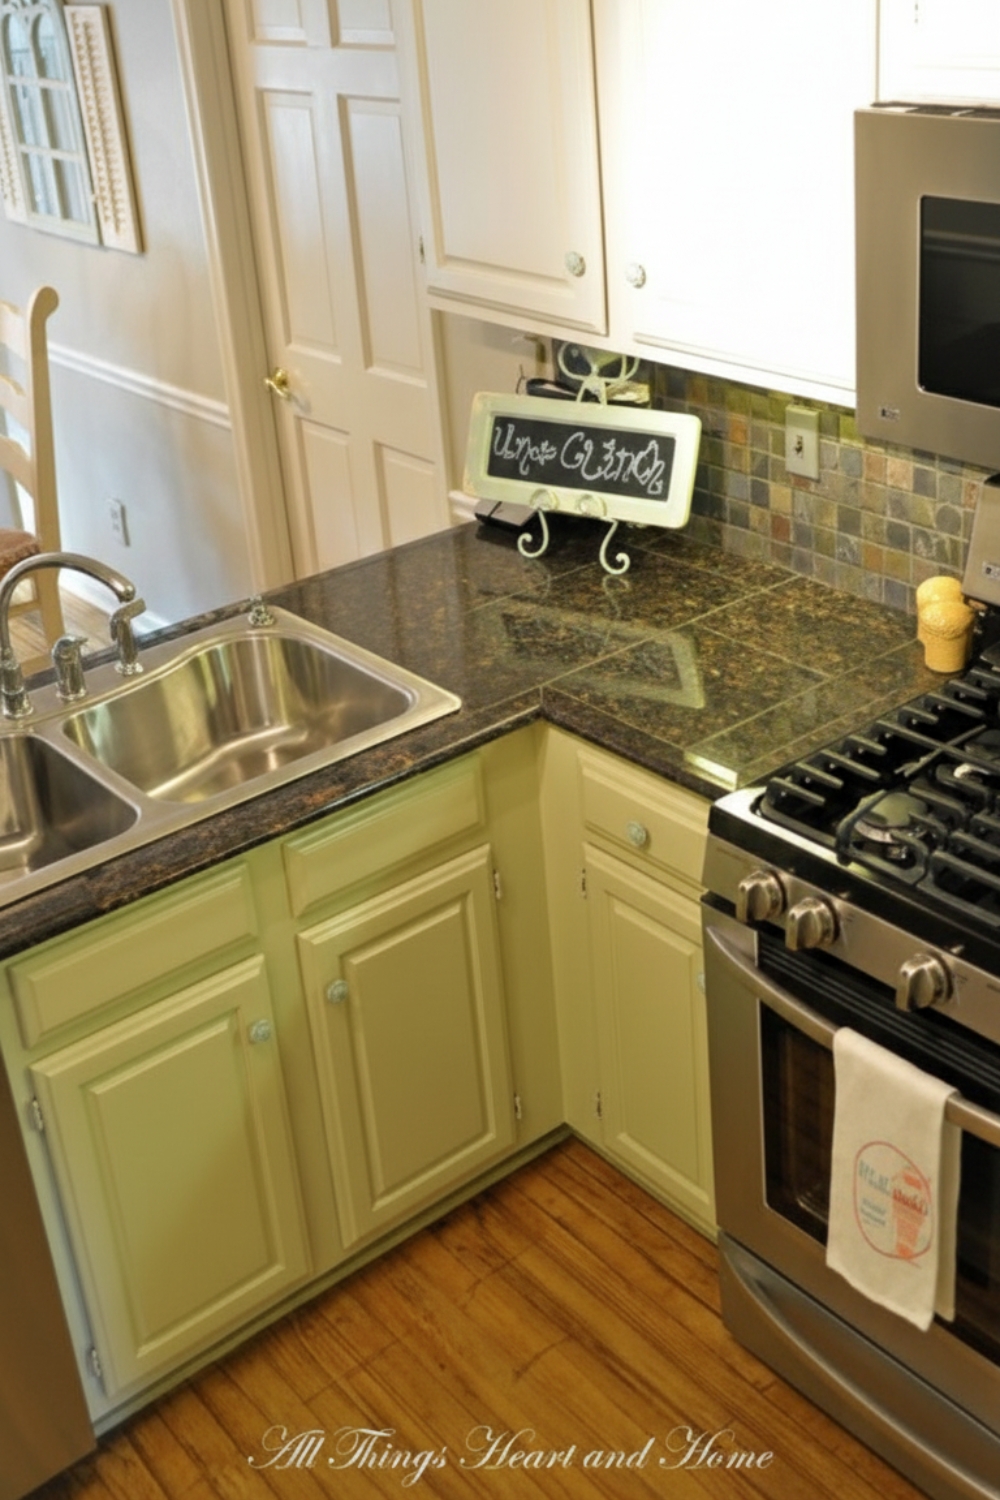
For a bit of personality, several of the lower cabinets were painted in a soft coastal green that adds subtle contrast without overwhelming the space.
This combination creates a relaxed look that blends beachy charm with shabby cottage character.
Preparing Cabinets for Painting
Before painting cabinets, proper preparation helps ensure a smooth and durable finish.
Start by removing all cabinet hardware, including knobs and handles. This makes it much easier to paint evenly around the edges.
Next, lightly sand the cabinet fronts and doors. The goal isn't to remove the existing finish entirely, but simply to create a slightly rough surface so the new paint adheres well.
Wipe the cabinets clean after sanding to remove any dust.
Painting the Cabinets
For this project, paint with built-in primer was used to simplify the process. This type of paint can often cover well with just two coats, saving time and effort.
Application tools
- A small foam roller works well for larger flat cabinet surfaces
- An angled paintbrush is helpful for trim, edges, and detailed areas
Foam rollers are especially useful when painting cabinets because they apply paint smoothly without leaving heavy brush marks.
For edges and corners, an angled two-inch brush provides more control and makes it easier to work around trim and panel details.
Keeping a damp cloth nearby is also helpful for quickly wiping away small paint mistakes while working.
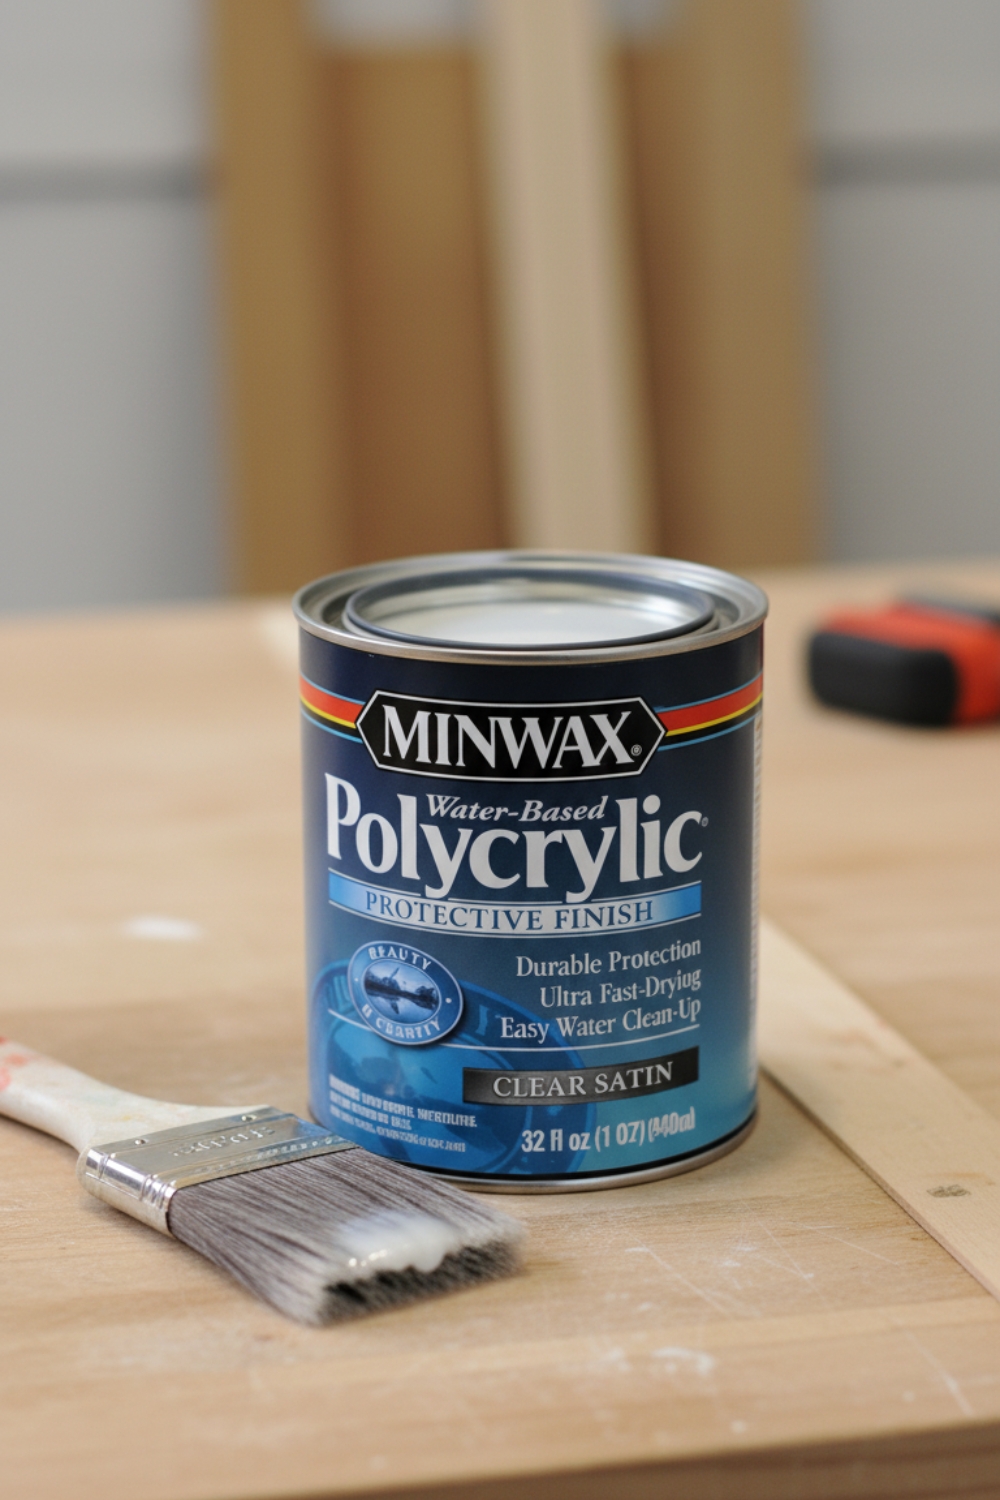
Sealing the Finish
After the paint fully dries, sealing the cabinet fronts can help protect the finish-especially in high-use kitchens.
A thin coat of polycrylic in a satin finish works well because it provides protection without adding yellow tones that sometimes occur with other sealers.
This extra step helps the cabinets hold up better to everyday cleaning and wear.
Refreshing the Cabinet Hardware
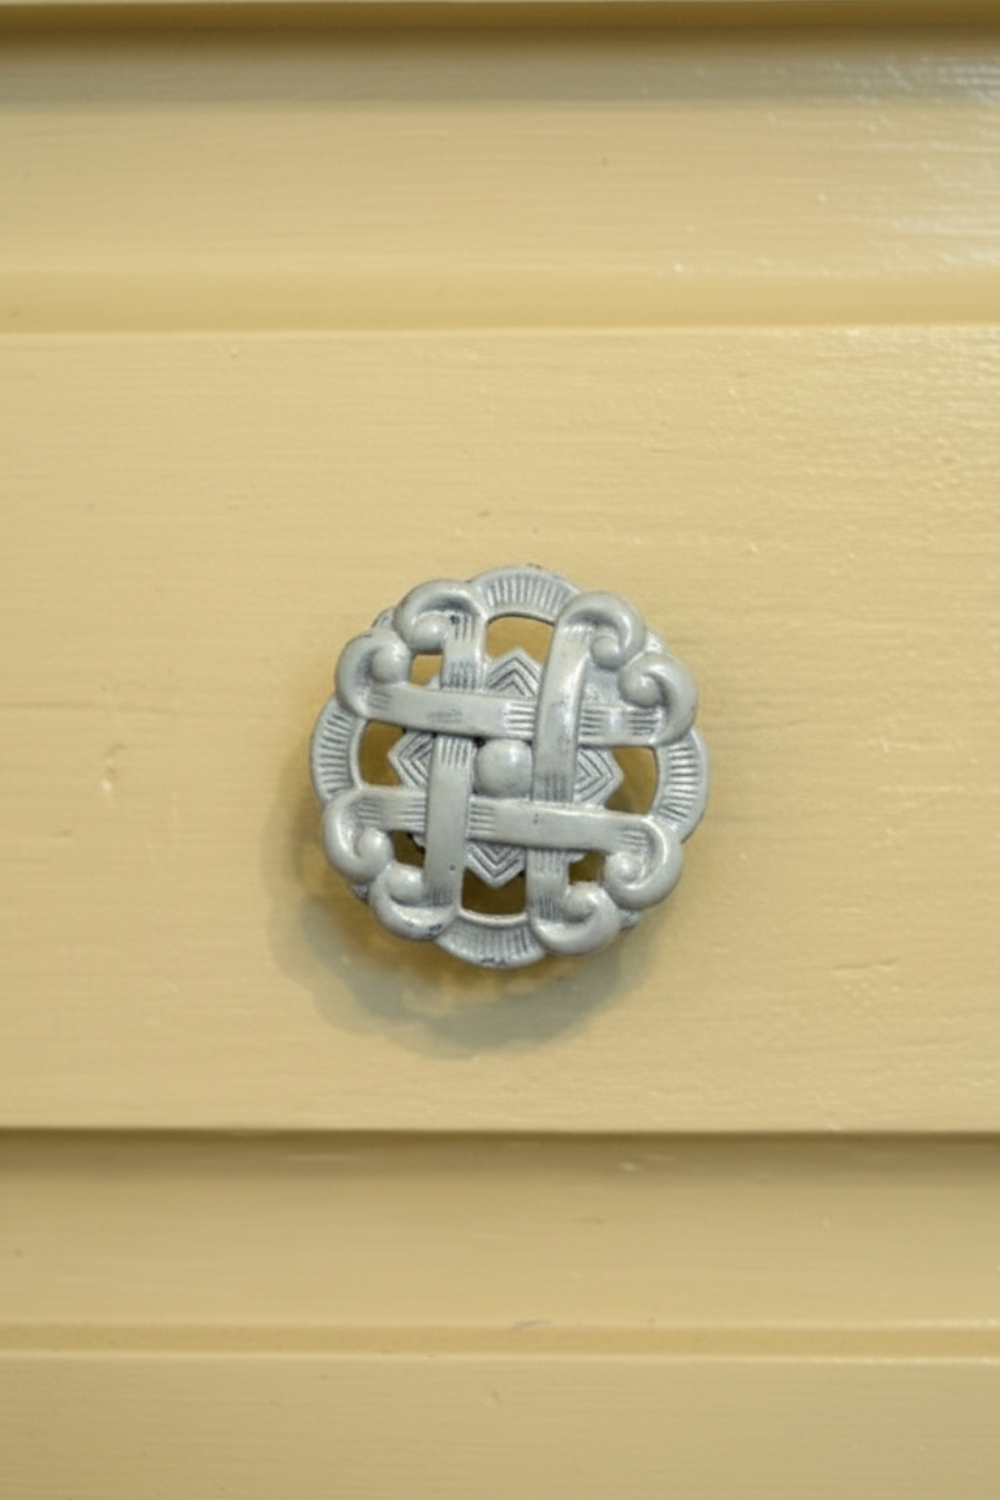
Instead of replacing the cabinet knobs, the existing hardware was painted to coordinate with the updated color palette.
Painting hardware can be an easy way to refresh the look of a kitchen while keeping project costs low.
A soft coastal blue-gray shade was used to add a subtle accent that complements the neutral cabinet color and the sea-inspired green tones.
A Simple Update That Transforms the Kitchen
Painting cabinets is one of those DIY projects that delivers a surprisingly big impact.
With just a few tools, some careful preparation, and a thoughtful color palette, older cabinets can look completely refreshed.
In this kitchen, the combination of warm neutrals and coastal colors created a space that feels brighter, softer, and more inviting.
It's a perfect example of how a simple DIY project can bring new life to a well-loved room.