
DIY Rustic Cupcake Stand Using Wood Slices
Creating a cupcake stand from natural wood slices is one of those projects that instantly adds warmth and character to a table. The layered wood gives height, texture, and a handmade feel that works just as well for everyday decorating as it does for hosting.
DIY Rustic Cupcake Stand Using Wood Slices

What makes this project especially useful is its versatility. Once built, it’s not just for cupcakes—you can use it for small desserts, appetizers, or even as a display piece for plants and decor.
What You’ll Need
For the Cupcake Stand
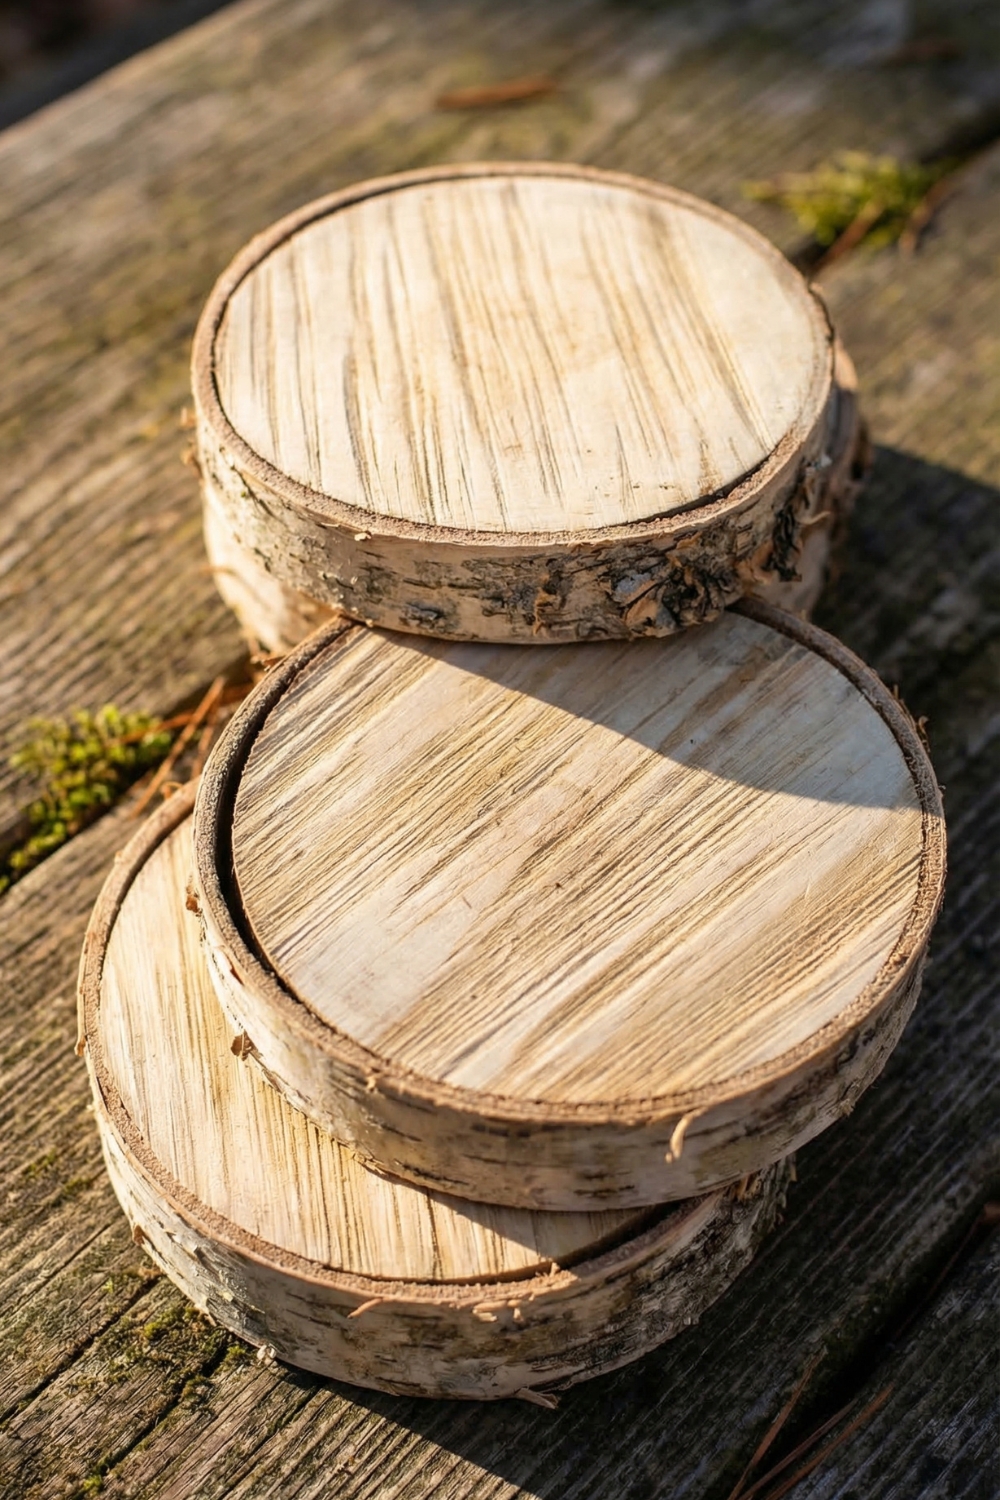
- 3 wood slices (graduated sizes work best)
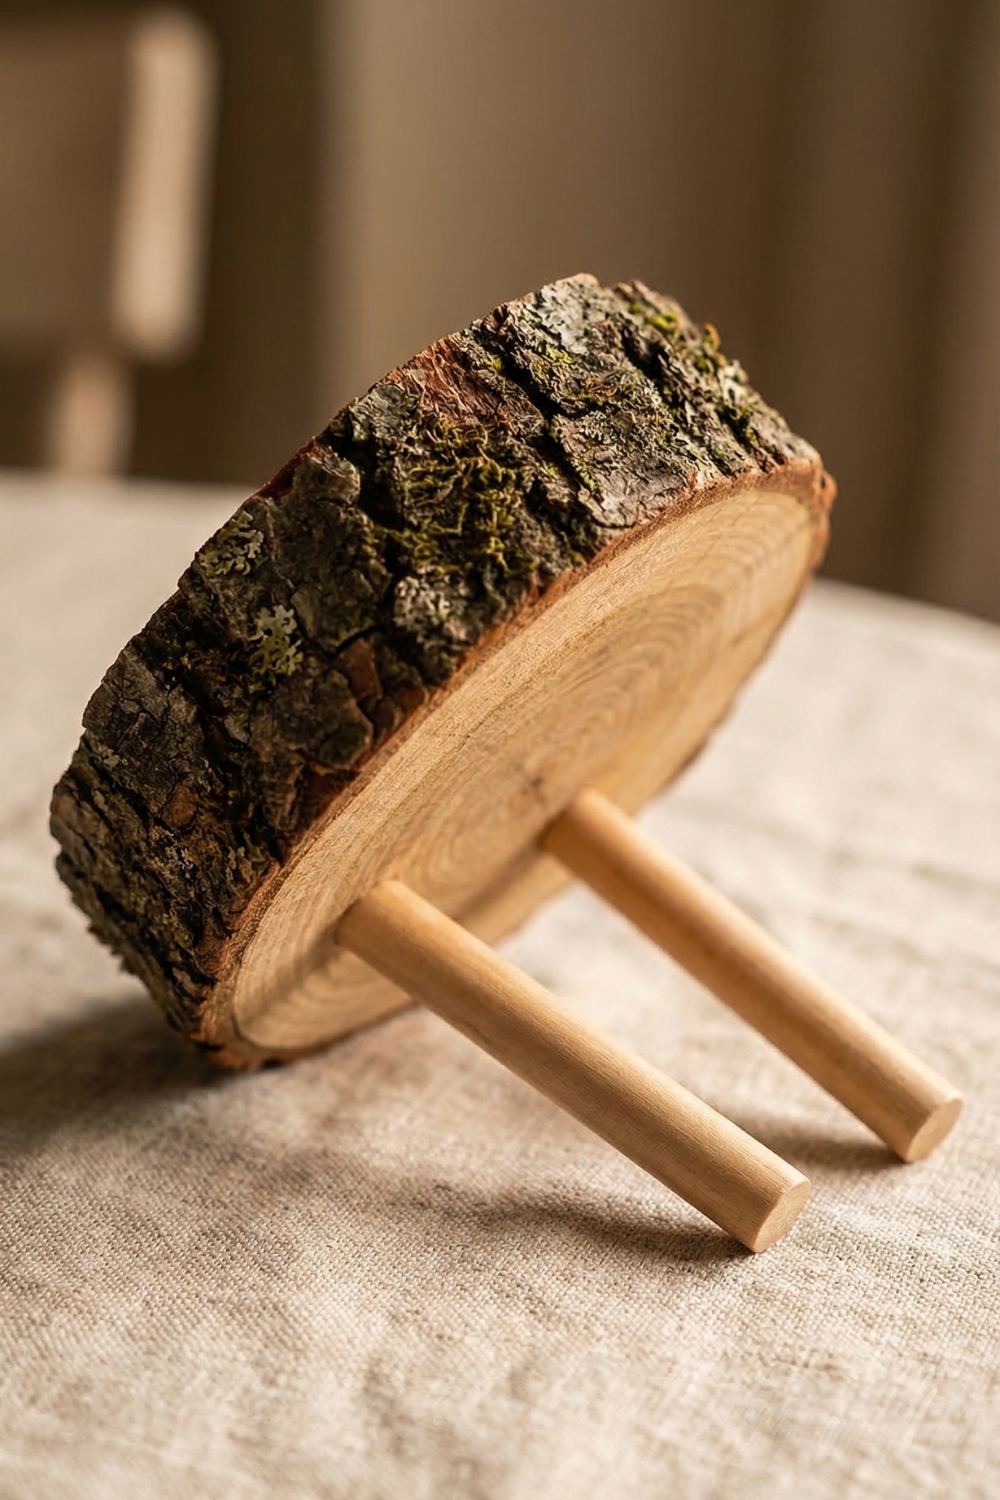
- 1 small wood slice (for the base support)
- Wood glue
- Wood screws
- Drill
- Sandpaper or electric sander
- Water-based polyurethane (for sealing)
Optional for Food Labels
- Small wood slices
- Drill
- Small dowels
- Chalkboard paint
- Chalk pen
Choosing the Right Wood Slices

Before building, it helps to select your slices carefully.
- Choose relatively flat pieces to keep the stand stable
- Bark edges add a more rustic look, but smooth edges feel more refined
- Slight variations in size create a tiered, balanced appearance
If your slices are freshly cut, allow them to dry fully before assembling to prevent cracking later.
Step-by-Step: Rustic Cupcake Stand
1. Sand the Wood
Smooth the top and bottom of each slice.
You don’t need to remove all texture—just enough to make the surfaces even and safe for handling.
Why this matters: A flat surface ensures your layers sit securely without wobbling.
2. Stack and Arrange
Lay out your slices from largest (bottom) to smallest (top).
Test the arrangement before attaching anything to make sure the proportions feel balanced.
3. Attach the Layers
Apply wood glue between each layer, then secure with screws from underneath.
Tip: Drive screws from the bottom upward so they stay hidden.
Why this matters: Glue provides hold, but screws give long-term strength—especially important if you plan to reuse the stand.
4. Add the Base Support
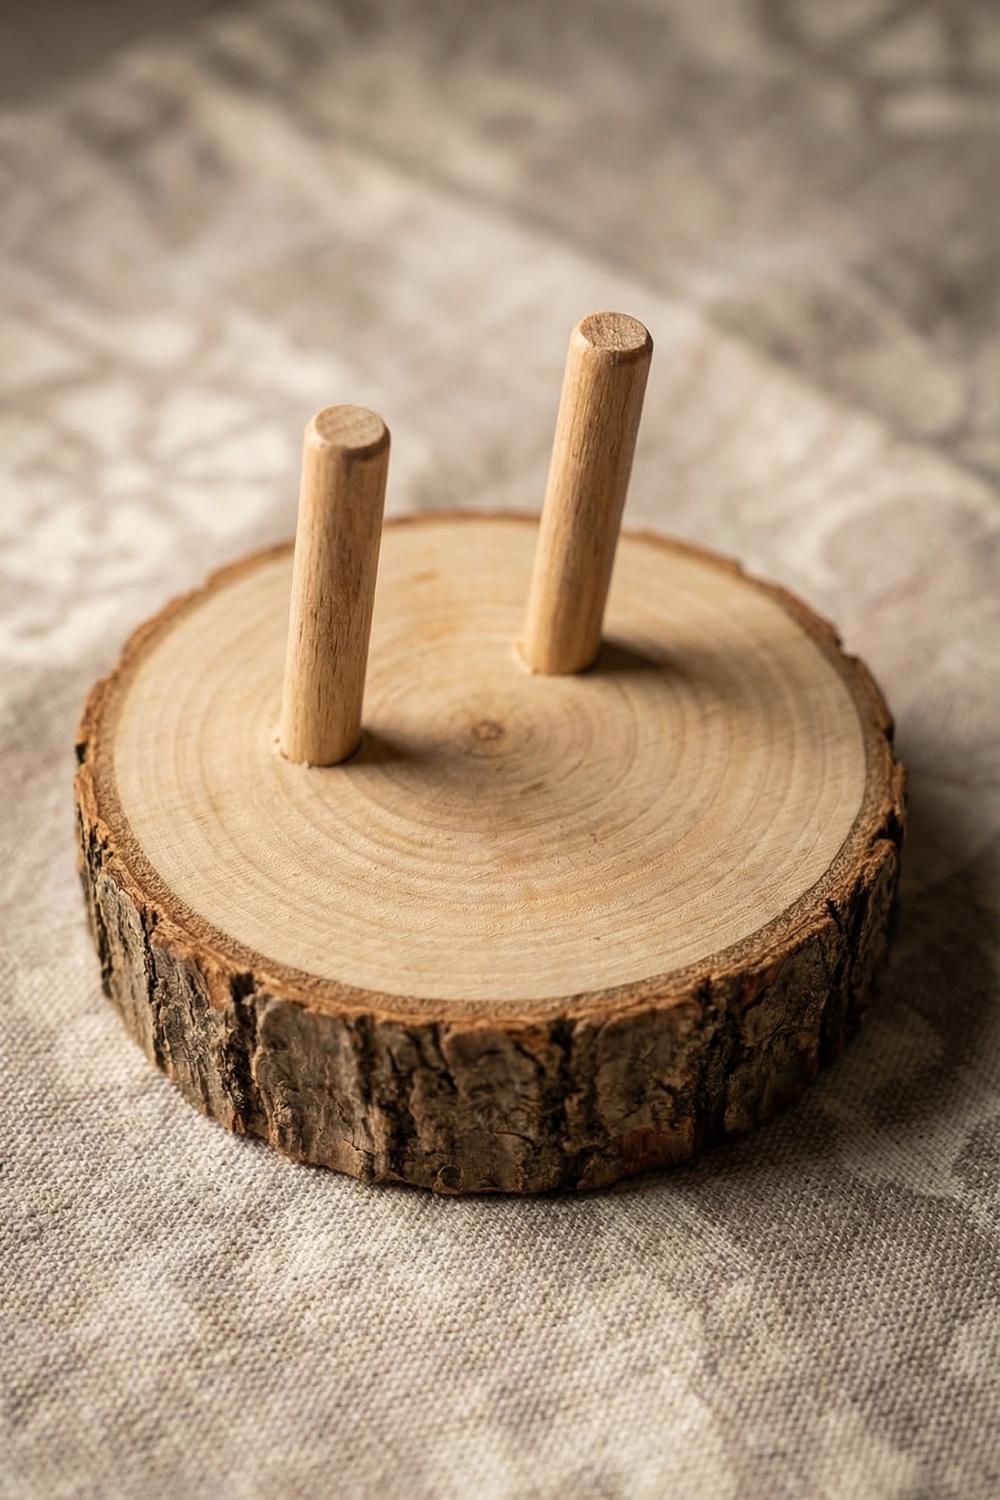
Attach a smaller wood slice underneath the bottom layer.
This acts as a stabilizing “foot” and prevents tipping.
5. Seal the Wood
Apply a coat of water-based polyurethane.
- Protects the surface
- Makes it easier to clean
- Adds a subtle finish without losing the natural look
Let it dry completely before use.
Using Your Cupcake Stand
This stand works well for more than just cupcakes.
You can use it for:
- Cookies or small desserts
- Finger foods (with parchment or liners)
- Mini potted plants
- Seasonal decor displays
- Centerpieces for tables
Because it’s neutral and natural, it fits into many different styles—not just rustic.
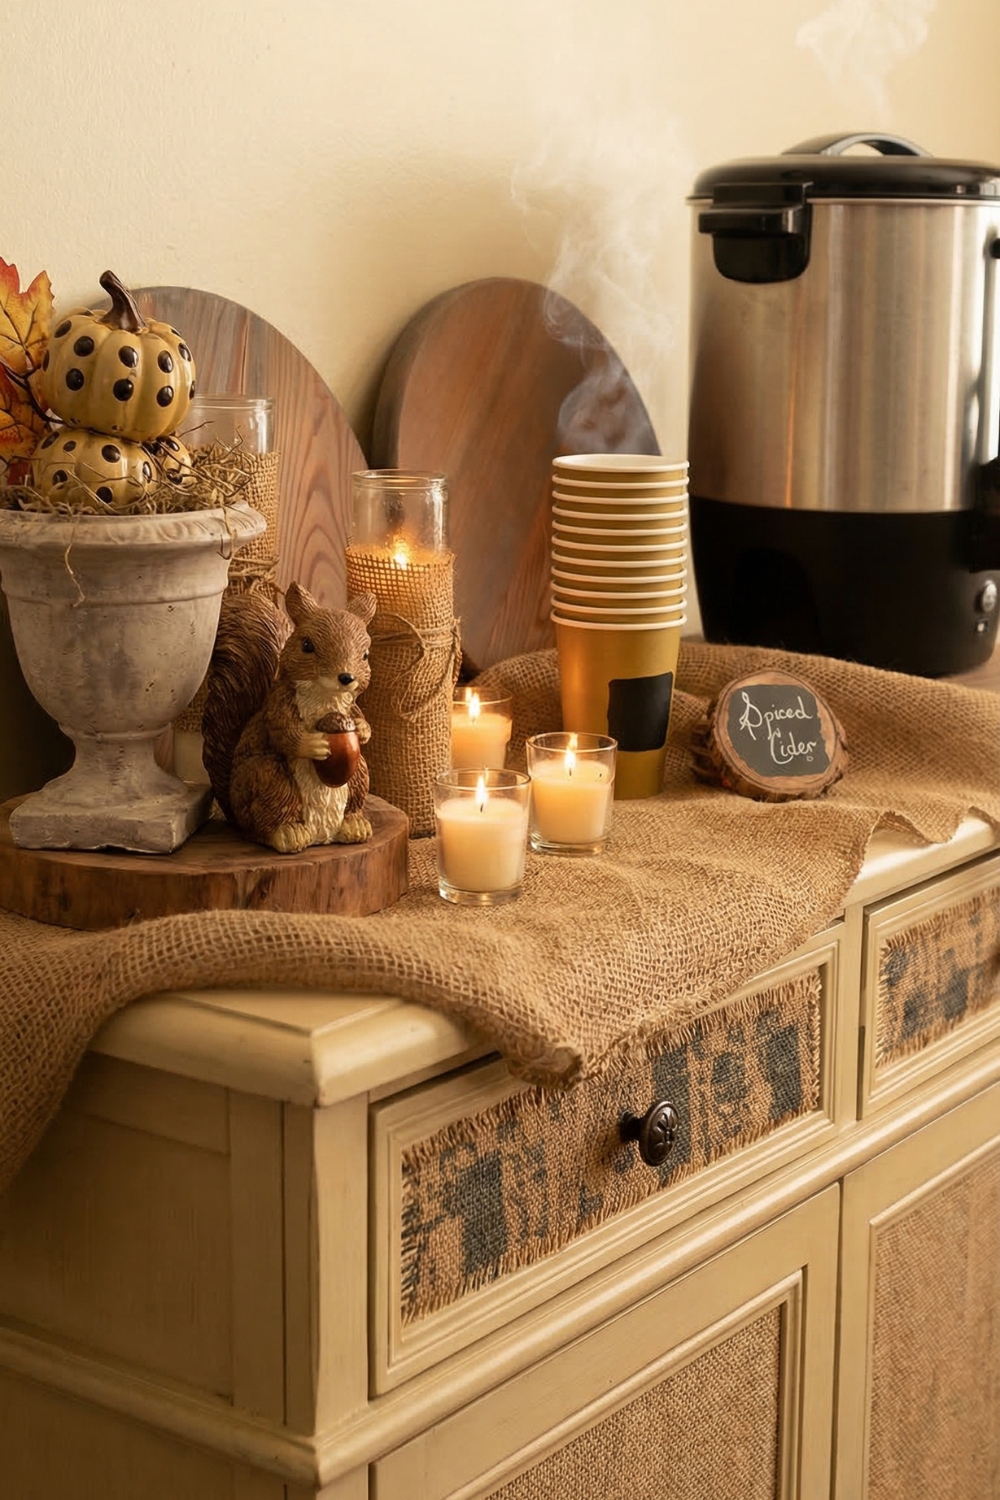
Optional: DIY Wood Slice Food Labels
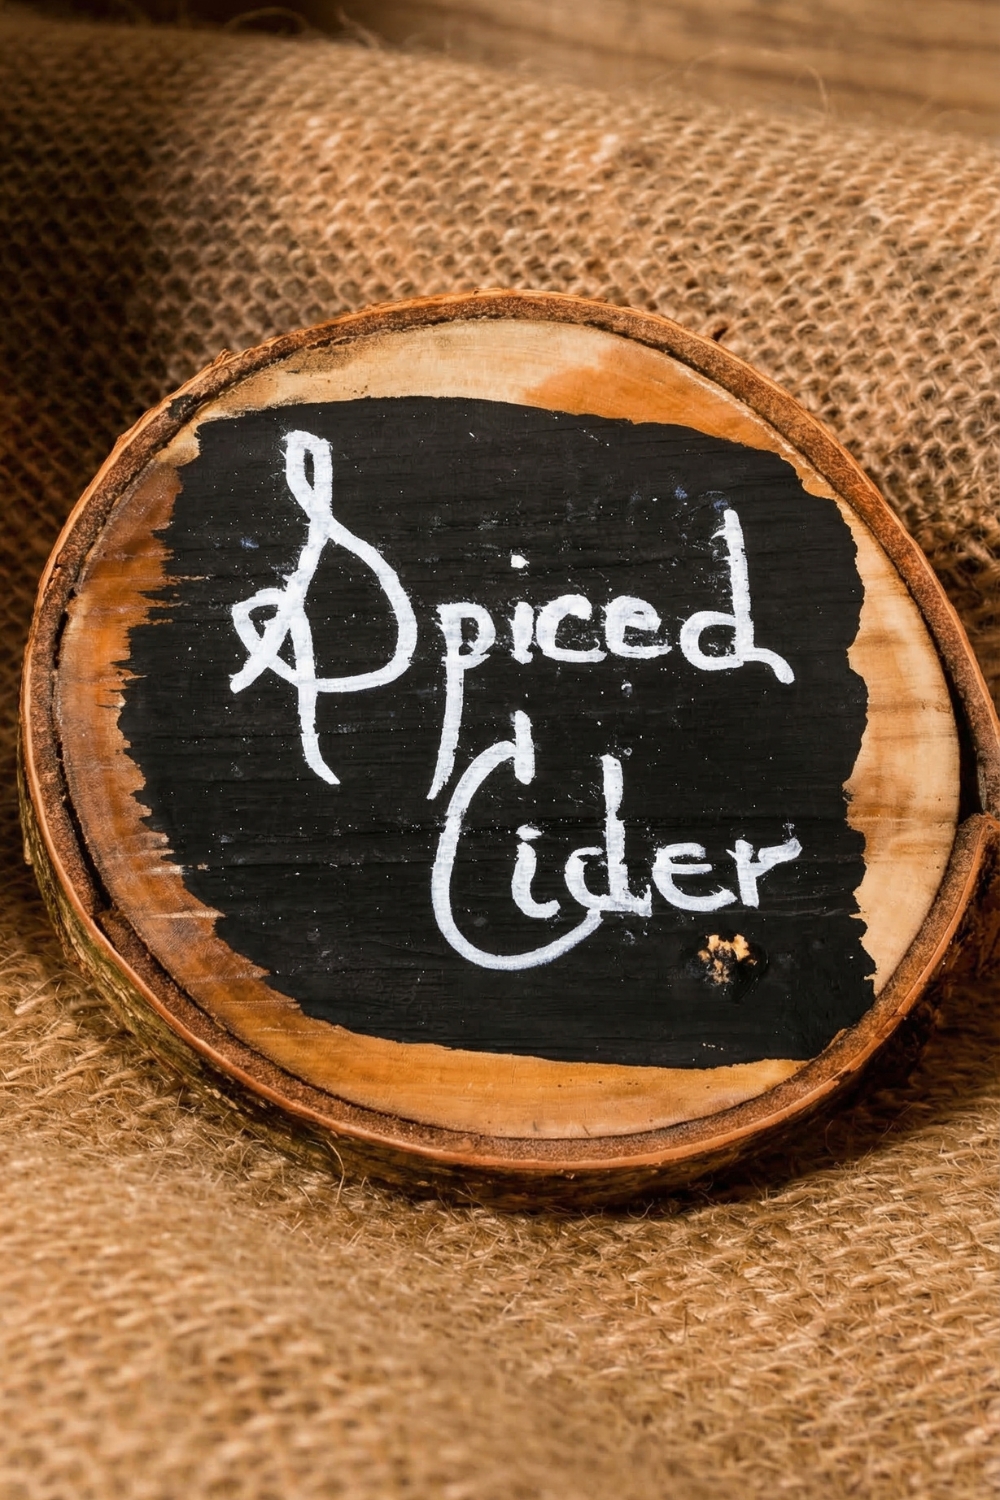
These small labels pair perfectly with the stand and are surprisingly practical for gatherings.
How to Make Them
- Cut small slices from a branch or limb
- Sand the front surface until mostly smooth
- Drill two shallow holes into the back (do not drill through)
- Insert dowels to act as supports
- Paint the front with chalkboard paint
- Let dry, then label using a chalk pen
Why This Works Well
- The dowels keep labels upright without needing a stand
- Chalkboard paint allows you to reuse them for different events
- The wood texture ties everything together visually
Tips for Best Results
- Avoid soaking the wood—wipe clean with a damp cloth instead
- If using for food, always add a barrier like parchment or liners
- Reapply sealer over time if the surface starts to dull
Final Thoughts
This is one of those projects that looks impressive but is actually very straightforward to make. The combination of natural materials and simple construction makes it both practical and decorative.
Once you have it, you’ll likely find yourself using it in different ways throughout the year—not just for serving, but for styling shelves, tables, and small spaces.