
Easy DIY Burp Cloths Using Cloth Diapers
When it comes to handmade baby gifts, few things are more useful than a good burp cloth. Babies go through them quickly, and parents can never seem to have enough on hand.
Easy DIY Burp Cloths Using Cloth Diapers

One of the easiest ways to make soft, durable burp cloths is by using cloth diapers as the base. They're already absorbent, perfectly sized for a shoulder cloth, and easy to customize with soft fabric.
This simple sewing project is beginner-friendly and can be completed in less than an hour. They also make thoughtful additions to baby shower gifts or newborn welcome baskets.
Below is the step-by-step method for making soft, reusable burp cloths.
Materials You'll Need
- Cloth diapers (the traditional flat diaper style works best)
- Soft flannel fabric
- Sewing machine
- Thread
- Iron
- Fabric scissors
- Pins or clips
Before starting, it's a good idea to wash and dry the diaper and flannel fabric. Pre-washing prevents shrinking later and helps the finished burp cloth keep its shape.
Once washed, press both pieces with an iron so they are smooth and easy to sew.
Step 1: Cut the Flannel Fabric

Lay the cloth diaper flat and place it on top of the flannel fabric.
Cut the flannel slightly larger than the diaper. The extra fabric will allow room for sewing the seam and turning the cloth right side out later.
Step 2: Sew the Layers Together

Place the flannel and diaper right sides together.
Pin the layers in place, then sew around the edges using a straight stitch. Leave an opening of about 4 inches along one side so the fabric can be turned right side out.
After sewing, trim the seam allowance slightly around the edges. This reduces bulk and helps the cloth lie flatter after turning.
Step 3: Turn and Press
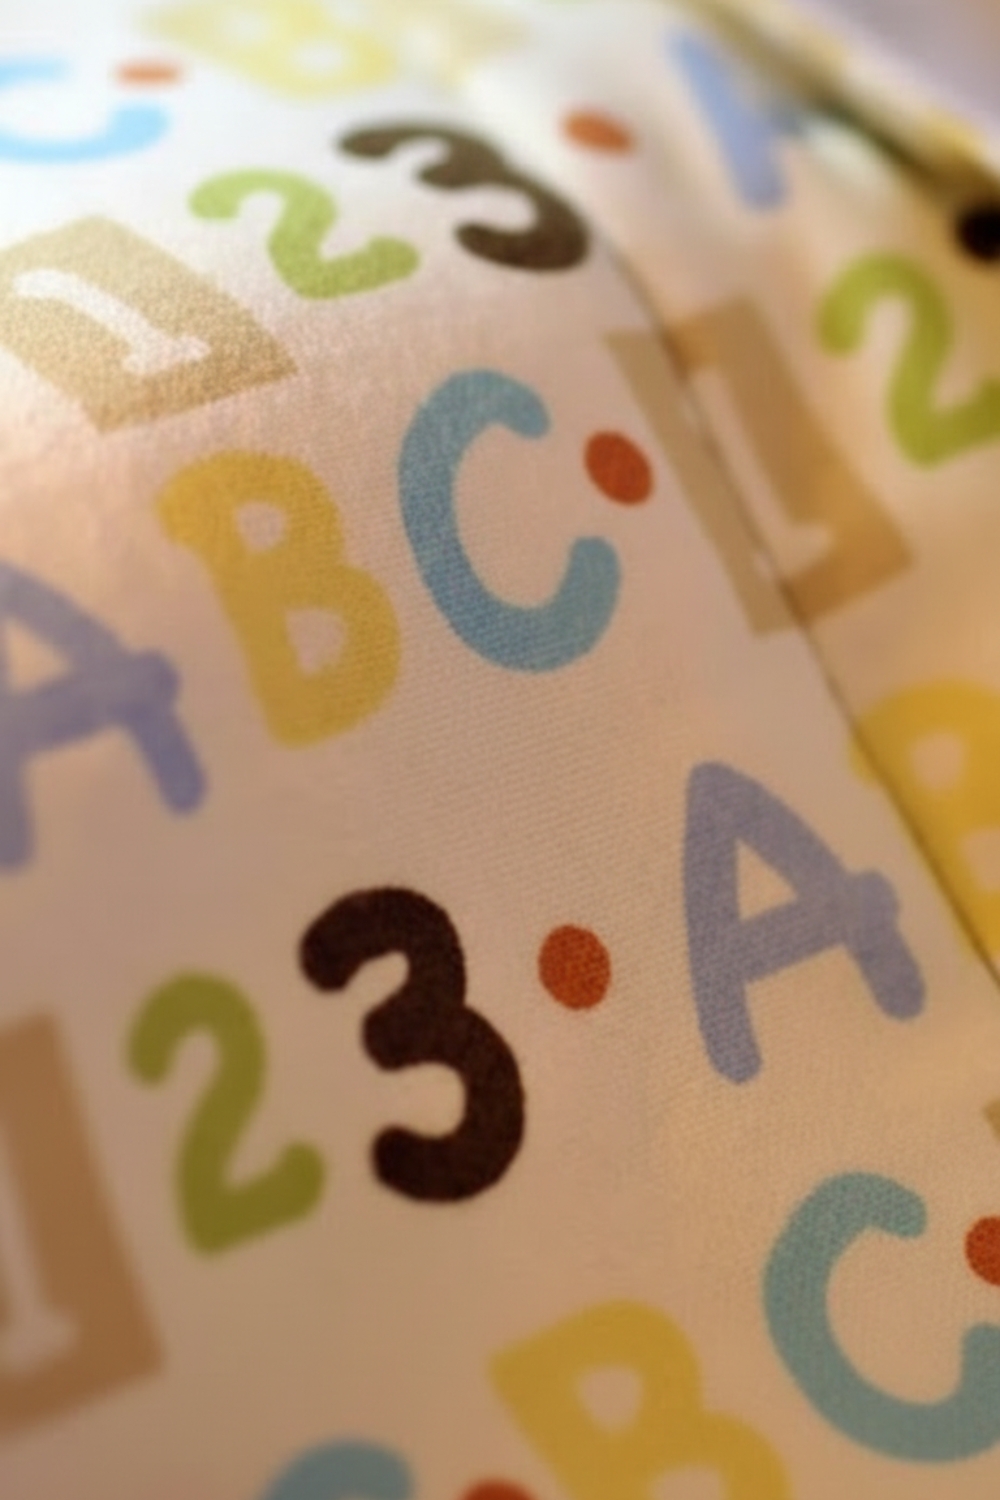
Turn the burp cloth right side out through the opening.
Use your fingers or a blunt tool to gently push out the corners so they are neat and square.
Press the cloth with an iron, folding the raw edges of the opening inward so they align with the sewn seam.
Step 4: Topstitch the Edges
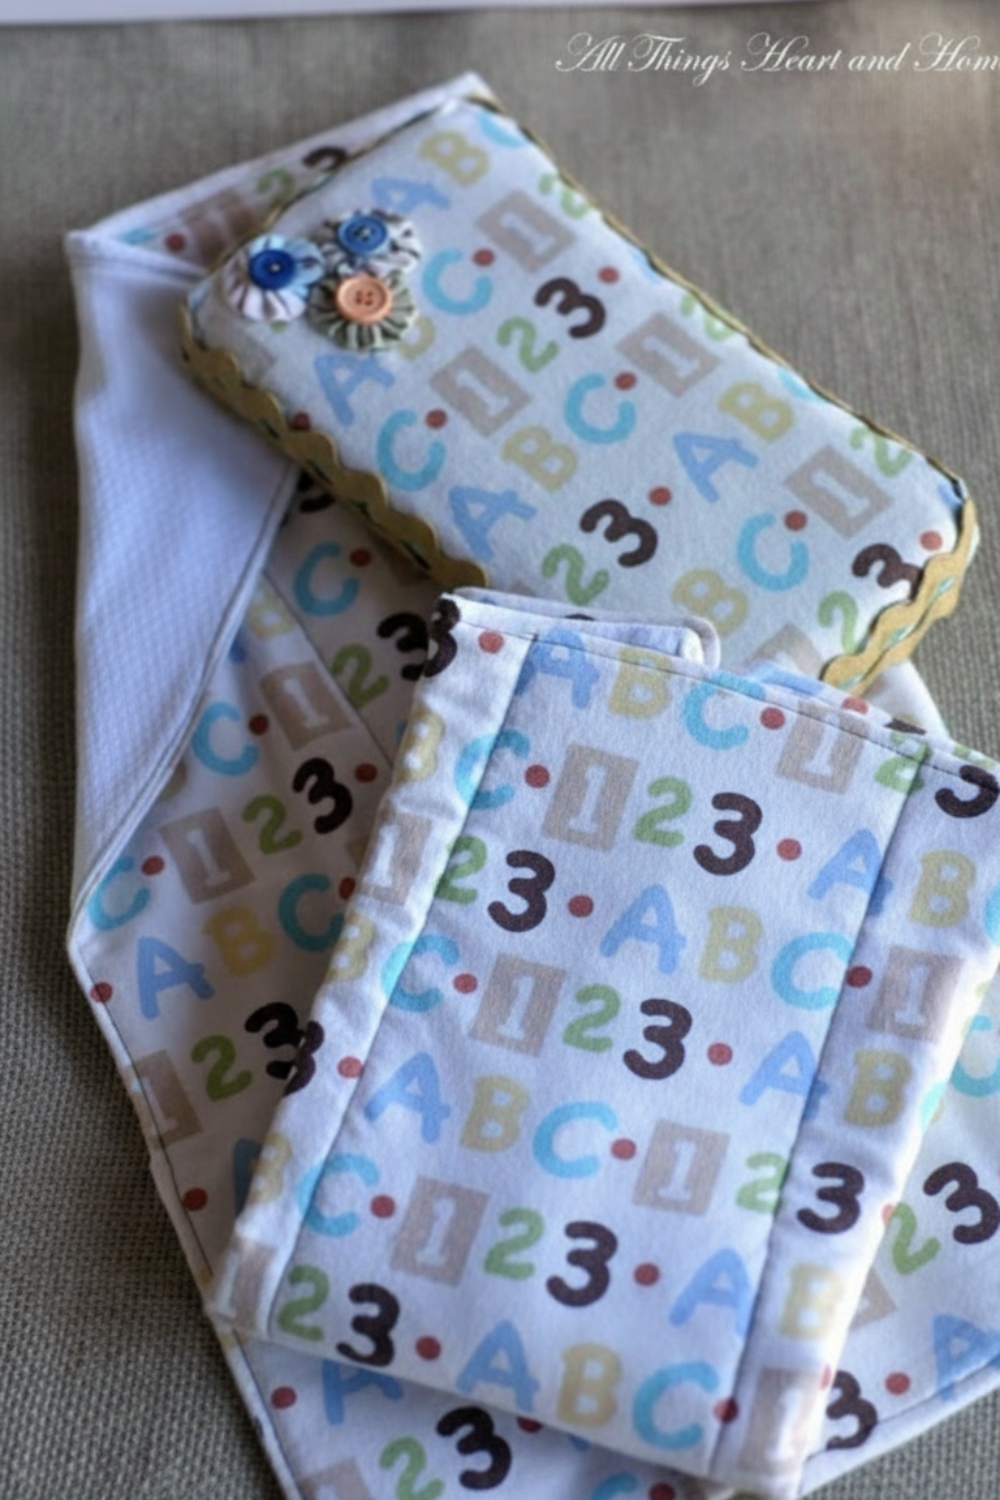
Sew a topstitch around the entire outside edge of the burp cloth.
This step closes the opening while also giving the cloth a finished look. Topstitching also helps the layers stay in place during washing and use.
Step 5: Sew the Center Quilted Lines

Many cloth diapers have a thicker quilted panel running down the center. Stitching along both sides of this panel adds durability and helps the burp cloth keep its shape.
Sew two straight lines following the edges of the quilted section.
This extra stitching helps prevent the layers from shifting after repeated washing.
Making Smaller Burp Cloths
You can also create smaller burp cloths by cutting one diaper in half before sewing.
These smaller versions are especially useful for newborn babies who may not need a full-size cloth. The sewing steps remain exactly the same.
Smaller burp cloths are great for:
- Diaper bags
- Quick clean-ups
- Tucking into baby gift baskets
A Simple and Practical Handmade Gift
Handmade burp cloths are one of those baby items that parents use every single day. Because they are easy to sew and highly practical, they're perfect for creating several at once.
A small stack tied with ribbon makes a thoughtful baby shower gift, and adding different flannel prints can personalize each one.
The best part is that this project is simple enough that even beginner sewists can make a whole set in an afternoon.