
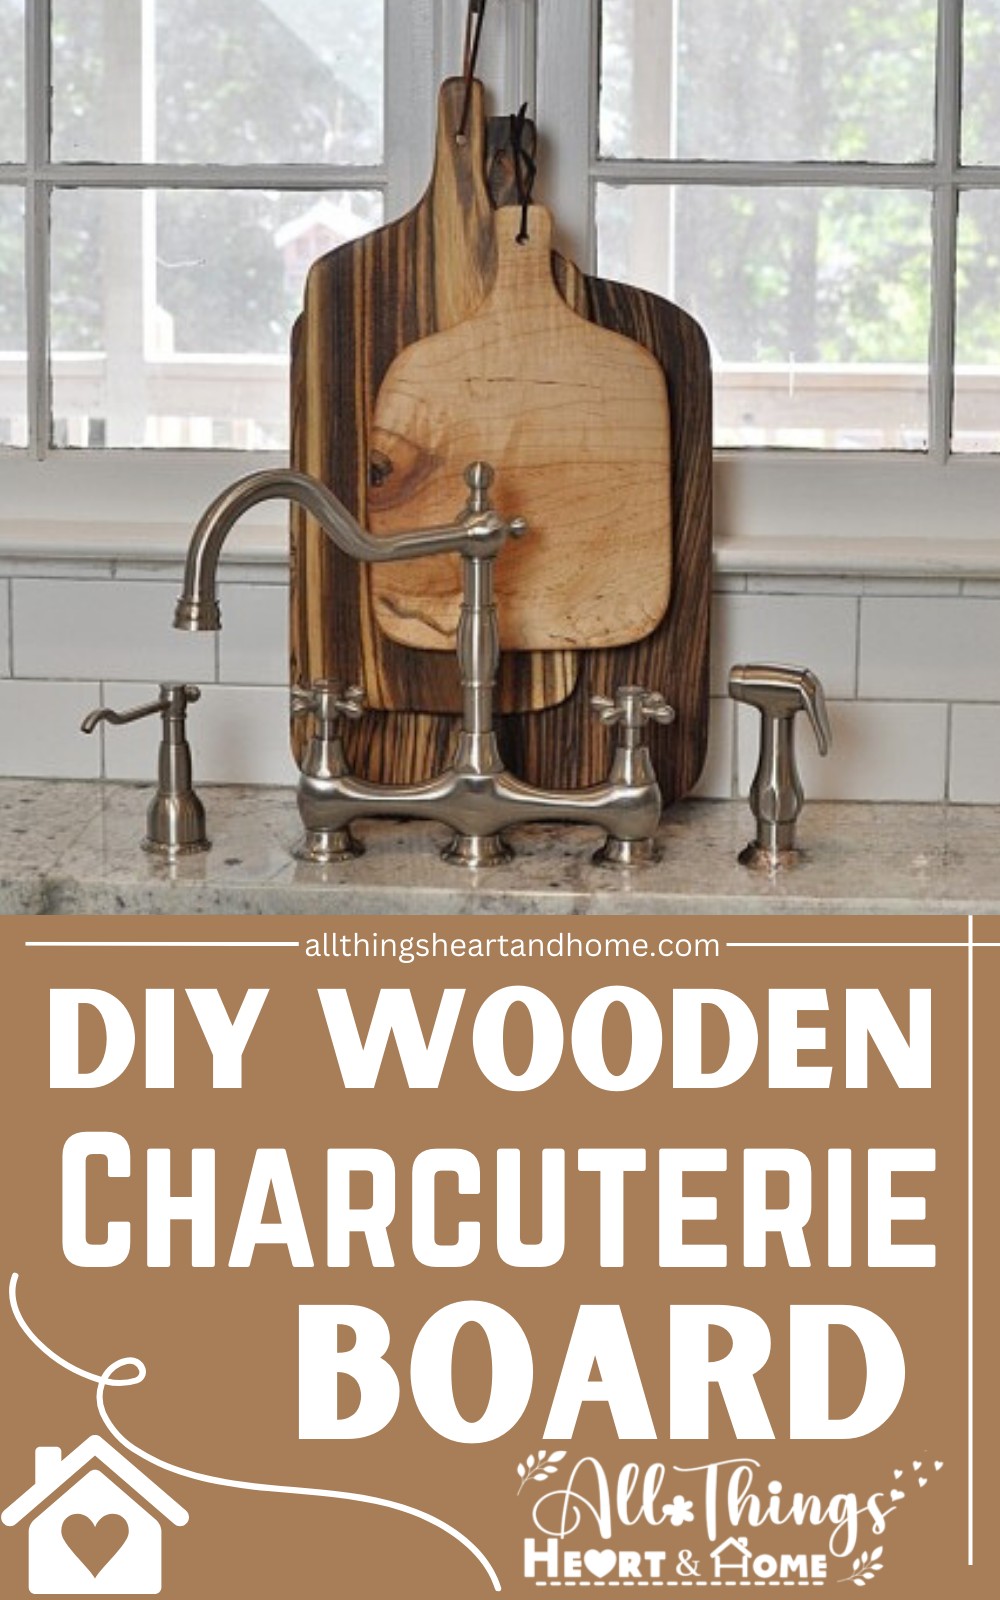
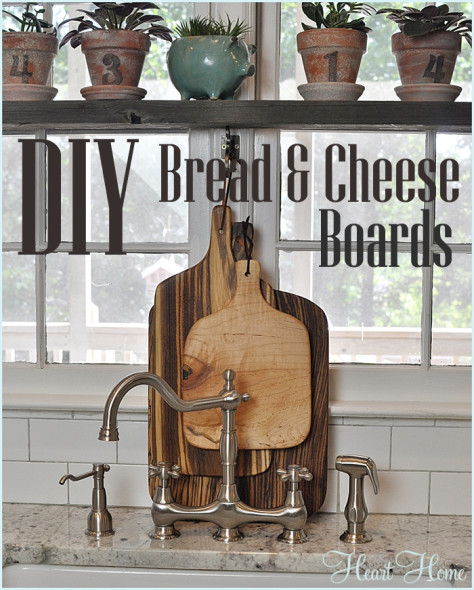
DIY Wooden Charcuterie Board For Our Cheese & Breads!
In this article, you can learn how to DIY a wooden Charcuterie board with a handle in 7 easy steps. Make many and nicely serve the cheese, bread, and meat on the table, or use it as a cutting board or gift to someone. I will give you tips for selecting the right wood, step-by-step instructions, and recommendations for taking care of homemade boards. So, if you want a smooth, nice, and rustic kitchen addition, go with this wood project!
What Is the Best Wood For DIY Wooden Charcuterie Board?
I have blindly made several boards for charcuterie out of different kinds of wood. So, after this dive, I do recommend you choose hardwood for this woodworking plan because it is stronger and less scratchable. It can also better withstand the abuse that sharp knives can dish out on board during cheese, bread, or meat cutting.
I made this particular cheese & bread cutting board out of Zebrawood, and the dimensions are 11″ wide by 19″ long by ¾″ thick, but again, you can change the size to fit your needs.
How To Make Wood Charcuterie Board?
The wood serving board needs very basic skills like drawing a good shape and cutting that shape. You can complete one within an hour. Below are the step-by-step instructions on how to DIY Wooden Charcuterie Board:
Step 1: Gather The Materials & Tools
Here are the things you will need to make a serving board like me:
Materials:
- 11″ x 19″ x ¾″ plank (hardwood like ash, maple oak, etc are great. I used zebrawood)
- Food-grade mineral oil (the expert says it keeps the wood fibers moisturized and away from getting bad smells. After using it, I say it is right!)
Tools:
- Circular saw, or Table saw.
- Jigsaw or bandsaw
- Electric sander of the hand sanding block
- 100 grit and 220 grit sandpaper
- pencil or marker
Caution! While working with these tools, always take safety precautions, like wearing woodworking gloves for cutting and sanding. Also, make sure you have enough skills to work with the breadboard project. Otherwise, call a family member who can work on the following tools:
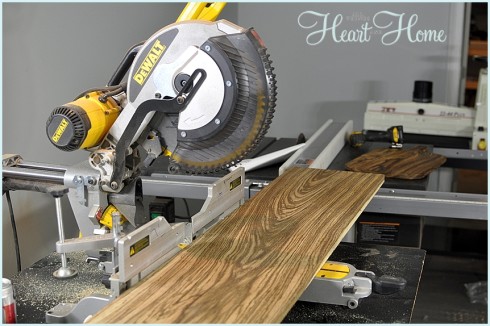
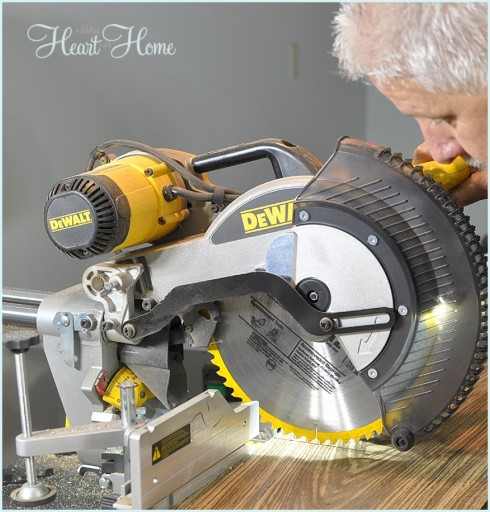
Step 2: Cut Plank To Desired Length and Width
You cannot properly cut the cheese board shape from an entire large wood panel. So, before, cut a small piece out of a large plank under the circular saw to make work easy. Its dimensions (width & length) are totally up to you.
Step 3: Outline the Board Shape
Next, draw the pattern on the plank that you just cut using a permanent marker (others may remove it by touching it). You can use my pattern or make up your own. There are many different ideas you can create your own or find online.
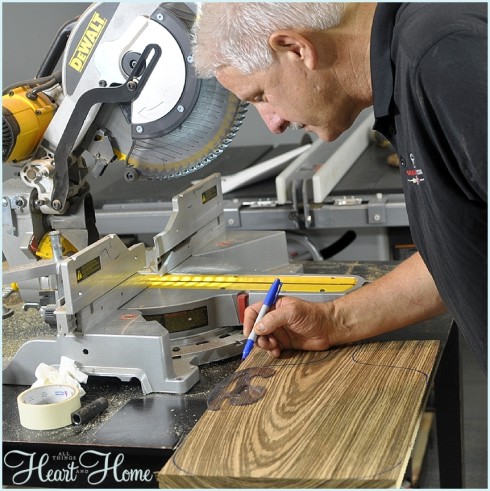
Don't you know how to draw the wooden cheeseboard charcuterie correctly? Download this free template I am sharing with you. At the time to cut, tape the print of the template to the plank and start nice cuttings:

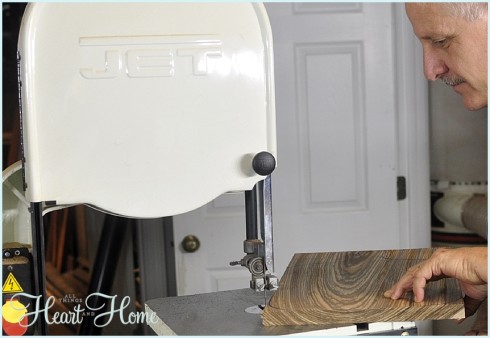
Step 4: Cut According To the Board Outline
Go to the bandsaw table or use the Jigsaw, follow the pattern, and start cutting the board shape.
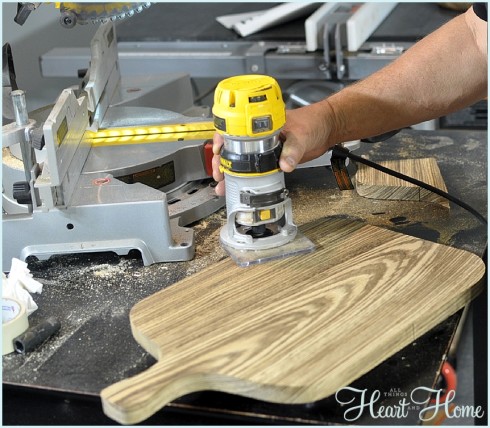
Step 5: Sand the Edges & Rest
If you happen to have a hand router, use a round-over bit to soften the sharp edges. This will save some time sanding.
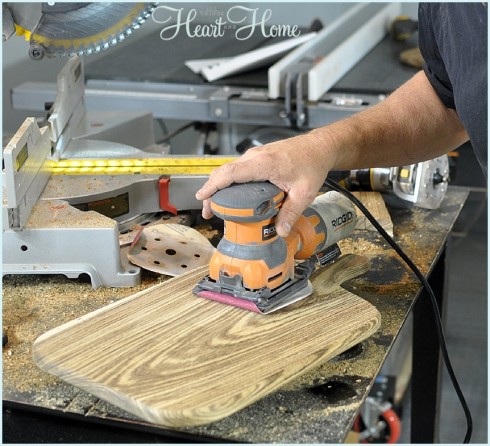
Either way, you will need to sand the entire piece, beginning with 100 grit and shaping the edges as you go. Then, sand the flat surfaces until everything looks and feels smooth. They do it again with 220 grit until everything feels extra smooth.
Step 6: Make a Hole In Handle
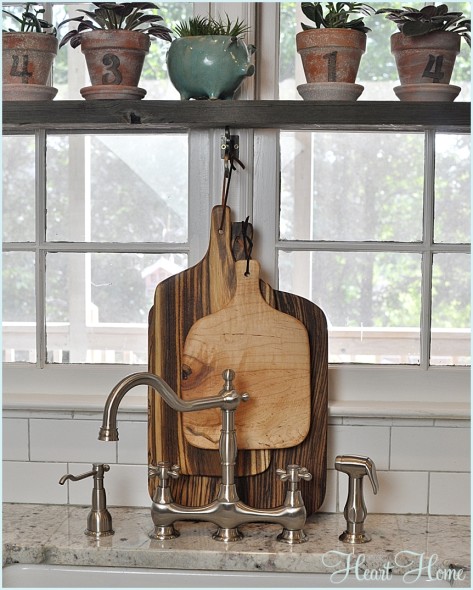
I missed it shooting, but you will need to drill a hole in the top of the handle and a leather cord to make it hangable in the kitchen.
Caring Tip Step: Apply Mineral Oil Coat
Here is what mine looked like before the mineral oil was applied to my woodworked bread board.
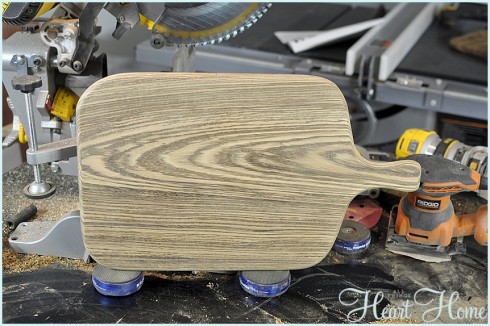
And finally, rub on a generous coat of "food-safe" mineral oil. You will need to apply a couple more coats over the next few days to protect the wood and reapply every few months, depending on how often you use your breadboard.
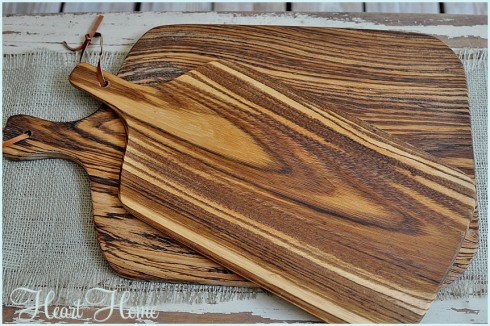
And there you have it! Your own DIY Bread or Cheese Board!
If you can do this project, it is not a giant leap to making your own thick cutting board or even an end grain butcher block cutting board like the one I made HERE.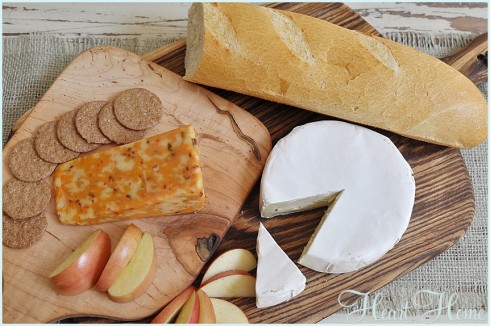
I think it took me longer to explain it than it actually took to make the board! Maybe I will stick to making things and let Robin do the writing!
FAQs
Never put the wooden Charcuterie Board in the dishwasher because you can ruin it this way. Instead, use a dishcloth and gently rub it over the whole surface day by day and apply the mineral oil in the end. If it has gone a long time to clean, use a mix of lemon juice and baking soda and rub over it. Then, one coat of mineral oil is used.
It depends on the heaviness of duty of the Charcuterie Board. If you are using it merely for serving the food, softwood is not a bad choice. But if for cutting the cheese and meat, hardwood sturdiness may help.
Final Thoughts
Wood boards are a special need in every kitchen and look much more appealing, but they are still underrated. When you build your own, you are contributing to spreading the importance of that necessity. I hope you enjoyed this article and learned something great!