
Crochet Kitty Hat Pattern Free Keychain In Cream And Brown
Single crochet carries almost the entire kitty hat keychain, with half double and double crochet saved for one textured brown brim round. A 2.25 mm hook keeps the cream body dense enough for embroidered features, and the bow stays optional.
Cream body, tan base, and three bobbles on top are all this crochet kitty hat keychain needs. No limbs to sew. Make the kitty hat keychain in one sitting from scraps.
Crochet Kitty Hat Keychain
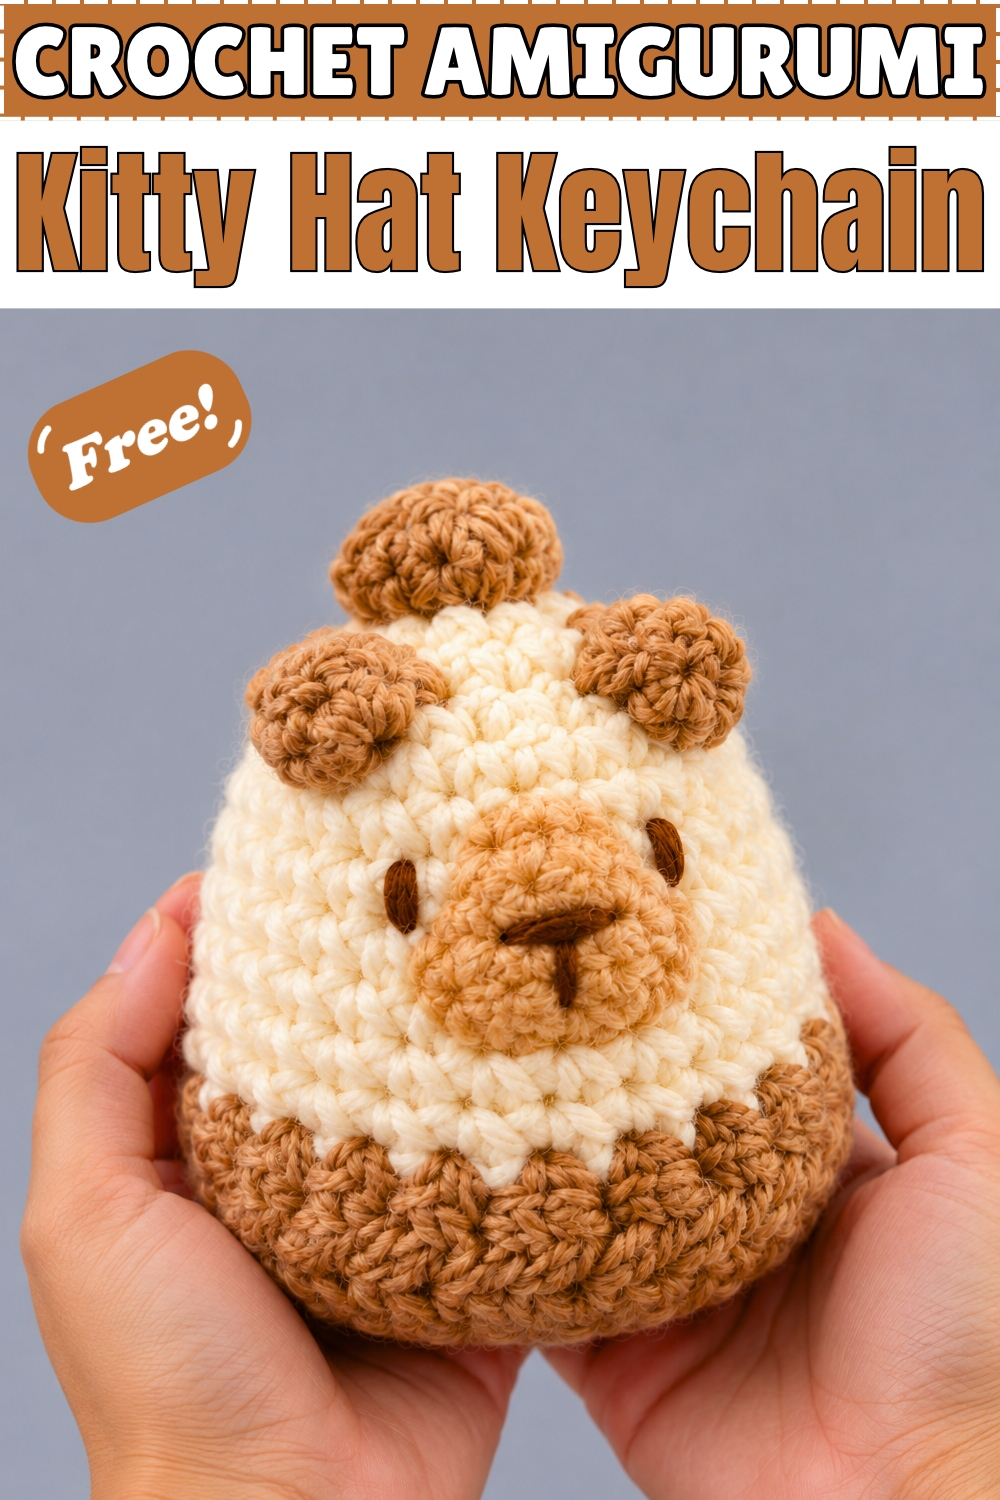
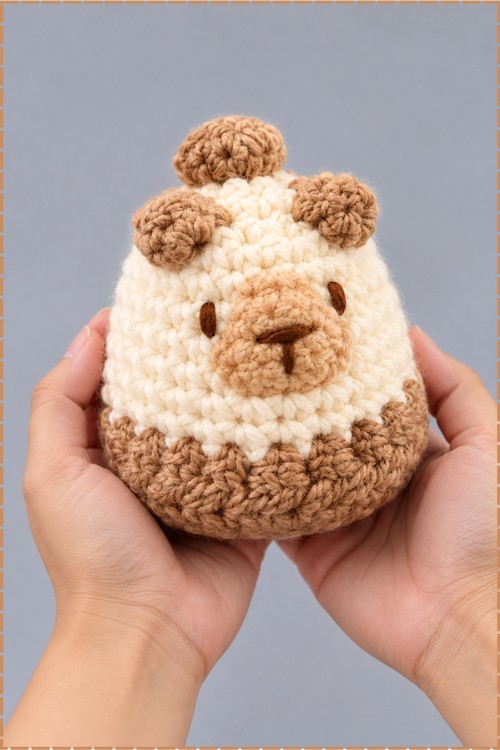
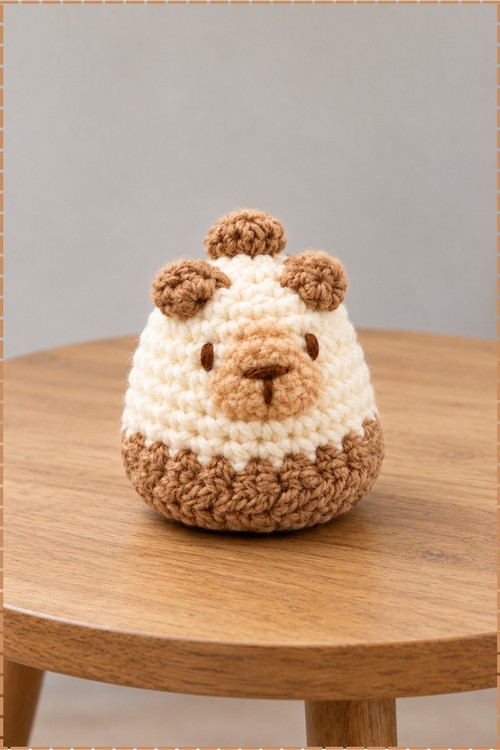
Built in rounds from the top down, this crochet kitty hat keychain uses a single colour change at round 8 to split cream from brown, and that one brim round is what does all the visual work on a piece this small. My finished version reads more like a small bear figure than a flat hat: the cream section becomes the face and upper body, the brown brim wraps the base, and two small round brown ears sit on top. Embroidered brown features land directly on the cream yarn. No bow appears on my piece. Attach a keychain ring and the whole thing clips onto a bag in minutes.
Materials And Tools
- Yarn in cream for the main hat body
- Yarn in warm brown for the brim, the ears and the face embroidery
- 2.25 mm crochet hook
- Stitch marker
- Tapestry needle
- Keychain ring or split ring, optional, for attaching a clip
The bow in the plain pattern is optional and does not appear on my version.
Difficulty And Time
All single crochet with one brim round that uses half double crochet and double crochet. Easy. My experience puts the finish time at under an hour.
The Pattern
Part 1: Main Hat Body In Cream
- Round 1: make a magic ring, work 6 single crochets into it, pull the tail tight to close the centre hole, join with a slip stitch into the first stitch and chain 1 (6).
- Round 2: work 1 increase, meaning 2 single crochets in the same stitch, in every stitch around, join with a slip stitch and chain 1 (12).
- Round 3: work 1 single crochet then 1 increase and repeat around, join with a slip stitch and chain 1 (18).
- Round 4: work 2 single crochets then 1 increase, with 1 single crochet in the final stitch, join with a slip stitch and chain 1 (24).
- Round 5: work 1 single crochet in each stitch around (24).
- Round 6: work 1 single crochet in each stitch around (24).
- Round 7: work 1 single crochet in each stitch around, join with a slip stitch at the end of this round (24), and the cream dome is now complete.
Part 2: Brim In Brown
- Round 8, Part A: using cream, work 8 slip stitches.
- Round 8, Part B: on the 8th slip stitch switch to brown yarn, then work 1 single crochet in the next stitch, work 1 half double crochet increase meaning 2 half double crochets in the same stitch in the next stitch, work 4 double crochet increases meaning 2 double crochets into each of the next 4 stitches in sequence, work 1 half double crochet increase in the next stitch, then work 1 single crochet in the next stitch while switching back to cream.
- Round 8, Part C: finish the round with 8 slip stitches in cream, leave a long tail, cut the yarn and weave the end to the back.
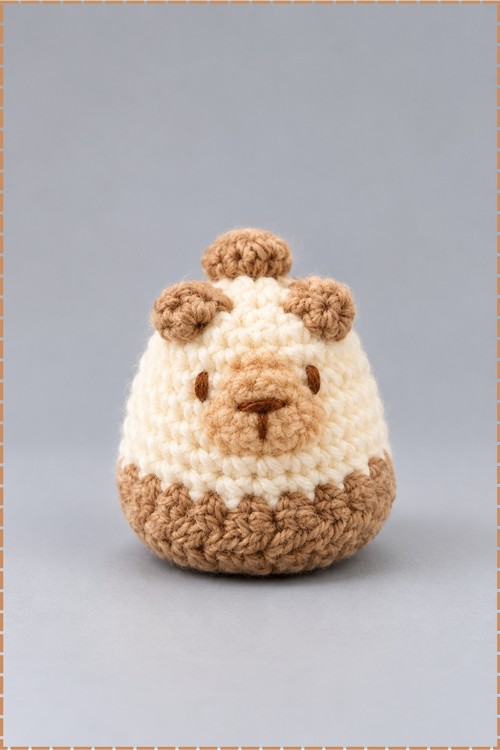
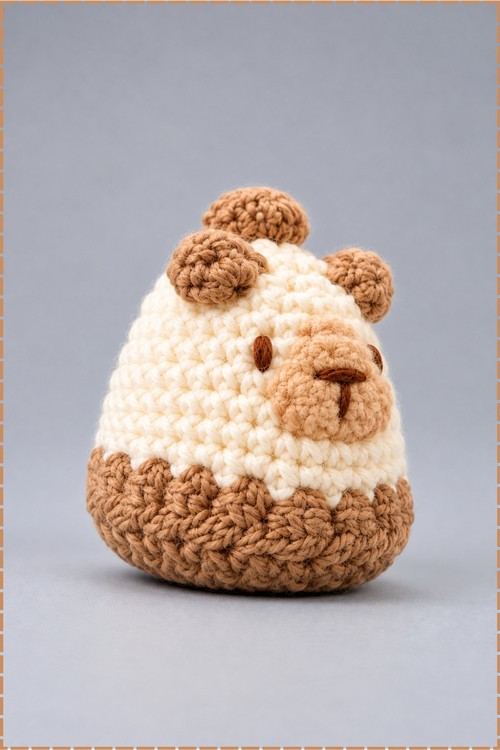
- The brown section flares visibly against the cream body and forms the lower ring visible in my photo.
Part 3: Ears In Brown, Make Two
- Work two small round ear shapes in brown yarn using a general maker method, since no specific counts are given in the source pattern for round ears.
- My ears are small filled circles that sit on the top of the dome on either side of centre, sewn on firmly through the cream stitches with their tails pulled to the inside.
- The plain pattern describes chain 3 pointed cat ears worked directly into the hat edge, which you can follow instead if you prefer the kitty silhouette.
Part 4: Bow, Optional
- Chain 9.
- Starting in the 2nd chain from the hook, work 1 single crochet, then work 2 single crochet increases across the next 2 stitches, then work a single crochet decrease across the next stitches, then work a half double crochet decrease, then in the very last stitch work 1 half double crochet, chain 1 and cut the yarn.
- Tie the ends together and glue the bow onto the side of the hat as a decorative accent.
- No bow appears on my piece, so this step is entirely optional.
Assembly And Finishing
- Embroider the face features directly onto the cream section of the body using brown yarn, working a small nose and mouth with straight stitches placed low and centred on the front face panel.
- Sew the round brown ears to the top of the dome, one on each side of centre, pulling all tails inside and knotting securely.
- Attach a keychain ring through the top stitches at the very crown of the hat if you want to clip it onto a bag or zipper pull.
Tips
- Pull the magic ring tight before joining round 1 or a visible hole sits at the very top of the piece.
- Work the brim slip stitches loosely so the yarn does not pull the round edge inward and pucker the brim.
- If the brown section flares too stiffly, run a finger around the inside of the brim after finishing to ease the stitches open.
FAQ
Can I attach a keychain clip through the top stitches directly? Yes. Thread the ring through a stitch at the very crown and close it. The cream yarn at round 1 is dense enough at this gauge to hold the weight of the hat without pulling through.
Why does my brim look uneven? The brim uses three different stitch heights across Part B, from single crochet up to double crochet, which is deliberate and creates the shaped flare. If it looks lopsided, check that the double crochet increases are spread evenly across the 4 middle stitches.
Can I make this bigger? Add one more increase round after round 4 before moving into the straight rounds, which adds a ring of stitches and scales the hat up without changing the brim structure.