Hello Kitty Pencil Topper Crochet Amigurumi Pattern Free
Worked with a 1.5 mm hook and 3-ply pink cotton, the Hello Kitty pencil topper comes out small and firm enough to grip a standard pencil. Straight stitches in yellow thread fill a tiny rectangle nose, and black floss draws the whiskers across both cheeks.
Back to school shopping ends better with this crochet kitty pencil topper amigurumi sliding onto a fresh set of pencils. Teachers hand them out in September. The kitty pencil topper also works as a stocking filler in December, since it costs almost nothing in yarn and takes up no space.
Crochet Hello Kitty Pencil Toper Amigurumi
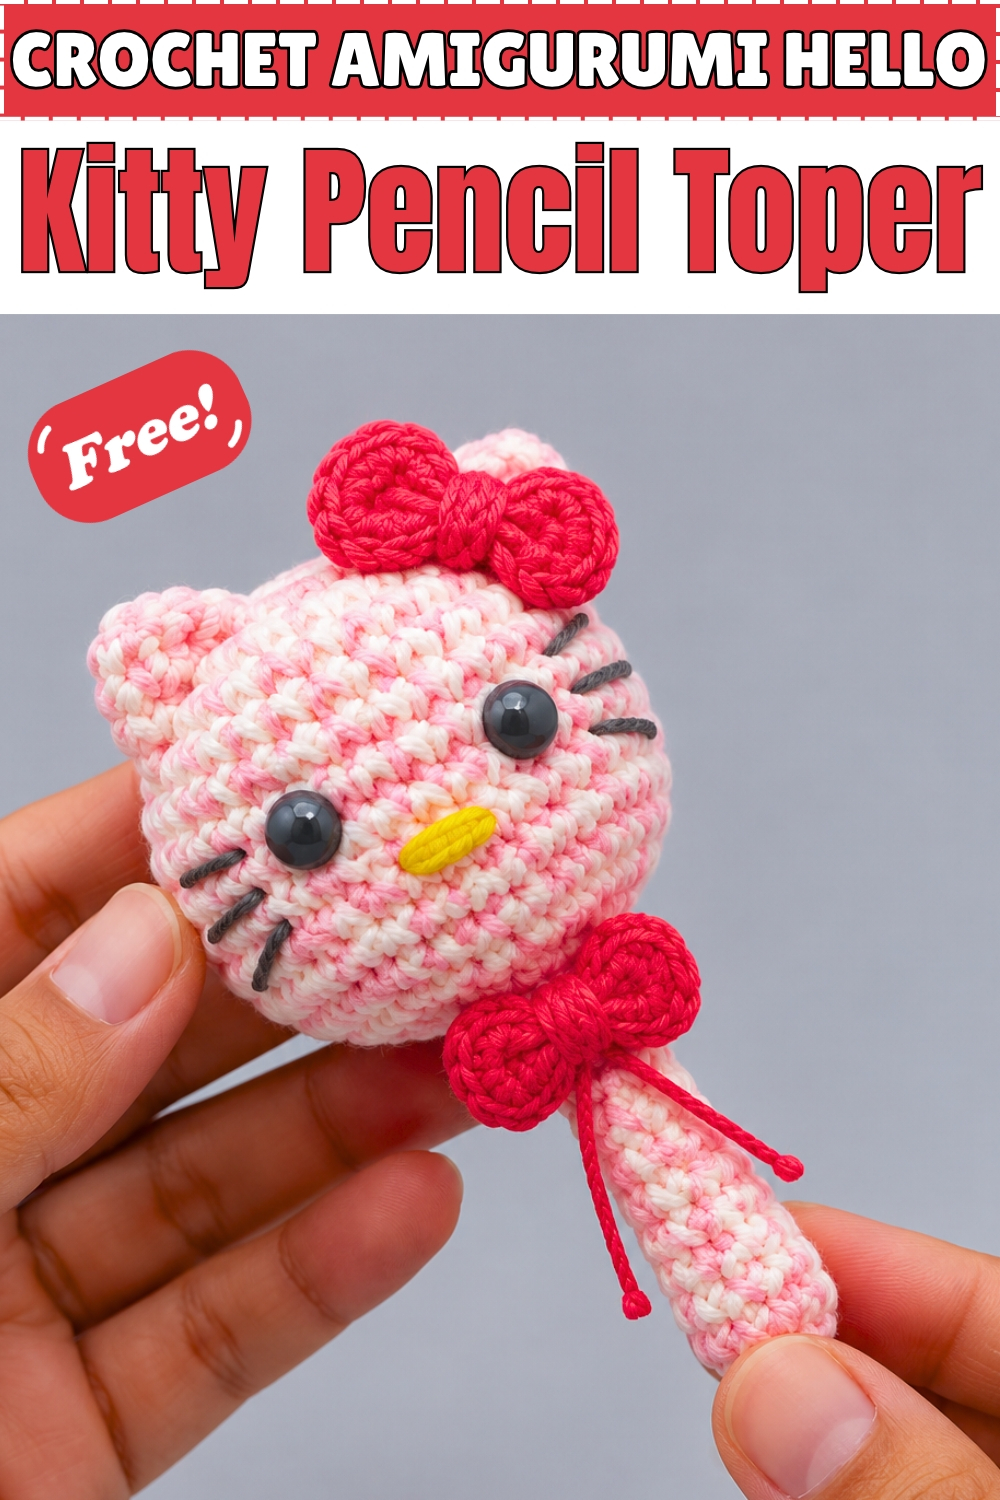
Sliding onto any standard pencil or pen, this crochet Hello Kitty pencil topper amigurumi starts flat at the foundation chain and grows into a wide cat face before tapering into a narrow tube at the bottom. Every increase and decrease is built directly into the spiral so no seaming ever touches the head or the sleeve. Pink cotton carries the whole body, while black thread handles the whiskers and a bright yellow nose gets its own few embroidery stitches. Two red bows land in different spots, one at the ear and one around the neck, which is where mine differs most from the plain pattern.
Why I love this one: every time someone borrows a pencil and sees the kitty face staring back at them, they want one too.
Materials And Tools
- 100% cotton thread, 3-ply, in pink as the main colour for the head, body and ears
- Cotton thread in red for both bows
- Cotton thread or embroidery floss in yellow for the nose
- Cotton thread or embroidery floss in black for the whiskers and eye outlines
- 1.5 mm crochet hook
- Black safety eyes, round and set wide on the face
- Stitch marker
- Fiberfill stuffing
- Small jingle bell, optional, to drop inside the head before closing
- Fabric glue
- Tapestry needle
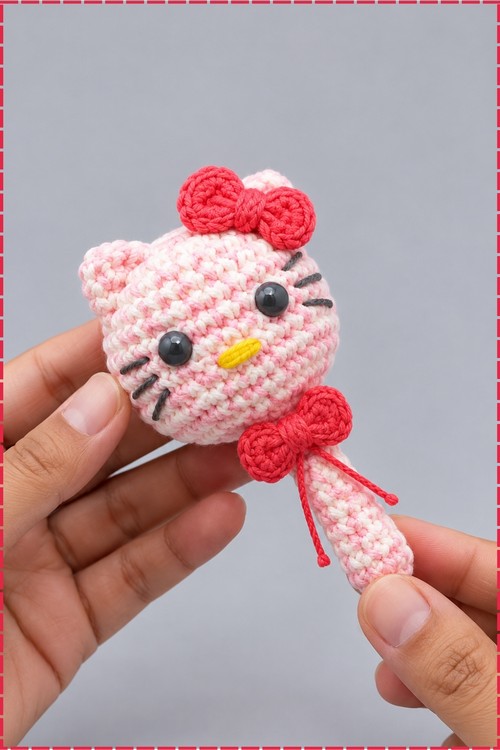
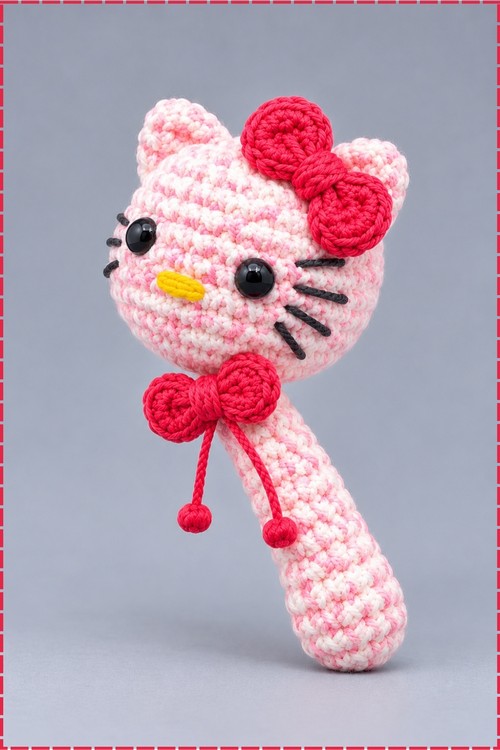
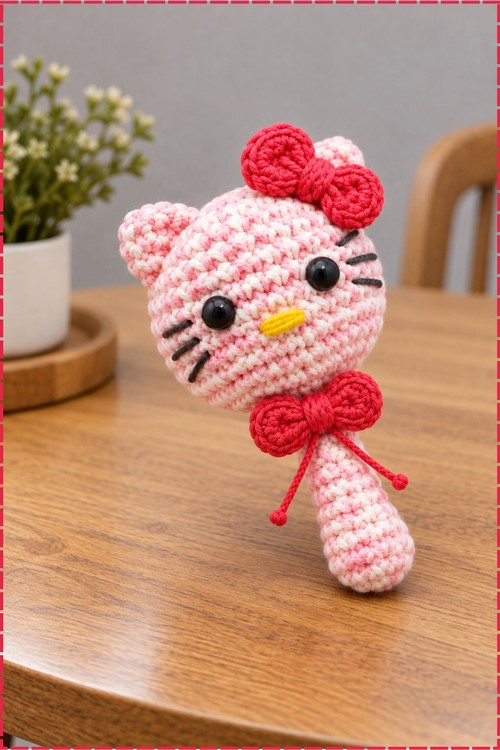
My version is a two-tone pink, using a slightly lighter and darker shade twisted together, which gives the head that heathered texture visible in the photo. Both bows are red, and the bow at the neck hangs loosely with trailing cord ends rather than sitting flat.
The Story Of This Make
Sitting on a desk, a pencil topper does a small but real job: it marks whose pencil is whose and makes a plain tool into something worth keeping. My Hello Kitty version takes the face everyone recognises and shrinks it down to a head that clears a cup holder. The two red bows are the whole personality of the piece, one neat at the ear and one draped at the neck like a collar. Cotton at 1.5 mm gives the stitches the crispness they need, and the tube at the bottom grips a pencil without stretching. Start to finish, mine took an afternoon.
The Pattern
Phase 1: Head And Body Base
- Foundation chain: make a slip knot and chain 5.
- Base round setup: skip the first chain from the hook, work 1 single crochet in each of the next 3 chains, then work 3 single crochets into the very last chain so the piece turns the corner, then continue along the opposite side of the chain working 1 single crochet in each of the next 2 stitches and 2 single crochets in the last stitch (10).
- Round 2: place a stitch marker in the first stitch and work without joining in a continuous spiral; work 2 single crochets in the first stitch, then 1 single crochet in each of the next 2 stitches, then 2 single crochets in each of the next 3 stitches, then 1 single crochet in each of the next 2 stitches, then 2 single crochets in each of the last 2 stitches, following the corner increase sequence.
- Rounds 3 through 5: continue working gradual increase rounds on the sides with a mix of single crochet and increase stitches, expanding the head shape outwards until you reach a total of 34 single crochets by the end of round 5.
- Round 6: work 1 single crochet in every stitch around with no increases or decreases (34).
- Round 7: work 1 single crochet in every stitch around (34), and this is the round where I positioned my safety eyes, spaced about 4 stitches apart and centred on the front face panel.
- Round 8: work 1 single crochet in every stitch around (34).
- Round 9: work 1 single crochet in every stitch around (34).
- Round 10: work 1 single crochet in every stitch around (34).
- Round 11: work 1 single crochet in every stitch around (34), giving a short straight sided head with the flat face panel at the front.
Phase 2: Neck Shaping And Tapering
- Rounds 12 through 14: begin decreasing the neck using invisible single crochet decreases combined with 3 single crochet or 2 single crochet intervals across the next few rounds, working structured decrease sequences until the opening narrows down significantly.
- Stuff the upper head firmly with fiberfill while the neck is still wide enough to reach inside, and drop a jingle bell into the stuffing now if you want one.
- Continue decreasing across rounds 12 through 14 until 8 stitches remain around the neck opening, then remove the stitch marker.
Phase 3: Pencil Holder Sleeve
- Rounds 1 through 10: work 1 single crochet in each stitch around with no increases or decreases, continuing in a continuous spiral for 10 rounds total to form the cylindrical sleeve.
- Fasten off securely and weave the tail inside the tube.
- The sleeve should slide snugly onto a standard pencil without stretching so much that it slides off again.
Phase 4: Ears, Make Two, In Pink
- Round 1: make a magic ring and work 6 single crochets into it, pull tight to close (6).
- Round 2: work 1 single crochet, then 2 single crochets in the next stitch, and repeat around (9).
- Round 3: continue with a 2 single crochet interval increase pattern around (12).
- Round 4: work 1 single crochet in each stitch around (12).
- Fold the ear flat, slip stitch across the base to close, and leave a long tail for sewing.
- Make a second ear to match.
Phase 5: Bows, Make Two, In Red
- For each bow: chain 3, work 2 double crochets into the first chain, chain 2, slip stitch to join, then repeat the petal on the other side by chaining 3, working 2 double crochets and chaining 2 before slip stitching to join.
- Wrap the centre thread tightly several times to pull the two petals together into a bow shape, then tie off with a secure double knot.
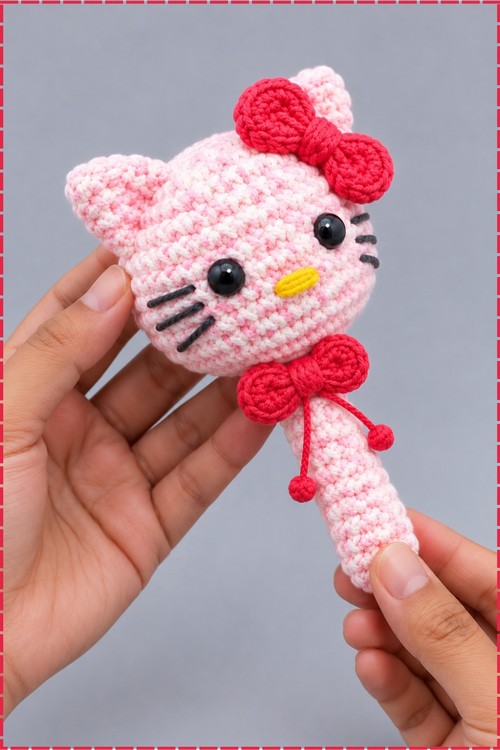
- My neck bow has longer trailing cord ends left deliberately, giving the drape visible in the photo rather than a neat flat finish.
Assembly And Finishing
- Position one ear on each of the two top corners of the head and whip stitch them securely using the long yarn tails, checking from the front that both ears sit at the same height.
- Embroider the yellow nose in a small horizontal rectangle shape, centred between the eyes and slightly below their midline, using several straight stitches worked side by side until the shape fills in.
- Embroider three black whiskers on each side of the face, radiating outward from beside the nose, using long straight stitches in black thread.
- Add short black lines above each eye if you want the lash marks visible in my photo.
- Secure the first red bow to the side of the head at the ear using fabric glue, pressing it flat and letting it dry before handling.
- Wrap the second red bow around the neck just above the sleeve, tie or glue it in place, and let the cord ends hang down in front as mine does.
Customisation Ideas
- Work the head in white cotton for the classic colouring and keep the bow red.
- Try a lavender body with a purple bow for a softer palette.
- Embroider a tiny gold star on one ear instead of adding a second bow.
- Leave the neck bow off entirely and glue both bows to the ears for a more symmetrical look.
- Fill the sleeve a little tighter to make it grip a chunky marker instead of a pencil.
Yarn Substitution
Three ply cotton at 1.5 mm is the right tool here because the stitches need to lock together tightly enough to hold their shape on a head this small. A four ply cotton on a 2 mm hook keeps the same stitch counts and produces a slightly larger topper, which works if you want the kitty face more visible. Avoid acrylic for this size: the bounce makes the stitches look uneven at the 1.5 mm gauge.
FAQ
Why does my head come out wider on one side than the other? The foundation chain method builds increases into the corners, and if those corner stitches are tight the head squashes sideways. Work the 3 single crochet corner and the 2 single crochet turn corner loosely, then the head evens out across the straight rounds.
My sleeve is too loose on the pencil. What do I do? Try one hook size smaller on the sleeve rounds only. The head is already closed and stuffed, so only the tube needs reworking, and going down half a mm usually closes the gap.
Can I use safety eyes on a topper going to a young child? No. Embroider the eyes in black thread instead, working a small filled circle in satin stitch. They look very close to the safety eye version and carry no choking risk.
How do I stop the bow from sliding off the ear? Let the fabric glue cure fully before you handle the piece, which takes at least ten minutes at room temperature. Pressing the bow against the head for a full minute while the glue sets makes a stronger bond than just dropping it in place.