
DIY Pallet Wood Clock For Rustic Home Decor
There's something satisfying about turning reclaimed wood into a piece that feels both functional and decorative. A pallet wood clock does exactly that-it brings texture, warmth, and a handmade quality into your space while using materials that are simple and accessible.
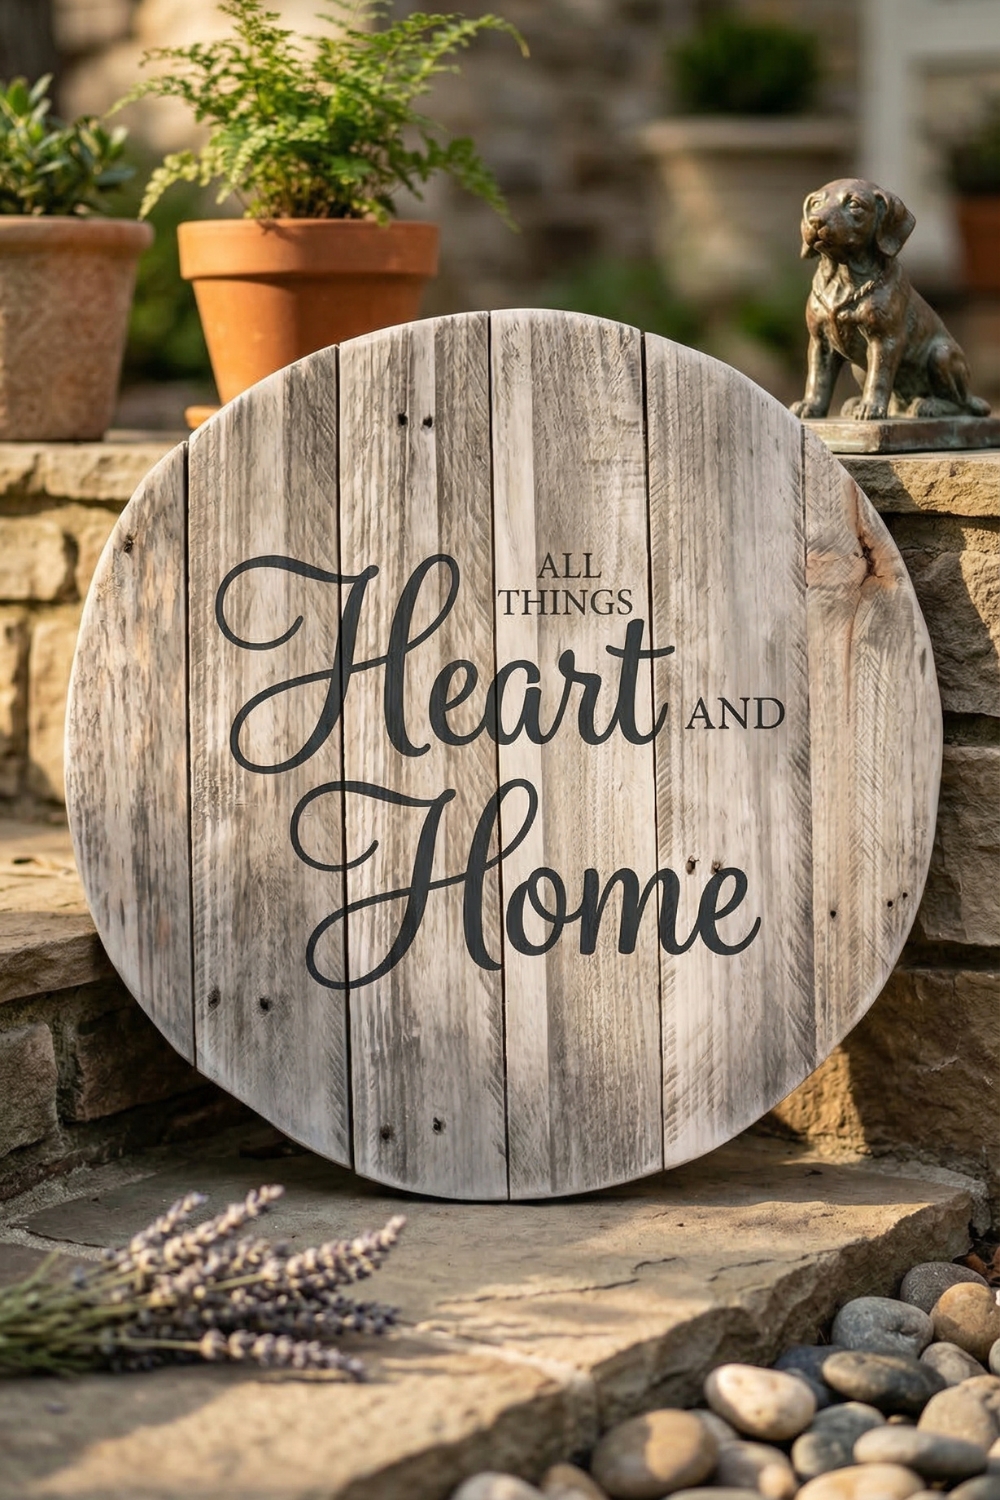
DIY Pallet Wood Clock

What makes this project especially appealing is how forgiving it is. The wood doesn't need to be perfect, the circle doesn't have to be exact, and even the numbers can be slightly distressed. Those small imperfections are what give the finished clock its character.
Whether you hang it on a porch, in a living room, or as part of a gallery wall, this is one of those projects that feels substantial without being complicated.
Why Use Pallet Wood for a Clock
Pallet wood naturally creates a rustic, lived-in look that's difficult to replicate with new materials.
- Adds texture and variation through natural grain and wear
- Budget-friendly and often easy to source
- Works well with both modern rustic and farmhouse styles
- Each piece turns out slightly different
This makes it ideal for a project where personality matters more than precision.
Materials You'll Need
- Pallet wood boards
- Scrap wood strips (for backing support)
- Screws
- Jigsaw
- Sandpaper
- Wood stain or diluted paint
- Printer (for number templates)
- Scissors and craft knife
- Spray adhesive
- Pencil
- Craft paint (for numbers)
- Clock mechanism (optional)
Step 1: Build the Wood Base
Start by cutting your pallet boards to a manageable length.
Lay them side by side and attach them together using scrap wood strips across the back. Secure everything with screws so the boards form one solid panel.
This backing step is important because it keeps the wood stable when you cut and hang the clock.
Step 2: Create and Cut the Circle
Decide on your clock size (around 20 inches works well for a statement piece).
To draw a circle:
- Trace a large round object
- Or use a string and pencil to create a consistent radius
Cut the circle using a jigsaw. Don't worry if it isn't perfectly smooth-slight variation adds to the handmade look.
Step 3: Sand and Smooth
Sand the entire surface, focusing on:
- Edges (softly rounded looks best)
- Seams between boards
- Any rough or splintered areas
This step improves both the look and the feel of the finished piece.
Step 4: Add Color or Finish
Apply a stain or a diluted paint wash to soften the wood and unify the tones.
- A semi-transparent stain enhances the natural grain
- A watered-down paint creates a lighter, more weathered effect
Wipe back excess to keep the finish subtle rather than heavy.
Step 5: Create and Position the Numbers
Choose a font that fits your style and print numbers sized to your clock.
Cut them out and lightly attach them using spray adhesive.
This allows you to:
- Position them accurately
- Trace around them without shifting
Once placed, trace each number with a pencil and remove the paper.
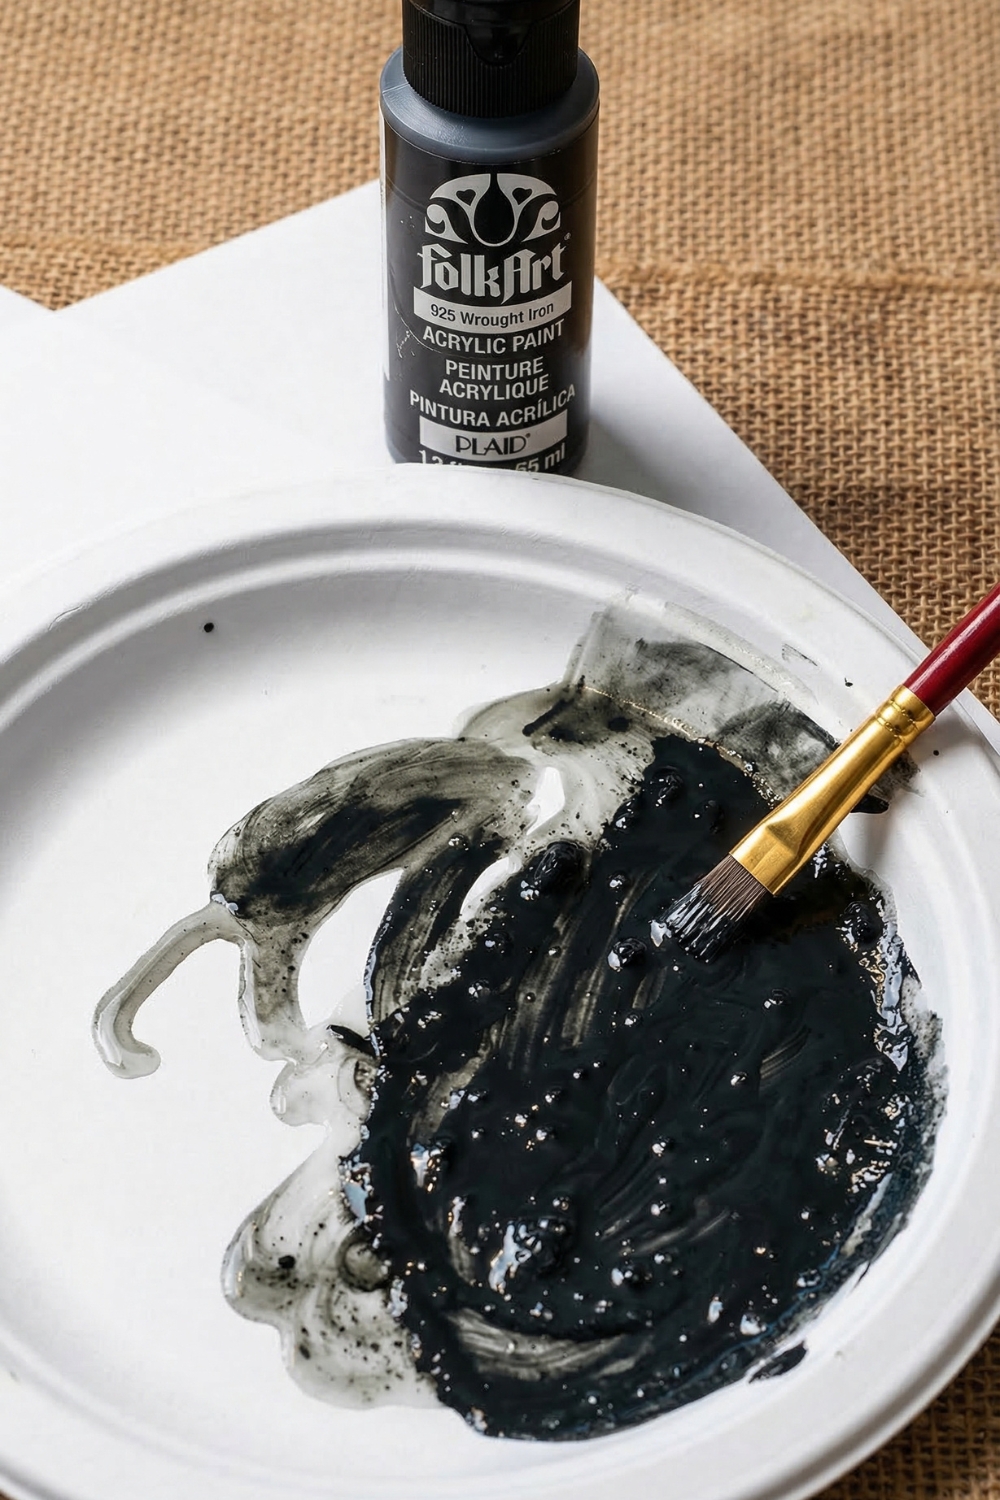
Step 6: Paint the Numbers
Use craft paint to fill in the traced numbers.
At this stage, the numbers may look too bold. If that happens, lightly sand over them once dry. This softens the contrast and blends them into the wood for a more natural finish.
Step 7: Add the Clock Mechanism (Optional)
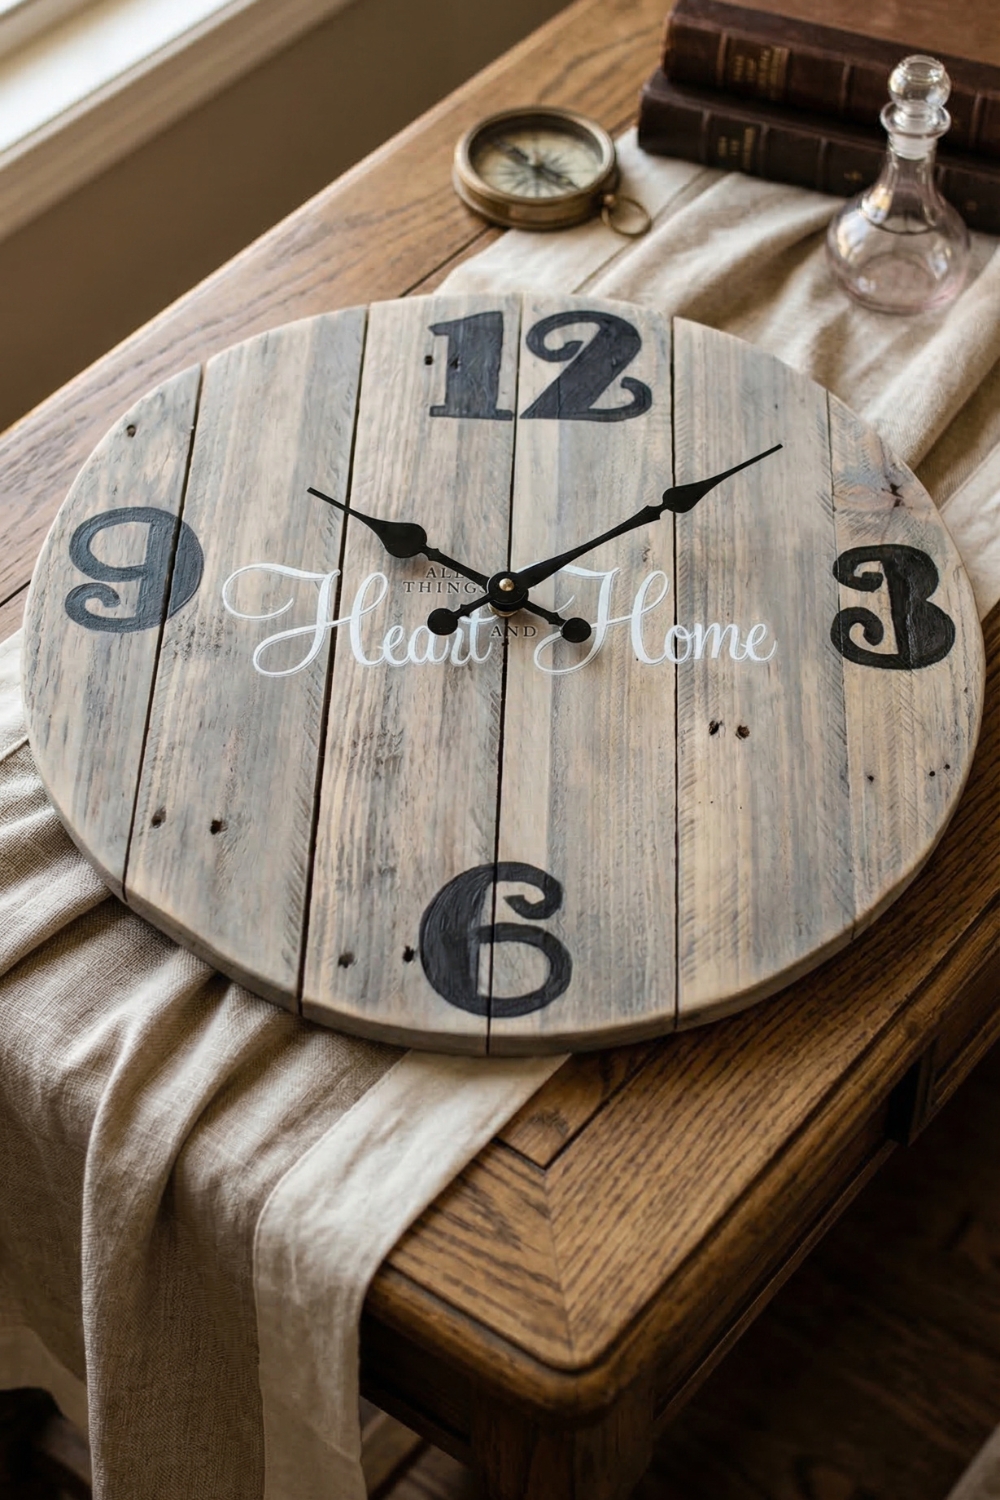
If you want a working clock, install a clock mechanism according to its instructions.
If not, you can leave it as a decorative piece. Fixed hands can still give the appearance of a clock without needing function-perfect for relaxed spaces like porches or patios.
Tips for a Better Result
- Embrace imperfections-this style looks better slightly uneven
- Test your number placement before committing
- Use light sanding to soften anything that feels too sharp or bold
- Choose a finish that complements your existing decor
A Simple Project with a Strong Visual Impact
This pallet wood clock is one of those projects that looks more complex than it actually is. With a few basic tools and materials, you can create something that feels custom and grounded.
It works as both decor and conversation piece-especially because no two versions will ever look exactly the same. The texture of the wood, the finish, and even the slight irregularities all come together to give it a lived-in, thoughtful feel.