
Hijab Doll Crochet Keychain Pattern Free
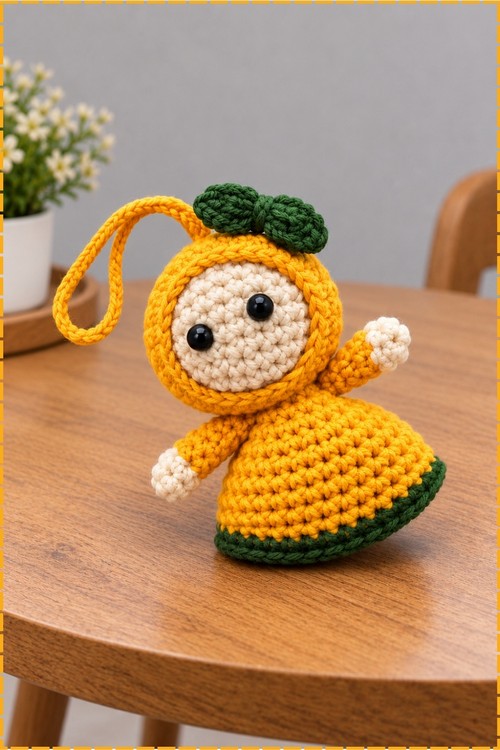
In a little under three hours, you can finish a crochet hijab doll keychain with a yellow dress, a dark green hem round and a bow worked in a short row of double crochet. Smooth cream poly yarn keeps her face clean around the round black safety eyes.
Fits in one hand, loops onto a bag, and this crochet hijab doll keychain goes to anyone who wants something small and personal clipped to their zipper. Students load these onto backpacks. Make the hijab doll keychain in a friend's favourite shade and it stops being generic gift shop filler.
Crochet Hijab Doll Keychain
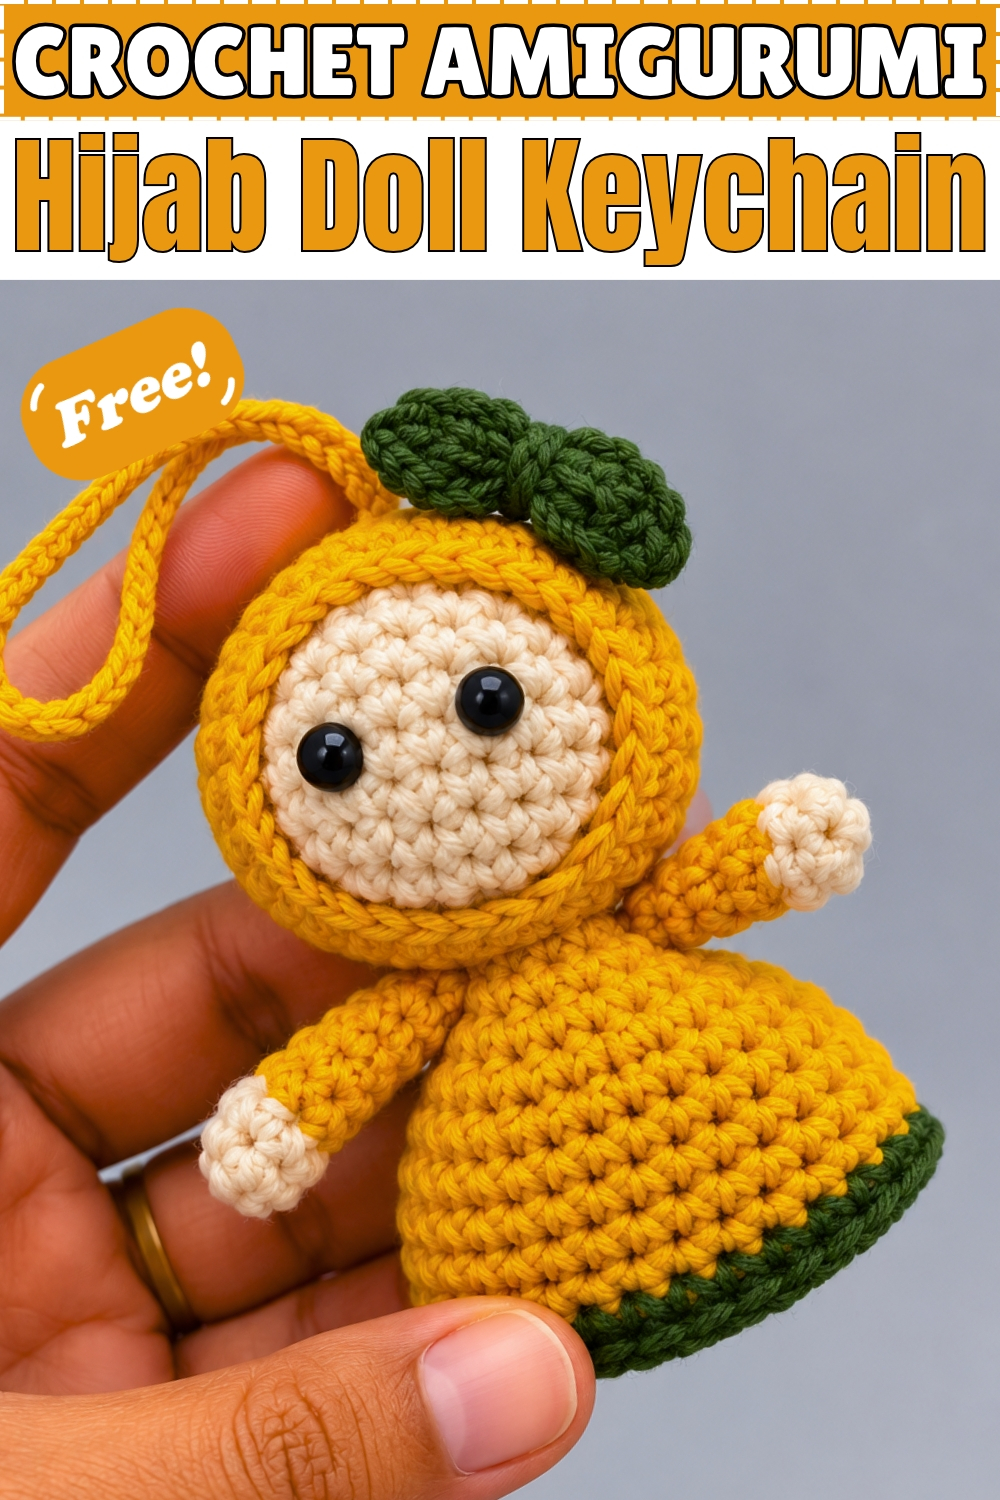
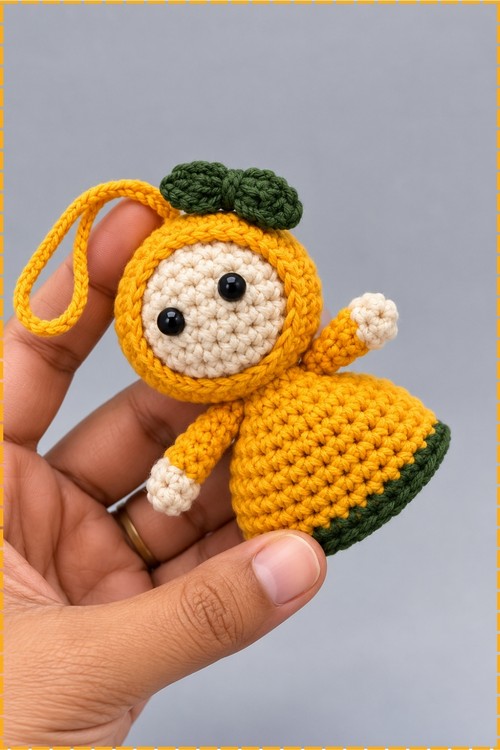
Four separate pieces come together here, and none of them is sewn to another until the very end, which makes this crochet hijab doll keychain a good project for using up small amounts of yarn. Yellow carries the hijab and the dress, while cream shows only at the face and the hand tips. Green lands in two places, the bow on top and a single round at the hem. Safety eyes sit directly on the cream face with no mouth or nose added. Hot glue holds the head to the body, so no seaming is needed there. Chain a loop and the keychain is finished.
Materials And Tools
- Poly yarn or any smooth yarn of your choice in cream for the face and hands
- Yellow yarn for the hijab, the dress and the hanging loop
- Dark green yarn for the bow and the hem round
- Size 3 crochet hook, or whatever hook gives you a tight fabric with your yarn
- Doll safety eyes, black and round
- Fiberfill stuffing
- Hot glue gun
- Tapestry needle
- Stitch markers
My version uses yellow as the single outfit colour and dark green as the accent, so the hijab, the body and the hem all stay in those two colours. The bow is green rather than the lighter accent shade mentioned in the plain pattern.
Difficulty And Time
Only single crochet, increases and decreases appear in the main pieces, with a short row of double crochet in the bow, so this sits at the easy end. From my own run through it took a little under three hours including assembly, and a confident crocheter would likely be quicker.
Technique Notes And Tips
Marking Rounds
- Every piece works in a continuous spiral, so move your marker into the last stitch of each round as you finish it. Miss this on the 32 stitch rounds and the count drifts without you noticing until the shape goes crooked.
Changing Colour Cleanly
- When you switch to green at the end of round 9 of the body, pull the new colour through on the final yarn over of that last stitch rather than tying a knot. Knots sit on the surface of a tight fabric and show through on a piece this small.
Keeping The Face Smooth
- Stuff the head only moderately as the pattern says. Overstuffing pushes the cream stitches apart and the safety eyes then sit on a bumpy surface instead of a flat face.
Gluing Safely
- Let hot glue cool for a moment on the tip before pressing an eye down, and press from the back of the eye rather than the front so no glue squeezes out onto the cream yarn. Any stray glue on light yarn is very hard to remove.
Hiding Tails
- Weave every tail into the inside of its own piece before assembly. Once the head is glued to the body you cannot reach inside either one.
The Pattern
Head In Cream
- Round 1: make a magic ring and work 6 single crochet into it, pull the ring tight and mark the last stitch (6).
- Round 2: work an increase, meaning 2 single crochet in the same stitch, in every stitch around (12).
- Round 3: work 1 single crochet, then 1 increase, and repeat to the marker (18).
- Round 4: work 2 single crochet, then 1 increase, and repeat to the marker (24), at which point the circle should still lie flat.
- Round 5: work 1 single crochet in each stitch around (24).
- Round 6: work 1 single crochet in each stitch around (24).
- Round 7: work 1 single crochet in each stitch around (24).
- Round 8: work 1 single crochet in each stitch around (24), giving a short straight sided cylinder.
- Round 9: work 2 single crochet, then 1 decrease, and repeat to the marker (18).
- Round 10: work 1 single crochet, then 1 decrease, and repeat to the marker (12), then stuff the head moderately with fiberfill while the opening is still open.
- Round 11: work 6 decreases in a row (6), then chain 1, cut the yarn leaving a tail and fasten off.
Hijab In Yellow
- Round 1: make a magic ring and work 8 single crochet into it, pull tight and mark the last stitch (8).
- Round 2: work an increase in every stitch around (16).
- Round 3: work 1 single crochet, then 1 increase, and repeat to the marker (24).
- Round 4: work 2 single crochet, then 1 increase, and repeat to the marker (32), and this wider circle is what lets the hijab sit over the head rather than squeeze it.
- Round 5: work 1 single crochet in each stitch around (32).
- Round 6: work 1 single crochet in each stitch around (32).
- Round 7: work 1 single crochet in each stitch around (32).
- Round 8: work 1 single crochet in each stitch around (32).
- Round 9: work 1 single crochet in each stitch around (32).
- Round 10: work 2 single crochet, then 1 decrease, and repeat to the marker (24), which draws the lower edge in around the chin.
- Skip one stitch, work a slip stitch into the next stitch, then cut the yarn leaving a slightly longer tail for sewing.
Body And Dress In Yellow With Green Hem
- Round 1: using yellow, make a magic ring and work 8 single crochet into it (8).
- Round 2: work an increase in every stitch around (16).
- Round 3: work 1 single crochet in each stitch around (16).
- Round 4: work 1 single crochet, then 1 increase, and repeat to the marker (24).
- Round 5: work 2 single crochet, then 1 increase, and repeat to the marker (32).
- Round 6: work 1 single crochet in each stitch around (32).
- Round 7: work 1 single crochet in each stitch around (32).
- Round 8: work 1 single crochet in each stitch around (32).
- Round 9: work 1 single crochet in each stitch around (32), and on the very last stitch of this round change to green, then fasten off the yellow.
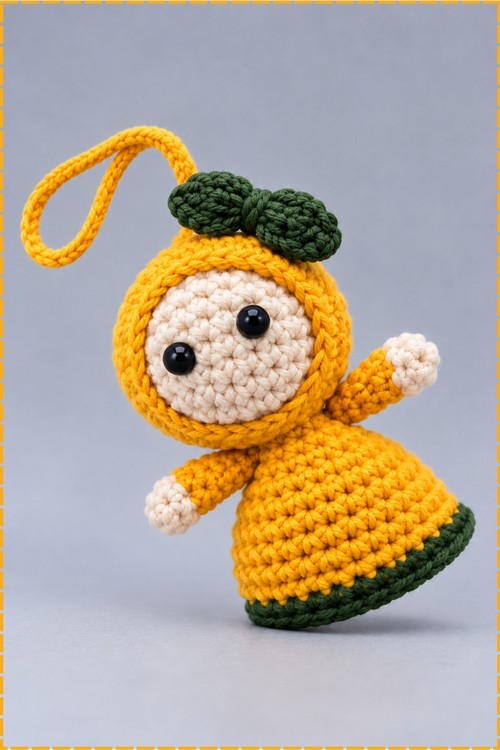
- Round 10: using green, work 1 single crochet in every stitch around (32), which gives the single green band visible around the bottom of my dress.
- Skip one stitch, slip stitch into the next, and fasten off.
- The body is left unstuffed and open at the base so the dress flares and the keychain sits flat when it hangs.
Hands, Make Two
- Round 1: using cream, make a magic ring and work 6 single crochet into it (6).
- Round 2: work 1 single crochet in each stitch around (6), and on the last stitch change to yellow, then fasten off the cream.
- Round 3: using yellow, work 1 single crochet in each stitch around (6).
- Round 4: work 1 single crochet in each stitch around (6).
- Round 5: work 1 single crochet in each stitch around (6).
- Round 6: work 1 single crochet in each stitch around (6), then fasten off leaving a tail for assembly, and the finished arm should be a narrow yellow tube with a small cream tip.
- These stay unstuffed, since a stuffed arm on a piece this small looks stiff.
Bow In Green
- Chain 12, then add 2 extra chains.
- Starting in the 12th chain from the hook, work 1 double crochet into each chain across.
- Cut the yarn leaving a longer tail for sewing.
- Bring the two short ends of the strip together and sew them into a ring.
- Pinch the ring at the centre, wrap yarn tightly around the middle several times and knot it to hold the bow shape.
Hanging Loop In Yellow
- Chain until the loop reaches your preferred hanging length, then join the end back to the start of the chain and fasten off, leaving a tail for sewing.
- My loop is yellow and fairly long, long enough to slip over a bag strap or a door handle.
- Metal keychain hardware works here instead if you prefer a clip.
Assembly
- Slide the finished head into the hijab cover and position it so only the front of the face shows through the opening.
- Sew around the lower edge of the hijab to hold it against the head, keeping your stitches just inside the yellow so they disappear.
- Sew the hanging loop securely to the top point of the head, passing through the same spot several times, since this single join carries the whole weight of the keychain.
- Sew one arm to each side of the body about two rounds below the top edge.
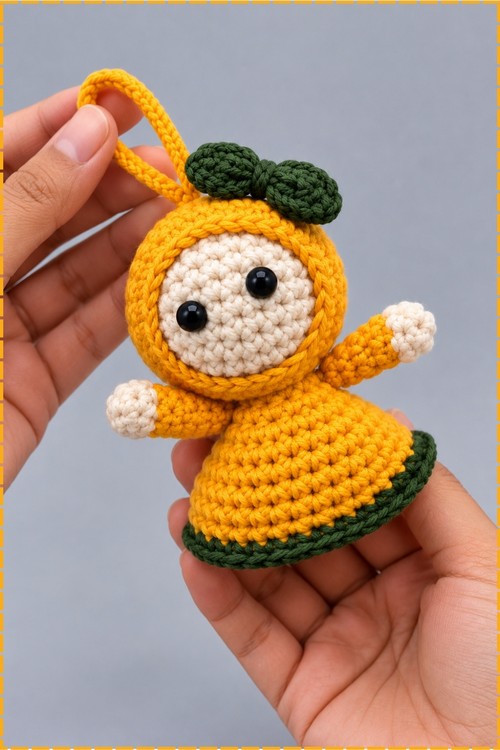
- Angle one arm slightly upward and let the other hang down, which is how mine sits in the photo.
- Glue the head to the top of the body with the hot glue gun, pressing until it holds and checking from the front that the face points straight ahead.
- Glue the green bow to the very top of the hijab, just in front of the hanging loop.
- Glue the safety eyes onto the cream face, set wide apart and low enough that a clear forehead shows above them, and leave the face without a mouth or nose as mine is.
Yarn Substitution
Any smooth yarn in a similar weight works, and poly yarn or cotton both give the crisp stitch definition that keeps the small face looking neat. Avoid fuzzy acrylic, since the halo blurs the edge between the cream face and the yellow hijab. If you use a thicker yarn with a larger hook the counts stay the same and you simply get a bigger doll, in which case size the safety eyes up to match.
Customization Ideas
- Swap the yellow for any colour and keep the green hem as a contrast band.
- Work the hem round in the same colour as the bow every time, which ties the piece together whatever palette you pick.
- Add a second green round at the hem for a wider border.
- Replace the bow with a small flower or a tiny pompom at the top of the hijab.
- Make a set in different colours and attach them to a single ring.
FAQ
Can I sew the head on instead of gluing it? Yes. Pin it in place first, then sew around the join with the yellow yarn from the hijab. Sewing is the safer choice if the keychain is for a child, since glue joints can pop under rough handling.
Why does my doll hang crooked? The loop is almost always attached slightly off centre. Find the exact top point of the hijab, not the top of the head inside it, and re attach from there.
Do I need to stuff the body? No. Mine is left hollow and open at the bottom, which is what gives the dress its flared shape. Stuffing it turns the skirt into a ball and the keychain stops sitting flat.