
Red Tulip Keychain Crochet Pattern - Easy Mini Amigurumi
Brushing pink blush powder under two 6 mm flat eyes gives the red tulip keychain its sweet little face. Chocolate brown yarn makes the base read like a tiny flower pot, and a 3.5 mm hook keeps this mini amigurumi firm enough to swing from a split ring.
Working a crochet keychain tulip flower goes quickly once the bloom closes up, and the rounds stay small enough to hold in one hand. Stuffing it is oddly satisfying. Placing the eyes takes the longest, since shifting them a little changes the face completely. Crochet keychain tulip flowers suit stop and start making.
Crochet Keychain Tulip Flower
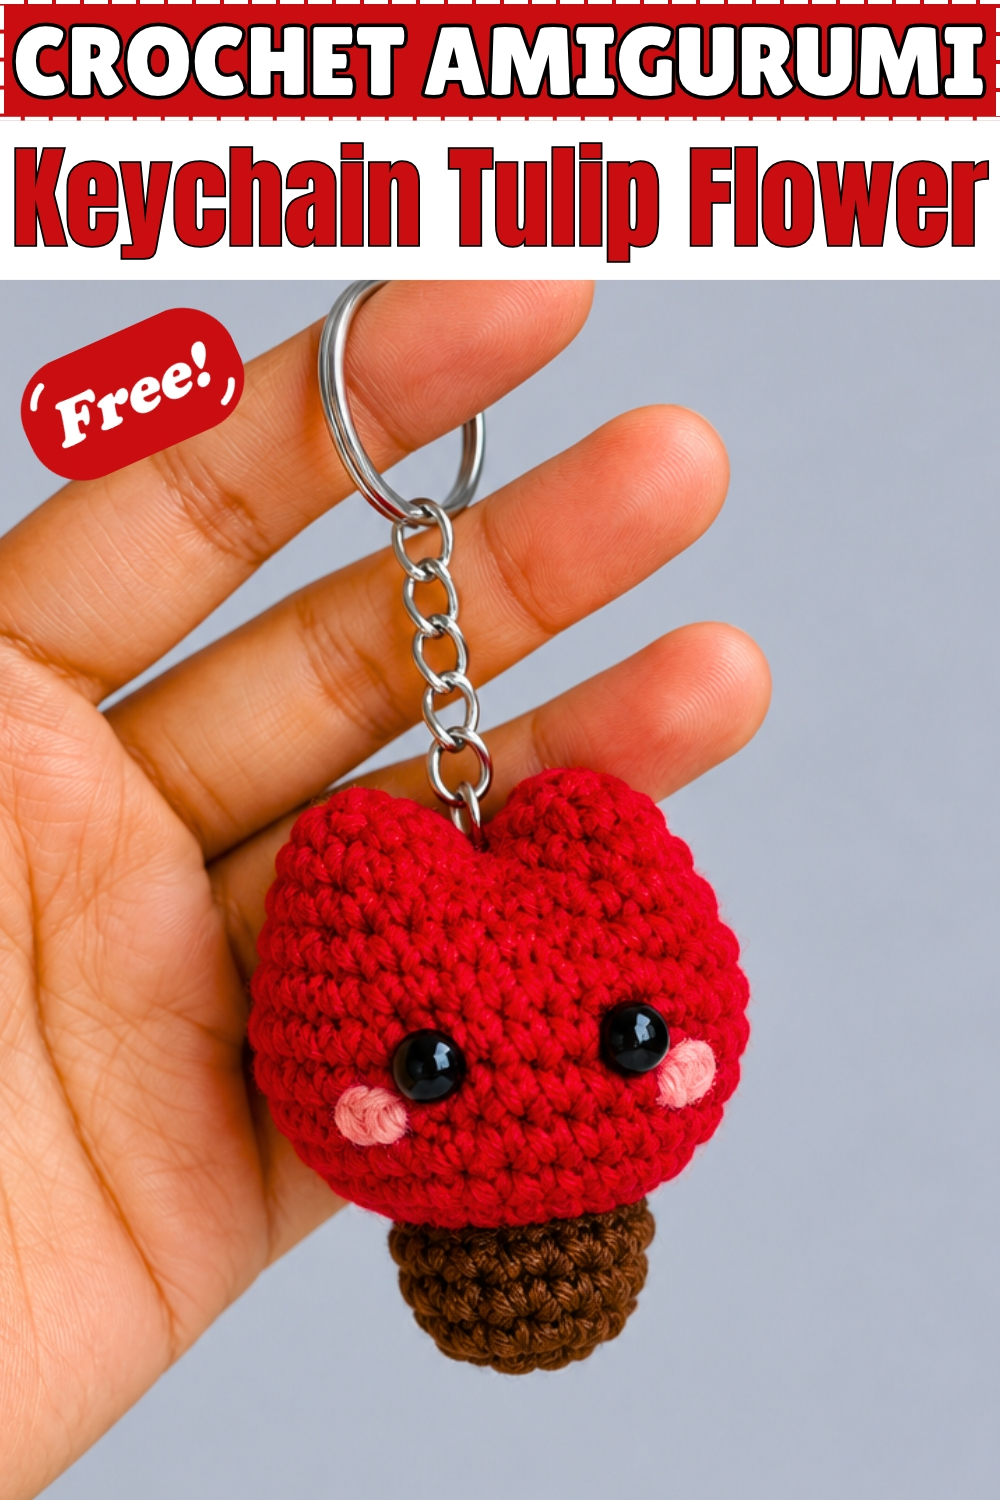
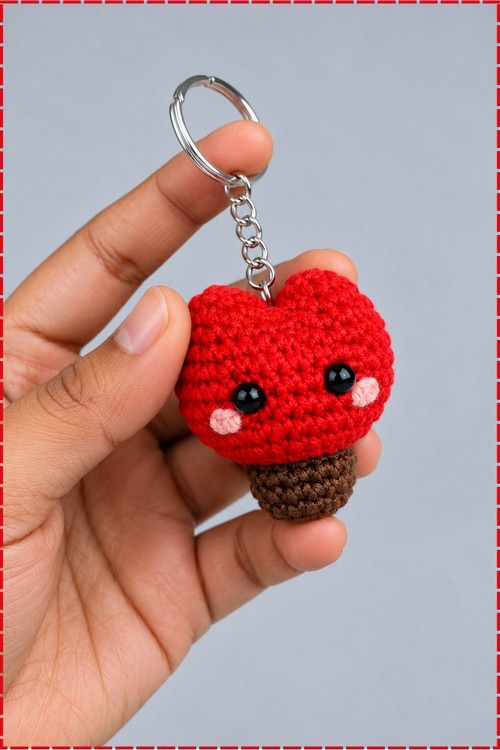
Worked in one continuous piece, this crochet keychain tulip flower begins at the base and widens straight into the bloom with a single colour change. Twelve stitches hold the narrow base before the increases open everything out. Brown yarn forms that base on mine rather than green. Red fills the whole flower above it. Folding and stitching the top opening twice creates the four point tulip shape, so no petals get sewn on separately. Black flat eyes and a little pink blush finish the face. Clipped to a ring, it hangs about the length of a thumb.
Materials
- Four ply yarn in true red for the flower and chocolate brown for the base. Mine uses brown where the original calls for green, which makes it read as a flower pot rather than a stem.
- 3.5 mm crochet hook.
- Two 6 mm flat black eyes.
- Pink blush powder and a small brush.
- Fiberfill stuffing.
- Tapestry needle and scissors.
- Split ring keychain with a short chain. Mine is silver with four or five links between the ring and the flower.
Finished size on mine sits at roughly thumb length, though this shifts with tension. Expect under an hour from start to finish once you have made one.
The Pattern
Work in joined rounds, starting each round in the same stitch as the slip stitch join.
Base in Brown
- Round 1: 8 single crochets in a magic ring. (8)
- Round 2: 1 single crochet, 1 increase, repeated 4 times. (12)
- Rounds 3 to 5: 12 single crochets around for 3 rounds. (12) The base should be a short straight cylinder that stands on its own.
- Cut the brown yarn and fasten off.
Flower in Red
- Round 6: increase in every stitch, 12 times. (24) This sharp jump is what makes the bloom flare out over the base.
- Round 7: 5 single crochets, 1 increase, repeated 4 times. (28)
- Rounds 8 to 15: 28 single crochets around for 8 rounds. (28)
- Cut the yarn leaving a long tail for sewing.

Shaping and Finishing
- Stuff the flower firmly through the open top. Keep the base packed too, since a soft base lets the whole keychain sag sideways when it hangs.
- Thread the long tail on a tapestry needle, fold the top opening flat in half, and sew through from one side to the opposite side.
- Fold the opening in half again the other way and stitch through the middle. The closed top now reads as the four point tulip shape, with a soft dip at the centre.
- Pull these closing stitches firm but not tight. Overtightening flattens the bloom and loses the rounded top.
- Hide the remaining tail inside the piece.
- Attach the 6 mm flat eyes to the front of the flower, set low and wide with a good gap between them. On mine they sit just above where the red meets the brown.
- Brush a little pink blush onto the cheeks directly below and slightly outside each eye.
- Attach the keychain ring at the top centre of the tulip, right at the point where the folds meet. Anchor the chain through several stitches with matching yarn so the weight is shared and the ring cannot pull free.
Tips
Use a hook a half size smaller than your yarn suggests. A tight fabric is what keeps the stuffing invisible through red, which shows gaps more than most colours.
Count round 6 carefully. Twelve increases in a row is easy to lose track of, and two stitches either way throws the whole flower off balance.
Fold the top the same way both times before you commit to sewing. Hold the folds in place with your fingers, look at the shape from the front, and adjust before the needle goes in.
Customization Ideas
- Keep the brown base and switch the bloom to yellow, pink or lilac for a set.
- Use green for the base instead if you want a stem rather than a pot.
- Leave the eyes off for a plain flower and sew on a small embroidered centre.
- Swap the keyring for a longer chain and hang it from a rear view mirror.
- Add a second, smaller bloom on the same ring.
FAQ
Can I use safety eyes instead of flat eyes? Yes, but insert them before you close and stuff the flower. Flat eyes glue on at the end, which is why they work well here on an already finished piece.
Why does my tulip look round instead of four pointed? The second fold was probably worked in the same direction as the first. The two folds must cross each other, and the stitching through the middle is what pulls the four points apart.
Will the keyring pull out over time? Not if the chain is sewn through several stitches rather than looped through one. Spreading the attachment across the top folds spreads the load.