
Crochet Daisy Flower Keychain Pattern Free Amigurumi
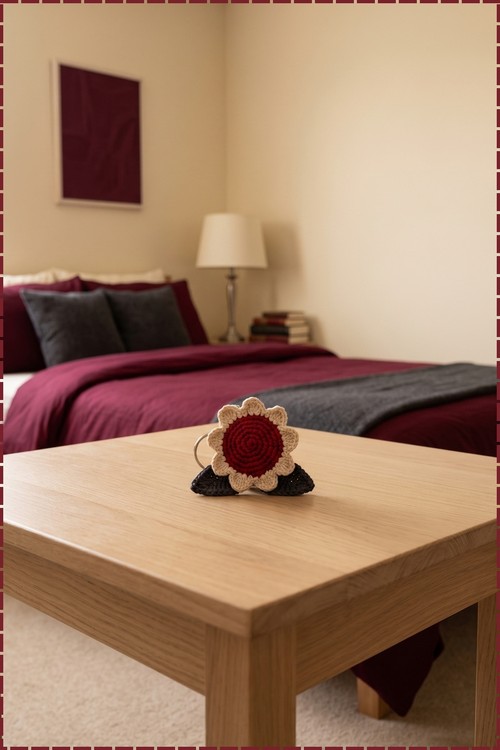
Clip the crochet daisy flower keychain onto car keys or a backpack zip, where the domed bloom swings into view with every step. Garden lovers and best friends make natural recipients for a crochet flower keychain that fits in a palm and doubles as a bedside table ornament.
Ten cream petals around a red centre explain why the crochet daisy flower keychain keeps getting requested. Flat build, no stuffing, quick to repeat in any colour pair. Makers ask for the crochet daisy flower keychain because one skein turns into a whole batch of gifts.
Crochet Daisy Flower Keychain
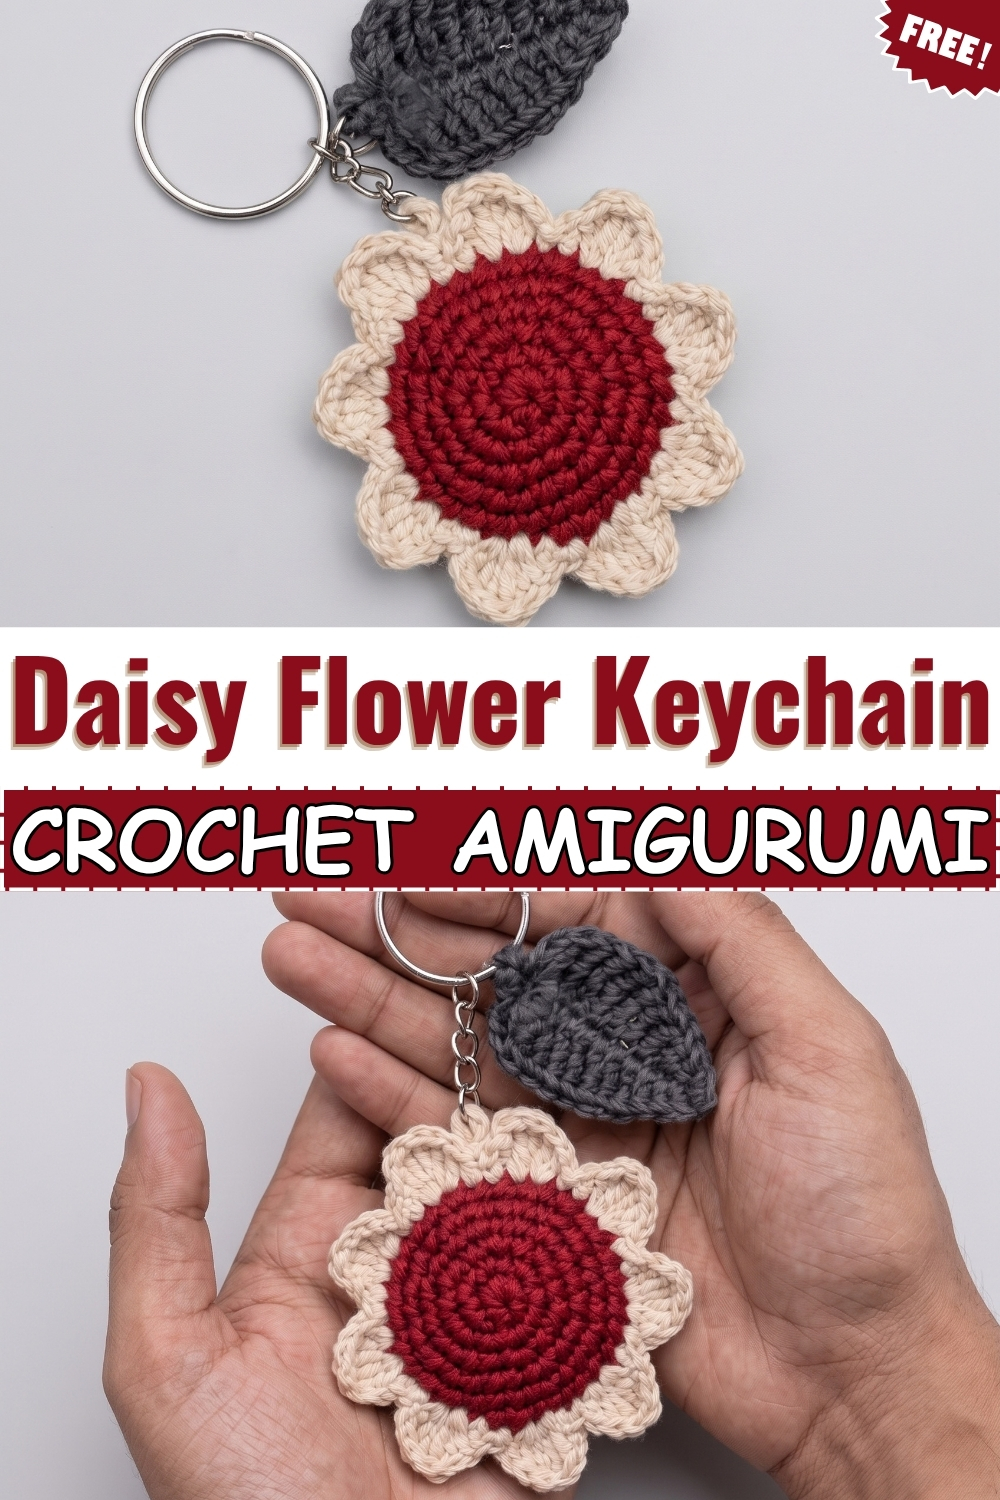
Two flat circles crocheted in the same yarn get held together and joined by the petals in one pass, which is what gives this crochet daisy flower keychain its stuffed, dimensional look without any sewing between separate pieces. My version uses a deep red for both centre circles, cream for the nine petals that run around the edge, and dark grey for the leaf. Everything hangs from a silver split ring on a short chain of jump rings. Making it takes only three small pieces and a few minutes of assembly. Taller stitches inside each petal are what push the petals out into their rounded shape.
Materials and Tools
- 2.0 mm crochet hook
- Yarn in deep red for the flower centre (the source pattern calls for yellow; my version uses red throughout both circles)
- Yarn in cream for the petals (the source pattern calls for white)
- Yarn in dark grey for the leaf (the source pattern calls for green)
- Acrylic stuffing (fiberfill)
- Yarn needle
- Metal jump rings, at least 2
- Silver split ring keychain hardware
- Scissors
- Pliers for opening and closing the jump rings
Difficulty and Time
This is a beginner to lower intermediate project. The centre circles use only single crochet and increases, which are two of the most foundational stitches in crochet. The petals introduce taller stitches like half double crochet, double crochet, treble crochet and double treble crochet, but each one follows a clear in-and-out sequence that stays the same for all nine petals. From my own experience both circles, all nine petals and the leaf took under two hours total.
Beginner Technique Notes
- Work in continuous rounds for the centre circles, placing a stitch marker in the first stitch of each round so you always know where the round starts.
- Magic ring (MR) means starting with an adjustable loop that you pull closed after the first round so no hole appears at the centre.
- Single crochet (sc) is your foundation stitch: insert the hook, pull up a loop, pull through both loops on the hook.
- Increase (inc) means working 2 sc into the same stitch. This is how flat circles grow outward without bunching.
- Half double crochet (hdc): yarn over once before inserting the hook, pull up a loop, pull through all three loops together.
- Double crochet (dc): yarn over once, insert hook, pull up a loop, pull through two loops, pull through the remaining two loops.
- Treble crochet (tr): yarn over twice, insert hook, pull up a loop, then pull through two loops three times in sequence.
- Double treble crochet (dtr): yarn over three times, insert hook, pull up a loop, then pull through two loops four times in sequence. This is the tallest stitch in the petal and sits at its highest point.
- Slip stitch (sl st) is the flattest stitch and is used here at the start and end of each petal to keep the edges low.
- The creator notes to pass the yarn under the hook while making the single crochets to get the correct flat texture on the centre circles. Experiment with one round first so you see what this does to the surface before committing to the whole circle.
- Keep a tight, even tension throughout. At 2.0 mm the fabric should feel dense. Loose stitches will let the stuffing show between rounds and make the flower look uneven.
The Pattern
Daisy Centre (Make 2)
- Use the 2.0 mm hook and red yarn
- Round 1: 6 sc in a magic ring [6]
- Round 2: inc in every stitch around [12]
- Round 3: 1 sc, 1 inc, repeat this sequence 6 times [18]
- Round 4: 1 sc, 1 inc, then repeat 2 sc, 1 inc 5 times, finish the round with 1 sc [24]
- Round 5: 3 sc, 1 inc, repeat this sequence 6 times [30]
- Round 6: 2 sc, 1 inc, then repeat 4 sc, 1 inc 5 times, finish the round with 2 sc [36]
- Fasten off with a slip stitch and chain 1 to secure, then tie knots in the remaining yarn tail so it stays safe inside later
- Make the second red circle exactly the same way and set both aside
Petals and Joining
- Hold both red circles together with right sides facing outward and final stitches aligned so you are looking at a clean face on both sides
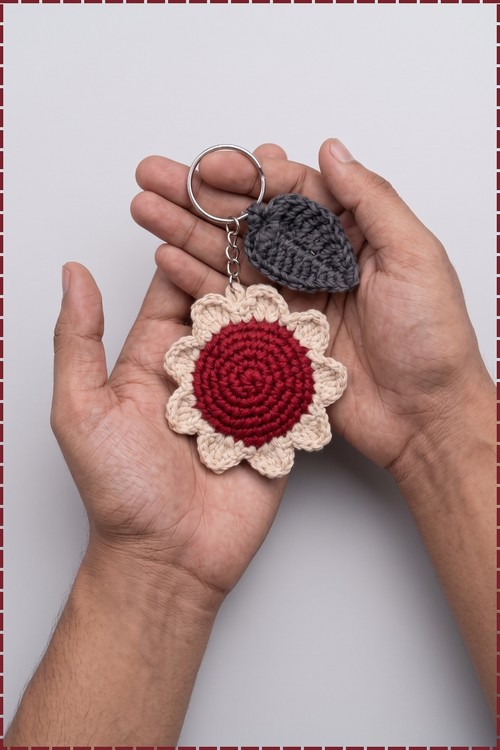
- Join cream yarn and switch to the petal sequence, which is worked through both layers at once to join the two circles together as you go
- The centre has 36 stitches and each petal uses 4 stitches, giving exactly 9 petals around the flower
- Petal stitch 1: chain 1 (counts as a sc), then make 1 hdc in the same stitch
- Petal stitch 2: move to the next stitch and make 1 dc, 1 treble crochet (tr), and 1 double treble crochet (dtr) all in the same stitch, and the dtr is the tallest stitch and sits at the highest point of the petal arch
- Petal stitch 3: move to the next stitch and make 1 dtr, 1 tr, and 1 dc all in the same stitch, mirroring the previous stitch in reverse so the petal comes back down symmetrically
- Petal stitch 4: move to the next stitch and make 1 hdc and 1 sl st all in the same stitch, which closes the petal low and flat
- Repeat this 4-stitch petal sequence, but stop before starting the 9th and final petal
- Use the remaining opening to stuff the centre of the flower firmly with fiberfill before it closes, and work the stuffing in small pieces so the disc stays flat rather than bulging forward
- Complete the final 9th petal to close the flower
- Immediately after the last sl st of the final petal, chain 7
- Slip stitch back into the base of that same petal to create a small hanging loop
- Chain 1 to secure, cut the yarn, and hide the tail inside the flower
Leaf
- Use the 2.0 mm hook and dark grey yarn
- Foundation: chain 15
- Stem tip: skip 4 chains from the hook and sl st into the 5th chain, then chain 3 more
- Side 1 going down the chain: make 1 dtr in each of the next 5 chains
- Make 1 tr in each of the next 2 chains
- Make 1 dc in the next chain
- Make 1 hdc in the next chain
- Make 1 sc in the final chain
- Chain 2 at the bottom point of the leaf to turn the corner
- Side 2 going back up the opposite side of the starting chain: work 1 sc in the first space
- Work 1 hdc in the next space
- Work 1 dc in the next space
- Work 1 tr in each of the next 2 spaces
- Work 1 dtr in each of the next 5 spaces
- Chain 3 and finish with a sl st and chain 1 to secure
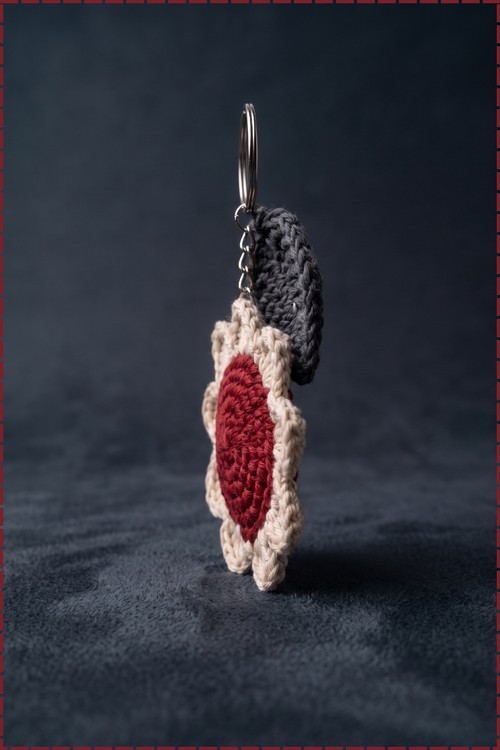
- Fasten off and weave in the ends, and the leaf should now have a pointed tip at the bottom and a short stem section at the top
Assembly
- Use pliers to open a jump ring, thread it through the cream yarn loop on the daisy and through a second jump ring, then close both
- Attach the second jump ring to the split ring of the keychain hardware
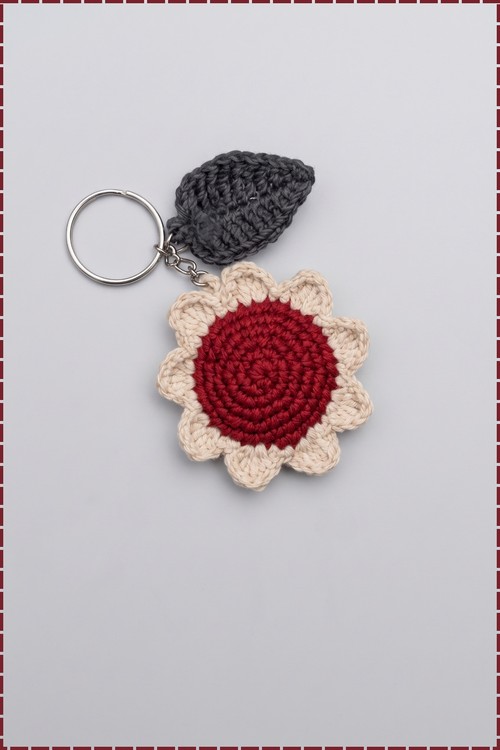
- Open a separate jump ring, thread it through the short stem chain at the top of the grey leaf, and attach it to the same split ring so both the flower and the leaf hang from the same ring, which is how they sit on my finished keychain
Tips and Troubleshooting
- If your petal count ends up wrong, recount the centre stitches before starting the petals. The petal sequence uses exactly 4 stitches per petal across a 36-stitch circle, so any miscounted round during the centre will throw the petal count off.
- If the stuffing shows between the two centre rounds, your tension was too loose. Try pulling the yarn slightly tighter as you work through both layers, and pack the stuffing in small pieces so it fills without stretching the rounds apart.
- If the leaf curls instead of lying flat, the foundation chain is too tight. Start the chain with a slightly looser tension than feels natural, since the stitches on the return pass will pull it in.
- If your dtr stitches look uneven in the petals, count your yarn overs before inserting the hook. Three yarn overs for a dtr, compared to two for a tr, and it is easy to mix them up when working quickly through a petal.
- When using pliers on the jump rings, open them sideways rather than pulling the two ends apart, or the ring will lose its round shape and not close cleanly.
Yarn Substitution
Any smooth yarn at any weight will work here as long as you match the hook to the yarn tightly. A heavier yarn with a larger hook produces a bigger flower. A thinner yarn with a smaller hook gives a neater, more jewellery-like finish. Avoid textured or fuzzy yarns because the petal stitch sequence changes height every stitch, and you need to see exactly where each stitch sits.
Customisation Ideas
- Use yellow for the centre and white for the petals to make the classic daisy version.
- Make the leaf in a bright green and the centre in orange for a more botanical look.
- Add a second leaf on the ring for a fuller look.
- Skip the leaf entirely and just hang the flower on its own.
- Make several flowers in different centre colours and put them all on one large ring.
- Switch the chain 7 hanging loop for a longer chain to turn the flower into a bag charm instead of a keychain.
FAQ
I have never worked a treble or double treble before. Will I be able to do this? Yes. Both stitches follow the same yarn-over-and-pull-through rhythm as a double crochet, just repeated more times. Practice one or two into a scrap piece of yarn before starting the petals so the movement feels natural before the real thing.
Why do I make two circles instead of one? The two circles sandwich the stuffing between them and give the flower a flat, coin-like shape with a smooth face on both sides. One circle shaped into a sphere would give a ball, not a flower disc.
How do I know when the stuffing is enough? The circle should feel lightly firm when you press the centre, not squishy and not rock-hard. Stop before the last petal, press the centre from both sides, and add a little more if it still feels flat. Overstuffing will push the petals out of line.
My petals look uneven. What should I check? Count that each petal used exactly 4 stitches from the centre circle. If one petal used 3 and the next used 5, the heights will not match. Work slowly through the first two petals and count each stitch before moving on.
Can I use a different hook size? Yes, but change the yarn weight to match. If you go up to a 3.0 mm hook, use a slightly heavier yarn so the fabric stays tight enough to hold the stuffing in without gaps showing between rounds.