
Crochet Hedgehog Keychain Amigurumi Free Pattern With Bobble Spikes
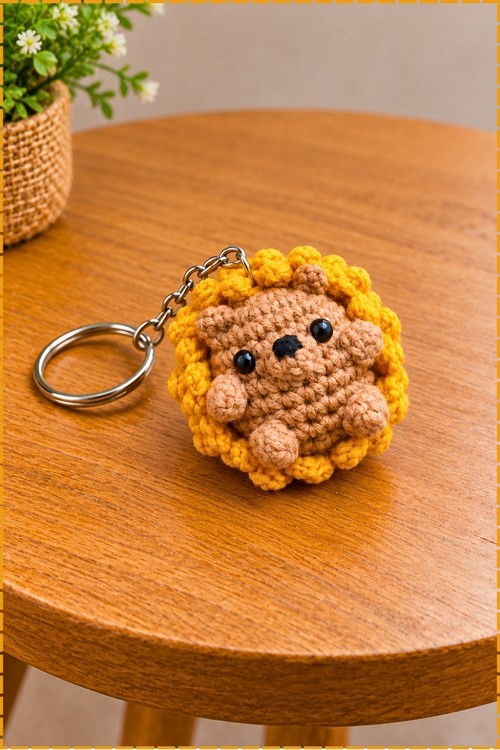
No sewing holds the keychain together, because the tan bobble body simply nests inside a yellow spike shell worked in back loops. Black safety eyes, a stitched nose and a metal ring finish a pocket sized cousin to a full hedgehog plush.
Yellow bobbles and a flat tan face are why this crochet hedgehog keychain keeps getting requested in the comments. The shape reads instantly, even from across a room. Makers come back to the hedgehog keychain because it uses scraps and still looks finished enough to sell at a craft table.
Crochet Hedgehog Keychain
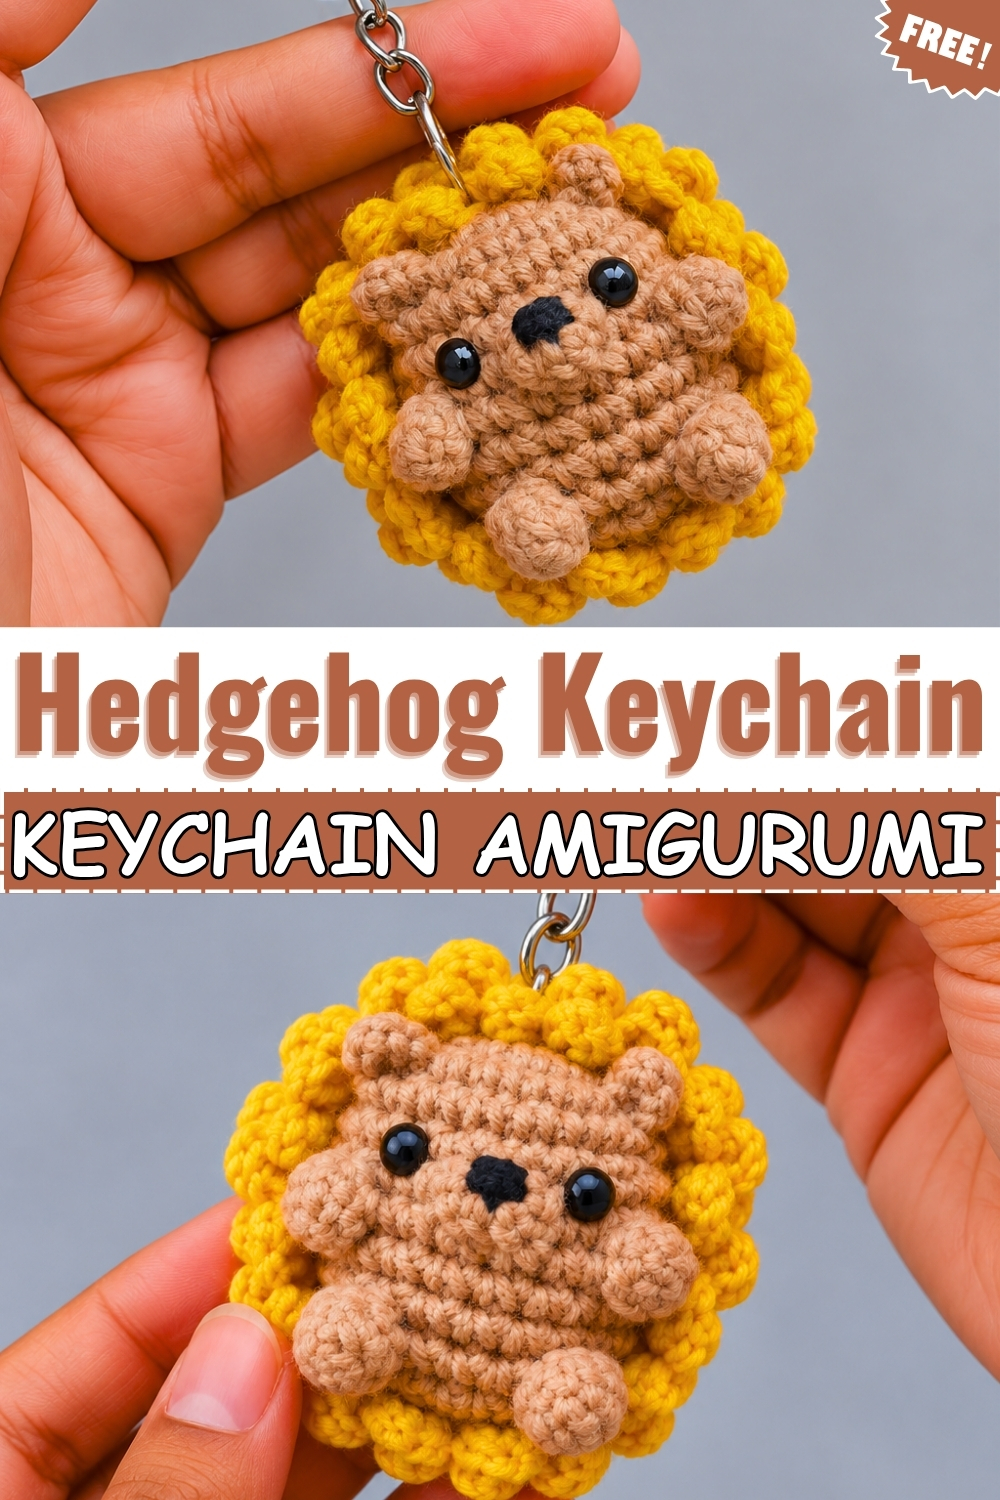
Two completely separate pieces come together in this crochet hedgehog keychain amigurumi: a tan body worked with bobble stitches for the face features, and a yellow spike shell built in back loops so the front loops stay free for the spiky border. Nesting the body inside the finished shell takes about thirty seconds and no sewing at all. Black safety eyes and a few embroidered nose stitches finish the face. Attach a metal keychain ring at the top and the hedgehog clips onto a bag strap, a school bag zip or a set of house keys. Both pieces use nothing but single crochet, increases and decreases once you know the bobble stitch.
Beginner Technique Notes
What Is A Magic Ring
- A magic ring, also called a magic circle, is an adjustable starting loop that closes to leave no hole at the centre of your piece.
- To make one, wrap the yarn once around two fingers, insert your hook through the loop, pull up a strand of working yarn and chain 1, then work your round 1 single crochets into the ring before pulling the tail tight to close it.
- If you find the magic ring difficult at first, chain 2 and work your round 1 stitches into the first chain instead. The hole will be tiny and is easily hidden.
What Is A Bobble Stitch
- The bobble stitch is what makes the nose, arms and legs pop out from the surface of the body as small raised bumps.
- Yarn over, insert your hook into the stitch and pull up a loop so you have 3 loops on the hook, then yarn over and pull through only the first 2 loops, leaving 2 loops. Repeat that whole process 4 more times into the same stitch until you have 6 loops on the hook. Yarn over one final time and pull through all 6 loops at once. Push the bump toward the front of your work.
- Always push the bobble to the outside of the piece as soon as you finish it, since it naturally wants to sit on the inside.
What Is BLO And FLO
- BLO means you insert your hook under the back strand of the stitch top only, leaving the front strand standing as a visible ridge. The spike shell is worked in BLO so those front loops stay free for the spikes later.
- FLO means you insert under the front strand only. You will come back and work the spike border into those unused front loops after the shell is finished.
What Is An Invisible Decrease
- An invisible decrease, written as Inv Dec, closes the body neatly without leaving a visible hole. Insert your hook under the front loop of the first stitch, then under the front loop of the second stitch, yarn over, pull up one loop, yarn over and pull through both loops on the hook.
- Using the front loops only keeps the decrease stitch small and helps your finished body look smooth rather than bumpy at the closing rounds.
Working In A Continuous Spiral
- Neither the body nor the shell joins at the end of each round, so move your stitch marker into the last stitch of every round as soon as you finish it. Losing track of rounds on a small piece is the most common beginner mistake here.
Materials And Tools
- Yarn in warm tan or caramel brown for the body and ears
- Yarn in bright yellow for the spike shell
- A small amount of black yarn for embroidering the nose
- 3 mm crochet hook, one size smaller than the yarn's recommended size, which keeps the fabric tight so stuffing cannot show through
- 4 mm black safety eyes and safety backs
- Polyester fiberfill stuffing
- Metal keychain ring
- Stitch markers or paper clips
- Yarn needle and scissors
My version uses tan for the body and bright yellow for the spike shell, replacing the brown shell in the plain pattern.
Difficulty And Time
The body uses single crochet with bobble stitches for the surface details, and the shell uses BLO single crochet plus a simple spike chain formula. This is a beginner to easy intermediate project. In my experience the full piece takes two to three hours, longer if the bobble stitch is new to you.
The Pattern
Part 1: Body In Tan
- Round 1: make a magic ring, work 6 single crochets into it and pull the tail tight to close (6).
- Round 2: work 1 increase, meaning 2 single crochets in the same stitch, in every stitch around (12).
- Round 3: work 1 single crochet then 1 increase and repeat around (18).
- Round 4: work 1 single crochet in each stitch around (18).
- Round 5: work 1 single crochet in each stitch around (18), and at the end of this round insert your safety eyes between rounds 5 and 6 approximately 1 stitch away from where the nose will sit in the next round, then press the safety backs on firmly.
- Round 6, nose and face: work 9 single crochets, then work 1 bobble stitch for the nose, then work 1 single crochet, then work 8 single crochets (18), and the nose bobble should pop out toward the front of the piece right between the two eyes.
- Round 7, arms: work 6 single crochets, then work 1 bobble stitch for the left arm, then work 5 single crochets, then work 1 single crochet into the large bobble from round 6, then work 1 bobble stitch for the right arm, then work 5 single crochets (18), and both arm bobbles sit roughly level with each other on either side of the body.
- Round 8: work 1 single crochet in each stitch around (18).
- Round 9: work 1 single crochet in each stitch around (18).
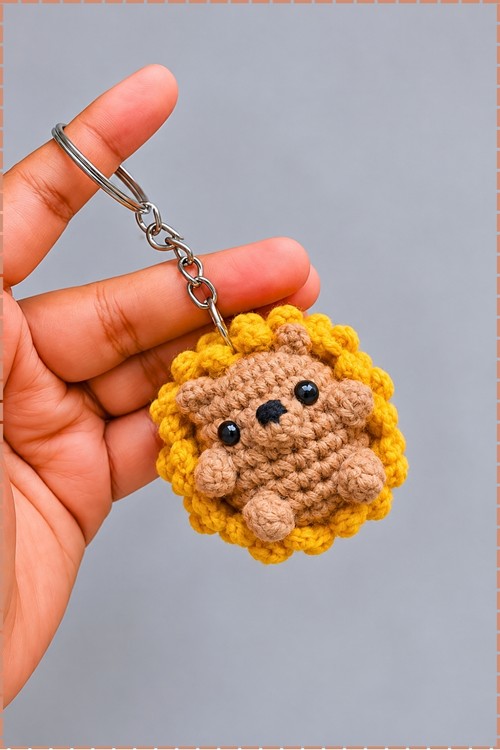
- Round 10, legs: work 8 single crochets, then work 1 bobble stitch for the left leg, then work 3 single crochets, then work 1 bobble stitch for the right leg, then work 5 single crochets (18), and the two leg bobbles sit near the lower front of the body as visible in my photo.
- Round 11: work 1 single crochet then 1 invisible decrease and repeat around (12), then stuff the body firmly with fiberfill before the opening closes further.
- Round 12: work 1 invisible decrease in every stitch around (6), then fasten off leaving a long tail, thread the tail through the front loops of the remaining 6 stitches and pull tight to close the hole, bring the needle out through the top centre of the head and leave the tail hanging for the keychain attachment.
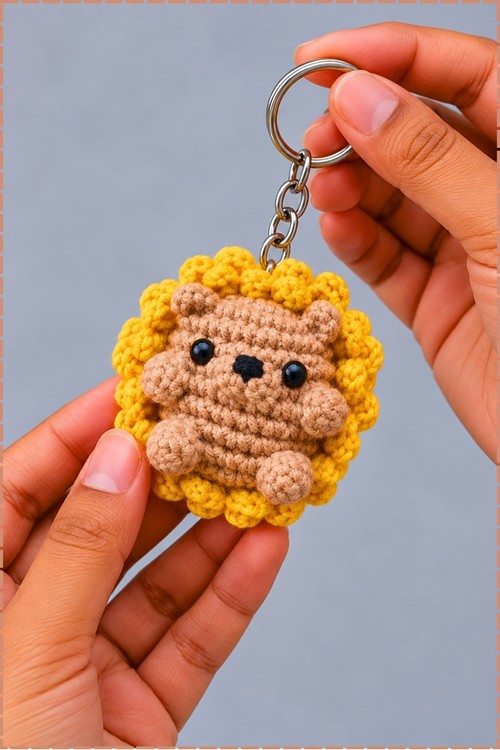
Embroidering The Nose And Attaching Ears
- Thread a small length of black yarn on the needle and make a few stitches centred over the nose bobble, working around the top of the stitch cluster until the nose reads as a small dark oval, then tie a knot and hide the tails inside the body.
- For each ear, join tan yarn with a slip stitch between rounds 3 and 4 at the position that lines up with the eye on that side, chain 2, slip stitch in the second chain from the hook, then slip stitch down between rounds 2 and 3, fasten off, pull both tails through to the inside, tie a knot and hide the ends.
- Make a second ear on the opposite side in the same way, checking from the front that both ears sit at the same height.
Part 2: Spike Shell In Yellow
- Round 1: make a magic ring and work 6 single crochets into it (6).
- Round 2: working in back loops only, work 1 increase in every stitch around (12), and leaving those front loops free now is what lets you add the spikes later, so do not skip the BLO on this and every following shell round.
- Round 3: working in back loops only, work 1 single crochet then 1 increase and repeat around (18).
- Round 4: working in back loops only, work 2 single crochets then 1 increase and repeat around (24).
- Round 5: working in back loops only, work 1 single crochet in each stitch around (24).
- Round 6: working in back loops only, work 1 single crochet in each stitch around (24).
- Round 7: working in back loops only, work 1 single crochet in each stitch around (24).
- Round 8: working in back loops only, work 1 single crochet in each stitch around (24), then finish with a slip stitch in the next stitch and fasten off.
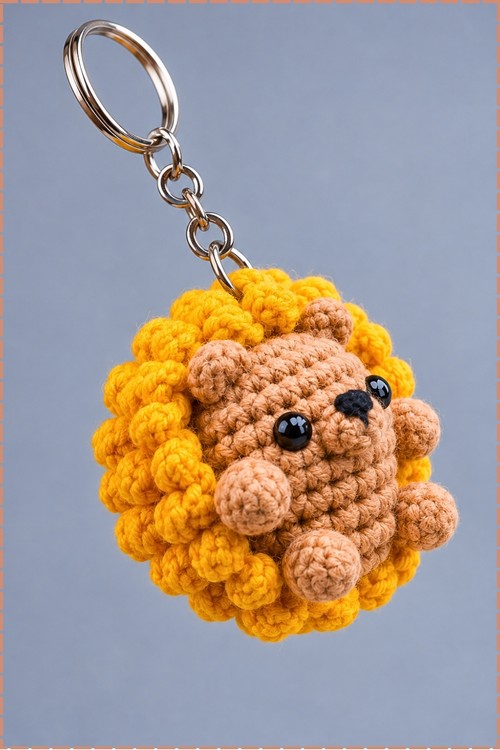
Adding The Spikes In Yellow
- The spikes are worked into the unused front loops left from every BLO round above. Join yellow yarn into any free front loop.
- Spike formula: chain 3, skip the first chain, slip stitch in the next 2 chains to form the spike, then skip 1 stitch on the shell piece and slip stitch into the next free front loop to move along.
- Work the spike formula all the way around the bottom front loop round first, then move up to the next round of free front loops and continue working spikes up through each row.
- To stagger the spikes so they look natural and offset, skip 2 stitches instead of 1 at the start of each new row of spikes so each new spike falls directly behind one from the row below.
- Once every front loop row is used up, fasten off and weave the remaining tail inside the shell.
- The finished spikes should look like small round raised bumps ringing the shell, exactly as they appear in the yellow border of my photo.
Assembly And Finishing
- Nestle the completed tan body into the yellow spike shell, centering the face in the open front so both eyes and all four bobbles are fully visible.
- Thread the long tail from the top of the body through the yarn needle, pass it through the loop of the metal keychain ring, go back down through the shell and body, tie a secure knot with the tail and push the knot inside to hide it.
- Tug the keychain ring gently to confirm the join holds before attaching it to anything.
Tips And Troubleshooting
- Place the safety eyes before round 7 while the opening is still wide enough to reach the backings. Once the body closes further, getting a finger inside to press the backing on becomes very difficult.
- If a bobble sits on the wrong side of the fabric, simply reach in with your hook and push it through from behind. Bobbles always want to go toward the last side you pushed them.
- Keep tension even on the BLO shell rounds because loose back loop stitches leave visible gaps between the spike rows once the front loops are worked.
- Count the free front loops before starting the spikes so you know how many spikes each row should have. Running out of loops mid row means a stitch was accidentally worked through both loops on an earlier round.
Yarn Substitution
Any smooth DK or sport weight yarn in tan and yellow will work here. Avoid anything fluffy or loosely twisted at the 3 mm hook, since the bobble stitches need clean loops to form properly. If you switch to a thicker yarn, go up one hook size but keep the stitch count exactly the same.
Customisation Ideas
- Try orange or rust for the spikes instead of yellow for an autumn colour palette.
- Work the shell in the same colour as the body for a single colour hedgehog.
- Add a tiny crochet flower or leaf onto the back of the shell for a garden theme.
- Make a matching set in different spike colours and clip them together on one ring.
FAQ
I have never done a bobble stitch before. Where should I practise first? Work the bobble a few times on a small swatch before starting round 6 of the body. Use any leftover yarn and the same hook. Once you can push the bump through cleanly on a swatch, it will behave the same way on the body.
My safety eyes keep shifting before I press the back on. How do I hold them still? Push the eye stem through the fabric first, then hold the eye flat against the fabric from the front with one finger while you press the backing firmly onto the stem from inside with your thumb. A firm push straight in rather than at an angle seats the backing correctly.
The spike shell looks flat rather than round. What went wrong? The BLO rounds were likely worked through both loops on some stitches, which removes the front loop ridge that gives the shell its layered look. Unfortunately this means reworking the shell from the affected round, so check your loops every two or three stitches on the first shell run through.
How tight should I stuff the body? Firm enough that the body holds its round shape without any soft flat spots, but not so packed that the stitches stretch visibly. Stuff in small pinches rather than one large handful, which avoids lumps showing through the tan surface.
Can I use a lobster clasp clip instead of a plain keychain ring? Yes, and it actually gives a more secure attachment since the clasp locks closed. Thread the tail through the clasp loop rather than a plain ring and follow the rest of the keychain step exactly.
Every stitch on this little hedgehog teaches you something you will use again and again, so enjoy the process from magic ring to spike shell.