
Crochet Easter Bunny Pattern Free Easy Amigurumi in Yellow Velvet Yarn
Under an hour of work turns bulky yellow velvet yarn into this crochet Easter bunny, which grows from two ear tubes into the head and body without a single seam. A 3.75 mm hook and a little stuffing finish a palm sized piece with no face to embroider.
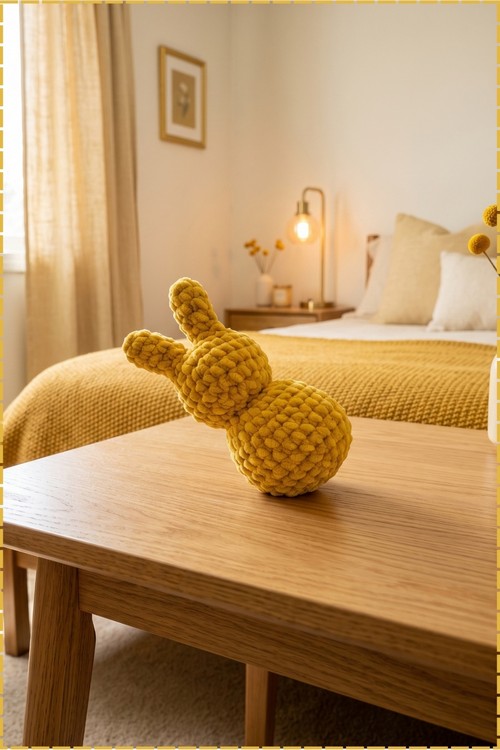
Plush ears and a pear shaped body define this Crochet Easter Bunny. No face, no limbs. Just shape. Beginners finish the Crochet Easter Bunny quickly and chenille hides uneven stitches, so the first one usually looks like the fifth.
Crochet Easter Bunny
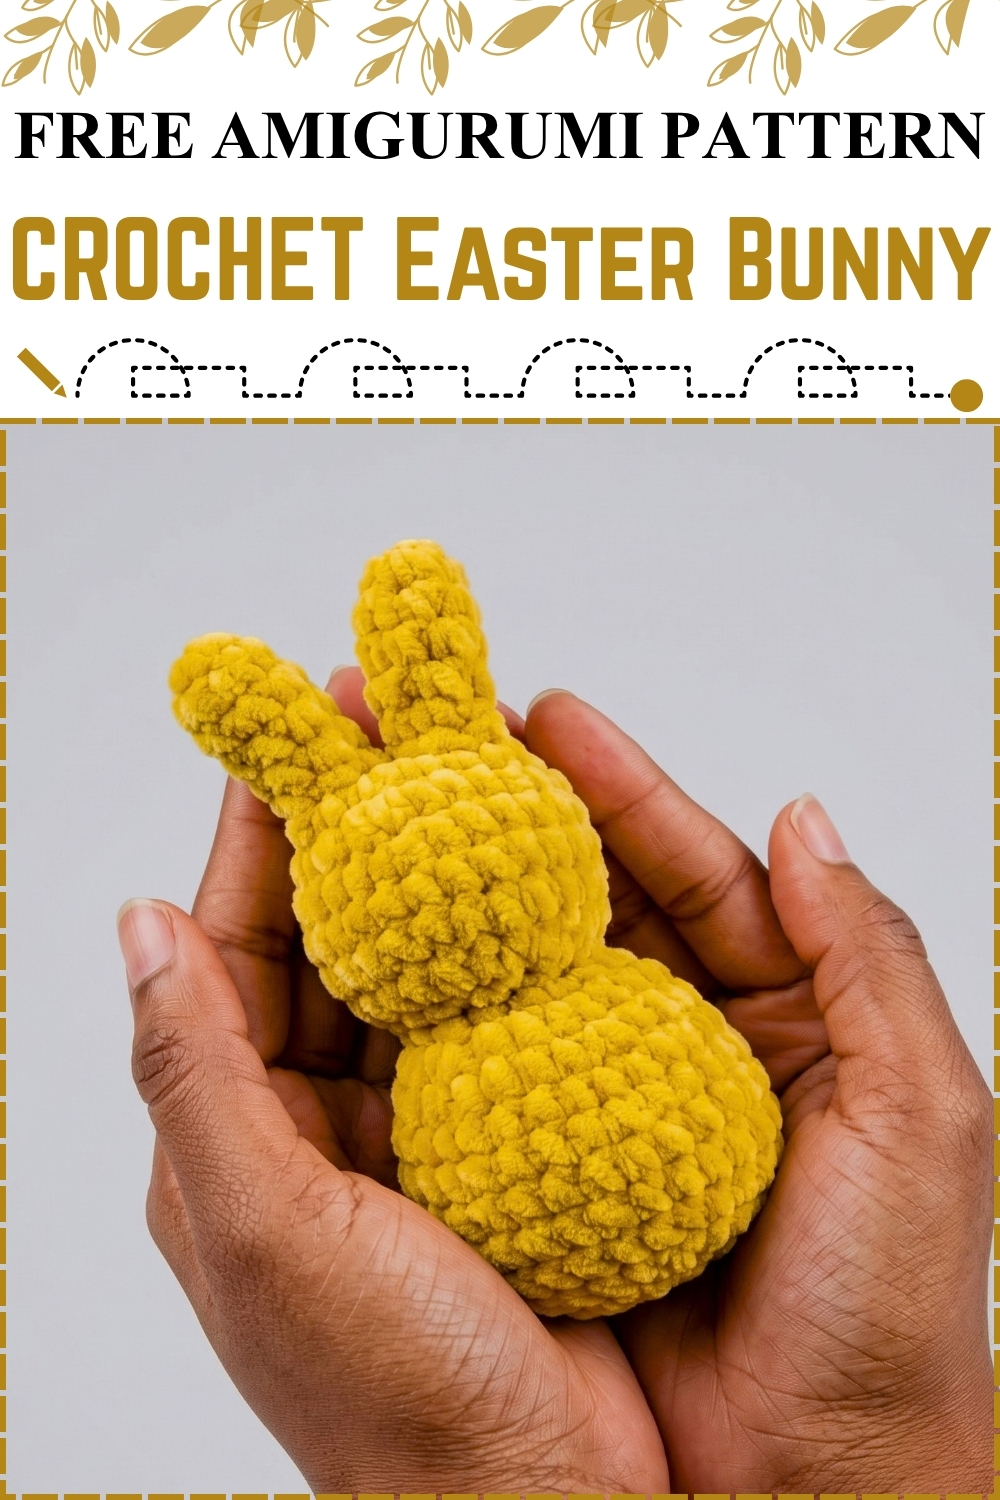
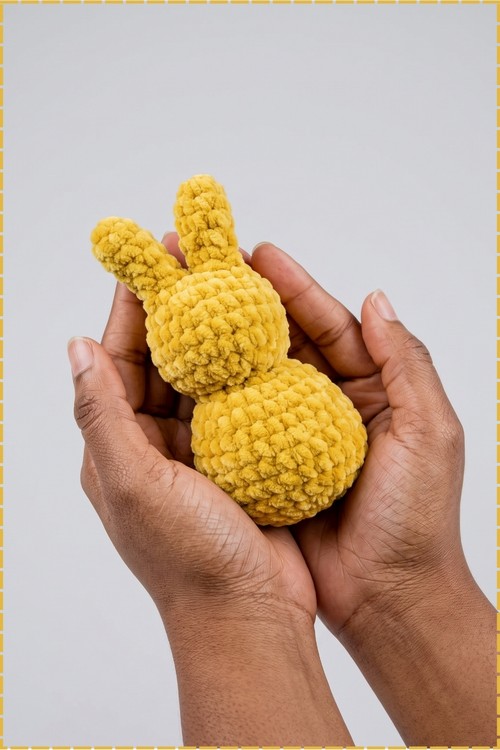
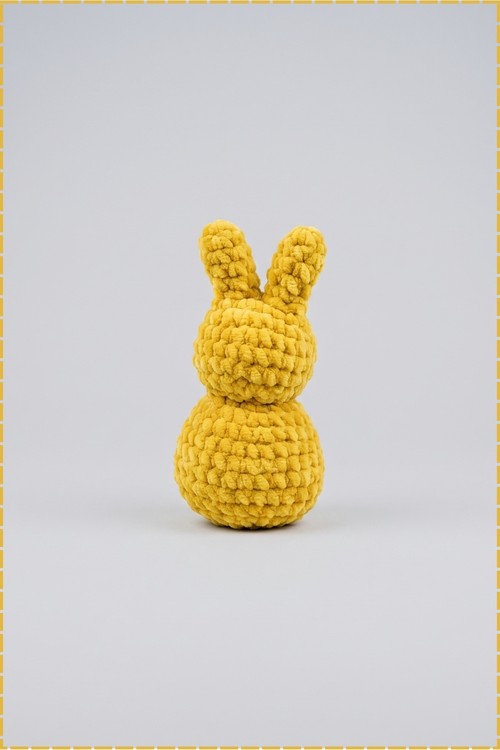
Worked from the ears down in one unbroken piece, this crochet Easter bunny needs no sewing apart from closing the final hole. Two short tubes get joined into a single round, and from there the head and body grow straight out of them without a seam anywhere. Velvet yarn gives the whole thing a soft rounded surface that hides stitches completely. My version stays plain yellow with no face, no tail, and no trim, which keeps it looking like a sugar coated peep. Small enough to sit in one palm, it works up in well under an hour.
Materials
- Bulky weight velvet or velour yarn in yellow for the whole bunny
- Size F, 3.75 mm crochet hook
- Polyfill stuffing
- Tapestry needle, stitch marker, scissors
- Small amount of cream velvet yarn, only if you add the optional tail
Size and Time
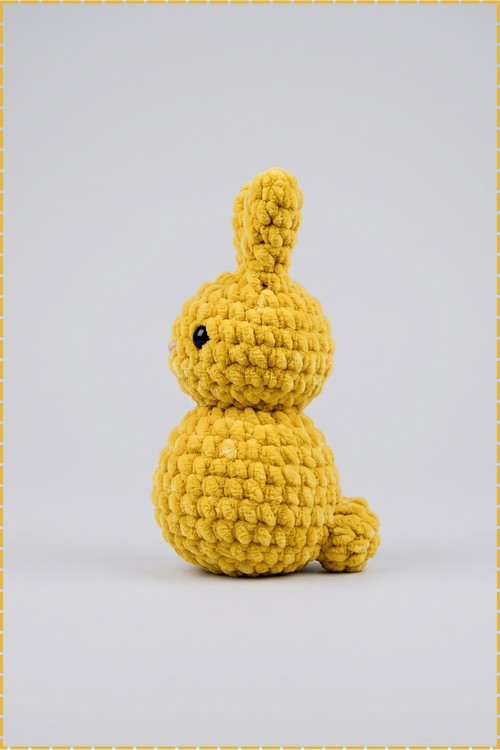
Mine sits comfortably in one hand, roughly palm sized, worked in bulky velvet on the 3.75 mm hook. The whole bunny took me under an hour. Both of those are from my own piece, so expect some variation with your tension.
The Pattern
Work in continuous spiral rounds throughout. Do not join unless told to.
Ears, Make 2
- Round 1: Work 6 single crochet into a magic ring. (6 sts)
- Rounds 2 to 5: Work 1 single crochet in each stitch around for all four rounds. The ear is a narrow tube at this point, which is correct. (6 sts per round)
- Fasten off the first ear only, using an invisible finish: cut the yarn, thread a tapestry needle, skip the next stitch, insert the needle from outside to inside under the second stitch, then back into the centre of the last stitch made, and hide the tail inside the ear.
- Do not cut the yarn on the second ear.
Joining the Ears and Working the Head
- Round 6: On the second ear, work 1 single crochet in each of the first 3 stitches.
- Chain 1.
- Pick up the first ear, work 1 single crochet into any stitch on it, then 5 more single crochet around the rest of that ear. (6 sts on the first ear)
- Work 1 single crochet into the back of the chain 1 space between the two ears.
- Work 3 single crochet in the remaining stitches of the second ear to return to the start. Keep both ears facing the same way before you join, since a twisted ear cannot be corrected later. (14 sts total)
- Round 7: Work 1 increase, which is 2 single crochet in the same stitch, then 2 single crochet, repeating around and placing the increases in the joining chains on both sides. (18 sts)
- Round 8: Work 2 single crochet, then 1 increase, and repeat that sequence 6 times around. (24 sts)
- Rounds 9 to 11: Work 1 single crochet in each stitch around for all three rounds. (24 sts per round)
- Round 12: Work 2 single crochet, then 1 decrease, and repeat that sequence 6 times around. (18 sts)
- Round 13: Work 1 single crochet, then 1 decrease, and repeat that sequence 6 times around. (12 sts)
- Stuff the ears and head lightly. Overstuffing velvet pushes the stitches apart and lets white fibre show through, so keep the ears soft enough to bend.
Body
- Round 14: Work 1 single crochet, then 1 increase, and repeat that sequence 6 times around. (18 sts)
- Round 15: Work 2 single crochet, then 1 increase, and repeat that sequence 6 times around. (24 sts)
- Round 16: Work 3 single crochet, then 1 increase, and repeat that sequence 6 times around. (30 sts)
- Rounds 17 to 21: Work 1 single crochet in each stitch around for all five rounds. (30 sts per round)
- Round 22: Work 3 single crochet, then 1 decrease, and repeat that sequence 6 times around. (24 sts)
- Round 23: Work 2 single crochet, then 1 decrease, and repeat that sequence 6 times around. (18 sts)
- Round 24: Work 1 single crochet, then 1 decrease, and repeat that sequence 6 times around. (12 sts)
- Stuff the body firmly, keeping the density balanced against the lightly stuffed head so the bunny stands without leaning.
- Round 25: Work 6 decreases around. (6 sts)
- Cut the yarn leaving a tail, thread it through the front loops of the remaining 6 stitches, pull tight to close the hole, then weave the end into the body and trim.
Fluffy Tail, Optional
- My bunny has no tail, so skip this unless you want one.
- Round 1: Make a double loop magic ring in cream velvet yarn, work 5 single crochet into it, then pull the ring tight to secure. (5 sts)
- Fasten off leaving a tail of 6 to 9 inches for sewing, and make an invisible join so the circle closes neatly.
- Centre the tail on the lower back of the bunny and sew it down through the base stitches of the tail and into the body stitches directly beneath.
- Knot securely under the tail, pull the remaining end into the body, cut, and hide it.
Tips
Count by feel rather than by sight. Velvet hides stitch definition almost entirely, so run your finger along the round and find the bumps instead of squinting at them.
Keep a stitch marker in the first stitch of every round and move it up. There are no joins to guide you, and losing your place in the five straight body rounds throws off the whole shape.
Work the joining round slowly. Round 6 is the only fiddly part of this pattern, and once both ears are connected cleanly the rest runs without thinking.
Hold the yarn with slightly more tension than feels natural. Velvet is slippery and loose stitches show stuffing through the fabric.
Velvet Yarn Notes
Velvet is worth using here rather than substituting. The rounded pile is what gives this bunny its smooth peep like surface, and the same pattern in a standard acrylic reads as a plain amigurumi instead. If you do swap, choose a bulky chenille for the closest result. Velvet does split easily, so work with a hook that has a smooth tapered head and pull each loop through slowly.
Customization
Yellow reads as a classic marshmallow peep, while pink, lilac, and mint give the same shape a softer spring look. A contrast cream tail adds a traditional bunny finish. Two small black safety eyes placed on the head before stuffing turn it into a character, though the plain face is what keeps mine looking like candy. A chain loop sewn between the ears makes it a basket tag or hanging ornament.
Frequently Asked Questions
Why does my bunny lean forward? The head is stuffed too heavily relative to the body, or the body is too soft. Keep the head light and the body firm, which is the balance this shape depends on.
Can I make the ears longer? Yes. Add extra plain rounds of 6 single crochet before the joining round, keeping both ears identical. Nothing else in the pattern changes.
Is this safe for a baby? With no face, no tail, and no added parts, mine has nothing that can come loose. Keep it that way for a baby gift and skip the safety eyes.