
Crochet Easter Eggs Free Pattern Amigurumi In Mustard Gold
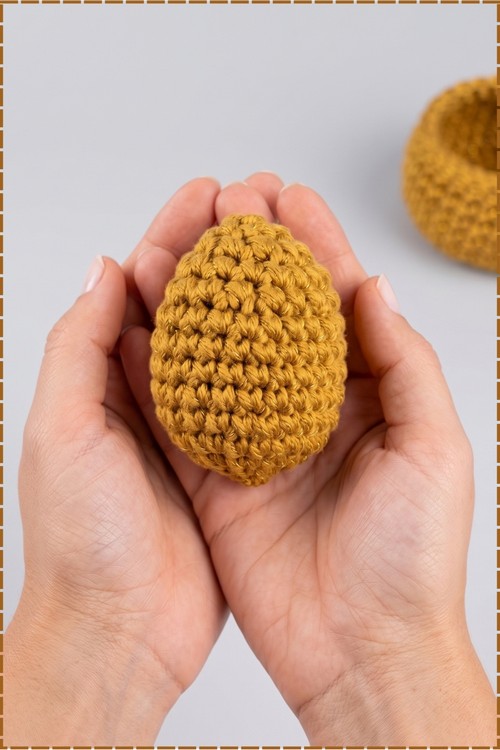
My mustard gold pair gets its quiet sparkle from a metallic strand held alongside plain acrylic, and each of these crochet Easter eggs starts on a small chain ring rather than a magic circle. Front loop decreases taper the top, so nothing needs sewing.
Hand sized and firmly stuffed, these Crochet Easter Eggs suit anyone who wants a holiday make without fiddly assembly. New crocheters get an easy win here. Parents filling baskets can turn out a set for every child. Crafters selling at spring markets find Crochet Easter Eggs move fast in mixed colour batches.
Crochet Easter Eggs
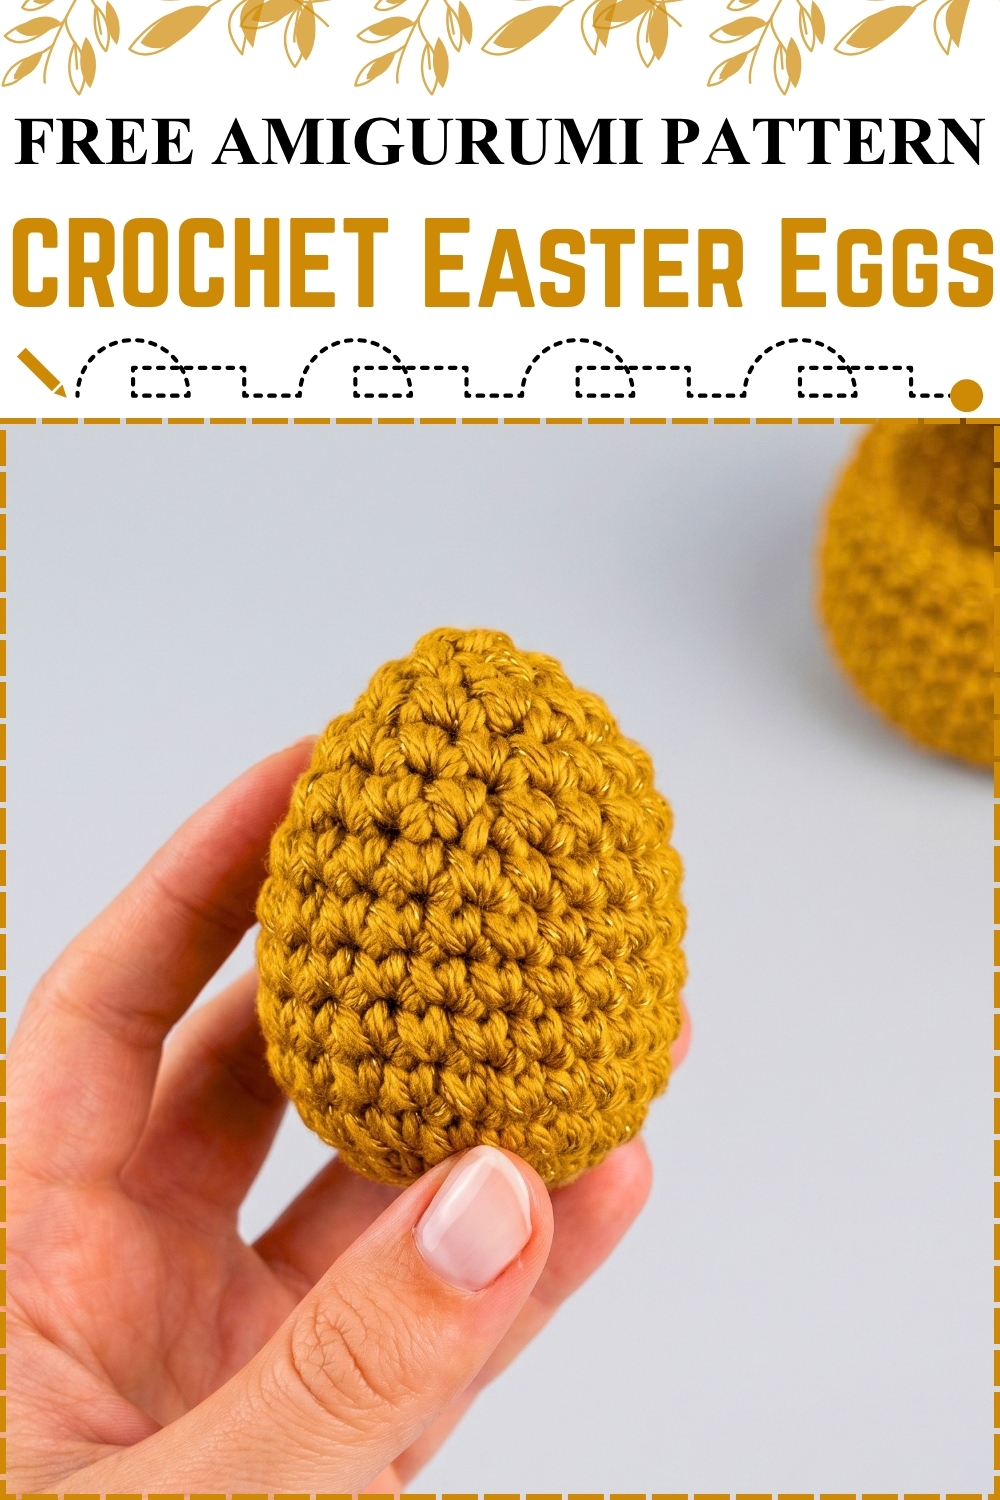
Worked from a small chain ring instead of a magic circle, these crochet Easter eggs come together in one piece with no seams to sew at the end. Increases shape the rounded base, five straight rounds build the height, and front loop decreases taper the top into a smooth point. My pair uses a mustard gold yarn with a fine metallic thread running through it, which catches the light without looking shiny. Stuffing goes in just before the last round, so the egg keeps a firm oval shape. Beginners can finish one in a single sitting.
Materials and Tools
- Medium weight 4 yarn in mustard gold. I used two strands of a weight 2 acrylic held together, one plain and one with a metallic thread, which is where the subtle sparkle comes from
- 3.5 mm crochet hook
- Stitch marker
- Yarn needle
- Scissors
- Fiberfill polyester stuffing, or scrap yarn pieces if you prefer to use what you have
Difficulty and Time
Easy. The whole egg uses single crochet, increases, and decreases, and nothing needs sewing together. Based on my own working speed this takes around an hour, a little less once you have made the first one. Treat that as a rough guide since tension and yarn change things.
Technique Notes and Tips
Hold your stitch marker in the first stitch of every round and move it up as you go. Joined rounds are not used here, so the marker is the only thing telling you where a round begins. Losing it halfway through the straight rounds is the most common reason eggs come out lopsided.
Make the decreases through front loops only. That is what keeps the tapered top smooth instead of lumpy, and it is the detail that gives my eggs a clean finish at the narrow end.
Pull the starting tail firmly after Round 1 to close the centre hole. Chain rings leave a visible gap if you skip this, and it is far harder to tighten once the egg is stuffed.
Keep your tension on the tight side. Loose single crochet lets stuffing show through, especially with a lighter colour. If you can see white fibre through the fabric, go down half a hook size.
Stuff in small pieces rather than one lump. Push the first pieces down into the base so the wide end stays round, then fill the upper half more lightly so the taper does not bulge.
Hold both strands together evenly from the start. If one strand runs looser than the other, the metallic thread loops out and catches on the hook.
The Pattern
Starting Ring
- Make a slip knot on your hook.
- Chain 4, then slip stitch into the first chain to join the chain into a small centre circle. Keep the ring loose enough to fit six stitches, because a tight ring is hard to work into.
Rounds 1 to 4, Shaping the Base
- Round 1: Chain 1, then work 6 single crochet into the centre ring, place your stitch marker in the first stitch, and pull the starting tail to tighten the ring closed. The piece should sit as a small flat disc with no hole in the middle. (6 sts)
- Round 2: Work 1 increase, which is 2 single crochet in the same stitch, into every stitch around. The disc stays flat at this stage. (12 sts)
- Round 3: Work 1 single crochet, then 1 increase, and repeat that sequence 6 times around. (18 sts)
- Round 4: Work 1 single crochet in each of the next 2 stitches, then 1 increase, and repeat that sequence 6 times around. The edges now begin curling upward into a shallow cup, which is correct. (24 sts)
Rounds 5 to 9, Building the Body
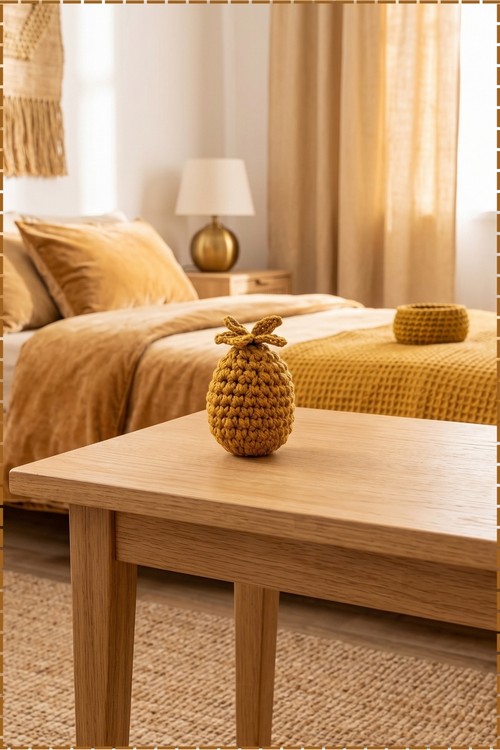
- Rounds 5 to 9: Work 1 single crochet in each stitch around for all five rounds, moving the stitch marker up to the first stitch of each round. Five straight rounds is what gives the egg its height, so count them carefully because a missing round leaves the shape short and round rather than oval. (24 sts in each round)
Rounds 10 to 13, Tapering and Closing
- Round 10: Work 1 single crochet in each of the next 2 stitches, then 1 invisible decrease worked through front loops only, and repeat that sequence 6 times around. Working the decrease through front loops only keeps the surface flat and hides the shaping. (18 sts)
- Round 11: Work 1 single crochet in each stitch around. (18 sts)
- Round 12: Work 1 single crochet, then 1 invisible decrease, and repeat that sequence 6 times around. The opening is now small, so stuff before going any further. (12 sts)
- Stuff the egg firmly through the remaining opening with fiberfill or scrap yarn, shaping it with your fingers as you go so the base stays rounded and the upper half tapers evenly. Mine holds its shape when squeezed and springs back, which is the firmness to aim for.
- Round 13: Work 6 invisible decreases one after another around. Add a little more stuffing through the gap now if the top feels soft. (6 sts)
Finishing
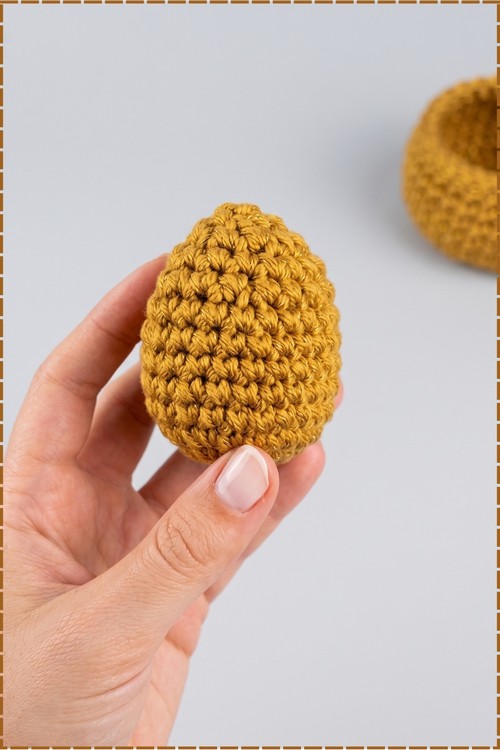
- Cut the yarn leaving a short tail and pull the loop all the way through to fasten off.
- Thread the tail onto a yarn needle.
- Pass the needle through the front loop only of each of the 6 remaining stitches, working around the opening in one direction.
- Pull the tail tight to draw the opening fully closed. Working front loops only here is what makes the closure disappear instead of leaving a visible knot at the tip.
- Weave the needle back and forth through the body of the egg to bury the tail, then trim the excess close to the surface so no end pokes out.
Yarn Substitution
Any medium weight 4 yarn works with the 3.5 mm hook. A single strand of worsted acrylic or cotton gives the same stitch counts and a slightly smoother surface than the two held strands I used. Cotton produces a firmer egg with sharper stitch definition and a matte finish, so the metallic effect disappears entirely. If you want the subtle shimmer in my photos without buying metallic yarn, hold one strand of plain yarn together with one strand of fine sparkle thread. Avoid anything fluffy, since the stitch pattern and the tapered top both get lost in the halo.
Customization Ideas
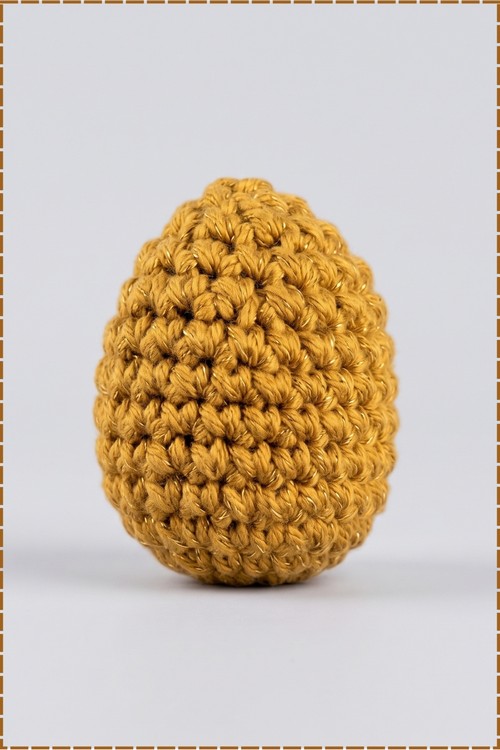
Make a set in several colours and the eggs read as a collection rather than a single object. Mustard gold, sage, dusty pink, and cream work well together for a muted spring look, while brights suit a children's hunt. Stripes are easy by changing colour at the start of any round in the straight section. A chain loop sewn to the tapered tip turns the egg into a tree ornament. Embroidered dots, French knots, or a simple surface slip stitch spiral add pattern without changing the shape. Smaller eggs come from going down a hook size with the same counts.
Frequently Asked Questions
Why is my egg round instead of oval? Usually one of the five straight rounds was missed, or the stuffing was pushed up into the top. Count Rounds 5 to 9 and make sure the stuffing sits mostly in the lower half.
Can I use a magic ring instead of the chain 4 ring? Yes. Work 6 single crochet into a magic ring for Round 1 and pull it closed, then continue as written. The chain ring is used here because it is easier for beginners and does not loosen over time.
Can stuffing be left out? No, not if you want the egg to hold shape. Scrap yarn works instead of fiberfill and gives a slightly heavier egg, which actually sits better in a bowl or basket.