
Crochet Flounder Free Pattern Amigurumi Little Mermaid Fish
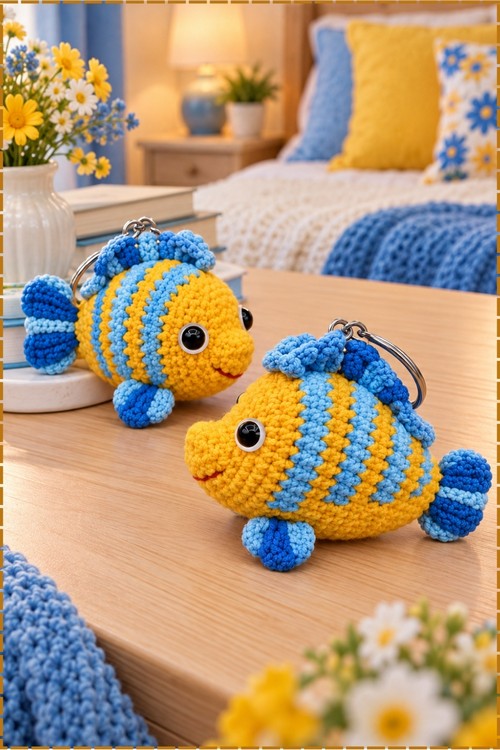
Clip a crochet Flounder amigurumi keychain to a beach tote and its sunny yellow body with periwinkle blue stripes brightens every trip to the pool. Little Mermaid fans get a smiling tropical fish plush with ruffled blue fins and a silver keyring, ready to swing from a backpack zip.
Striped bands and ruffled fins make the Crochet Flounder Amigurumi oddly absorbing to work through. Each colour change lands fast. Attaching fins to the Crochet Flounder Amigurumi is the part where it stops being a lump and starts swimming in your hands.
Crochet Flounder Amigurumi
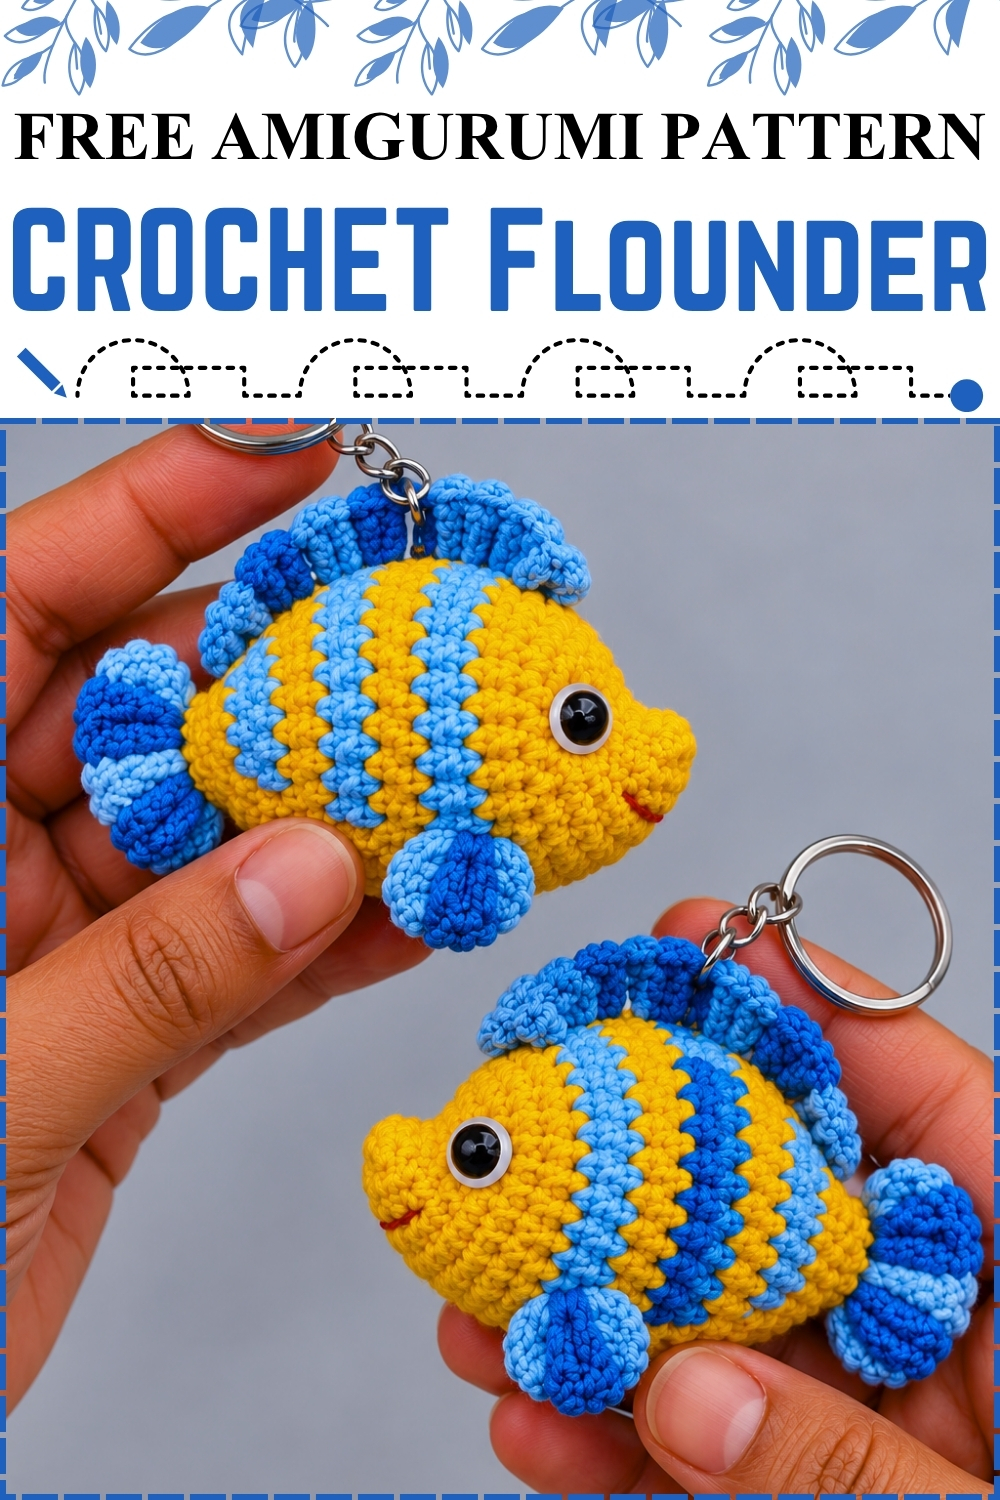
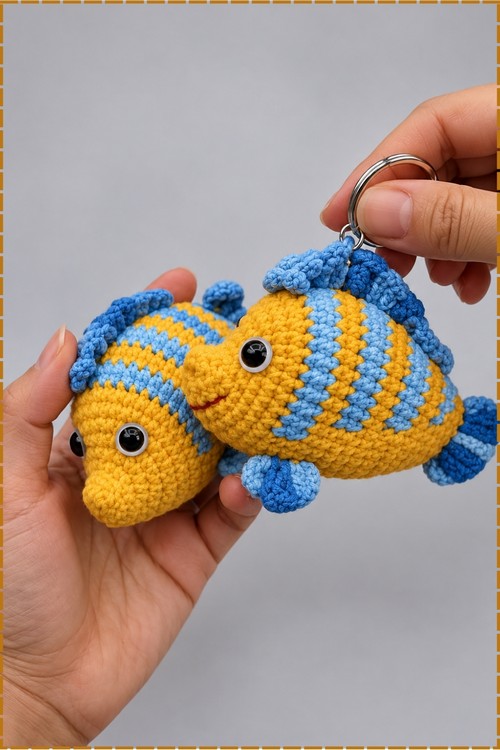
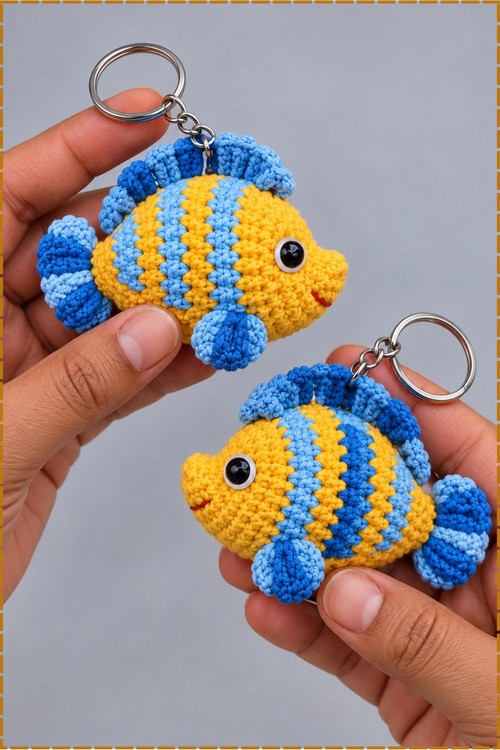
Starting from a magic ring at the snout and closing at the tail, this crochet Flounder amigurumi builds its round body through a single continuous spiral with no pieces to sew at the front. Fins and the dorsal ridge attach at the end, which means the body shape comes together quickly. My version uses bright yellow for the body and periwinkle blue for the stripes, fins, and tail, which reads much closer to the animated character than a single colour fish would. A keychain ring at the dorsal fin makes it a bag charm. Two are shown in my photo because once the first one worked I made a second immediately.
Quick Facts
- Difficulty: easy to confident beginner
- Finished size: palm sized, roughly the length of a hand from snout to tail, based on my own piece
- Time: one sitting for the body, another for the fins and finishing
- Main skills: magic ring, single crochet in spirals, increase, decrease, flat fin shaping
Customisation Ideas
Swap the blue for teal and you are closer to a tropical reef fish than a Disney character. Deeper navy and gold read as a more graphic version that suits an adult desk. Leaving the keychain off and adding a short hanging loop of chain instead turns it into a bag charm or ornament. You can also make one large and one keychain sized from the same counts simply by changing yarn weight and hook. Work the stripes wider or narrower by adding or removing rounds between them, keeping the same stripe colour throughout. My pair uses the same counts for both pieces, which is what makes them identical.
Materials and Tools
- Worsted or DK weight yarn in bright yellow for the body
- Periwinkle or medium blue yarn for the fins, tail, and surface stripes
- Safety eyes, 8 mm to 10 mm, in black with white iris rings
- Keychain ring, one per fish
- Fiberfill stuffing
- Yarn needle, stitch marker, scissors
The Pattern
Main Body, in Yellow
Work in continuous spiral rounds throughout.
- Round 1: Work 6 single crochet into a magic ring. (6)
- Round 2: Work 1 single crochet, then 1 increase, which is 2 single crochet in the same stitch, and repeat that sequence 3 times around. (9)
- Round 3: Work 2 single crochet, then 1 increase, and repeat that sequence 3 times around. (12)
- Round 4: Work 1 single crochet, then 1 increase, and repeat that sequence 6 times around. (18)
- Round 5: Work 2 single crochet, then 1 increase, and repeat that sequence 6 times around. Insert the safety eyes between Rounds 5 and 6 now, spaced roughly 6 to 8 stitches apart. On my fish the eyes sit well forward toward the snout with their white iris rings giving them the wide expressive look of the character. Lock the backs on before continuing. (24)
- Round 6: Work 3 single crochet, then 1 increase, and repeat that sequence 6 times around. (30)
- Round 7: Work 4 single crochet, then 1 increase, and repeat that sequence 6 times around. (36)
- Rounds 8 to 15: Work 1 single crochet in each stitch around for all eight rounds. The body is now a wide round ball, which is exactly what you want since Flounder is more sphere than fish at this stage. (36 per round)
- Round 16: Work 4 single crochet, then 1 decrease, and repeat that sequence 6 times around. (30)
- Round 17: Work 3 single crochet, then 1 decrease, and repeat that sequence 6 times around. (24)
- Begin stuffing the body firmly with fiberfill now, while the opening is still wide enough to pack it evenly.
- Round 18: Work 2 single crochet, then 1 decrease, and repeat that sequence 6 times around. (18)
- Round 19: Work 1 single crochet, then 1 decrease, and repeat that sequence 6 times around. (12)
- Round 20: Work 6 decreases around. (6)
- Fasten off, weave the tail through the front loops of the remaining 6 stitches, pull tight to close, and weave in the end.
Tail Fin, in Blue
- Round 1: Work 4 single crochet into a magic ring. (4)
- Round 2: Work 1 single crochet, then 1 increase, and repeat that sequence 2 times around. (6)
- Round 3: Work 1 single crochet, then 1 increase, and repeat that sequence 3 times around. (9)
- Round 4: Work 2 single crochet, then 1 increase, and repeat that sequence 3 times around. (12)
- Round 5: Work 1 single crochet, then 1 increase, and repeat that sequence 6 times around. (18)
- Round 6: Work 1 single crochet in each stitch around. (18)
- Round 7: Work 1 single crochet, then 1 decrease, and repeat that sequence 6 times around. (12)
- Round 8: Work 2 single crochet, then 1 decrease, and repeat that sequence 3 times around. (9)
- Flatten the tail piece without stuffing and single crochet across the opening to close it. Leave a long tail for sewing to the back centre of the body.
Dorsal and Top Fin, in Blue
- Row 1: Chain 16, then starting in the second chain from the hook work 2 single crochet, 3 half double crochet, 8 double crochet, and 2 half double crochet. (15)
- Row 2: Chain 1 and turn. Work 1 slip stitch in each of the first 2 stitches, then 1 single crochet, then 2 half double crochet, then 6 double crochet, then 2 half double crochet, then 2 single crochet. (15)
- Fasten off leaving a long tail for sewing along the top spine of the body. The height difference across the row is what gives the fin its sloped curve. On my fish a keychain ring is looped through the tip of the dorsal fin before sewing it down, so do that now if you want the keychain version.
Side Pectoral Fins, Make 2 in Blue
- Round 1: Work 4 single crochet into a magic ring. (4)
- Round 2: Work 1 single crochet, then 1 increase, and repeat that sequence 2 times around. (6)
- Round 3: Work 1 single crochet, then 1 increase, and repeat that sequence 3 times around. (9)
- Round 4: Work 1 single crochet in each stitch around. (9)
- Round 5: Work 1 single crochet, then 1 decrease, and repeat that sequence 3 times around. (6)
- Flatten without stuffing and slip stitch closed. Leave a long tail for assembly.
Blue Body Stripes, Surface Stitched in Blue
- Using blue yarn and a hook, work surface slip stitches as vertical lines running from the top fin edge down toward the belly on each side of the body. On my fish these stripes are wide enough to cover several stitches each and read as bold bands of colour rather than thin lines, which is the character's actual look.
- Stripe 1 sits near Rounds 8 to 10 on each side, close to the face.
- Stripe 2 sits near Rounds 12 to 14 in the middle of the body, and is the widest of the three.
- Stripe 3 sits near Rounds 16 to 17 toward the tail end.
- Work each stripe consistently on both sides so the fish looks balanced from every angle.
Assembly and Face
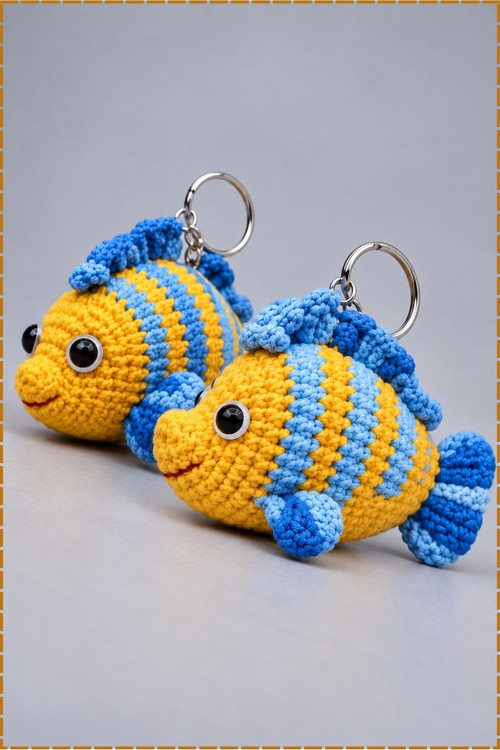
- Sew the flattened tail fin to the back tip of the yellow body, making sure it lines up with the body's centre so it does not sit crooked.
- Pin the dorsal fin along the central top ridge of the body and sew it in place from snout end to tail end. The keychain ring should already be attached to the fin tip before sewing.
- Attach one pectoral fin on each side of the body just below eye level. On my fish they sit slightly angled forward, which makes the fish look as though it is moving.
- Embroider a small curved smile in black or dark yarn below the eyes and between the eye positions. Mine is a simple single curved line that gives the fish its friendly expression.
- Optional: add small white highlight stitches around the safety eyes if you want extra expressiveness.
Tips and Troubleshooting
- Insert the safety eyes at Round 5 before continuing to Round 6. The opening is wide enough there to fit the posts cleanly and to see the spacing clearly. Waiting until later makes placement much harder.
- Pin the dorsal fin before sewing. The fin is slightly curved from the two row heights, and where you start the seam determines how much it curves forward or backward on the finished fish.
- Work the surface stripes after all the fins are attached. Seeing the full fish helps you judge how wide to make each stripe before committing to the stitch.
Frequently Asked Questions
Can I make this without a keychain ring? Yes. Simply skip threading the ring through the dorsal fin and sew the fin flat as described. The rest of the pattern stays the same.
My body came out oval instead of round. What happened? Usually the stuffing went in too early or too late. Stuffing at Round 17 is the right moment, when the opening is 24 stitches wide and easy to reach into. Earlier than that and the stuffing pushes against the shaping rounds. Later and you cannot pack it fully before the hole closes.
How wide should the blue stripes be? The pattern gives three position guides but not stitch widths, since stripe width depends on yarn thickness. On my fish each stripe covers roughly 4 to 5 stitches of height. Work one stripe, step back, and judge the proportion before committing to the rest.
Can I work the stripes in a different colour? Yes. Any contrast colour works against the yellow body. Teal reads as tropical, orange reads as clownfish adjacent, and white gives a cleaner look.