
Detective Conan Crochet Doll Amigurumi Pattern Free
Anime collectors can stand a crochet Detective Conan doll on a bookshelf, dressed in a brown jacket over a white shirt, grey shorts, and brown shoes. Mystery fans get a crochet anime doll with spiky dark hair and a gold jacket button that looks at home beside a stack of detective novels.
Black glasses and a pink bow tie give the crochet Detective Conan doll its finish, and stitching them is the satisfying part. Slow work, lots of small pieces. You will keep adjusting the jacket until it sits right. Building this crochet Detective Conan doll rewards makers who enjoy fiddly details.
Crochet Detective Conan Doll
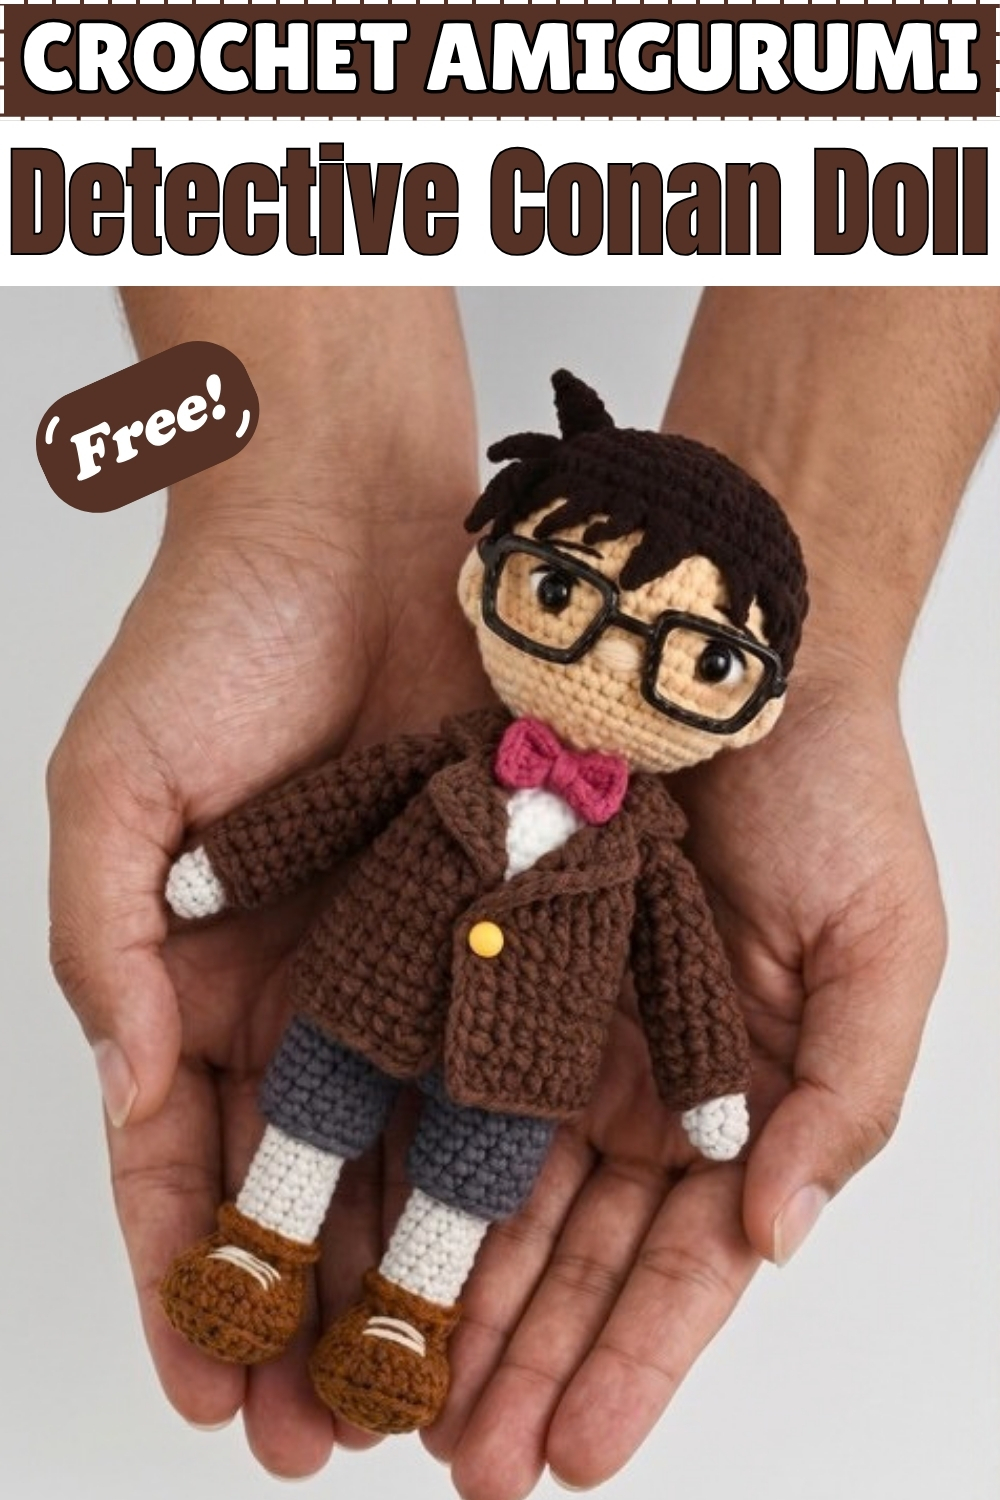
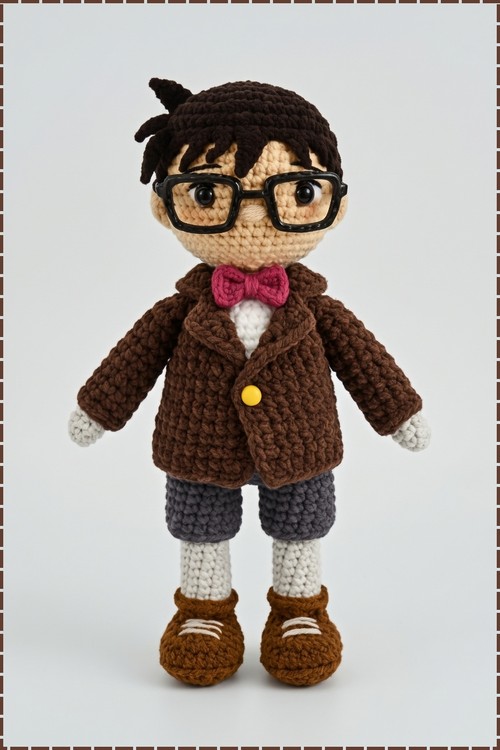
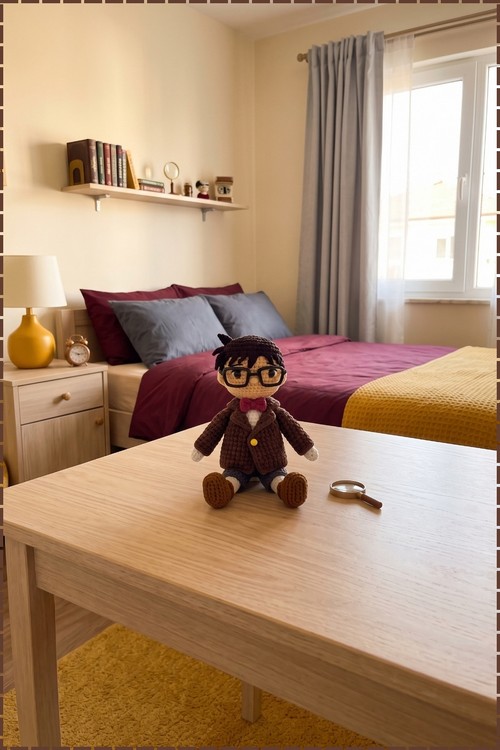
Legs and body grow as one continuous piece here, joined at Round 32 so the doll has no waist seam and stands with a firm, upright posture. My crochet Detective Conan doll stands tall with a skin tone body, a dark brown jacket over a white undershirt, grey shorts, brown shoes, a pink bow tie, and wire glasses wrapped in black yarn. Hair is dark brown yarn layered in structured wefts across the crown and front. Two yellow buttons sit on the jacket front. Every detail visible in the photo is made from yarn, wire, or small painted card.
Quick Facts
- Difficulty: Advanced
- Hooks: 1.5 mm for body, clothes and accessories; 1.0 mm for neck and head
- Time: This is a multi-session project; from my own experience expect several hours spread across multiple sittings, longer still for the clothes, hair and accessories
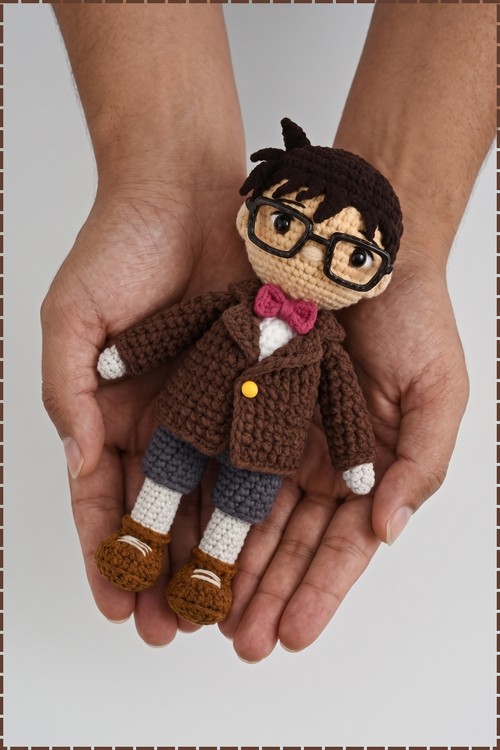
- Size: Tall enough to stand independently on a shelf, roughly the height of a standard paperback book based on the proportions visible in my photo
Materials and Tools
- Skin tone yarn for legs, body, arms and neck
- White yarn for the undershirt section of the body
- Dark brown yarn for the jacket
- Grey yarn for the shorts
- Brown yarn for the shoes
- Pink yarn for the bow tie
- Black yarn for glasses wrapping and flocking
- Dark brown yarn for the hair wefts
- 1.5 mm crochet hook for body, clothes and accessories
- 1.0 mm crochet hook for neck and head
- Thin wire for the body skeleton and for forming the glasses frames
- Fiberfill stuffing
- Tapestry needle
- Stitch markers
- Scissors
- Fabric glue
- Small pieces of thin cardboard for buttons
- Yellow paint for the jacket buttons
- White paint for any shoe detail buttons
- Black ink or soft pastels for the facial details
- Small piece of white cloth or a glass cabochon for the drawn eyes
- Black hair wefts for the structured front hair and cowlick
The original pattern specifies red and blue for Conan's classic jacket and shorts. My version substitutes dark brown for the jacket and grey for the shorts, which is the colourway visible in the photo.
Customisation Ideas
- Work the jacket in blue instead of brown to match the classic anime colour scheme.
- Leave the wire skeleton out if the doll is for a child, and rely on firm stuffing alone.
- Embroider the eyes directly on the face fabric instead of using a cut cloth insert.
- Add a tiny silver-painted card badge to the jacket lapel.
- Make the bow tie in red rather than pink for a closer match to the source material.
- Attach a small chain at the wrist to suggest the watch communicator.
The Pattern
Legs (Make 2)
- Use the 1.5 mm hook and skin tone yarn
- Round 1: 6 single crochet (sc) into a magic ring [6]
- Rounds 2 to 5: 1 sc in every stitch around [6]
- Row 6 (heel shaping): 2 sc, chain 1, turn
- Row 7: 2 sc, chain 1, turn
- Round 8: 1 sc in every stitch around the entire piece [8]
- Round 9: 2 decreases (dec) in the back of the foot [6]
- Rounds 10 to 19: 1 sc in every stitch around for 10 rounds [6]
- Round 20 (knee shaping): 2 increases (inc), 2 dec [6]
- Round 21: 2 dec, 2 inc [6]
- Rounds 22 to 31: 1 sc in every stitch around for 10 rounds [6]
- Make the second leg identically but do not cut the yarn on the second leg
Body
- Round 32: from the second leg, chain 3, attach to the first leg, and work 1 sc in every stitch around both legs and across the chains
- Rounds 33 to 36: 1 sc in every stitch around for 4 rounds
- Round 37: change to white yarn to begin the undershirt section
- Rounds 38 to 48: 1 sc in every stitch around for 11 rounds and by this point the body tube should be clearly visible with the skin tone lower half giving way to white at the chest
Arms (Make 2)
- Use the 1.5 mm hook and skin tone yarn
- Round 1: 6 sc into a magic ring [6]
- Rounds 2 to 16: 1 sc in every stitch around for 15 rounds [6] and the arm should be a slim tube significantly longer than the leg sections
Upper Body and Arm Attachment
- Round 49: with white yarn still on the body, attach both arms and work 1 sc in each stitch around both arms and the body [30]
- Rounds 50 to 51: work 2 dec in every corner where each arm meets the body at the front and back, continuing for 2 rounds until 14 stitches remain
- Measure and cut thin wire to form the body skeleton, bend to shape, insert it into the body, and stuff firmly with fiberfill
- Round 52: 5 sc, 1 dec, 5 sc, 1 dec [12]
Neck and Head
- Switch to the 1.0 mm hook and skin tone yarn
- Rounds 53 to 55: 1 sc in every stitch around for 3 rounds [12] and these three rounds form the neck, which should sit clearly narrower than the body below
- Round 56 (head base): chain 4, skip the first chain from the hook, and work 3 sc on the chain
- Rounds 57 onward: increase evenly using standard amigurumi sphere shaping until you reach 48 sc in the round, then work straight rounds for the height of the face, and decrease evenly to close the head
Shorts
- Use the 1.5 mm hook and grey yarn
- Legs (make 2): chain 20, close into a circle with a slip stitch (sl st), chain 1, work 1 sc in every stitch around, close with a sl st, and repeat this for 6 more rounds
- Connecting: work 1 sc in every stitch around both legs [40] and close with a sl st
- Pockets round: 5 sc, chain 4, skip 4 stitches, 22 sc, repeat on the other side to form both pocket openings
- Top of shorts: work 1 sc in every stitch around for 3 rounds and close off
Jacket
- Use the 1.5 mm hook and dark brown yarn
- Sleeves (make 2): chain 10, close with a sl st, chain 1, work 1 sc in every stitch around, and repeat for 14 more rounds
- Main body: chain 41, skip the first stitch, work 1 sc in every stitch across [40], chain 1, turn, and work 1 sc in every stitch across for 16 more rows
- Connecting: attach the sleeves to the jacket body the same way the arms joined the doll body, working around and making 2 dec in each corner
- Front lapels (make 2): chain 2, inc in the 2nd chain from the hook [2]
- Chain 1, turn, 2 sc [2]
- Chain 1, turn, 2 sc [2]
- Turn, chain 2, work 2 foundation single crochets
- Chain 1, turn, 2 sc [2]
- Chain 1, turn, 1 inc [3]
- Chain 1, turn, 1 sc [1]
- Chain 1 and cut the yarn
- Sew the two lapels to the front of the jacket and work 1 sc in every stitch all the way around the jacket edges for a clean border trim and on my doll the dark brown lapels sit open over the white undershirt, which is visible in the photo
Shoes
- Use the 1.5 mm hook and brown yarn
- Round 1: chain 5, inc in the 2nd chain from the hook, 2 sc, 4 sc in the last stitch, turn to work on the opposite side of the chain, 2 sc, 1 inc in the last stitch [12], close with a sl st
- Round 2: chain 1, 2 inc, 2 sc, 4 inc, 2 sc, 2 inc [20], close with a sl st
- Round 3: chain 1, work 1 back post single crochet (BPSC) in every stitch around, close with a sl st, and cut the brown yarn
- Round 4: count 8 stitches from the front of the shoe, attach brown yarn, and work 12 sc in the back loop only (BLO), then change to a lighter contrasting colour and work 8 sc in BLO, close the round, chain 1
- Round 5: with brown, 12 sc, change to contrasting colour, 2 sc, 2 dec, 2 sc, close round, chain 1
- Round 6: with brown, 12 sc, change to contrasting colour, 3 dec
- Round 7: turn and work 3 sc in the contrasting colour
- Round 8: work 1 sl st in the BLO in every stitch all the way around the shoe top
Bow Tie
- Use the 1.5 mm hook and pink yarn
- Chain 8, skip 3 stitches, work 2 half double crochet (hdc), 1 sl st, 1 hdc, 1 double crochet (dc)
- Cut the yarn and wrap the excess tightly several times around the middle to pinch the piece into a bow shape
- Attach the bow tie at the neck front over the white undershirt area, which is where it sits on my doll
Glasses
- Cut a piece of thin wire long enough to form both lenses and the bridge
- Wrap the wire tightly along its whole length in black yarn
- Bend the wrapped wire into two large rectangular frames joined at the centre, matching the wide rectangular glasses visible on my doll
- Optional: add small wire arms bent at each side to hook over the ears, or glue the frames flat to the face
Hair
- DIY flocking: take a length of dark brown yarn, fold it several times, and snip with sharp scissors into fine dust-like pieces
- Protect the face and body with plastic wrap, then draw a hairline on the head and apply an even layer of fabric glue across the back and sides of the head
- Sprinkle the dark brown flocking over the glue and leave to dry for several hours
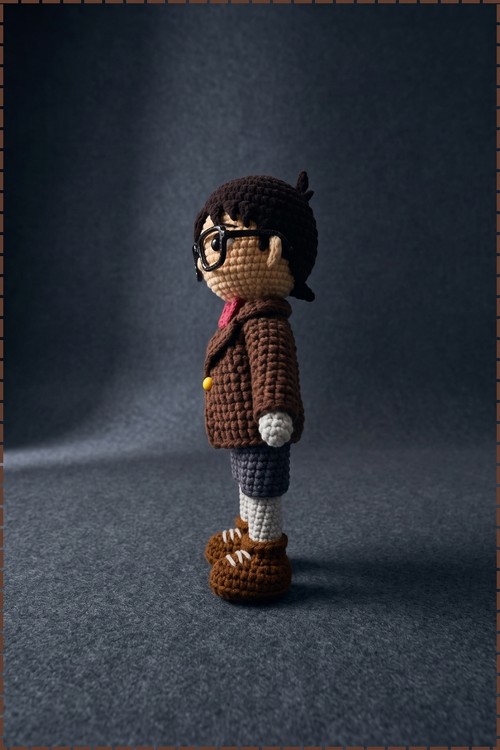
- Structured front hair: glue dark brown yarn wefts to the front of the head, shaping them into Conan's forward-swept side sections and the distinctive upward cowlick at the crown, which is clearly visible on my doll and sits slightly to one side
Finishing Details
- Buttons: cut small circles from thin cardboard, paint them yellow for the jacket button, let dry, and glue into position on the jacket front, and on my doll one yellow button sits prominently at the centre of the jacket
- Face: draw the distinct large rectangular eyes on a small piece of white cloth or a glass cabochon, cut carefully to shape, and glue to the face in the eye area, then add a small embroidered nose and use pastels or pencil to draw in the mouth and eyebrows
Tips
- Insert the wire skeleton before closing the torso, not after. Trying to thread wire through a closed body without distorting it is nearly impossible at this scale.
- Leave the glasses until the very last step. Wire bent to shape can snag on yarn during every handling step before that.
- Test fit the jacket on the doll before sewing the lapels, because the jacket body row count is generous and may need adjusting depending on your tension.
FAQ
What yarn weight works for this scale? The pattern specifies 4-ply or fingering weight used with a significantly undersized hook. Going down from the yarn's recommended hook is what produces a fabric dense enough to hide the stuffing and wire at this small scale.
Can I make this without the wire skeleton? Yes, but the doll will not stand on its own. Stuff very firmly and consider a cardboard insert in the base of the body to give it a flat footing. The arms will also hang differently without wire support.
How do I get the spiky hair to stay upright? Apply the wefts in small sections and hold each one in the direction you want until the glue sets. Working with a quick-setting fabric glue and letting each section dry fully before adding the next gives the most control over the spiky front shape.
My jacket is too wide for the body. What should I do? Add an extra decrease round at the top of the jacket body before attaching the sleeves. The chain 41 starting count is generous and tension varies significantly at 1.5 mm, so a small adjustment there brings the jacket shoulders in without affecting the sleeve count.