
Crochet Flower Hair Clips Free Pattern With Beads
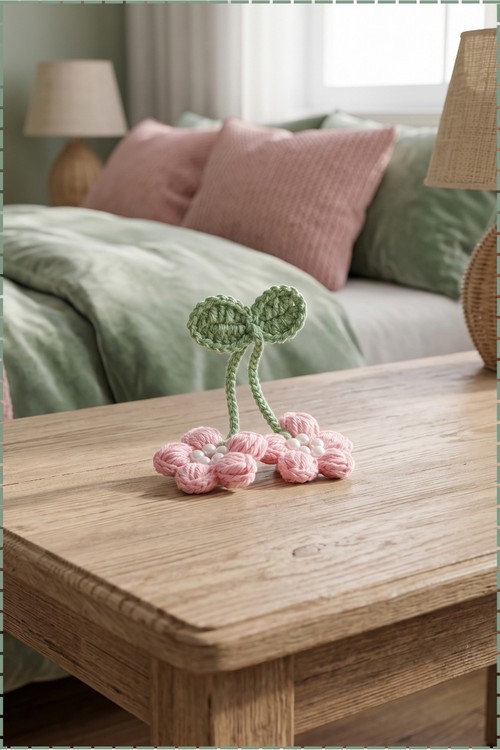
Ponytails and braids look spring ready with a crochet flower hair clip that hangs two pink blooms below a sage green leaf, like a sprig of cherries. Little girls can wear pink puff flower hair clips to school, Easter brunch, or a garden party with pearl centres catching the light.
Pearls and puff petals make this crochet woolen flower hair clip easy to spot. Five petals per flower, two flowers, one bow. Pink and sage yarn, a clip base, beads. Make the woolen flower hair clip for little girls, for yourself, for gifts. Simple parts, quick build, done.
Crochet Flower Hair Clips
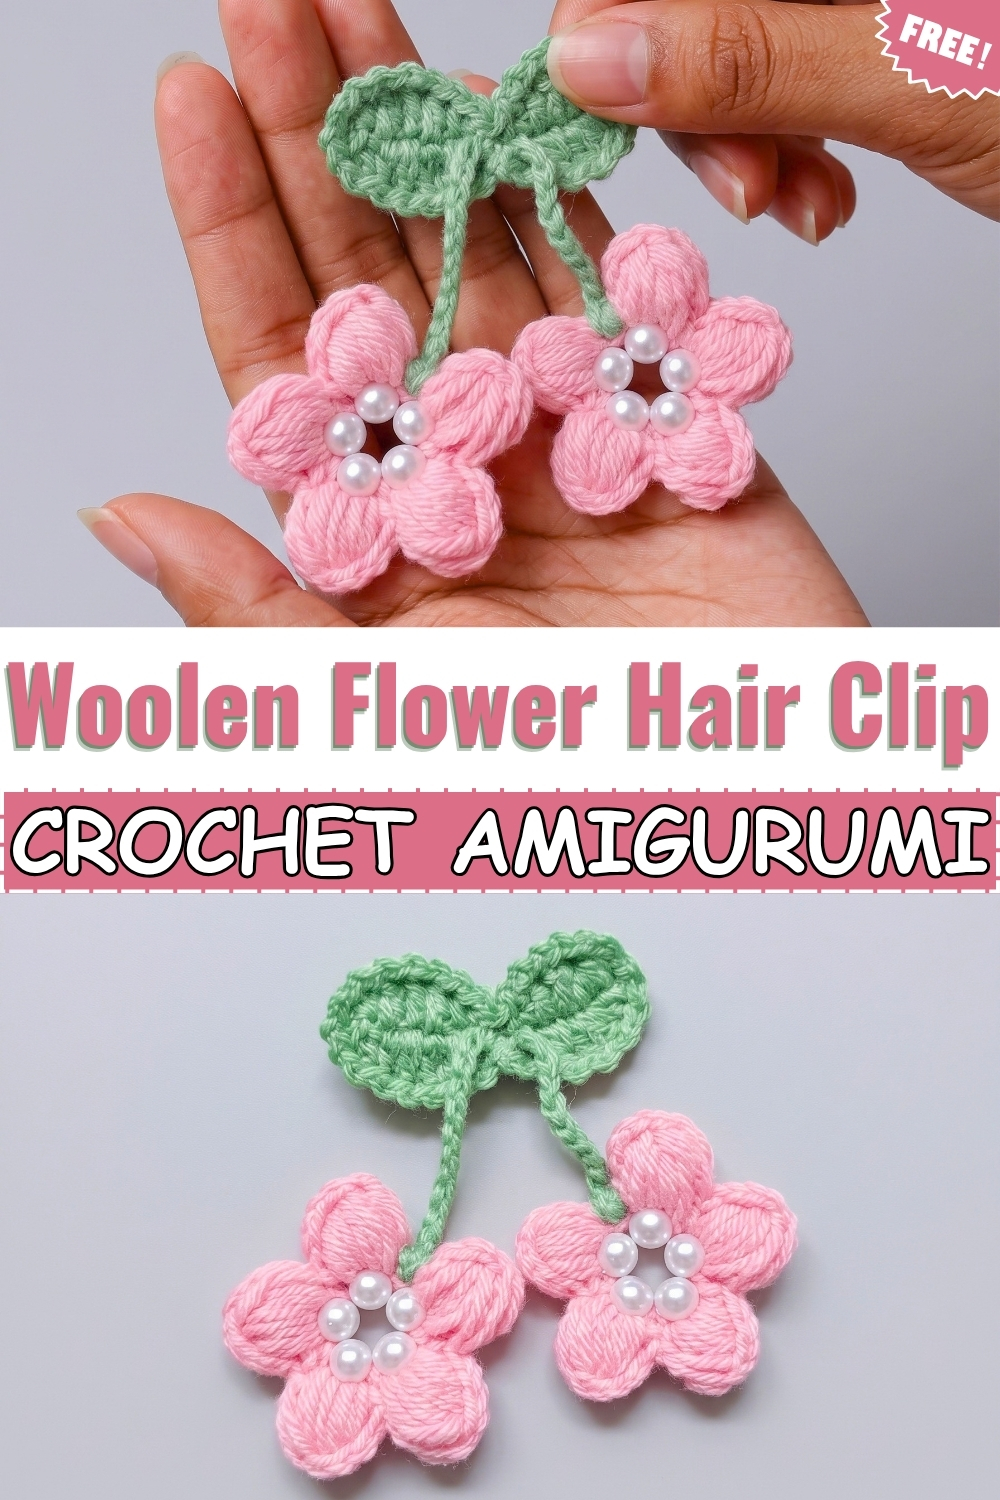
Pearl beads threaded onto yarn before you even pick up a hook form the center ring of each flower in this crochet woolen flower hair clip. Puff petals grow from that bead ring outward, five per flower, each one locked with a chain before moving to the next. A green leaf base holds everything together, with a twisted cord connecting it to both flowers and a clip glued to the back. Mine is worked in soft pink and sage green, and the two finished flowers hang at slightly different heights from the cord, which is what gives the piece its natural drape.
Materials and Tools
- 5 ply yarn in soft pink for the flowers
- 5 ply yarn in sage green for the leaves and connecting cord
- Crochet hook, 2.0 mm
- Ten 6 mm white pearl beads, five per flower
- Tapestry needle for threading beads and sewing
- Alligator hair clip
- Fabric glue or hot glue gun
- Scissors
Abbreviations
- ch: chain
- sc: single crochet
- hdc: half double crochet
- dc: double crochet
- sl st: slip stitch
The Pattern
Flowers with Pearl Bead Centers (Make 2)
- Thread 5 pearl beads onto the pink yarn using the tapestry needle before starting.
- Slide the 5 beads into a circle and tie a tight double knot so they sit as a small closed ring.
- Insert your hook into a space between any two beads, attach the pink yarn, chain 3.
- Work 1 sc into the next space between beads.
- Repeat chain 3 then 1 sc around all 5 bead gaps to form 5 chain loops, then sl st into the starting space to close the round. You should now have 5 chain 3 spaces sitting evenly around the bead ring.
- Slip stitch into the first chain 3 space, then chain 1.
- Pull up 10 long loops on your hook in that same chain 3 space, keeping each loop tall and even.
- Yarn over and pull through all 10 loops to close the puff stitch.
- Chain 1 to lock the puff, then chain 4.
- Work 1 sc back into the same chain 3 space to anchor the petal. The puff should stand upright as a rounded, plump lobe.
- Move to the next chain 3 space with 1 sc, pull up 10 loops into that space, yarn over and close, chain 1, chain 4, then 1 sc into the same space.
- Repeat for all 5 spaces until all 5 petals are complete.
- Fasten off, cut yarn, and weave in the ends at the back.
- Repeat the full flower sequence to make a second identical flower.
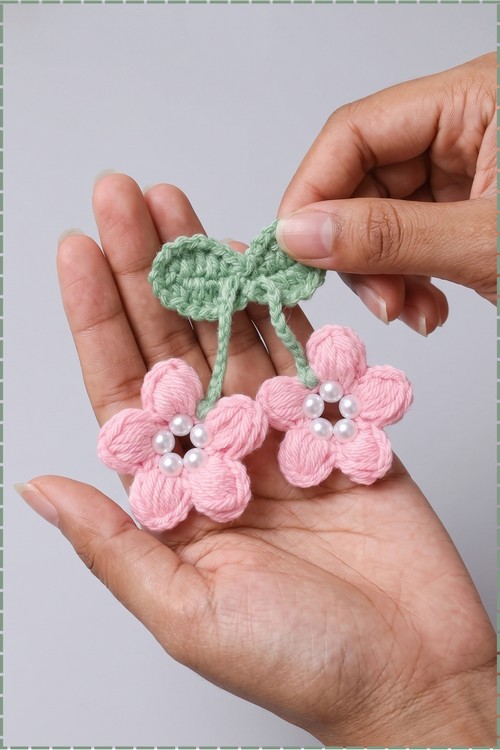
Green Leaf Base
- Make a slip knot with green yarn and chain 16.
- Skip the first chain from the hook.
- Work 1 sc in the 2nd chain, 1 hdc in the next chain.
- Work 1 dc in each of the next 3 chains [3 dc total].
- Work 1 hdc in the next chain, 1 sc in the next chain.
- Work 1 sl st in the center chain.
- Work 1 sc in the next chain, 1 hdc in the next chain.
- Work 1 dc in each of the next 3 chains [3 dc total].
- Work 1 hdc in the next chain, 1 sc in the last chain.
- Chain 2 to turn around the end.
- Mirror the sequence along the bottom side of the foundation chain: 1 sc, 1 hdc, 3 dc, 1 hdc, 1 sc, 1 sl st at the center, 1 sc, 1 hdc, 3 dc, 1 hdc, 1 sc.
- Chain 1, then sl st into the starting stitch.
Decorative Textured Edge
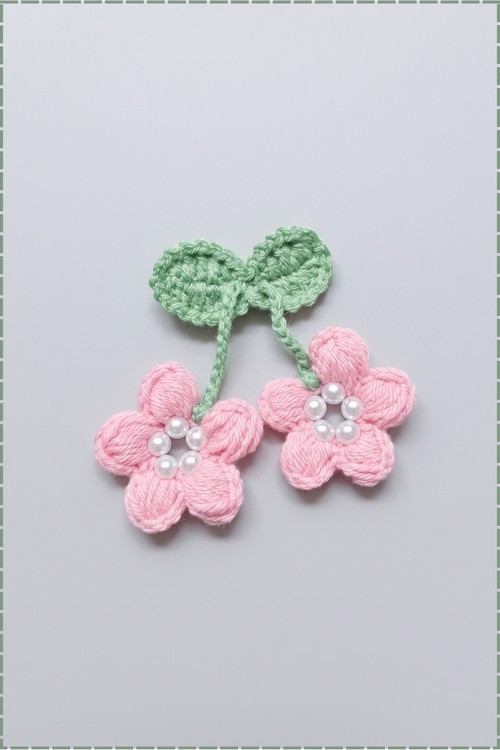
- Working around the full outer edge of the leaf base, repeat sl st in the next stitch then chain 1 across every stitch around.
- At the end, sl st into the final stitch, chain 1, fasten off, and weave in the ends at the back. The finished leaf has a small scalloped border all the way around and sits as a flat double pointed oval.
Connecting Cord
- Leave a 4 to 5 inch tail of green yarn, then chain 25.
- Cut the yarn leaving another 4 to 5 inch tail and pull it through. On mine the cord is a simple twisted chain that runs between the two flowers, sitting as a green stem between the leaf base above and the flowers below.
- Weave the chain cord through the center back of the leaf base using the crochet hook so the leaf sits at the top of the cord and the two tail ends hang below it.
Assembly
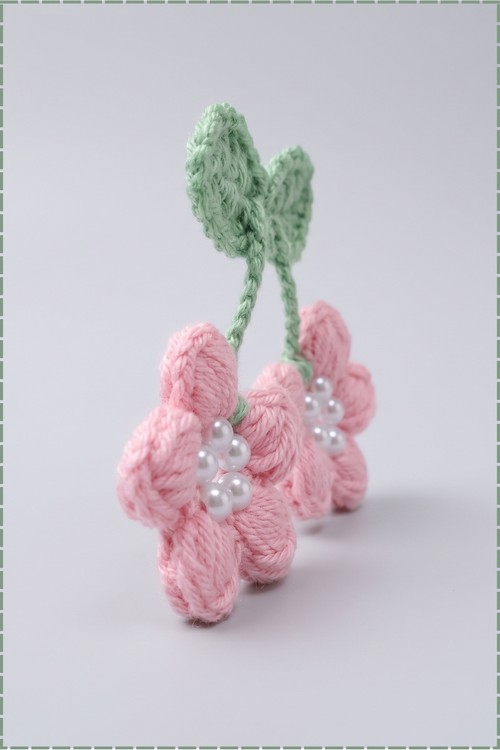
- Thread the tapestry needle with the green yarn tail ends from the cord and sew one pink flower securely to each end of the chain cord. On mine the two flowers hang just below the leaf base with the pearl bead centers facing forward and the puff petals fanning outward.
- Apply fabric glue or hot glue to the alligator clip and press it firmly onto the back center of the green leaf base. Let it dry completely before handling. The clip sits flat against the underside of the leaf and is not visible from the front.
Tips
- Thread the beads before you cast on, not after. There is no way to add them once you have started the ring.
- Keep the 10 pulled loops all at the same height before closing the puff. Uneven loops close into a lopsided petal that will not sit flush against its neighbours.
- Glue the clip with the jaw pointing toward the bottom of the leaf so it opens in the right direction when clipped to hair.
Customization Ideas
- Swap the pink for red, coral, or white for a different season.
- Use gold or seed beads in place of the pearl beads for an evening look.
- Make the cord longer than ch 25 for more drape between the leaf and the flowers.
- Attach a hair elastic to the back instead of a clip for a ponytail version.
FAQ
Can I skip the beads and still make the center ring? The beads are structural here, not just decorative. They form the ring the petals attach to, so skipping them requires a different center method such as a magic ring.
My puff petals are floppy. What went wrong? The 10 loops were probably not pulled to a consistent height before closing. A taller, evener set of loops closes into a firmer puff.
How do I stop the cord from twisting? A ch 25 cord will always twist slightly, which is part of the look on mine. If you want it flat, work the cord as a slip stitch chain instead of plain chains.