
Crochet Smiley Flower Keychain Pattern With Cream Petals
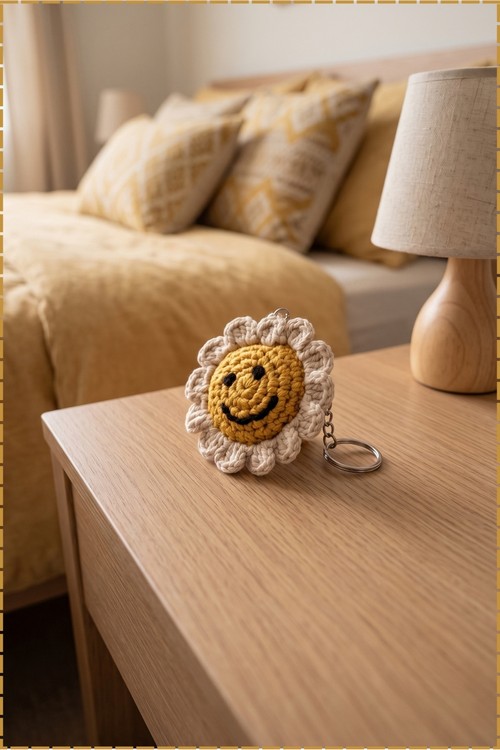
Mustard yellow and cream yarn turn a crochet smiley flower keychain into a little sunshine face with a wide black grin and a silver key ring. Car keys, pencil cases, and lanyards get a happy daisy keychain that stays plump yet flat enough to slip into a jacket pocket.
Spring bag swaps and back to school hauls both call for a crochet flower keychain like this one. Clip it to a backpack in September. Market stalls sell out of the crochet flower keychain in warm months, and the daisy palette lands right through Easter baskets and summer party favors. Seasonal gifting sorted.
Crochet Flower Keychain
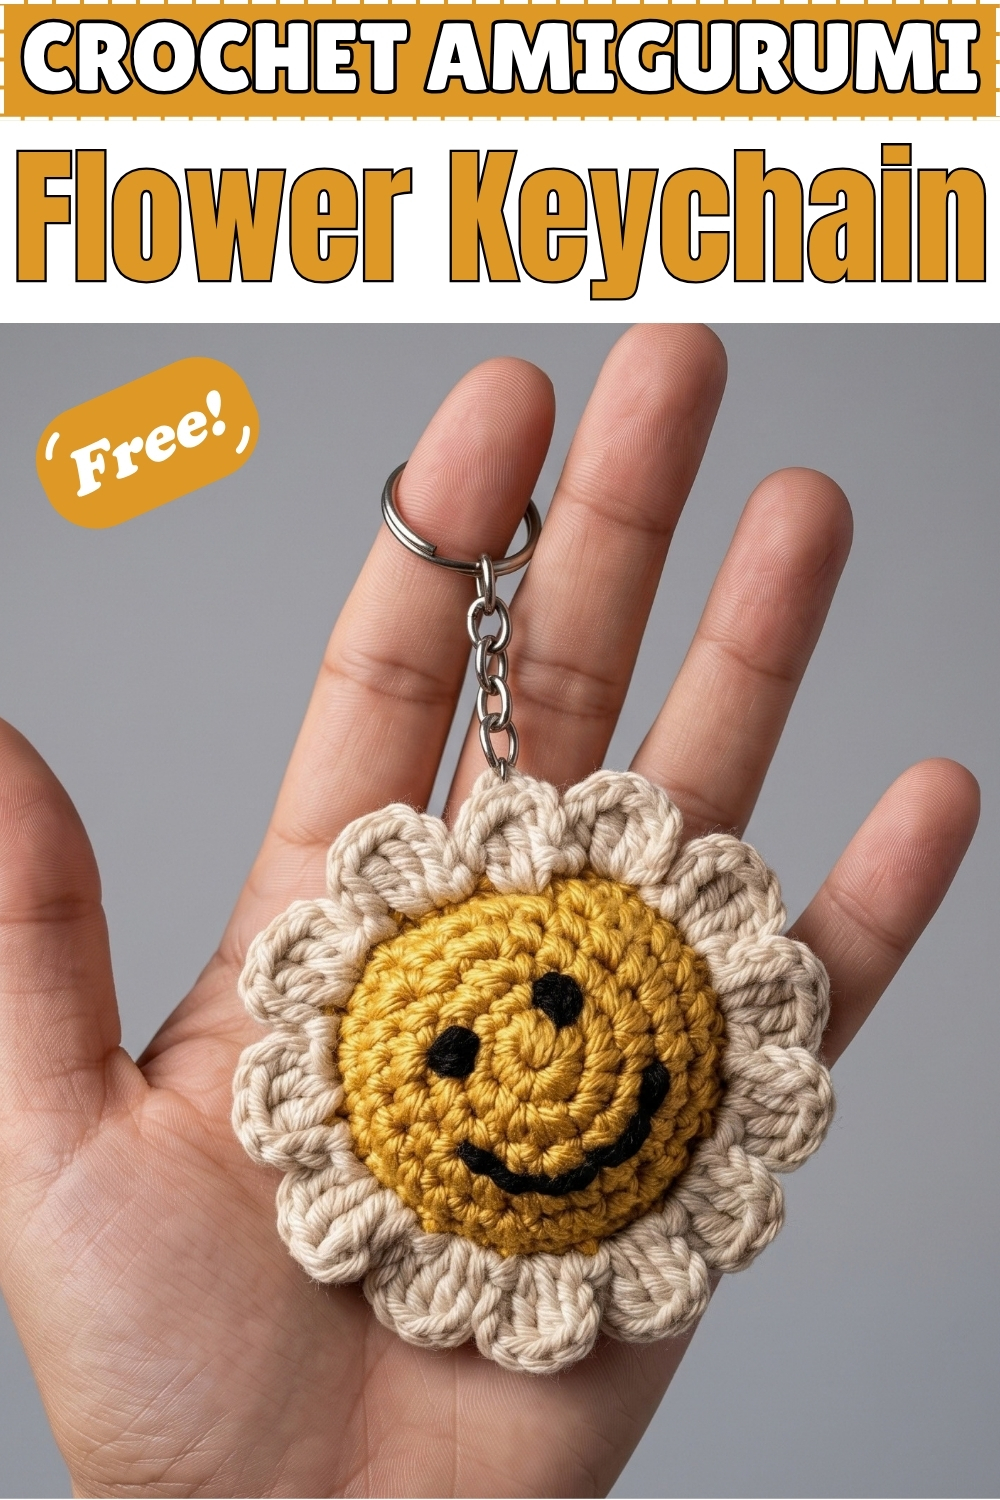
Two flat circles get stitched back to back and lightly stuffed to make the face of this crochet flower keychain, which is what keeps it plump without turning into a ball. Petals grow straight off the joined edge, so there is no sewing and no separate pieces to line up. Golden yarn fills the center and cream petals ring the outside on mine. Black embroidery adds the eyes and the smile last, once the shape is already firm. Attaching the ring through a top petal finishes it in under a minute.
Why I Love This One
I made the first one on a bus with a hook and two small balls of yarn in my bag, and by the time I got off it was done. Everyone who sees it asks for one, and I have never managed to keep a single one for myself. They vanish out of my project basket faster than anything else I crochet.
Materials and Tools
- Golden mustard yarn for the flower center
- Cream or off white yarn for the petals
- Crochet hook, 2.5 mm
- Fiberfill or cotton stuffing
- Black yarn and a tapestry needle for the face
- Stitch marker
- Keyring with a short chain
- Scissors
- Lighter for sealing yarn ends, optional
Abbreviations
- MR: magic ring
- st or sts: stitch or stitches
- sc: single crochet
- inc: single crochet increase, meaning 2 single crochet in the same stitch
- sl st: slip stitch
- ch: chain
- dc: double crochet
Difficulty and Time
Anyone who can work a magic ring and count an increase round can make this. From my own experience it takes somewhere around forty five minutes to an hour start to finish, with the face embroidery taking longer than you would expect because you will redo the smile at least once.
The Pattern
Golden Center Circles, Make 2
- Work in continuous rounds without joining at the end of rounds 1 through 4, and use a stitch marker to track the start of each round.
- Round 1: make a magic ring and work 6 sc into the ring, then pull the tail tight to close [6 sts]. The center should shut completely with no hole showing.
- Round 2: work 1 inc in every stitch around [12 sts].
- Round 3: repeat 1 sc then 1 inc six times around [18 sts].
- Round 4: repeat 1 sc in the next 2 sts then 1 inc six times around [24 sts].
- Round 5: repeat 1 sc in the next 3 sts then 1 inc six times around [30 sts]. The circle should lie completely flat at this point, and if it cups or ruffles your tension needs adjusting before you make the second one.
- Slip stitch into the next stitch, fasten off and weave in the end.
- Repeat rounds 1 through 5 to make a second identical golden circle.
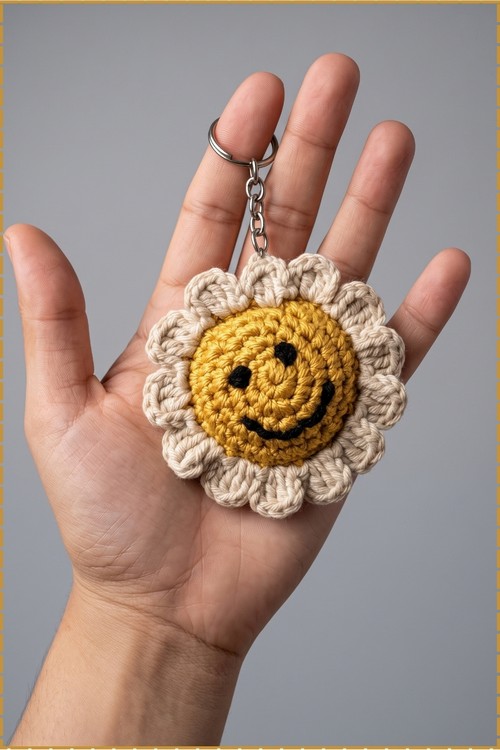
Joining and Stuffing the Center
- Hold the two golden circles together with the wrong sides facing inward and line up the stitches of both circles so the edges match.
- Insert your hook through both layers, catching the outer loops of each, and work 1 sc in each stitch around to join them.
- Stop before you finish the round so a small opening remains.
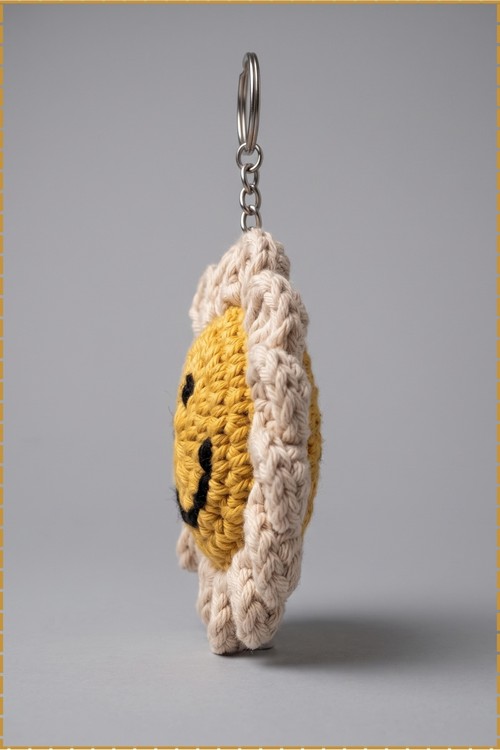
- Stuff the inside with fiberfill or cotton until it is lightly padded. Keep it light here, because overstuffing rounds the disc out and the keychain stops lying flat against a bag.
- Single crochet through the remaining stitches to close the ring fully, then fasten off and trim the excess yarn.
Cream Petal Border
- Switch to the cream yarn and insert your hook into any single crochet loop along the joined outer edge, then pull the yarn through to attach it.
- Chain 3, which counts as the first double crochet.
- Work 2 dc into that same stitch.
- Chain 3, then slip stitch back into the same stitch to complete the first petal. The petal should bulge outward as a small rounded loop rather than lying flat.
- Slip stitch into the next stitch along the edge.
- Chain 3, work 2 dc into that same stitch, chain 3, then slip stitch into the same stitch.
- Continue this petal pattern around the entire circle until the whole edge is ringed with petals. On mine they sit shoulder to shoulder with no gaps, which is what gives the scalloped daisy outline.
- Slip stitch into the starting stitch, chain 1, cut the yarn and pull it through to secure.
The Face and the Keyring
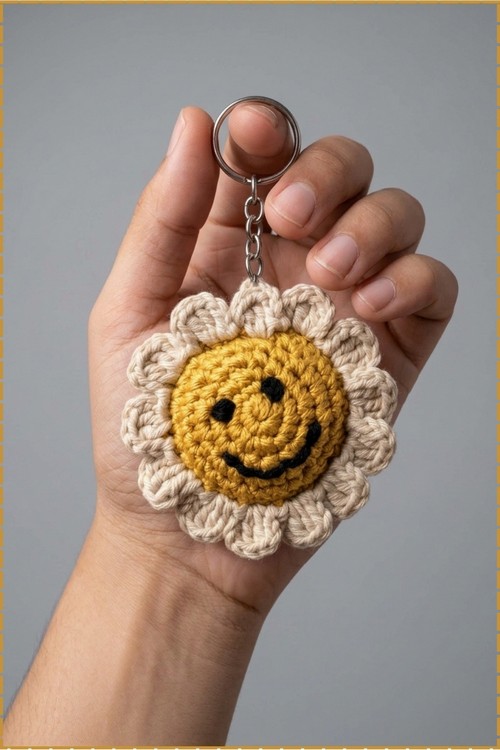
- Thread a tapestry needle with black yarn and work the two eyes onto the golden center, placing them above the middle of the face and set slightly apart. On mine the eyes are short solid stitches rather than raised knots, worked as a few passes in the same spot so they sit flat against the yarn.
- Stitch the smile below and between the eyes as a shallow curve using short stitches, keeping it wide enough to span most of the lower face. Mark the curve with pins or a contrast thread first, since an uneven smile is the one thing that ruins the look.
- Singe any remaining loose yarn ends carefully with a lighter for a clean finish, which is optional and best skipped on acrylic.
- Attach the keyring to the top petal stitch. Mine hangs from a short metal chain between the petal and the ring, which lets the flower swing freely instead of sitting stiff against the bag.
Tips and Troubleshooting
- If the two circles will not line up, count the stitches on both. One extra increase somewhere in round 3 or 4 is almost always the cause.
- Work the joining round slightly loosely. A tight join pulls the edge in and leaves no room for the petals to sit upright.
- Place your petals one per edge stitch and resist adding extras to fill a gap, because an uneven petal count shows immediately on a circle this small.
- Embroider the face before attaching the keyring so you can turn the piece freely in your hands.
Yarn Substitution
Cotton gives the crisp petal edges and the matte finish mine has, and it stands up to being dragged around on a bag. Acrylic works fine and is cheaper for making a batch, though the petals soften with handling. Stay close to a light worsted weight with the 2.5 mm hook, because a thicker yarn at this hook size will fight you on the joining round.
Customization Ideas
- Swap the cream petals for pink, lilac, or pale blue and keep the golden center for a mixed bouquet of keychains.
- Leave the face off entirely for a plain daisy charm.
- Add a small loop of chain instead of the metal chain if you prefer it to sit closer to the ring.
- Use a lobster clasp rather than a keyring so it clips onto a bag handle.
- Embroider closed curved eyes instead of dots for a sleepy expression.
FAQ
Can I make this without stuffing? You can, and it will still work as a flat charm. The stuffing is what gives the center the soft dome shape visible on mine, so skipping it changes the look more than the function.
My petals lean sideways instead of standing out. Why? That comes from working the chain 3 and the 2 dc into different stitches. Every part of one petal goes into the same edge stitch, including the closing slip stitch.
How many petals should I end up with? One for each stitch around the joined edge, so the count follows your final round rather than a fixed number. Work one petal per stitch and the spacing takes care of itself.
Will the keyring pull the petal out of shape? Not if you attach it through a petal stitch rather than through a chain loop. The stitch has the stitched edge behind it to take the weight.