
Crochet Flower Motif Free Pattern With Puff Petals
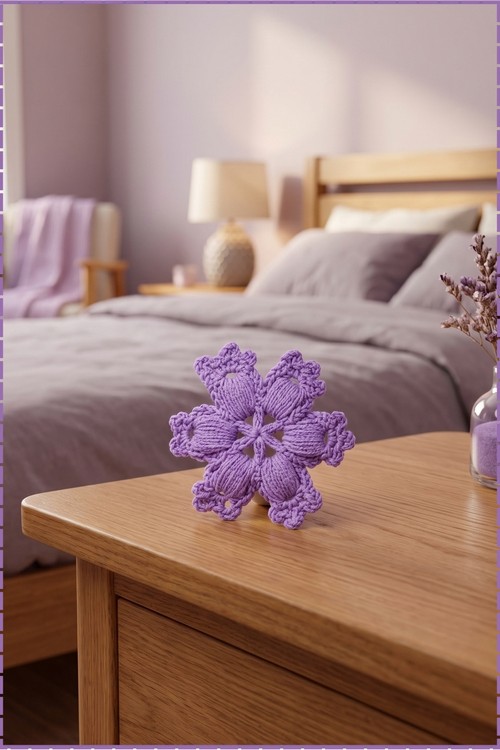
Palm-sized lavender petals give this crochet flower motif a soft spring look on a bedside table or a plain throw pillow. Denim jackets, cardigans, and baby blankets pick up a pop of purple when you sew this free crochet flower pattern on as a patch.
Hand this crochet flower motif to anyone building blankets, bags, or appliqué projects and watch it get used. Scrap yarn crafters love it. New crocheters get a finished thing fast, and makers with a motif habit will add the crochet flower motif to garlands, coasters, and gift toppers. One flower motif, endless placements.
Crochet Flower Motif
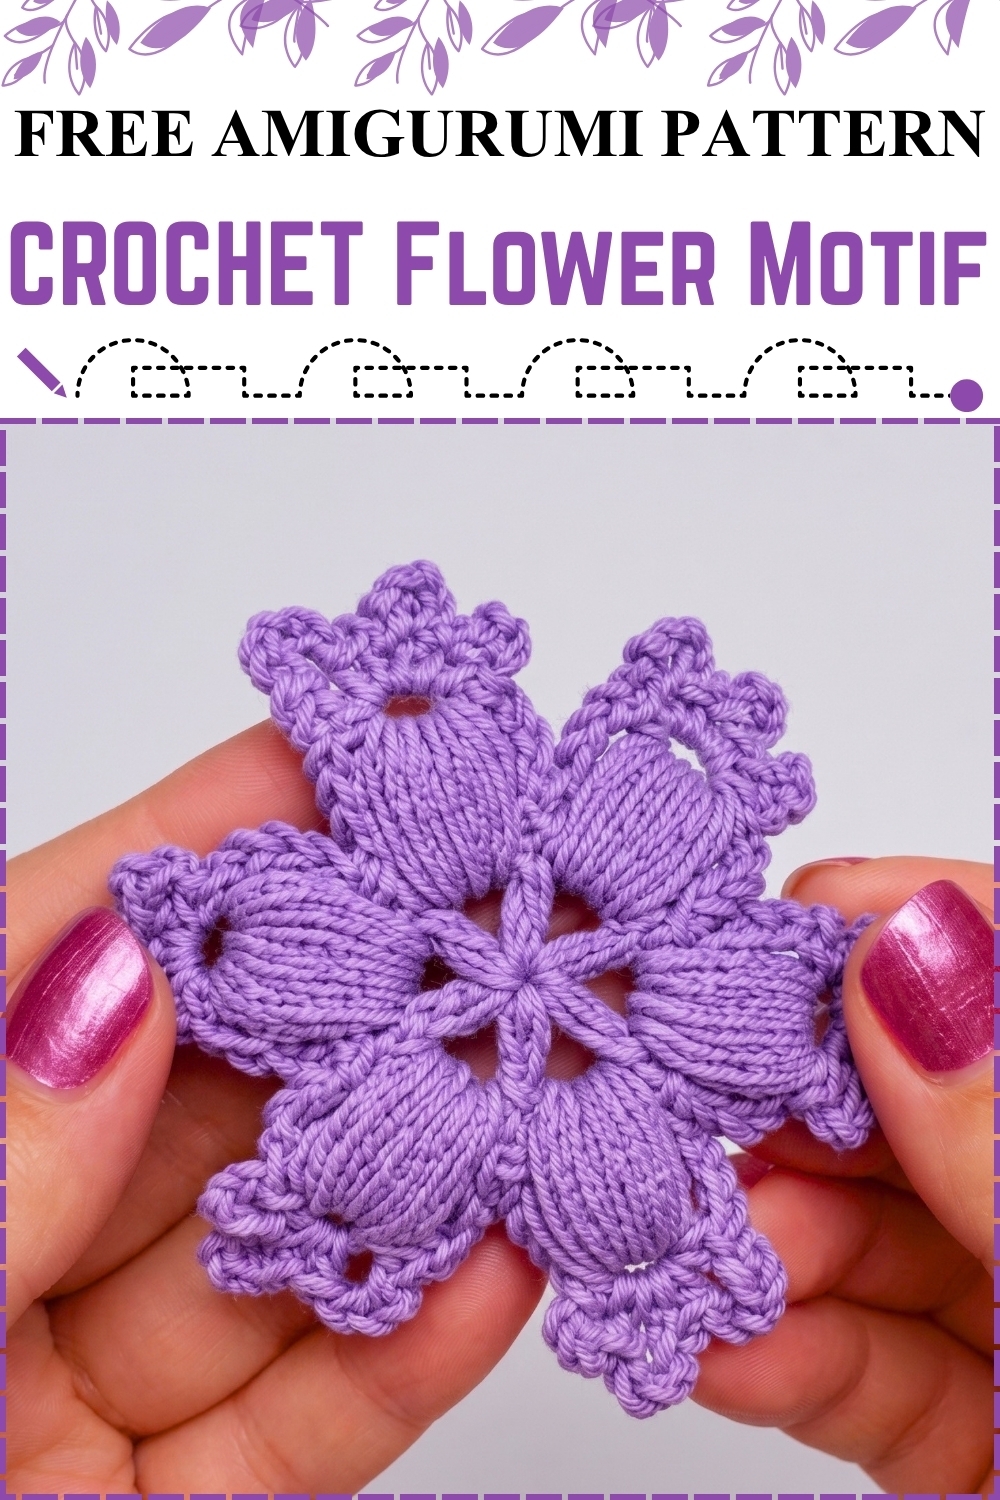
Six puff petals radiate from an open mesh center in this crochet flower motif, with each petal anchored back into the same gap it started from. Chain spaces hold the petals apart, which is why the middle stays airy instead of crowding into a solid disc. Three little chain loops cap every petal and give the outer edge its scalloped frill. Mine worked up in lavender cotton, flat enough to sew straight onto fabric without blocking. Counting your loops on the puff stitch is the only part that needs attention.
Materials and Tools
- Medium weight yarn in lavender purple
- Crochet hook, 3.00 mm, size 5/0
- Scissors
- Tapestry needle for weaving in ends
Abbreviations
- ch: chain
- dc: double crochet
- sc: single crochet
- sl st: slip stitch
- mr: magic ring
Difficulty and Time
This sits at an easy level once you are comfortable with a magic ring. The 8 loop puff stitch is the only demanding part, and it is repetition rather than skill. From my own run of these, one motif takes about fifteen to twenty minutes, and the second one goes noticeably faster than the first.
Technique Notes and Tips
- The puff stitch here uses 8 pull ups rather than the usual 3 or 4, so your hook needs room. Pull each loop up to the exact height of the starting chain 4, because loops of uneven height give you a lumpy petal instead of the smooth rounded ones in my photo.
- Closing 8 loops in one pass is where most people get stuck. Loosen the loops slightly with your thumb before yarning over, and draw the hook through slowly rather than yanking.
- The chain 2 spaces from the first round do double duty: they hold the puff and they take the slip stitch that anchors it. Work both into the same space or the petal will lean sideways.
- Count your double crochets in the first round before moving on. Five dc plus the starting chain 5 gives 6 spokes, and ending up with 5 or 7 throws off the whole flower.
- Keep your tension even on the chain 4 loops at each petal top. Mine sit as three tight picots that read as a small frill rather than loose arcs.
- Weave the ends in across the back of the center mesh, not along a petal, so nothing shows through the open spaces.
- Cotton yarn holds this shape best. Mine needed no blocking at all because the cotton kept the petals flat on its own.
The Pattern
Round 1: Center Mesh Ring
- Start by making a magic ring.
- Chain 5, which counts as 1 double crochet plus 2 chains, then work 1 double crochet into the magic ring.
- Repeat chain 2 then 1 double crochet into the magic ring until you have 6 double crochets in total, counting the initial chain 5 as the first, each separated by a chain 2 space.
- Pull the magic ring tail tight to close the center.
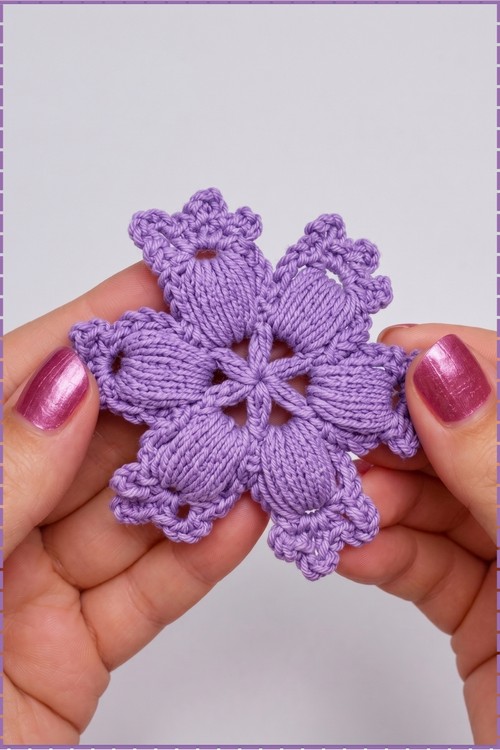
- Chain 2 and slip stitch into the 3rd chain of the starting chain 5 to close the round. You should now have a small ring with 6 chain 2 spaces around it, open enough that light passes through the middle, which is exactly how the center looks on mine.
Round 2: Puff Petals with Picot Edging
- Chain 4 to set the height of the first puff.
- Yarn over, insert the hook into the first chain 2 space, yarn over and pull up a loop to the height of the chain 4.
- Repeat that yarn over and pull up step until you have done it 8 times in total, all into the same chain 2 space.
- Yarn over and pull through all 8 loops on the hook to close the puff stitch. The puff should stand up as a plump oval, and this is the full body of one petal.
- Chain 4, then work 1 single crochet into the top loop above the puff stitch.
- Chain 4, then work 1 single crochet into that same top space.
- Chain 4, then work 1 single crochet into that same top space again, giving you three chain loops fanned across the petal tip.
- Chain 4 and slip stitch down into the same chain 2 space at the base of the petal to anchor it. The finished petal should sit upright with its frilled tip pointing outward, and the base should pull snug against the center ring.
Completing the Flower
- Move to the next chain 2 space and repeat the full petal sequence of chain 4, 8 loop puff, three sets of chain 4 and single crochet, then chain 4 and slip stitch into the base.
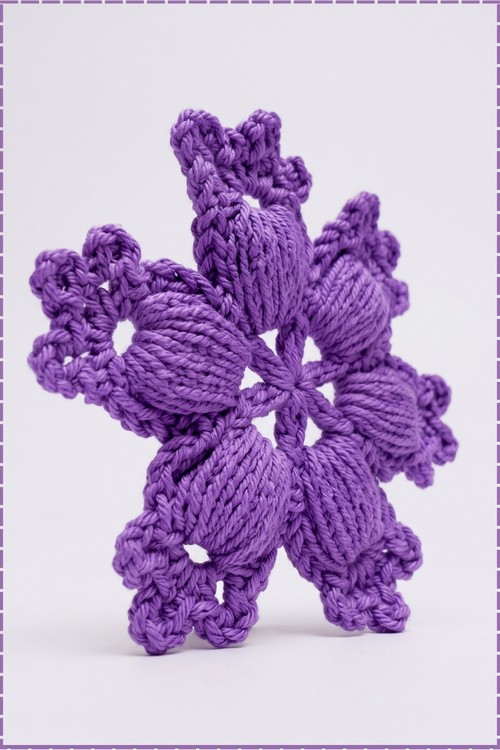
- Continue around until all 6 chain 2 spaces hold a petal. All six should sit evenly spaced like spokes, with the open mesh center still visible between them.
- After the 6th petal, slip stitch into the starting base.
- Cut the yarn leaving a short tail, pull it through, and weave the ends in at the back of the motif.
Yarn Substitution
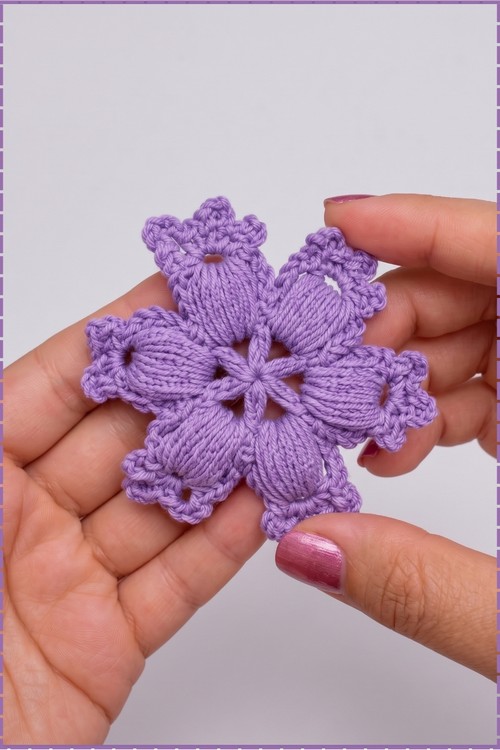
Mercerised cotton gives the crisp petal definition visible in my photo and keeps the motif lying flat. Acrylic works and is more forgiving on the 8 loop puff, though the petals come out softer and the picots lose some of their bite. Avoid chunky yarn here, because 8 pull ups in a thick yarn will not close cleanly through the hook. If you go down to a lighter weight, drop to a 2.50 mm hook to keep the center from gaping.
Customization Ideas
- Work the first round in one colour and the petals in another for a two tone flower.
- Add a bead or a French knot in the center of the mesh ring if you want a solid middle.
- Make a batch in graded shades of the same colour and sew them into a garland.
- Skip the three chain 4 picots and work a single chain 4 instead for a plain petal tip.
- Sew a pin back to the reverse and wear it as a brooch.
FAQ
Why will my 8 loops not pull through? Your pull ups are too tight. Draw each loop to the full height of the chain 4 and keep them loose on the hook, then pull through in one steady motion rather than in stages.
Does the motif curl at the edges? It should not. Curling means the center round is too tight relative to the petals, so check that your chain 2 spaces are genuinely open before starting round 2.
Can I join these motifs together? Yes. Join at the middle picot of neighbouring petals as you work the final chain 4 loops, which keeps the flowers connected without adding a border round.