
Crochet Graduation Hat Free Pattern Over Mini Pig Head
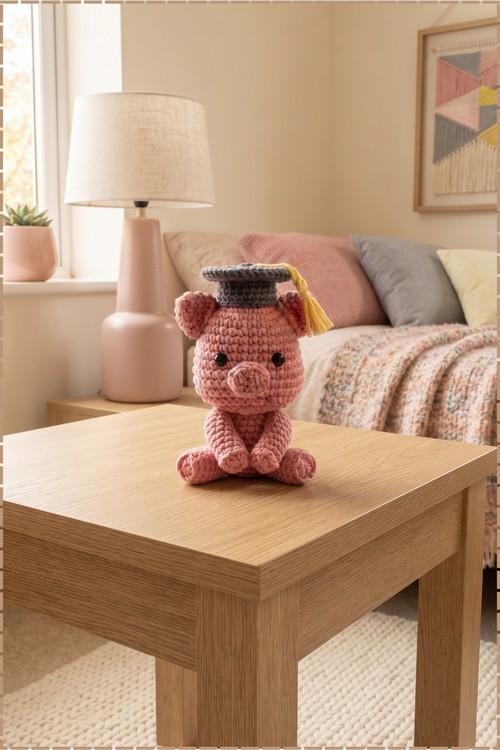
Graduation season calls for a crochet graduation hat that turns a small plush into a tiny graduate for the party table. Proud families slip a crochet grad cap plush into gift bags, where the charcoal mortarboard and golden tassel need no card to explain.
Flat board balanced on the crown with the tassel swinging, the crochet graduation hat comes together in a single sitting. Shaping the square tests your patience. Everything else is plain rounds. Finishing a crochet graduation hat feels quick, right up until you start cutting tassel strands to match.
Crochet Graduation Hat
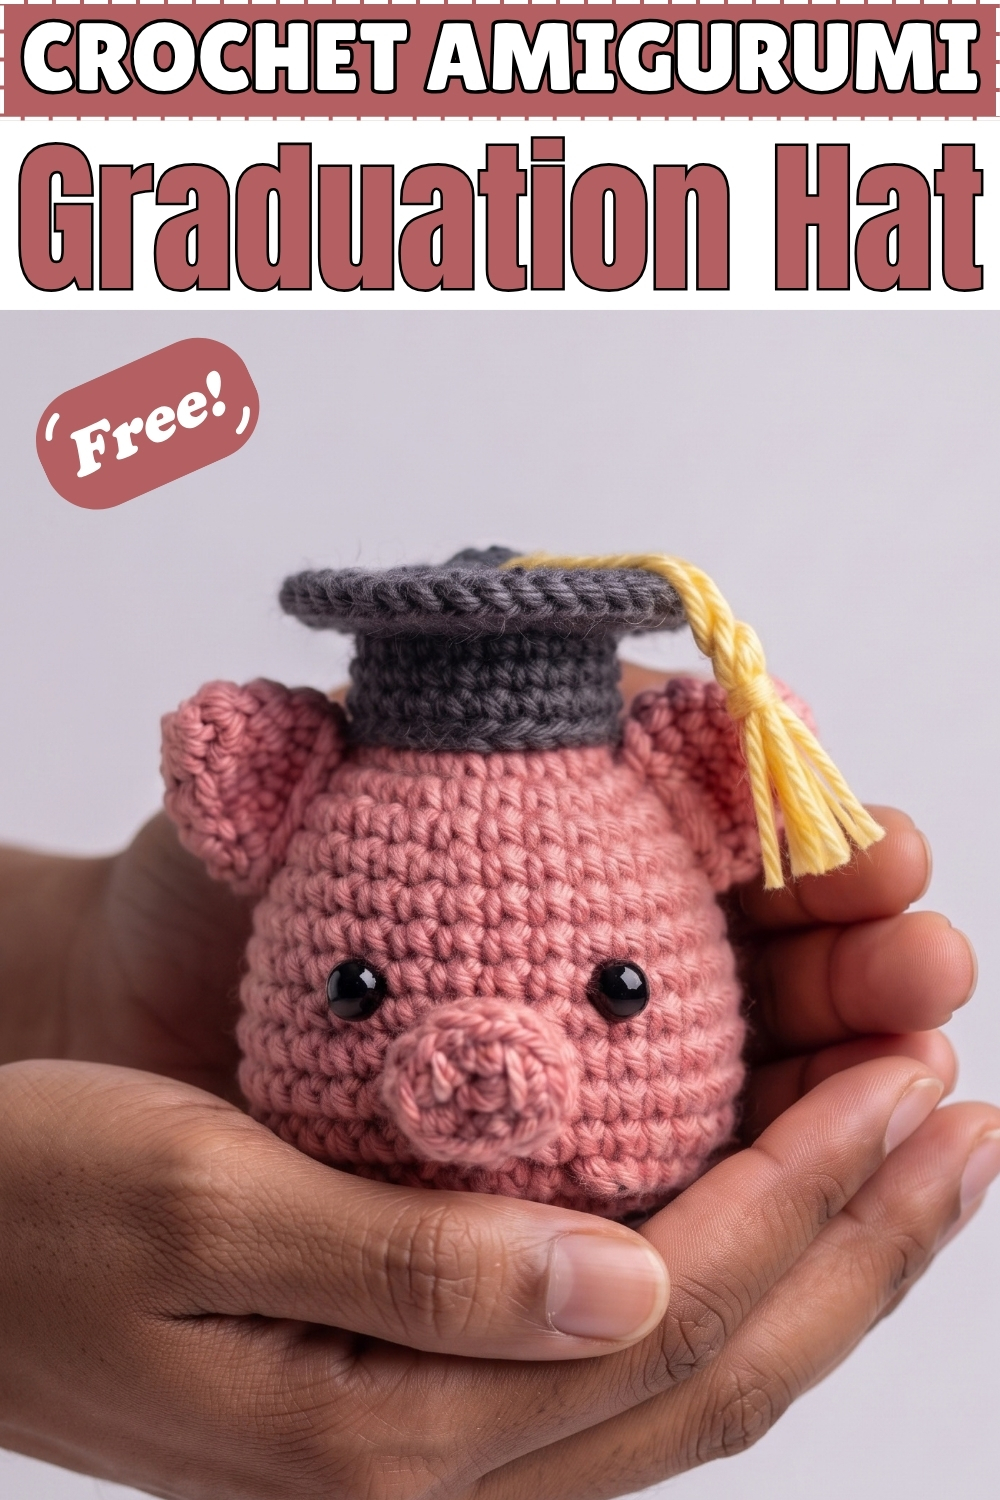
Back loops do the clever work in this crochet graduation hat, holding the round cap while the square top gets built onto the front loops left behind. Chain corners turn that circle into four straight edges. Grey yarn covers both parts on mine. Yellow twists into the tassel hanging off one corner. Nothing gets sewn together, since the whole cap comes off the hook as a single piece. Mine sits on a small pink pig, though it fits any plush with a head of similar size. Making one takes less than an evening.
Quick Facts
- Difficulty: easy. Four rounds for the cap and one round for the square top. The only technique worth practising first is working into front loops you left behind earlier.
- Time: around thirty minutes in my experience, plus a few more for the tassel.
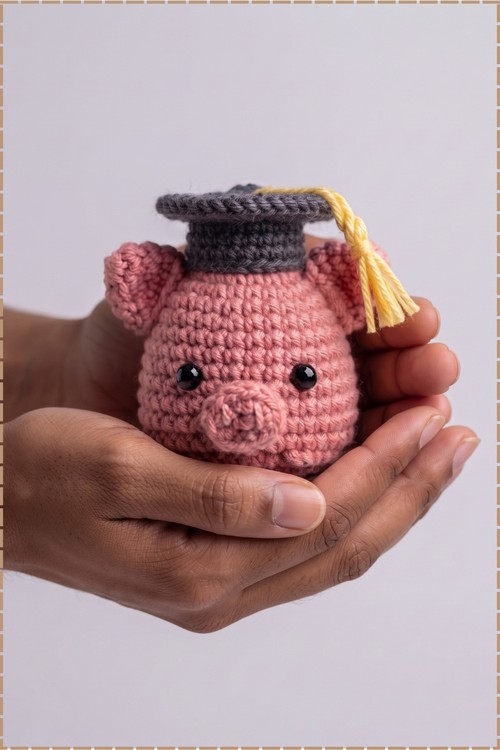
- Finished size: small enough to perch on a palm sized amigurumi. Mine covers the top of a pig head with room for the ears to sit on either side.
Materials and Tools
- Worsted or DK yarn in charcoal grey for the cap and the square top. Mine is a medium heathered grey rather than true black.
- Small amount of golden yellow yarn for the tassel.
- Crochet hook to suit your yarn, sized down one step so the fabric stays firm.
- Stitch marker.
- Tapestry needle and scissors.
- Fabric glue if you want to stiffen the inner rim, which is optional.
Customization Ideas
- Work the cap in navy, black or burgundy to match school colours and keep the tassel in gold.
- Change the tassel to the graduation year colours, or make two in different shades and swap them.
- Add a small crochet chain loop under the brim and turn the hat into a keychain on its own.
- Stiffen the square top with a scrap of felt or cardboard inside if you want a perfectly flat brim.
- Make several in different colours to sit on a row of plushies for a class gift.
- Sew a tiny number or initial onto the top with embroidery thread.
The Pattern
Cap Body
- Round 1: make a magic ring, chain 1, and work 6 single crochets into the ring. Pull the tail tight to close. (6)
- Round 2: increase in every stitch around, working 2 single crochets into each one, and mark your first stitch. (12)
- Round 3: work 1 single crochet in each stitch around, going through the back loop only. (12) This is the round that makes the whole pattern work, because the front loops you skip here become the base for the square top later. Do not work through both loops by accident.
- Round 4: work 1 single crochet in both loops of each stitch around. (12) The cap should now look like a shallow bowl with a visible ridge of free front loops running around the outside.
- Finish with 1 slip stitch and 1 chain, then tuck the remaining yarn ends inside the cap where they will not show.
Square Top
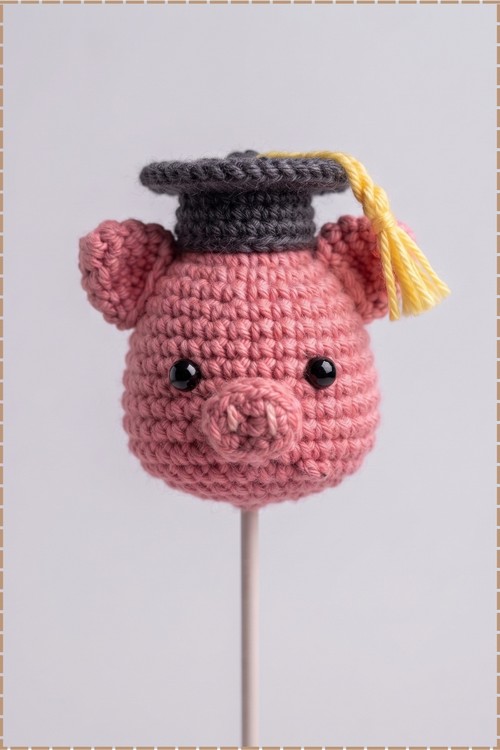
- The exposed front loops from round 3 are now sitting on the outside of the cap, and the square brim is built directly onto them.
- Insert your hook into one exposed front loop, chain 1, and work 1 single crochet into each of the next 2 stitches.
- In the next stitch, work 1 single crochet, 1 chain, and 1 single crochet all together to form a corner. That chain is what turns the curve into a right angle, so keep it short and tight or the corner rounds off.
- Work 1 single crochet into each of the next 2 stitches.
- In the next stitch, work another corner of 1 single crochet, 1 chain, and 1 single crochet.
- Repeat this sequence around all four sides to complete the square top. Count your corners as you go, since three corners and one long side is the most common mistake here.
- Finish with 1 chain and 1 slip stitch, cut the yarn, and weave in the ends.
- Press the square flat between your fingers once it is off the hook. The brim should sit level and overhang the cap evenly on all four sides, as it does on mine.
Tassel and Assembly
- Cut several strands of yellow yarn to your preferred tassel length and fold them in half over a short twisted or braided length of yellow yarn.
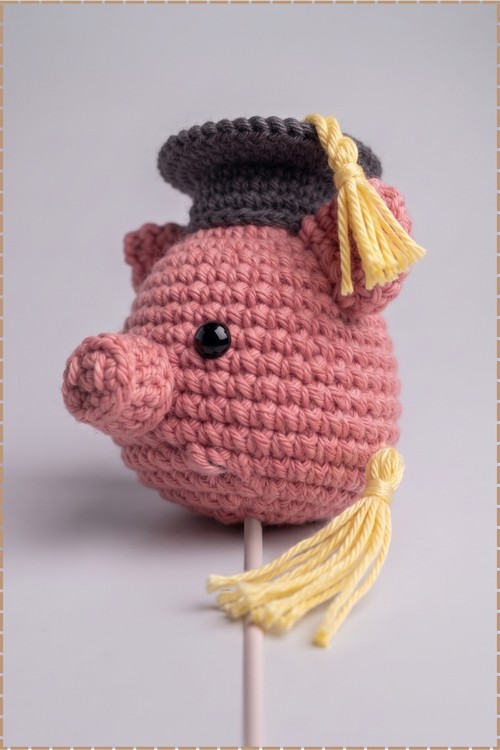
- Wrap a separate strand tightly around the folded bundle a short distance below the fold, knot it, and trim the ends level. On my hat the tassel is full and quite long, hanging well below the brim rather than sitting short against it.
- Attach the twisted cord to one corner of the square top so the tassel falls freely over the edge.
- Apply fabric glue around the inner rim of the cap if you want to hold its shape, which is optional. Mine holds fine without it because the stitches are worked tightly.
- Set the hat on your plush. Mine sits slightly tilted back on a pink pig, with the brim resting between the ears and the tassel hanging down on the right side. A few small stitches through the inner rim will hold it in place permanently if the plush is a gift.
Tips and Troubleshooting
- Mark the first stitch of round 3 clearly. Once you move on to round 4 the free front loops are easy to lose track of, and finding your starting point again on a piece this small is fiddly.
- Keep the corner chains tight. Loose corner chains give you a rounded square that reads as a blob rather than a graduation cap, and tightening them afterwards is not possible.
- If the brim curls upward, your square round was worked too tightly against the cap. Block it flat under something heavy overnight, or add the felt insert mentioned in the customization list.
Yarn Substitution
Any smooth worsted or DK yarn works here, and cotton is the better pick because it holds the square corners crisp. Acrylic is softer and the brim tends to curl more, though blocking fixes most of that. Keep the grey and the yellow at the same weight so the tassel sits in proportion to the cap. If you work this in a much finer yarn, the pattern still runs exactly as written but the finished hat will only suit a very small plush, so check the size against your toy before you start.
FAQ
Will this fit any amigurumi? It fits plush heads of roughly the size shown in my photo. The cap has a fixed 12 stitch circumference, so there is no sizing built in. For a larger head, use thicker yarn and a bigger hook rather than adding rounds, which would change the shape.
What does back loop only actually do here? It leaves the front loops free and unworked. Those loops stay visible on the outside of the cap and give you something to crochet the square top onto, which is how the brim attaches without any sewing.
How do I stop the hat sliding off? Stitch the inner rim to the plush head in three or four places with matching yarn. If you want it removable, a dab of fabric glue inside the rim will stiffen it enough to grip.
Can I make the tassel longer or fuller? Yes. Use more strands and cut them longer. The source gives no measurements for the tassel at all, so this is entirely yours to judge against the size of your cap.