
Courage The Cowardly Dog Crochet Keychain Pattern new
Sew the pink eye discs on last, once the deep purple body, arms, legs and tail are stuffed, and the character lands at once. A black bead sets the nose, white teeth line the open mouth, and the looped arms give this cartoon dog a twist on the usual little pet charm.
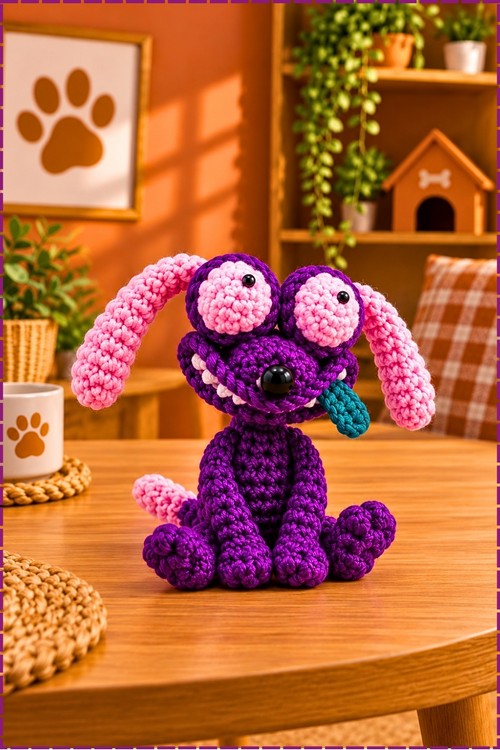
Bulging eyes, floppy pink ears, and a teal tongue make the crochet purple dog keychain a build where you see the character arrive piece by piece. Attaching the eyes is the turning point. Everything before it on the purple dog keychain is just shapes, and everything after is adjusting until the stare lands.
Crochet Courage The Cowardly Dog Keychain
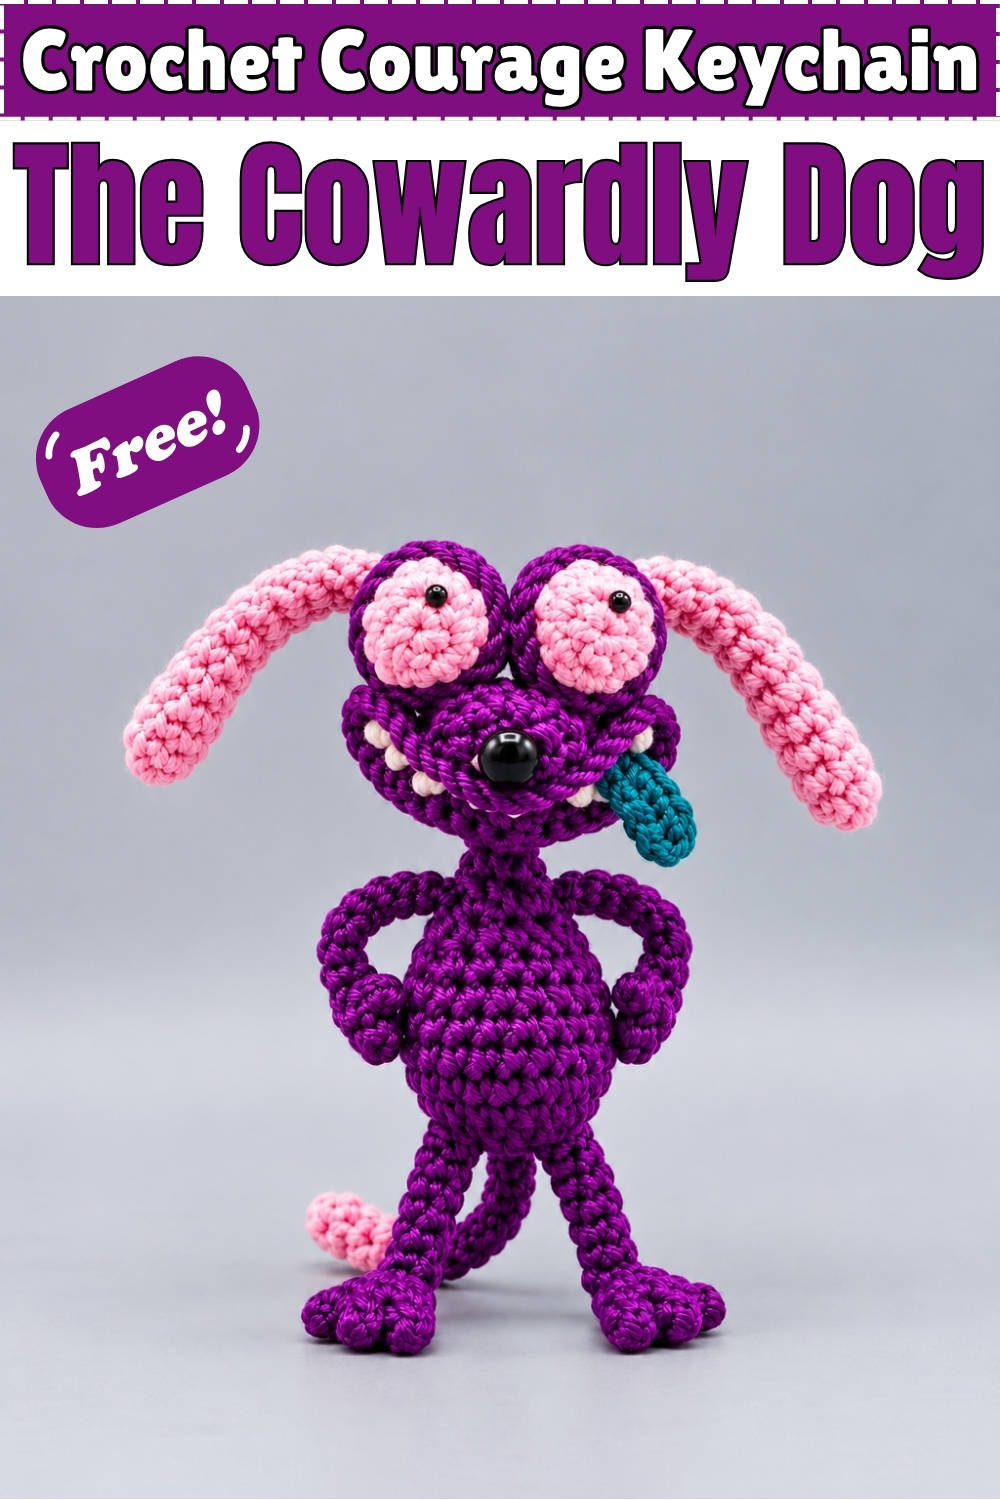
Nine separate pieces assemble into this crochet Courage the Cowardly Dog keychain, and the character reads immediately because the proportions are right: large round pink eye discs, a wide open mouth with white teeth, and a teal tongue poking through. Deep purple carries the entire body, head, arms, legs and tail while pink handles the ears and the eye backing circles. One large black bead sits at the nose centre. The arms curve into loops rather than hanging straight, which matches the show's signature worried pose. Attach a keychain ring at the head and Courage clips onto any bag.
Quick Facts
- Difficulty: intermediate, several separate pieces to track
- Time: in my experience three to four hours across the full assembly
- Colours used: deep purple, pink, teal and white for the teeth
- Pieces to make: body, head, two eye discs, nose, two ears, two arms or hands, two legs, tail
Customisation Ideas
- Use a lighter magenta purple for a more screen accurate colour and keep the pink ears.
- Work the tongue in hot pink instead of teal for a different look.
- Omit the tongue entirely for a closed mouth version.
- Make the eye discs slightly larger by adding one more increase round and the face reads even more panicked.
- Swap the teal tongue for a small red one if you want Courage in a calmer expression.
- Attach to a bag charm loop rather than a keychain ring and use it as a zipper pull.
Materials And Tools
- Yarn in deep purple for the body, head, arms, legs and tail
- Yarn in pink for the ear and eye disc pieces
- Yarn in teal for the tongue
- Small amount of white yarn for the teeth embroidery
- Large black safety eye or bead for the nose
- Smaller black beads or safety eyes for the eye centres
- Crochet hook sized for your yarn
- Yarn needle
- Fabric glue
- Scissors
- Keychain ring, optional
The plain pattern describes purple and white eye layers with brown ears. My piece uses pink for both the ears and the eye discs, and the tongue is teal rather than pink.
The Pattern
Body In Purple
- Round 1: make a slip knot and chain 4 (4).
- Rounds 2 and 3: work single crochets and increases to shape the base following the stitch sequence in the tutorial.
- Rounds 4 through 6: continue with chain turns and single crochets.
- Continue shaping the body using increases and decreases until finishing off with a few chain stitches, as directed in the tutorial sequence.
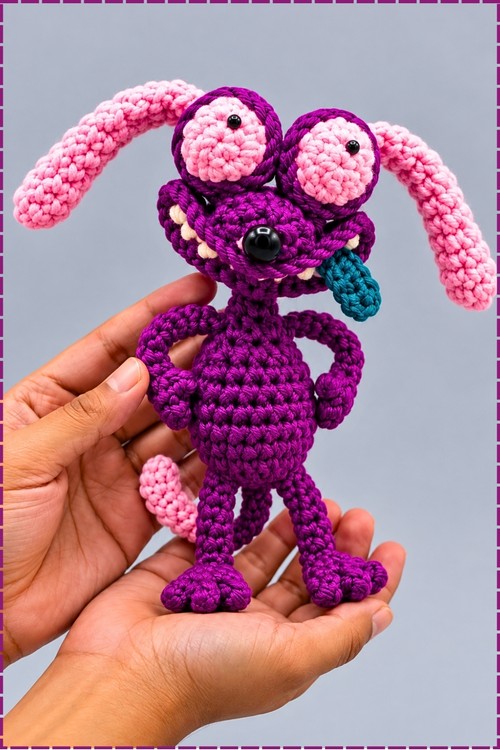
- The body on my piece is a compact upright oval that gives Courage his characteristic narrow torso, wider at the hips than the shoulders.
Head In Purple
- Round 1: work 6 single crochets into a magic ring, slip stitch to close the round (6).
- Round 2: work 1 increase in every stitch around (12).
- Round 3: work 1 single crochet then 1 increase and repeat around (18).
- Round 4: work 1 single crochet then 1 increase then 1 single crochet and repeat around (24).
- Round 5: work 3 single crochets then 1 increase and repeat around (30).
- Round 6: work 2 single crochets then 1 increase then 2 single crochets and repeat around (36).
- Stuff the head firmly before closing, and keep the face panel facing forward when you sew it to the body so the mouth opening sits low and centred.
Teeth In White
- Thread white yarn onto a needle and embroider small rectangular teeth along the mouth opening with straight stitches, working from inside the mouth opening and spacing them evenly so the white shows between the purple lips.
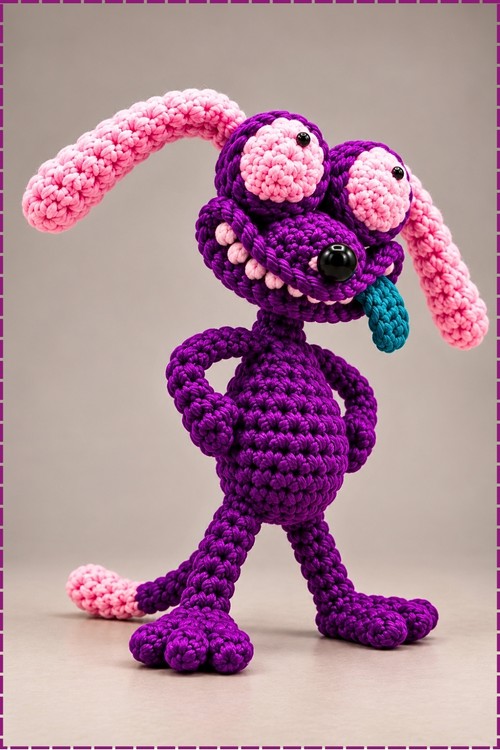
- My piece has a row of white teeth clearly visible between the mouth edges, which is what makes the expression land.
Tongue In Teal
- Chain 10, then starting from the second chain from the hook work 9 single crochets.
- Glue or sew the tongue inside the mouth opening so it hangs down slightly between the teeth.
- My tongue is teal rather than the pink the plain pattern suggests, which gives a stronger contrast against the purple face and reads more clearly at keychain size.
Nose
- Work 6 single crochets into a magic ring for the first round.
- Work an increase round.
- Work rows of 12 single crochets until the nose reaches the desired size.
- Glue the nose piece onto the lower centre of the face, and add a large black safety eye or bead on top of the nose piece to create the shiny black nose visible in my photo.
- My nose uses a large black bead as the centre point, sitting prominently on the face between the eye discs.
Eyes, Make Two Pink Discs
- For each eye disc: make a magic ring and work increase rounds until the disc reaches the size needed to frame the eye.
- Stack a smaller black bead or safety eye onto the centre of each pink disc and secure.
- Glue or sew the completed eye discs onto the upper face, set wide apart so the eyes dominate the top half of the head as in my photo.
- The plain pattern describes making 4 pieces in two colours and stacking them. My version uses 2 pink discs with a black bead eye centre on each, which gives the same layered eye effect in a simpler build.
Ears In Pink, Make Two
- Round 1: work 6 single crochets into a magic ring (6).
- Rounds 2 through 10: work 6 single crochets each round (6 per round) to form long floppy ears.
- Sew one ear to each side of the top of the head, letting them hang outward and down in the floppy pose visible in my photo.
- My ears are pink, matching the eye discs, rather than the brown described in the plain pattern.
Arms And Hands In Purple, Make Two
- Chain 7, work slip stitches and chain loops to form each limb.
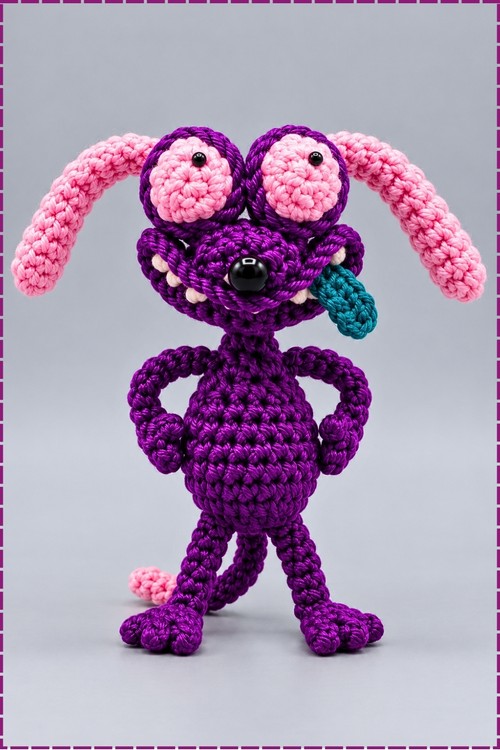
- My arms curve into rounded loop shapes that sit at the sides of the body rather than hanging straight, which gives Courage his hunched worried posture.
- Sew one arm to each side of the upper body.
Legs In Purple, Make Two
- Chain 7, work slip stitches and chain loops to form each leg.
- Sew one leg to the lower body on each side, angling them slightly outward so the figure stands on its own when placed on a flat surface.
Tail In Purple With Pink Tip
- Chain 11 then work 10 slip stitches, switching to pink yarn at the tip to create the small pink tail end visible at the lower back of my piece.
- Sew the tail to the back lower body.
Assembly
- Sew the head to the top of the body first, checking from the front that the face is centred and forward facing.
- Attach the ears to the top sides of the head, the eye discs to the upper face, and the nose to the lower face centre.
- Glue the tongue inside the mouth between the teeth.
- Sew the arms to the upper body sides and the legs to the lower body.
- Attach the tail to the back.
- Attach a keychain ring through the top of the head if desired.
Tips
- Glue the eye discs before sewing the head to the body so you can hold the face flat while the glue sets, since pressing down on an already assembled head is harder.
- Keep the arm loops loose rather than pulling them tightly closed, since a tight loop reads as a hand and a loose one reads as Courage's signature rounded limb shape.
- Use the same pink yarn for the ears and the eye discs so the colour matches exactly across both elements, since even a slight shade difference reads as a mistake on a character piece this recognisable.
Yarn Substitution
Any smooth DK or sport weight yarn works here. Chenille gives a softer texture but blurs the stitch definition at small scale, which can make the face details harder to read. Smooth cotton or acrylic keeps the teeth embroidery and eye disc edges crisp, which is worth prioritising on a character keychain where face accuracy matters.
FAQ
Can I make this without glue? Yes. Sew each face piece through the back of the head piece instead of gluing, using the yarn tail and a few secure stitches. It takes longer but holds better long term, especially on a keychain that gets handled daily.
Why does my Courage not look like the character? The eye disc size and placement carry almost all the character recognition. If the eyes sit too close together or too low, the face reads as a generic dog rather than Courage. Reposition them higher and wider apart before gluing down and check against the photo.
My teeth embroidery looks uneven. How do I fix it? Mark the tooth positions with a pin first, spacing them at equal intervals before committing the needle. Removing embroidery from yarn is hard, so the pin step saves a lot of unpicking.
Do the legs need stuffing? No. The chain and slip stitch construction leaves them flat and firm without stuffing, and stuffing such a narrow tube is not practical at this scale anyway.