
Hamster Crochet Plush Pattern In Chocolate Brown
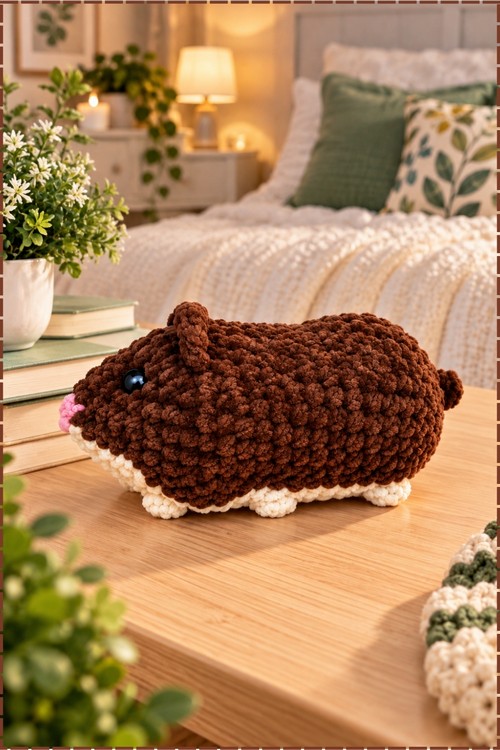
Small enough to cup in two hands, the hamster grows from a bubblegum pink nose into one continuous chenille piece, with the cream belly stripe worked straight into the rounds. Bobble paws finish it, and it sits happily beside a bigger plush toy.
Loaf shaped body and a pink nose make the crochet hamster plush an easy win for a winter gift pile, when small pets sell out everywhere. Birthdays in any month work too. The hamster plush uses chenille, so it photographs well under tree lights and holds up to being carried around.
Crochet Hamster Plush
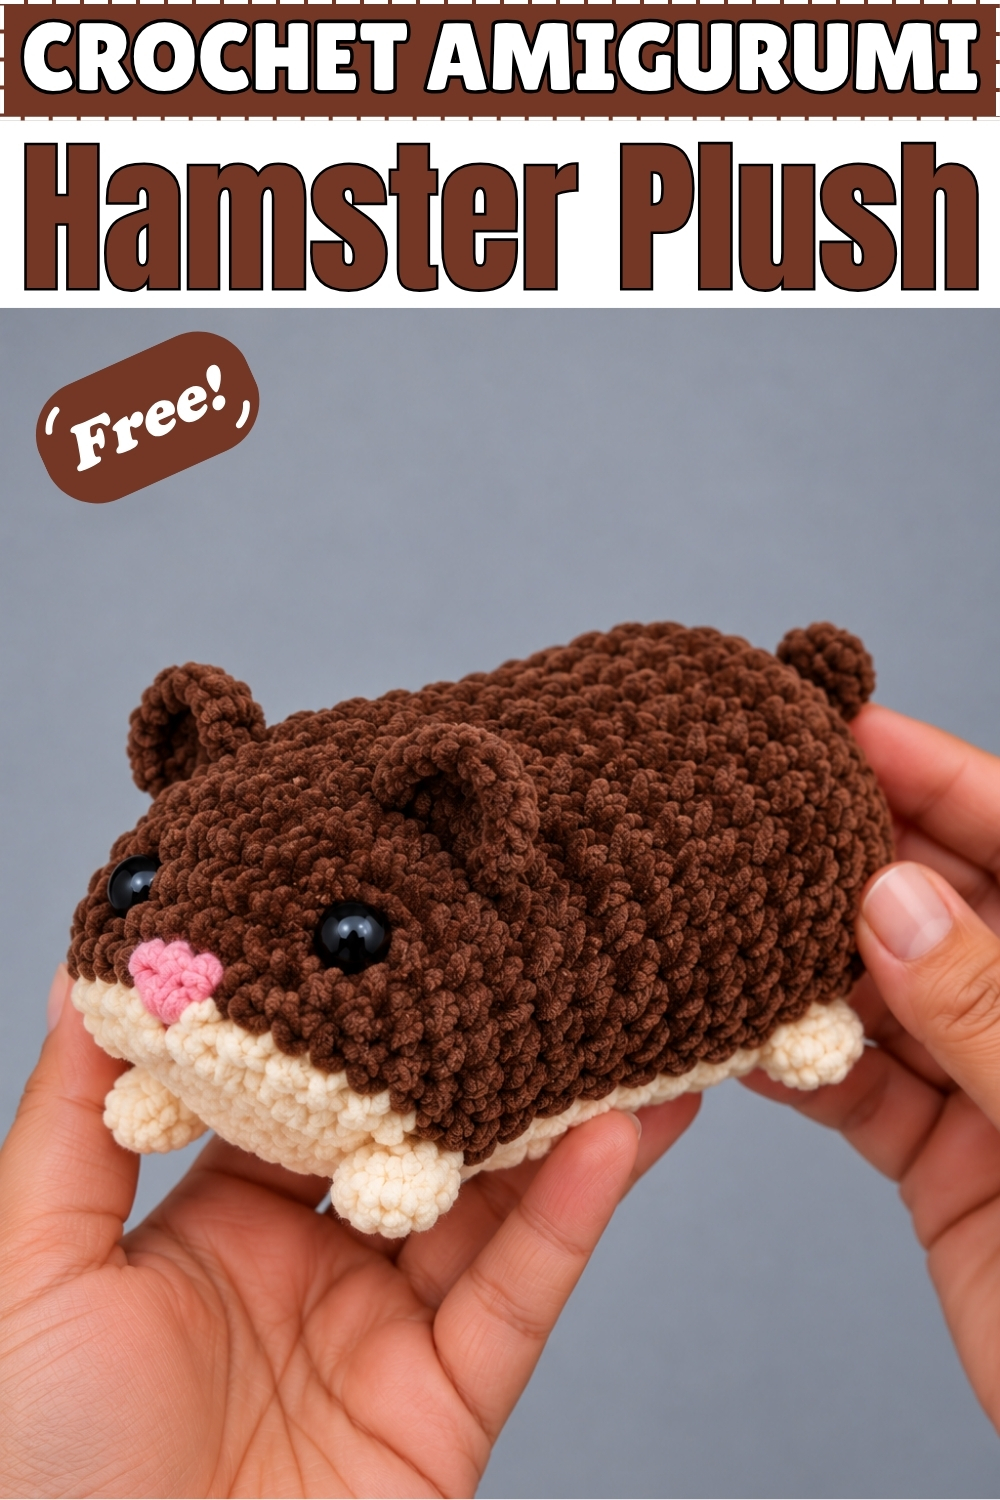
Colour changes every few stitches are what build this crochet hamster plush from a single continuous piece, and the stripe of cream running along the belly never needs to be sewn on because it grows directly out of the rounds. Dark chocolate brown chenille covers the back, the head, the cheeks and the ears, while cream takes the underside and the bobble paws. The nose starts the whole piece in bubblegum pink from a tiny magic ring before the brown takes over. Round 9 lifts the ears out of the live stitches using front loops, then round 10 closes behind them. Everything from snout to tail closes on round 25 without a single seam.
Why I love this one: the cheeks stuff so firmly they become their own feature, and the hamster ends up looking like it is mid chew no matter what angle you hold it from.
Materials And Tools
- Chenille yarn in dark chocolate brown for the body, head and ears
- Chenille yarn in cream for the underbelly, the front paws and the back paws
- Chenille yarn in bubblegum pink for the nose
- 7 mm crochet hook, or adjust for your yarn and tension
- 14 mm black safety eyes
- Polyester fiberfill stuffing
- Yarn needle, scissors and stitch markers
My version uses dark chocolate brown rather than the rust described in the plain pattern. The cream underbelly and pink nose match the original colour plan exactly.
Difficulty And Time
The colour changes in every round make this intermediate rather than beginner, and the front loop ear technique in round 9 requires careful stitch placement. In my experience the full hamster takes three to four hours, and most of that time goes into the consistent colour switching across rounds 2 through 21.
The Story Of This Make
A hamster plush sits differently on a shelf from most amigurumi because the body stretches horizontal rather than upright, all belly and cheeks with tiny paws tucked underneath. The chenille makes it look so much like the real thing that a friend who visited picked it up expecting it to be soft and warm before she remembered it was yarn. The colour change method that builds the belly stripe is the heart of the whole pattern, and once you understand the rhythm of switching at the same count every round it starts to feel automatic. The ears are the moment the hamster becomes a hamster, so take round 9 slowly.
The Pattern
Head And Body, Round 1 Through Round 8
- Round 1: using bubblegum pink, work 6 single crochets into a magic ring, on the last stitch change colour to dark chocolate brown and pull the ring closed (6).
- Round 2: in dark brown work 1 single crochet then 1 increase twice, change to cream and work 1 single crochet then 1 increase, change back to dark brown and complete the round (9).
- Round 3: in dark brown work 2 single crochets then 1 increase twice, change to cream and work 2 single crochets then 1 increase, change back to dark brown and complete the round (12).
- Round 4: in dark brown work 3 single crochets then 1 increase twice, change to cream and work 3 single crochets then 1 increase, change back to dark brown and complete the round (15).
- Round 5: in dark brown work 4 single crochets then 1 increase twice, change to cream and work 4 single crochets then 1 increase, change back to dark brown and complete the round (18), and this is the round to attach the 14 mm safety eyes between rounds 5 and 6 with approximately 4 visible stitches between them before the cheek rounds get wider.
- Round 6: in dark brown work the sequence of 2 single crochets then 1 increase four times, change to cream and work the sequence of 2 single crochets then 1 increase twice, change back to dark brown and complete the round (24).
- Round 7: in dark brown work 3 increases then 1 single crochet then 3 more increases, change to cream and work 8 single crochets, change back to dark brown and complete the round (30), and the cheeks begin to puff visibly at this point on either side of the pink nose.
- Round 8: in dark brown work 1 single crochet then 1 increase three times then 10 single crochets then 1 single crochet then 1 increase three times, change to cream and work 8 single crochets, change back to dark brown and complete the round (36).
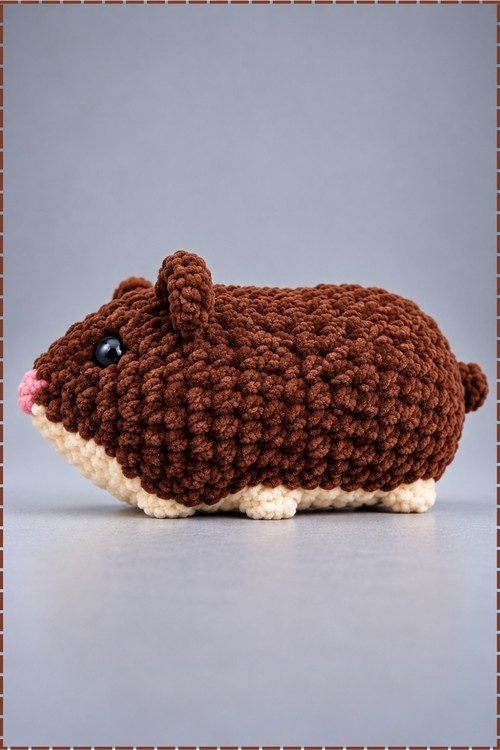
Making The Ears, Round 9
- Round 9: in dark brown work 10 single crochets, then working in the front loops only of the next 3 stitches work 1 slip stitch into the front loop of the next stitch then 3 half double crochets into the front loop of the next stitch then 1 slip stitch into the front loop of the next stitch, then work 2 single crochets normally, then working in the front loops only of the next 3 stitches work 1 slip stitch into the front loop of the next stitch then 3 half double crochets into the front loop of the next stitch then 1 slip stitch into the front loop of the next stitch, then work 10 single crochets, change to cream and work 8 single crochets, change back to dark brown and complete the round (36).
- Working the ear stitches into the front loops only leaves the back loops of those 3 stitches unused so round 10 can work behind the ears to lock them in place.
Working Behind The Ears, Round 10
- Round 10: in dark brown work 10 single crochets, then work 3 single crochets into the unused back loops of round 9 directly behind the first ear, then work 2 single crochets normally, then work 3 single crochets into the unused back loops of round 9 behind the second ear, then work 10 single crochets, change to cream and work 8 single crochets, change back to dark brown and complete the round (36).
- These back loop stitches behind the ears are what anchor each ear upright and give the hamster its round silhouette from the front.
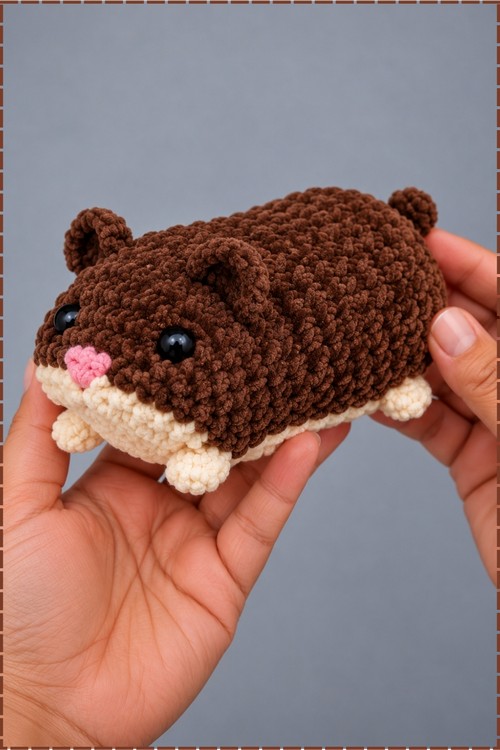
Head Decreases, Rounds 11 And 12
- Round 11: in dark brown work the sequence of 1 single crochet then 1 invisible decrease three times then 10 single crochets then the sequence again three times, change to cream and work 8 single crochets, change back to dark brown and complete the round (30).
- Round 12: in dark brown work 3 invisible decreases then 10 single crochets then 3 invisible decreases, change to cream and work 8 single crochets, change back to dark brown and complete the round (24), then attach the safety eyes now if you have not already and stuff the head and cheeks firmly before the opening closes further.
Body With Bobble Paws, Rounds 13 Through 20
- Round 13, front paws: in dark brown work 16 single crochets, change to cream and work 1 single crochet then 1 bobble stitch for the left front paw, meaning yarn over then insert hook and pull up a loop then yarn over and pull through 2 loops repeated until 5 loops sit on the hook then yarn over and pull through all 5 loops, then work 4 single crochets then 1 bobble stitch for the right front paw then 1 single crochet, change back to dark brown and complete the round (24).
- Round 14: in dark brown work 16 single crochets, change to cream and work 8 single crochets, change back to dark brown and complete the round (24).
- Round 15: in dark brown work 16 single crochets, change to cream and work 8 single crochets, change back to dark brown and complete the round (24).
- Round 16: in dark brown work 16 single crochets, change to cream and work 8 single crochets, change back to dark brown and complete the round (24).
- Round 17: in dark brown work 16 single crochets, change to cream and work 8 single crochets, change back to dark brown and complete the round (24).
- Round 18: in dark brown work 16 single crochets, change to cream and work 8 single crochets, change back to dark brown and complete the round (24).
- Round 19, back paws: in dark brown work 16 single crochets, change to cream and work 2 single crochets then 1 bobble stitch for the left back paw then 4 single crochets then 1 bobble stitch for the right back paw, change back to dark brown and complete the round (24).
- Round 20: in dark brown work 16 single crochets, change to cream and work 8 single crochets, change back to dark brown and complete the round (24).
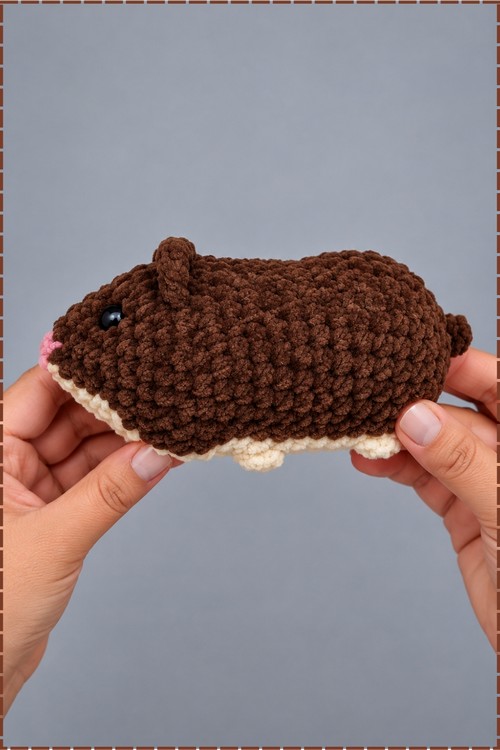
Body Decreases And Closing, Rounds 21 Through 25
- Round 21: in dark brown work the sequence of 2 single crochets then 1 invisible decrease four times, change to cream and work the sequence of 2 single crochets then 1 invisible decrease twice, change back to dark brown and complete the round (18).
- Round 22: in dark brown only, work the sequence of 1 single crochet then 1 invisible decrease six times (12), then stuff the body completely and firmly.
- Round 23: in dark brown only, work the sequence of 2 single crochets then 1 invisible decrease three times (9).
- Round 24: in dark brown only, work the sequence of 1 single crochet then 1 invisible decrease three times (6), then add a final pinch of stuffing to fill the tail end fully.
- Round 25: in dark brown only, work 3 invisible decreases (3), then fasten off leaving a yarn tail, thread the yarn needle and sew closed by weaving through the front loops of the remaining 3 stitches, then secure and hide the tail inside the body.
Tips And Troubleshooting
- Mark the exact stitch where the cream section starts and ends in round 2 before you begin, since chenille yarn hides the colour change point visually and losing it means restarting that round.
- Keep colour change tails short when you cut and rejoin each colour, since long internal tails inside chenille create visible bumps under the surface.
- Stuff the cheeks harder than feels natural because chenille compresses under the stuffing and the cheeks flatten quickly. Overstuffing the cheeks slightly at round 12 gives the hamster the round face visible in my photo.
- Work round 9 with the right side of the piece facing you so you can see where the ear stitches land before committing to the slip stitches.
- The bobble paws in cream are the element that makes the piece read as a hamster rather than a generic plush, so take care to place them symmetrically within the cream section.
Yarn Substitution
Any chenille or velvet yarn at a similar weight works here as long as you use a hook that produces a tight fabric with no gaps. The chenille texture in my photo is what gives the hamster its fuzzy look, and smooth acrylic at the same weight would give a completely different result. If you substitute, swatch first and check that stuffing does not show through the stitches before starting the full piece.
Customisation Ideas
- Try a golden yellow or sand colour for a Syrian hamster colouring.
- Work the underbelly in a lighter version of the main colour rather than cream for a more subtle contrast.
- Add a tiny embroidered mouth below the pink nose for more expression.
- Make a second hamster in a grey and white colourway and pair them on a single shelf.
- Work the ears in the cream colour instead of matching the body for a contrast ear look.
FAQ
Why does my hamster look flat rather than round? Chenille compresses much more than cotton or acrylic, so the piece needs more stuffing than it looks like it does from the outside. Push extra fiberfill into the cheeks and body at every stuffing pause, not just the final one.
My colour changes are leaving visible bumps at the join. How do I fix that? Carry the unused colour loosely inside the stitches rather than cutting and rejoining every round. For the 8 stitch cream section that appears in the same position every round, carrying the yarn prevents the join bumps and keeps the belly stripe smooth.
The ears in round 9 look uneven. What went wrong? The two ears need to sit the same number of stitches apart from the centre of the face. Count 10 stitches before the first ear and check that 2 stitches sit between the ears before working the second one. If they are off, pull back to before the first ear and recount.
Can I make this without chenille yarn? Yes, and the stitch counts do not change. Regular DK or worsted acrylic gives a more textured stitch surface instead of the smooth fuzzy look. It also stuffs differently, so start with a little less fiberfill and adjust as you go.