
Hedgehog Crochet Pattern Free Amigurumi With Loop Stitch Spikes
Autumn displays get a lot livelier with a few of these, worked from a cream snout tip through eleven rounds of curling loop stitches to the rump in one continuous piece. Only the nose gets sewn on, so you can repeat the same pattern in purple, brown or any shade you like.
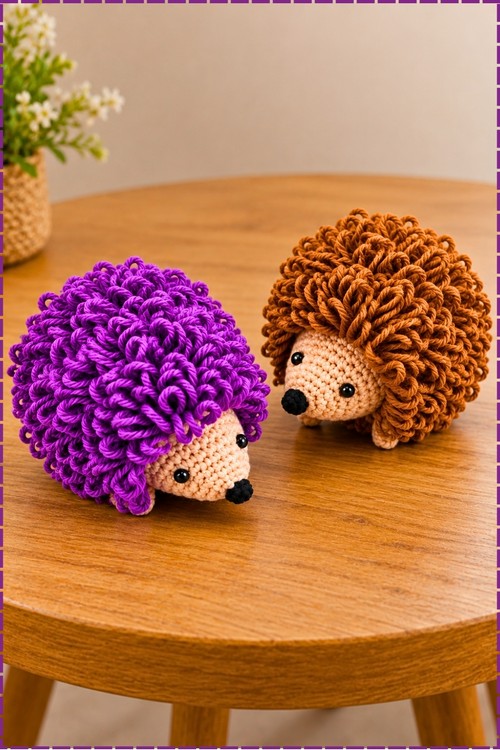
Loops bristling out behind a pointed cream snout give the crochet hedgehog the look of something mid scurry. Nothing about it sits still. Worked in purple, the crochet hedgehog stops being wildlife and turns into a character with opinions, which is why makers rarely stop at one colour.
Crochet Hedgehog
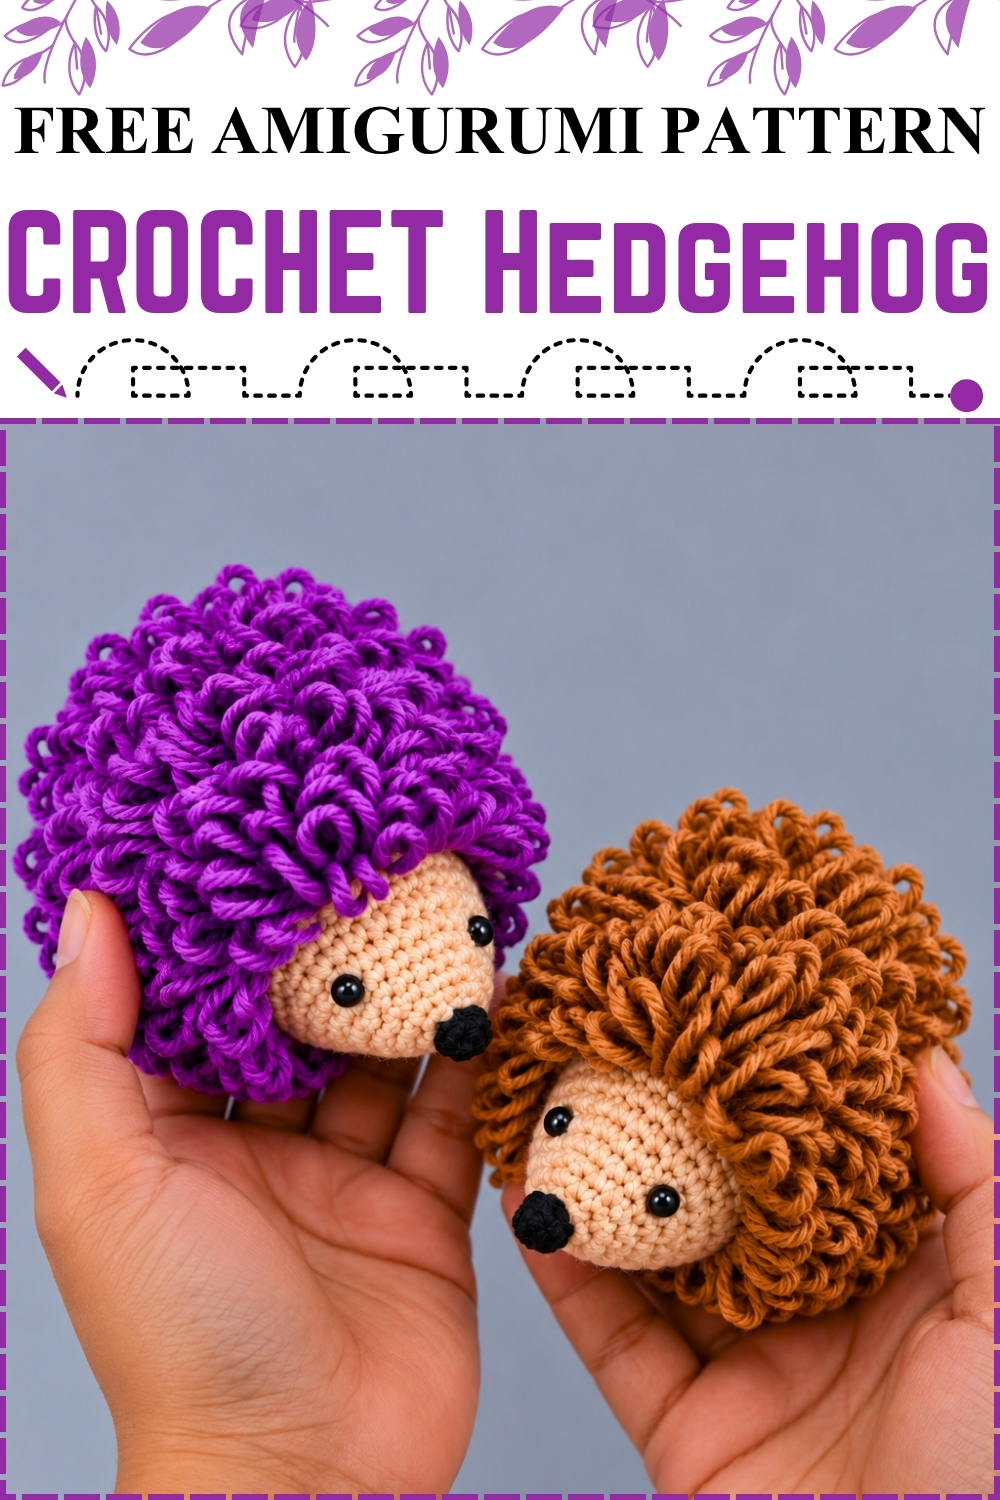
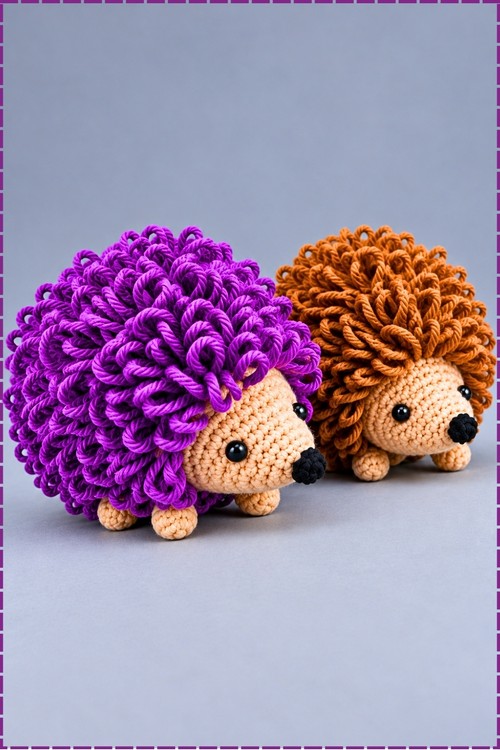
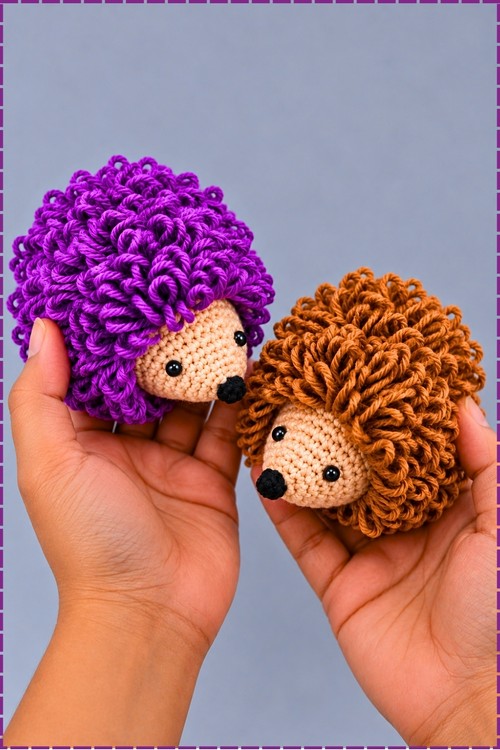
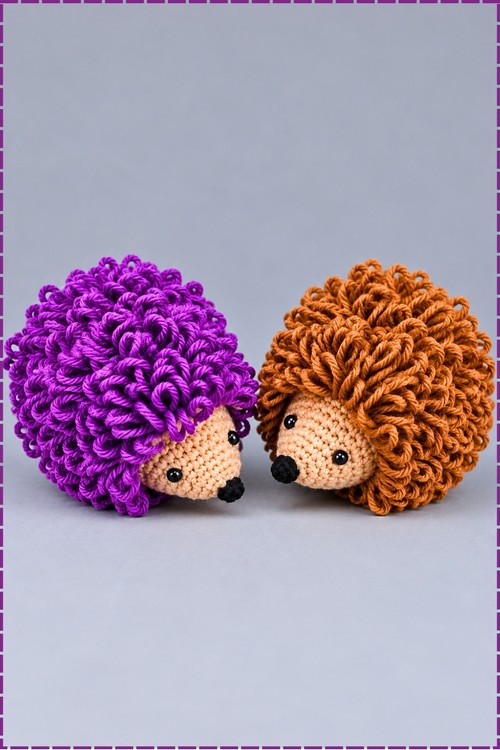
Loop stitches are what give this crochet hedgehog amigurumi its wild, curling spine texture, and the whole body works in a single continuous piece from snout tip to tail, so nothing needs to be sewn on later except the nose. A cream snout section builds from a small magic ring across the first nine rounds, then the colour changes and eleven rounds of loop stitches cover the back from shoulder to rump. Stuffing goes in before the final decreases close everything up. Two black safety eyes land on the snout, and a small black nose sits at the very tip. My photo shows the same pattern in two colourways at once, purple and brown, both using that same cream snout.
Materials And Tools
- Milk cotton yarn in cream or peach for the snout and face section
- Milk cotton yarn in your chosen spike colour, purple or warm brown both work beautifully
- A small amount of black yarn for the nose
- 2.5 mm crochet hook
- Black safety eyes and safety backs
- Cotton stuffing or polyester fiberfill
- Tapestry needle and scissors
- Stitch marker
The body and the spike back are worked in one continuous piece, so you carry or change colour at round 10 rather than making separate pieces.
Difficulty And Time
The single crochet snout section is very beginner friendly, and the loop stitch rounds are straightforward once you work a few. In my experience a finished hedgehog takes around two to three hours, and working a second one in a different colour immediately after goes even faster because the muscle memory is there.
Beginner Technique Notes
How To Work A Loop Stitch
The loop stitch is the whole personality of this hedgehog, and it looks more dramatic than it is to make. Insert your hook into the stitch as usual, then wrap the working yarn around one or two fingers of your non dominant hand to form a loop, catch both strands of that loop with your hook and pull them through the stitch along with your working yarn, then yarn over and pull through all loops on the hook. The loop stays on the outside of the fabric, which is the back of your work as you hold it, so you push it through to the right side once each round is done.
Joining Rounds Versus Continuous Spiral
This pattern joins each round with a slip stitch and chains 1 before moving into the next round, which is different from working in a continuous spiral. Keep your stitch marker in the first stitch of every round so you know where each one starts.
Changing Colour
Switch to your spike colour on the last yarn over of the final stitch of round 9, pulling the new colour through to complete that stitch. Fasten off the cream yarn and weave its tail inside the snout before the opening narrows too much.
The Pattern
Head And Snout In Cream
- Round 1: make a magic ring and work 6 single crochets into it, join with a slip stitch (6), and pull the ring closed tightly because this point becomes the very tip of the snout.
- Round 2: work 1 single crochet in each stitch around, join with a slip stitch (6), which keeps the snout tube narrow at the tip.
- Round 3: work 1 increase, meaning 2 single crochets in the same stitch, in every stitch around, join with a slip stitch (12).
- Round 4: work 1 single crochet then 1 increase and repeat around, join with a slip stitch (18).
- Round 5: work 1 single crochet in each stitch around, join with a slip stitch (18).
- Round 6: work 2 single crochets then 1 increase and repeat around, join with a slip stitch (24).
- Round 7: work 3 single crochets then 1 increase and repeat around, join with a slip stitch (30), and this is the widest point of the head.
- Round 8: work 1 single crochet in each stitch around (30).
- Round 9: work 1 single crochet in each stitch around, join with a slip stitch (30), then attach the safety eyes now between rounds 4 and 5, set about 4 stitches apart and positioned on the front face of the snout where they sit in my photo.
Fluffy Back In Spike Colour
- Round 10: switch to your spike colour yarn and work 1 loop stitch in each stitch around (30), pushing each loop through to the outside of the fabric as you go.
- Round 11: work 1 loop stitch in each stitch around (30).
- Round 12: work 1 loop stitch in each stitch around (30).
- Round 13: work 1 loop stitch in each stitch around (30).
- Round 14: work 1 loop stitch in each stitch around (30).
- Round 15: work 1 loop stitch in each stitch around (30).
- Round 16: work 1 loop stitch in each stitch around (30).
- Round 17: work 1 loop stitch in each stitch around (30).
- Round 18: work 1 loop stitch in each stitch around (30).
- Round 19: work 1 loop stitch in each stitch around (30).
- Round 20: work 1 loop stitch in each stitch around (30), and by the end of this round the fluffy back should cover roughly two thirds of the piece.
Decreasing And Closing
- Round 21: work 3 loop stitches then 1 loop stitch decrease and repeat around, and stuff the body firmly with cotton filling while the opening is still wide enough to reach inside.
- Round 22: work 2 loop stitches then 1 loop stitch decrease and repeat around.
- Round 23: work 1 loop stitch then 1 loop stitch decrease and repeat around.
- Round 24: work 1 loop stitch decrease 6 times around, then do a slip stitch, chain 7, starting in the second chain from the hook work 1 single crochet in each chain, then slip stitch to finish and create the tiny tail, cut the yarn and weave in the ends.
Nose In Black
- Work a small nose shape in black yarn using a general maker method, building a small filled oval or teardrop worked over a few rounds from a tight magic ring, then fasten off leaving a tail for attaching.
- My nose is a solid black crocheted piece sewn directly onto the tip of the snout, more substantial than embroidery alone and visible as a clearly defined dark shape at the very end of the cream snout.
- Alternatively, use black yarn and a tapestry needle to embroider a neat nose directly onto the snout tip with a few straight stitches if you prefer a flatter look.
Assembly
- Attach the black nose piece to the very tip of the cream snout, stitching through the nose and into the snout several times until it sits firmly without rotating.
- Weave all remaining tails inside the body before the closing stitches pull completely tight.
- No other parts need sewing since the body works as one continuous piece.
Tips
- Work the loop stitches around your index finger rather than two fingers for smaller, neater loops that sit closer to the body, or use two fingers for longer, looser loops that stand out further from the back.
- Push every loop through to the right side immediately after completing that stitch rather than leaving them to push through later, since the fabric stiffens as you go and late adjustments become harder.
- Insert the safety eyes before round 10 while the snout is still open at the back, because once the loop stitch rounds begin the opening narrows and getting a finger inside to press the safety backs on becomes difficult.
- Stuff in small pinches and check the shape from the outside after each addition, since milk cotton yarn shows lumps more visibly than acrylic and a smooth stuffing job makes a real difference on the snout.
- Keep the loop stitch tension consistent across all eleven rounds so the spikes look even rather than gradually tighter or looser from round to round.
- If the loop stitch rounds twist, hold the work with the loops facing away from you as you go, checking every few stitches that they are all popping toward the outside.
- The tiny tail at the end of round 24 is easy to skip but worth doing, as it gives the hedgehog a clear back end and helps the shape read correctly.
Yarn Substitution
Any smooth DK weight or sport weight yarn works here in place of milk cotton. Stay away from anything fuzzy for the snout section since the loop stitches on the back already provide all the texture, and a fuzzy snout blurs the face details. If you use a heavier yarn, the stitch counts stay the same and the finished hedgehog simply comes out larger, in which case size the safety eyes up to suit.
Customisation Ideas
- Make a pair in contrasting colourways as in my photo: one purple and one brown, same snout colour on both.
- Try orange loops for an autumn hedgehog or pale grey loops for a more realistic look.
- Add a tiny crochet flower tucked into the loops on one side for a garden themed version.
- Attach a keychain ring through the top stitches and turn the hedgehog into a bag charm.
- Work the snout in a slightly darker cream for a more natural colouring.
FAQ
Can I use acrylic yarn instead of milk cotton? Yes, and the stitch counts do not change at all. Acrylic tends to give slightly looser loops than cotton, so you may want to work around one finger rather than two to keep the loops from getting too long.
My loops are uneven in length. What went wrong? Loop length depends on how consistently you wrap the yarn around your finger. Try keeping the same finger position throughout every loop stitch round, and avoid switching between one and two fingers mid round.
The safety eyes sit too low on my hedgehog. Can I reposition them? Safety eyes lock permanently once the backing clicks on, so check placement against a reference photo before pressing the back. If yours are already on, threading a few stitches of black yarn around the eye disc can sometimes visually raise the eye position slightly.
Why does my snout look longer than in the photo? The snout length is controlled by rounds 1 and 2, which are both straight rounds with no increases. If your tension is loose those two rounds will extend the tube. Snug those stitches slightly and the snout will shorten.
How do I make a second hedgehog that matches the first in size? Use the same yarn, the same hook and aim for the same tension. Counting the loops across round 10 at the start of the spike section is a quick size check: if you have 30 loops, your hedgehog will match.