
Crochet Amigurumi Fish Keychain Free Pattern
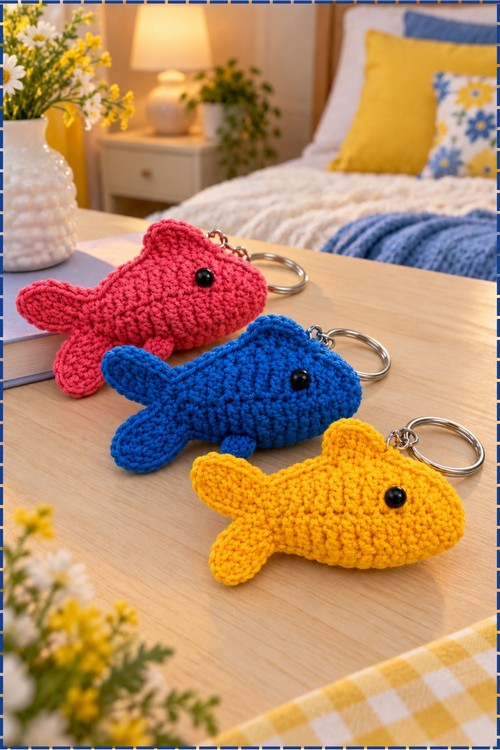
On a craft market table, a school of crochet fish keychains in pink, royal blue and golden yellow catches every passing eye. Each one wears a single shiny black eye and swings from a silver keyring, adding a cheerful splash of colour to keys and bags.
Requests pile up for the crochet fish keychain every time one shows up at a market table. Three colors, one pattern, no fiddly parts. Scrap yarn finishes a whole school of them. The crochet fish keychain sells fast and restocks faster, which is why makers keep coming back for this one.
Crochet Fish Keychain
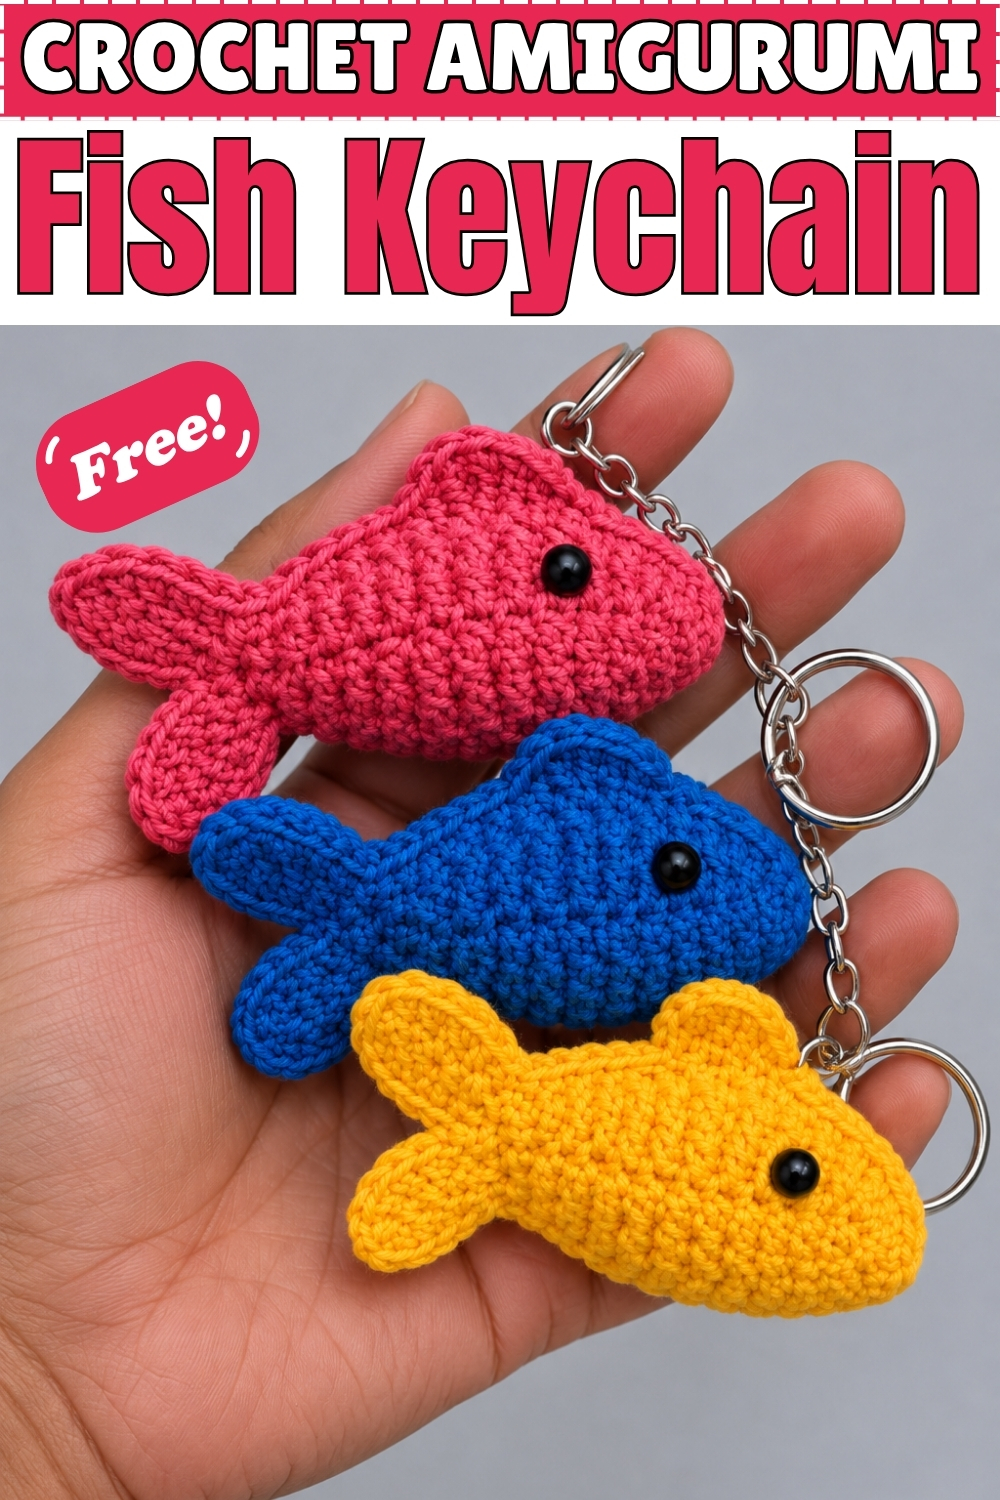
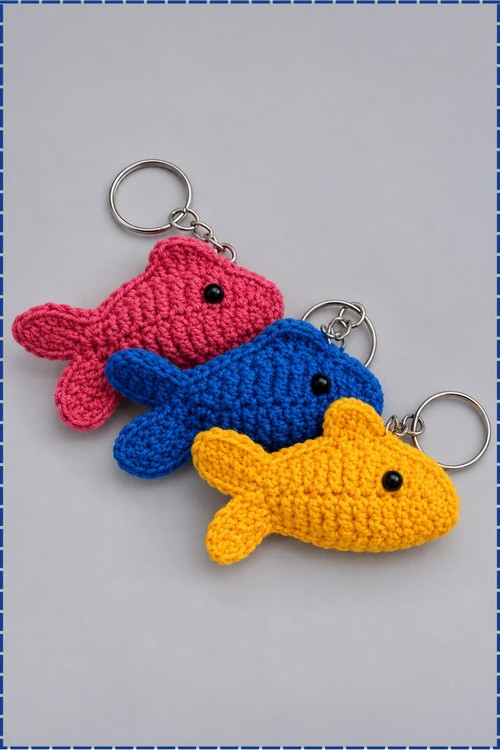
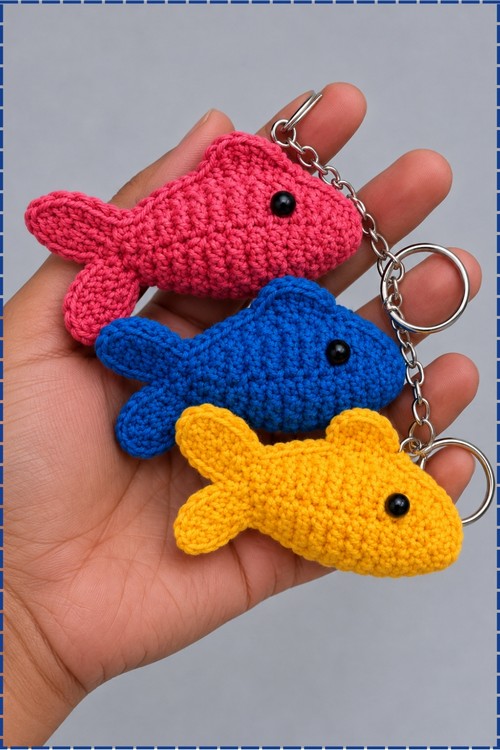
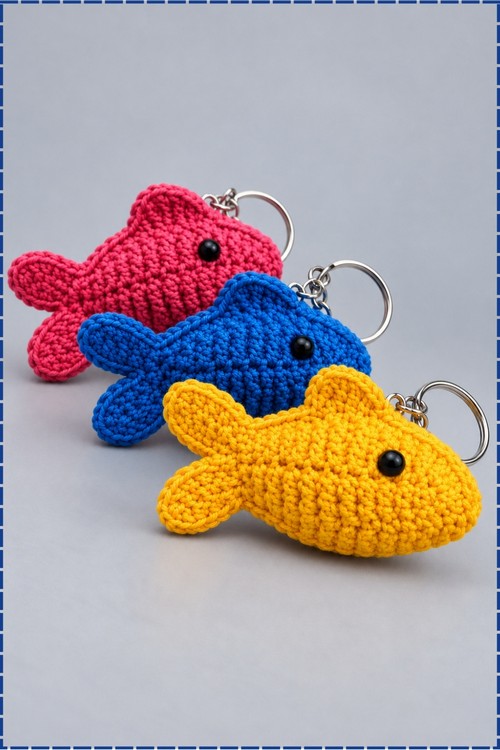
Two flat fish panels get joined around the edge and lightly stuffed in the middle to make this crochet fish keychain, so the body has a gentle plump shape rather than lying completely flat. Stitch height does all the shaping: single crochet sits at the nose, taller stitches arch over the back, and two short chain fins branch off the tail end. Mine comes out in three colourways, pink, royal blue, and golden yellow, each one carrying a single black safety eye and a silver keyring clipped to the top fin. Every fish works up from one chain of fourteen.
Difficulty and Time
This is a genuine beginner project. If you can chain and single crochet, you have everything you need; the treble crochet in the body arc is just a taller version of stitches you may already know. In my experience each fish takes about thirty to forty five minutes once you understand the panel shape, and the second panel is always faster than the first.
Beginner Technique Notes
- A foundation chain is just a row of loops you build from. Start with a slip knot on the hook, then wrap and pull through as many times as the pattern says.
- Single crochet (sc) is the shortest basic stitch. Half double crochet (hdc) is a little taller. Double crochet (dc) is taller still, and treble crochet (tr) is the tallest stitch used here. Using them in sequence from nose to back is what curves the fish body without any shaping rounds.
- The tail fins are made by working short chains off the main piece and stitching back along them. They sit as two small lobes at the back of the fish, one above and one below.
- When joining the two panels, work with both layers held together and push your hook through both at once. This is easier than it sounds: line up the edges and take it one stitch at a time.
- Leave the safety eye until the joining round is nearly done so you can still reach inside to position it correctly. Press the washer on from inside the body before you close the last few stitches.
Materials and Tools
- Acrylic yarn, 100g or 350m, in pink, royal blue, or golden yellow
- Crochet hook, 2.0 mm
- Fiberfill stuffing
- One black safety eye or black bead per fish
- Silver keyring with chain
- Yarn needle
- Scissors
Abbreviations
- ch: chain
- sc: single crochet
- hdc: half double crochet
- dc: double crochet
- tr: treble crochet
- sl st: slip stitch
- inc: increase, meaning 2 stitches worked into the same stitch
The Pattern
Fish Panel 1
- Start with a slip knot and chain 14.
- Skip the first chain from the hook, work 1 sc in each of the next 2 chains.
- Work 1 dc in each of the next 3 chains. The stitches are getting taller now, which starts to curve the body upward.
- Work 1 tr in each of the next 4 chains. These are the tallest stitches and form the highest point of the fish's back.
- Work 1 dc in each of the next 3 chains.
- Work 1 sc in the last chain. You have now worked across the full foundation chain from nose to tail base.
- Chain 6 for the upper tail fin.
- Skip the first chain from the hook, work 1 sc in the 2nd chain.
- Work 1 hdc in each of the next 3 chains.
- Work 1 sc in the next stitch.
- Work 1 sc in the last stitch of the previous foundation chain. The upper tail fin is now complete and attached.
- Chain 6 again for the lower tail fin.
- Skip the first chain from the hook, work 1 sc in the 2nd chain.
- Work 1 hdc in each of the next 3 chains.
- Work 1 sc in the next chain.
- Work 1 sc in the last stitch of the previous chain base. Both tail fins are now in place, one above the other.
- Work 1 dc in each of the next 3 stitches along the body arc.
- Work 1 tr in each of the next 4 stitches.
- Work 1 dc in each of the next 3 stitches.
- Work 1 sc in each of the next 2 stitches.
- Slip stitch, chain 1, cut yarn and fasten off. Panel 1 is complete.
Fish Panel 2
- Repeat every step from Panel 1 to make a second identical fish panel.
- Do not cut the yarn on this second panel. You will use the working yarn to join both halves together in the next step.
Joining and Top Fin
- Hold both fish panels together with the back sides facing each other and edges aligned.
- Working through both layers at once, work 1 sc through both layers for the first 5 stitches along the edge. Keep the tension firm and even so the join sits flush and does not pucker.
- Top Fin: work an increase of 2 sc into the same stitch through both layers.
- Work an increase of 2 dc into the same stitch through both layers.
- Work 1 tr in each of the next 2 stitches through both layers.
- Chain 3, then slip stitch into the same base stitch. The top fin now points upward from the fish's back, and this is where the keyring will attach.
- Continue attaching the remaining top edge with sc through both layers until you reach the tail opening. Stop before closing the tail completely.
Stuffing and Finishing
- Lightly stuff the inside of the fish body with fiberfill through the tail opening. Keep the stuffing light so the fish stays flat rather than round. On mine each fish has just enough padding to feel soft when squeezed without bulging at the seams.
- Chain 1 and cut the yarn.
- Thread the yarn tail onto the needle and weave it through the tail edge stitches to close any remaining gaps.
- Fasten off securely and hide all yarn ends inside the body.
- Attach the black safety eye or black bead near the nose end of the fish, set back slightly from the mouth. On mine the eye sits clean and centred on the body, looking straight forward.
- Attach the silver keyring to the top fin. The chain between the ring and the fin lets the fish swing freely.
Tips and Troubleshooting
- If your two panels look different sizes, your tension shifted between them. Block the smaller one lightly under a damp cloth before joining and they will match.
- The treble crochet rows are the most common spot where new makers lose their place. Count your stitches after the tr section before moving on.
- Do not overstuff. A fish packed too firmly loses its flat silhouette and the tail fins splay outward instead of curling in naturally.
- Sew the safety eye washer on firmly from the inside before closing the body. A washer that slips after the fish is assembled cannot be reached without reopening the seam.
- Make a test panel in scrap yarn first if the stitch height sequence feels unfamiliar. The shape becomes clear once you see it in real stitches.
Yarn Substitution
Any smooth acrylic in a sport or light DK weight will work at this hook size and give the same stitch definition mine has. Avoid anything fuzzy or self striping here, because both blur the clean fish outline. Cotton is a good swap for a firmer body that keeps its shape even more crisply.
Customization Ideas
- Make a matching set in three colours, as I did, for a gift set or a market stall display.
- Add a small embroidered mouth in contrasting yarn just below and forward of the eye.
- Use metallic yarn for the body to make a koi or goldfish version.
- Clip multiple fish to a bag strap at different heights for a school of fish effect.
- Swap the silver keyring for a lobster clasp to use the fish as a bag charm instead.
FAQ
I have never worked a treble crochet before. Is it hard? Not at all once you try it once. Yarn over twice before inserting the hook, then pull through two loops at a time three times. Practise one into a spare chain before starting the panel and it will feel natural immediately.
My fish body looks pointy instead of curved. What happened? That usually means the stitches were worked in the wrong order. The sc stitches go at the nose end and the tr stitches arc over the back. Check that you did not mix up the sequence.
Can I leave out the stuffing? Yes, and the fish will still look right as a flat charm. Stuffing just adds the soft padded feel that mine has. Leave the tail opening and weave it closed the same way.
How do I keep the two tail fins from curling? Work the hdc stitches loosely along the tail chains. Tight tension on short chains causes curling, so ease up slightly and the fins will lie flat.
Will the safety eye stay on securely? Yes, as long as the washer is pressed on all the way from inside the body before closing. Give it a firm press until you feel it click into place, and it will not come loose with normal use.