
Crochet Flower Bouquet Free Pattern With Lavender Stems
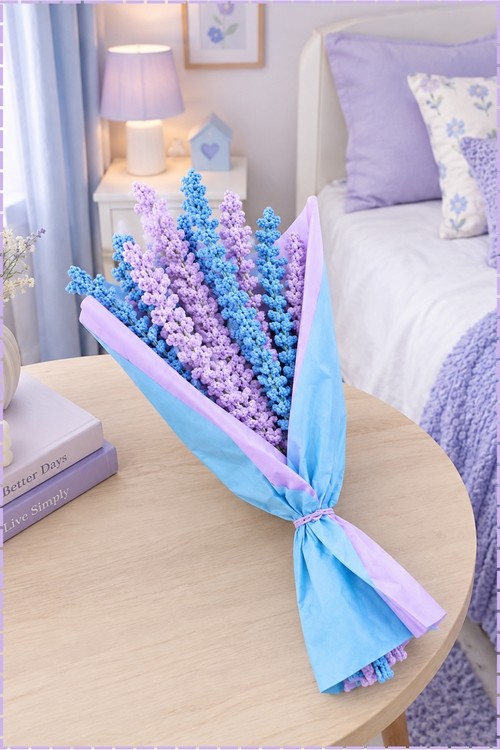
Long after real flowers fade, this crochet flower bouquet keeps its periwinkle blue and soft lilac lavender stems looking fresh in a blue tissue wrap and matching bow. Give it for Mother's Day, set it on a nightstand or keep it as a lasting wedding memento.
Stems that never wilt give this crochet flower bouquet a stubborn streak. It shows off and stays put. Blue and lilac bobbles crowd every spike, so the flower bouquet reads loud from across a room. Wrap it, gift it, forget to water it. This crochet bouquet has no complaints.
Crochet Flower Bouquet
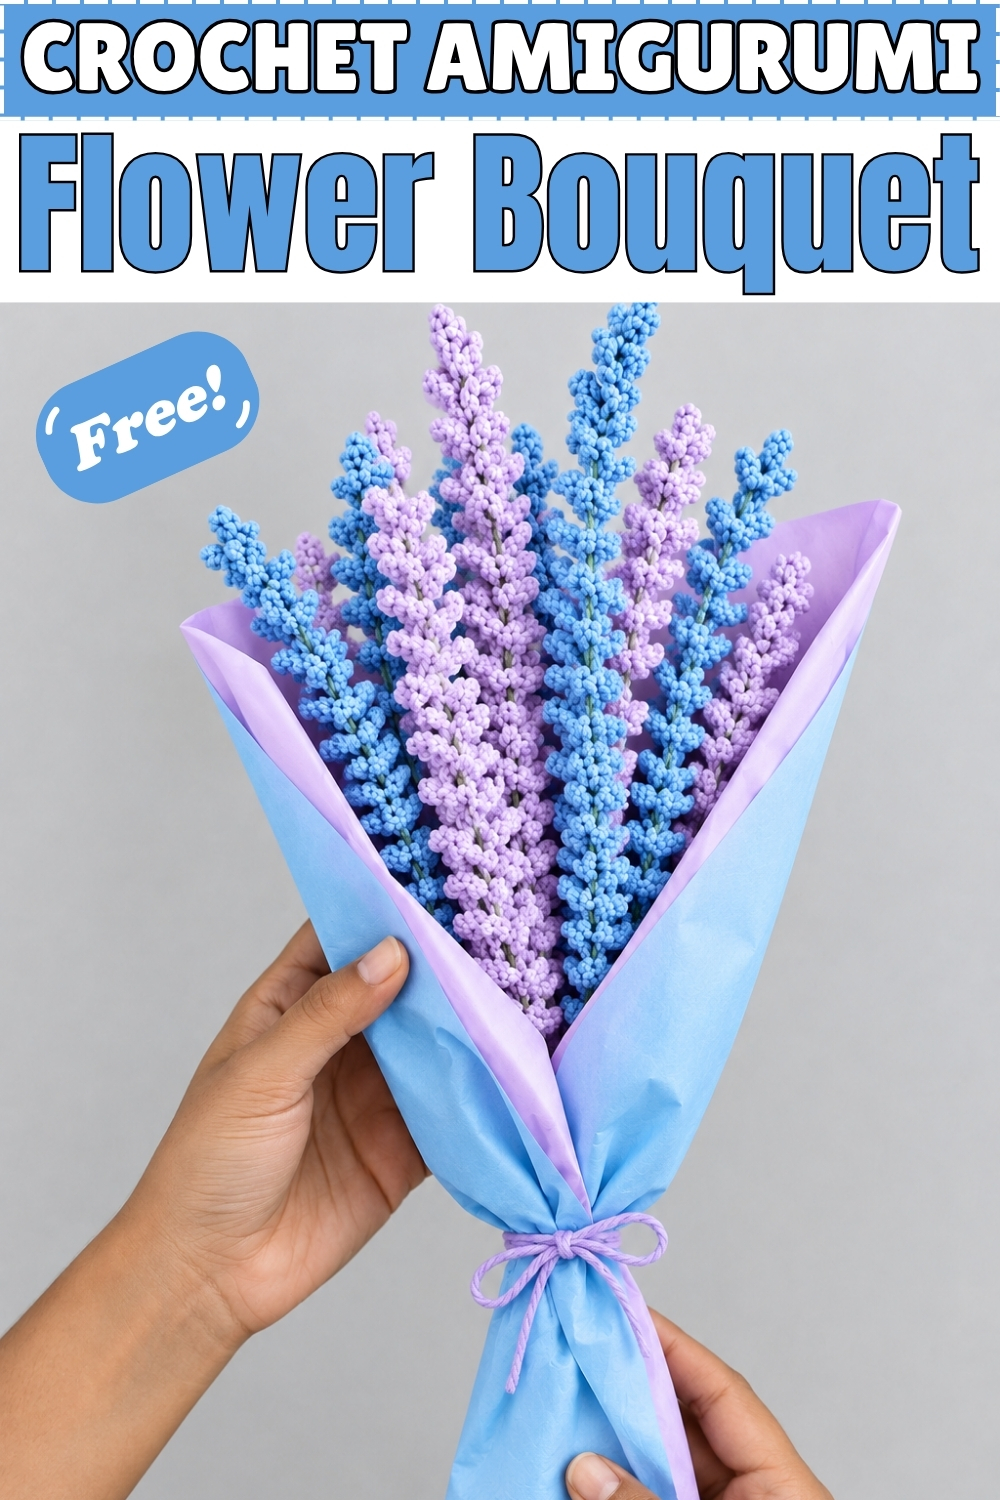
Ruffled loops worked along a foundation chain give each lavender stem in this crochet flower bouquet its clustered, bead like texture, and the whole stem comes from a single piece of yarn with no parts to sew together afterward. Wire runs through each finished stem and wraps in sage green so the flowers hold whatever shape you bend them into. Mine uses only the lavender pattern, repeated several times in two shades, periwinkle blue and soft lilac purple, then wrapped in blue and lavender tissue paper tied with a matching bow. Every stem goes quickly once you find your rhythm on the ruffle row.
Materials and Tools
- Crochet hook, 3.75 mm
- Light weight or DK yarn in periwinkle blue and soft lilac purple for the lavender stems
- Sage green yarn for wrapping the wire stems
- 18 gauge floral wire, one length per stem
- Craft tacky glue
- Darning needle and scissors
- Wire cutters
- Blue tissue paper and lavender tissue paper for wrapping
- Twine or ribbon for tying the bouquet
Difficulty and Time
The lavender pattern is genuinely beginner friendly since it only uses chain stitches and slip stitches. In my experience each stem takes about fifteen to twenty minutes once you have done the first one. The ruffle row is repetitive, which actually helps your tension stay even as you go. Making enough stems for a full bouquet like mine takes a couple of hours spread across an evening.
Beginner Technique Notes
- A slip stitch is the flattest crochet stitch. You insert the hook, yarn over, and pull straight through both the stitch and the loop on your hook in one motion. It anchors the ruffle without adding height.
- Chain 7 loops form the ruffles along the stem. Work them loosely so they fan out naturally rather than pulling tight against the foundation chain.
- The top petal cluster uses double crochet. Yarn over before inserting the hook, pull up a loop, yarn over and pull through two loops, then yarn over and pull through the remaining two loops. Repeat that three times into the same stitch and you have the pointed tip.
- Wire wrapping is simpler than it looks. Apply a thin line of tacky glue down the wire, then spiral the green yarn tightly from top to bottom without gaps. Let it dry before bending the stem.
The Pattern
Lavender Stem (Make as many as desired in varying shades)
- Make a slip knot and place it on the hook, then chain 58. You can add or reduce chains here if you want a longer or shorter stalk.
- Yarn over, count to the 3rd chain from the hook.
- Work 3 double crochets (dc: yarn over, insert hook, yarn over and pull up a loop, yarn over, pull through 2 loops, yarn over, pull through remaining 2 loops) into that same 3rd chain. Repeat 2 more times into the same stitch for 3 dc total.
- Chain 2, then slip stitch (sl st) back into that same starting stitch to secure. The small cluster of 3 dc forms the pointed tip at the very top of the lavender stem.
- Move to the next chain stitch and work 1 sl st.
- Chain 7.
- Work 1 sl st back into that exact same chain stitch. One ruffle loop is now complete and should sit as a small rounded lobe against the foundation chain.
- Repeat the sequence down the full length of the foundation chain: move to the next chain, work 1 sl st, chain 7, work 1 sl st back into the same chain.
- Continue this pattern in every chain all the way to the end. Keep your tension consistent and let the loops fall to the same side so the ruffles sit neatly rather than twisting.
- In the final chain stitch, work the last sl st, chain 7, and sl st to complete the stem.
- Cut yarn leaving a tail of about 4 to 5 inches, then pull the tail through the final loop to fasten off securely.
Stem Preparation and Assembly
- Cut a length of floral wire to the desired height for each stem. On mine the stems are all a similar length, which gives the bouquet its tall, even column shape.
- Apply a thin coat of tacky glue down the wire, then wrap sage green yarn tightly from top to bottom in a close spiral, covering the wire completely. Let it dry.
- Apply glue to the top end of the wrapped wire stem.
- Coat the stem wire in glue and spirally wrap the ruffled lavender strip around the wire from the top down, anchoring the tip cluster at the very top and working the ruffle loops down toward the base.
- Tie the bottom yarn tail off securely and trim.
Bouquet Wrapping
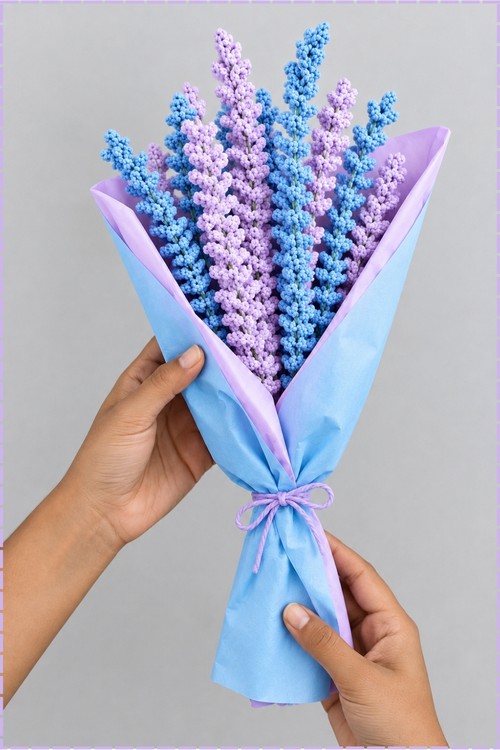
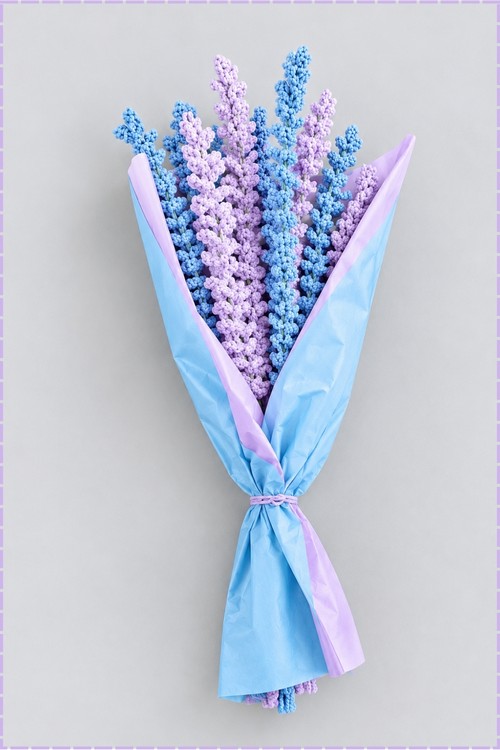
- Arrange all finished stems together, staggering heights slightly so the bouquet has depth rather than a flat front edge. On mine the blue stems and purple stems alternate through the bunch.
- Cut a square of blue tissue paper and a square of lavender tissue paper, each slightly shorter than the overall stem length.
- Layer the lavender tissue paper inside the blue tissue paper.
- Lay the stems on the tissue paper, fold the bottom edge up, and fold the side edges inward.
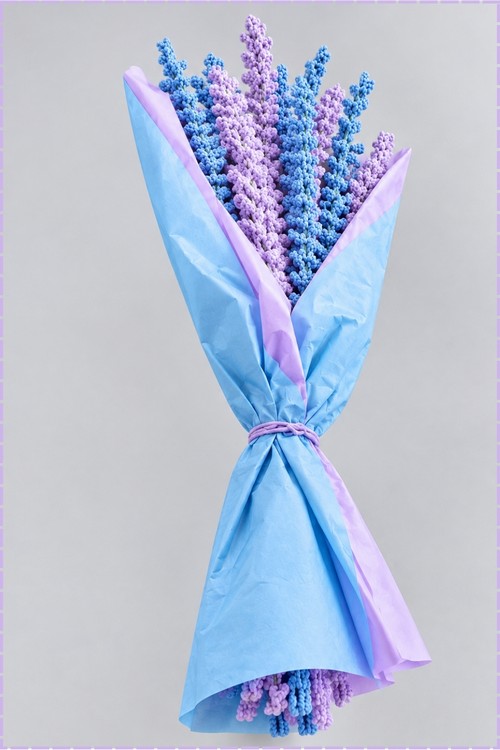
- Wrap the paper loosely around the middle of the stems and tie firmly with a length of matching purple twine or ribbon. On mine the bow sits at the base of the tissue cone and the knot is a simple double bow that matches the lavender colour.
Tips
- Do the ruffle row in one continuous pass without stopping to count individual loops. Your hook moves into every chain along the foundation, so if you have not skipped any chains you are on track.
- Keep chain 7 loops all the same size by pulling each one to a consistent height before working the closing sl st. Uneven loops make the stem look lopsided.
- Make at least two stems before deciding on your chain 58 length. The first one always feels uncertain, and the second tells you whether you want a longer or shorter stalk for your vase or wrapping.
- Glue the wire before wrapping the yarn, not after. Trying to push glue under already wound yarn makes a mess and weakens the bond.
- Arrange the stems in the bouquet before wrapping the paper. Moving them once the paper is tied crushes the ruffles at the base where the wrap sits tightest.
- Mix two shades of the same colour family rather than two contrasting colours for a softer, more realistic lavender field look, which is exactly what mine has.
Yarn Substitution
DK or light weight yarn gives the small tight ruffles that make the stems read as lavender rather than a generic ruffle. A heavier yarn makes the loops too bulky and the stem loses its spike shape. Any smooth yarn in the right weight works; avoid anything fuzzy since it hides the stitch definition that makes the chain 7 loops look like tiny buds.
Customization Ideas
- Make all stems in a single deep purple for a monochrome bunch.
- Vary the chain 58 length across stems in the same bouquet for a looser, garden picked look rather than a florist cut arrangement.
- Wrap in kraft brown paper and tie with natural twine for an earthy market stall style.
- Add a few stems in white or pale pink alongside the blue and purple for a spring palette.
- Display finished stems in a small ceramic vase without paper wrapping for a permanent home decoration.
FAQ
Do I need to use wire stems or can I use something else? Wooden skewers or bamboo sticks work well as an alternative to floral wire, especially if you want the stems to stay perfectly straight rather than bendable. Wrap them the same way with green yarn and glue.
My ruffle loops are twisting sideways. How do I fix that? They will twist slightly during making but tend to settle once you handle the stem. You can also run your fingers down the loops after finishing to coax them all to the same side before the glue dries.
How many stems do I need for a bouquet like yours? Mine looks to hold around twelve to fifteen stems based on the width of the bunch visible in the photo, with the stems split roughly evenly between the two shades. Make as many as fills your wrapping comfortably.
Can I wash this bouquet? It is not practical to wash once the wire is inside and the stems are wrapped in paper. Display it out of direct sunlight and away from moisture and it will last indefinitely.
The tip cluster at the top looks too large compared to the ruffles. What happened? That is usually a tension difference between the dc cluster and the looser sl st ruffles below. Try pulling the 3 dc stitches a little tighter into the ring so the tip sits as a compact point rather than a wide fan.