
Crochet Dragon Amigurumi Free Pattern With Wings & Horns
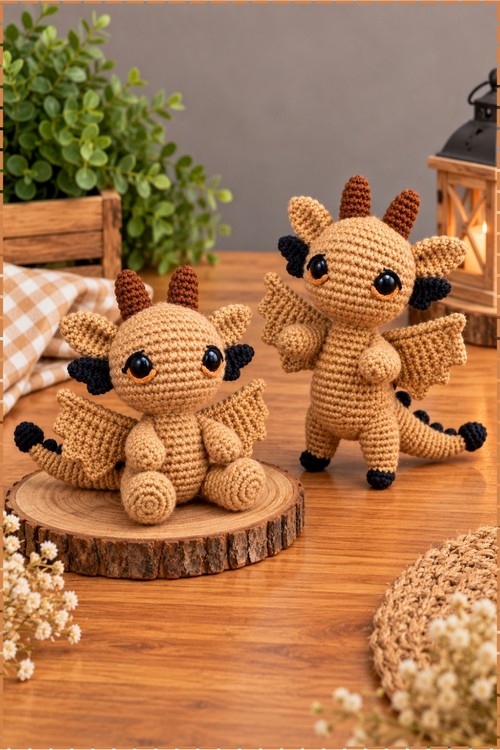
Who could resist a crochet dragon amigurumi with big glossy eyes, dark navy wings and rust brown horns? Its caramel tan body makes it a striking bookshelf guardian and a favourite gift for kids who love fantasy stories and castles.
Rounds fly by while you shape the head of this crochet dragon, then the pace shifts when the wings turn into flat rows. Assembly is the fun part. Pinning the crochet dragon limbs before sewing lets you nudge the pose until it looks right. Finishing that face feels like a small win.
Crochet Dragon
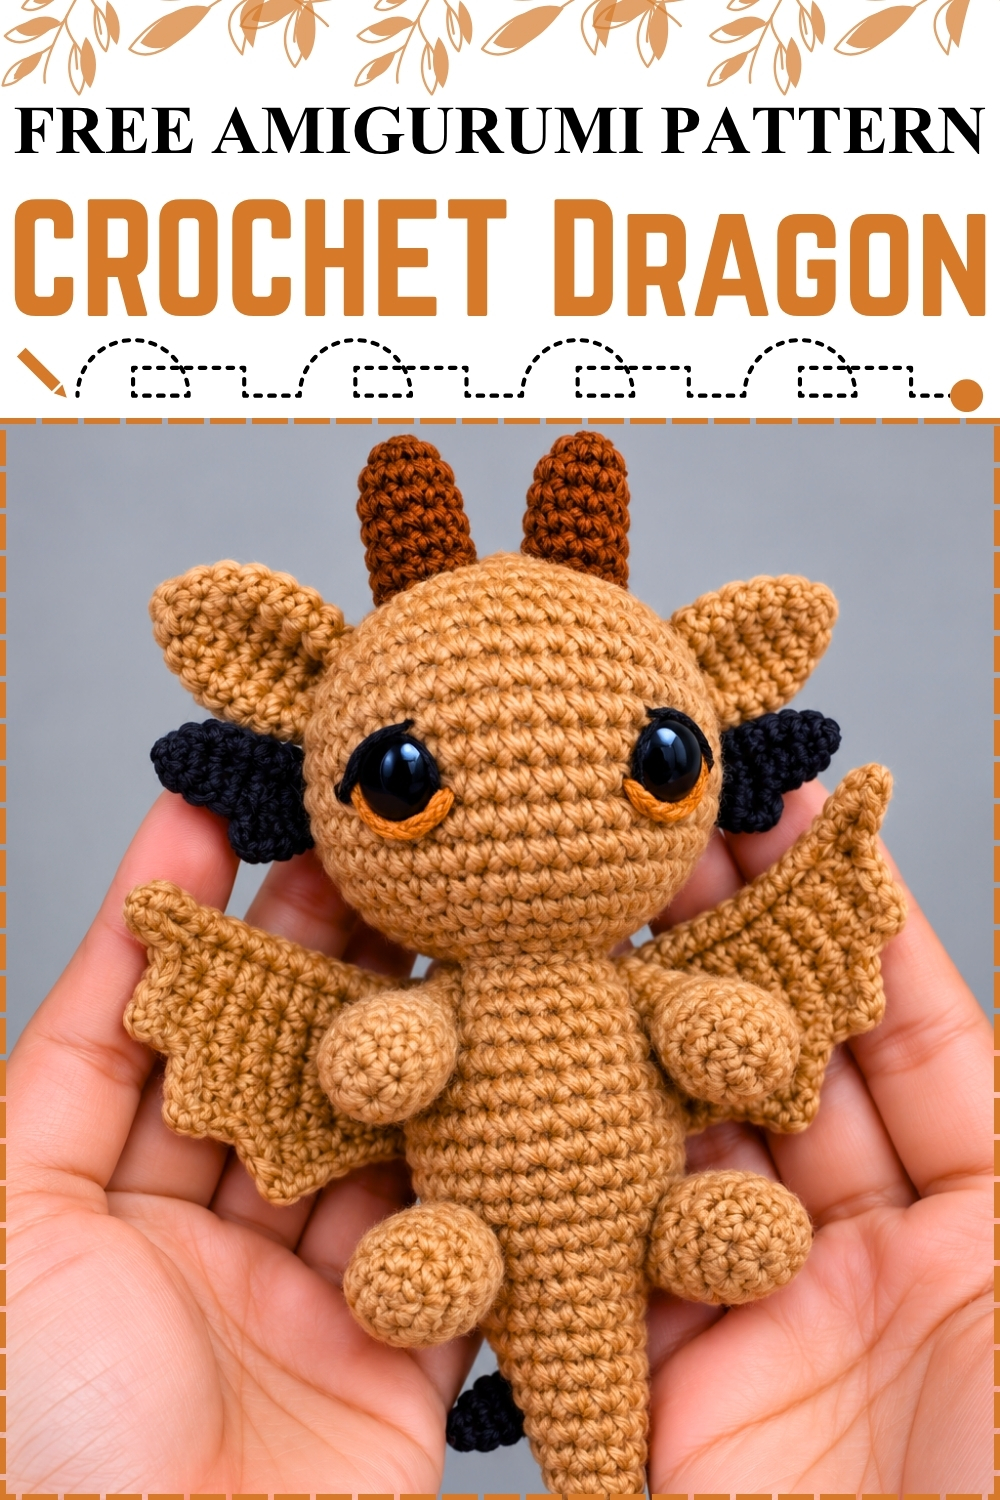
Separate pieces make this crochet dragon: a large round head, a smaller tapered body, stubby arms and legs, two textured wings, and a pair of upright horns all sewn together at the end. Big safety eyes with orange accent embroidery below them give the face its expressive look. Mine is worked in warm caramel brown with dark navy wings and rust brown horns, giving it a night dragon feel rather than the classic green. Every piece works up quickly in rounds of single crochet, so the sewing is the only part that takes real patience.
Quick Facts
- Difficulty: Intermediate, mainly because of the multi piece assembly and wing shaping
- Time: In my experience, three to four hours spread over two sessions, with most of that time going to the wings and sewing
- Finished size: Fits comfortably in two cupped hands, roughly palm sized
Customization Ideas
- Swap the caramel body for forest green, midnight blue, or burnt orange to change the whole personality of the dragon.
- Use the same rust brown as the horns for the wings if you want a more unified look.
- Add a back spike strip along the spine using the ch 40 pattern included below for extra detail.
- Embroider eyelashes or brow lines above the eyes with the same accent colour used beneath them.
- Size up to a 4.0 mm hook with chunky yarn for a larger plush that sits on a shelf rather than sitting in a hand.
Materials and Tools
- Caramel tan yarn for the body, head, arms, legs, and wings
- Rust brown yarn for the horns
- Dark navy or near black yarn for the wing accent details, optional based on your version
- Orange yarn for the eye accent embroidery
- Crochet hook sized to your yarn, 2.5 mm to 3.5 mm
- One pair of large black safety eyes
- Fiberfill stuffing
- Stitch marker
- Tapestry needle
- Scissors
- Fabric glue, optional for the spike strip
Abbreviations
- MR: magic ring
- sc: single crochet
- inc: increase, meaning 2 single crochets in the same stitch
- dec: decrease, meaning single crochet 2 stitches together
- sl st: slip stitch
- ch: chain
- BLO: back loops only
- st or sts: stitch or stitches
The Pattern
Head
- Round 1: make a magic ring and work 6 sc into the ring [6 sts].
- Round 2: work 2 sc in each stitch around [12 sts].
- Round 3: repeat 1 sc then 1 inc six times around [18 sts].
- Round 4: repeat 2 sc then 1 inc six times around [24 sts].
- Round 5: repeat 3 sc then 1 inc six times around [30 sts].
- Round 6: repeat 4 sc then 1 inc six times around [36 sts].
- Round 7: repeat 5 sc then 1 inc six times around [42 sts]. The head should be a wide, even dome at this point.
- Rounds 8 through 10: work 1 sc in each stitch around [42 sts per round]. Insert the safety eyes between rounds 8 and 10 now, spaced approximately 16 stitches apart, because closing the head later makes reaching inside harder. On mine the eyes sit large and close together low on the face, which gives the dragon its wide eyed expression.
- Round 11: repeat 5 sc then 1 dec around [36 sts].
- Round 12: repeat 4 sc then 1 dec around [30 sts].
- Round 13: repeat 3 sc then 1 dec around [24 sts].
- Round 14: repeat 2 sc then 1 dec around [18 sts].
- Stuff the head firmly with fiberfill now, pushing it all the way into the dome before the opening gets too small to reach.
- Round 15 in BLO: working into the back loops only, work 3 decreases to close the head down. Fasten off and leave a long tail for sewing to the body.
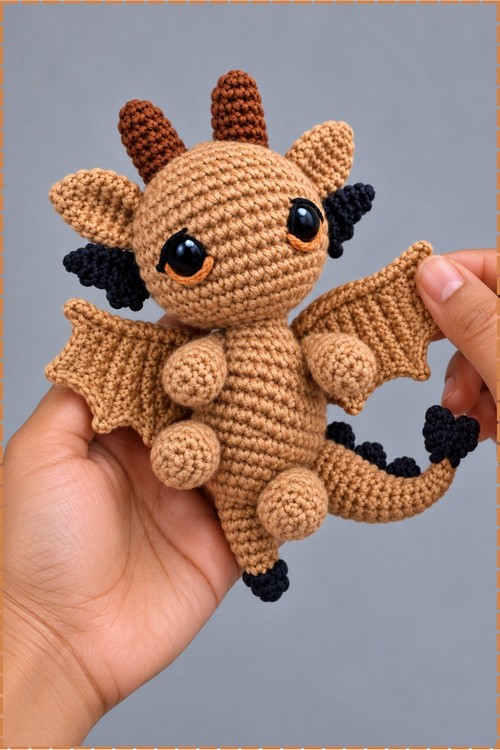
Body
- Round 1: make a magic ring and work 6 sc into the ring [6 sts].
- Rounds 2 through 4: work 1 sc in each stitch around [6 sts per round]. The body starts as a narrow tube and widens gradually.
- Round 5: repeat 1 sc then 1 inc around [9 sts].
- Round 6: work 1 sc in each stitch around [9 sts].
- Round 7: repeat 2 sc then 1 inc around [12 sts].
- Round 8: work 1 sc in each stitch around [12 sts].
- Round 9: repeat 3 sc then 1 inc around [15 sts].
- Round 10: work 1 sc in each stitch around [15 sts].
- Round 11: repeat 4 sc then 1 inc around [18 sts].
- Round 12: work 1 sc in each stitch around [18 sts].
- Round 13: repeat 2 sc then 1 inc around [24 sts].
- Rounds 14 through 18: work 1 sc in each stitch around [24 sts per round]. The body should now be a firm barrel shape, widest at the middle.
- Round 19: repeat 2 sc then 1 dec around [18 sts].
- Stuff the body firmly with fiberfill, then fasten off and leave a tail for sewing.
Horns, Arms, and Legs (Make 4 Total)
- Make 2 in rust brown yarn for the horns and 2 in caramel yarn for the arms. The legs visible in my photo use the same caramel yarn and the same piece pattern, so make additional copies if your version includes legs.
- Round 1: make a magic ring and work 5 sc into the ring [5 sts].
- Round 2: repeat 1 sc then 1 inc around [7 sts].
- Rounds 3 and 4: work 1 sc in each stitch around [7 sts per round]. Each finished piece is a small rounded tube, open at the base for sewing.
- Fasten off and leave a yarn tail for sewing.
Wings (Make 2)
- Foundation: chain 15.
- Row 1: turn, skip 1 chain, work 10 sc then 4 sl st.
- Row 2: chain 1, turn, work 4 sl st in back loops only.
- Row 3: chain 1, turn, work 10 sc then 4 sl st.
- Row 4: chain 1, turn, work 4 sl st.
- Row 5: chain 1, turn, work 6 sc then 4 sl st.
- Row 6: chain 1, turn, work 4 sl st then 4 sc.
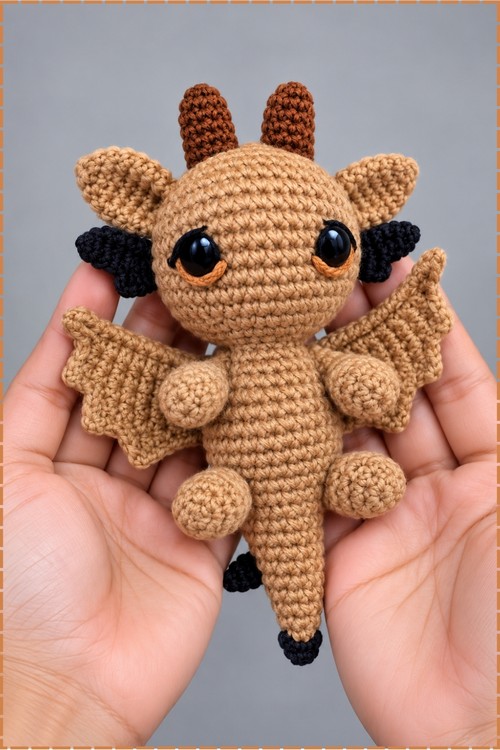
- Row 7: chain 1, turn, work 4 sc then 4 sl st. The wing should have a stepped, angular outline at this point, with the sl st sections forming the lower webbed edge. Fasten off, knot the yarn, and leave a tail for attachment. Mine are worked in the same caramel as the body.
Back Spike Strip (Optional)
- Foundation: chain 40.
- Pattern row: skip 1 chain, then repeat the sequence of 1 sl st, 1 sc, 1 sl st along the full chain to form small decorative peaks across the spine.
- Fasten off and leave a yarn tail for sewing or gluing onto the back.
Assembly
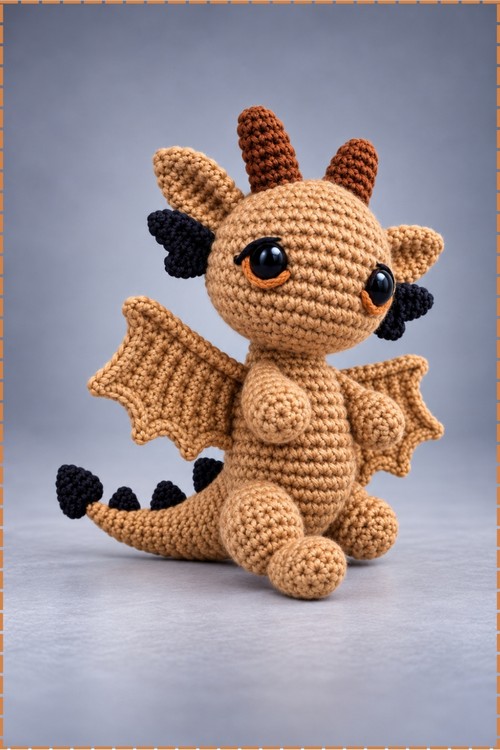
- Embroider the orange accent detail below each eye before assembling. On mine a short curved line sits beneath each eye in orange yarn, which adds depth against the black safety eye and is easier to place on a free head than on an assembled figure.
- Pin the head onto the body and sew securely using the long tail left at the head, working around the full join so no gap shows.
- Attach the 2 rust brown horns to the top of the head, set upright and close together as they appear in my photo.
- Sew the 2 caramel ears to the sides of the head, placed just below the horns.
- Sew the arms onto the sides of the upper body and the legs onto the lower body.
- Pin the wings flat against the back on either side and sew them securely. On mine the wings fan outward from the upper body and the stepped edge faces downward.
- Pin the optional back spike strip along the spine from neck to tail and stitch or glue it in place.
Tips
- Sew the horns on before attaching the head to the body. Working on a detached head means you can turn it freely and get the angle exactly right without fighting the body.
- Leave longer tails than you think you need on every piece. Running out of tail halfway through sewing a wing to a body is one of the most frustrating things in amigurumi.
- Stuff the head slightly firmer than feels natural. It softens after sewing and a head that started too firm ends up sitting perfectly once attached.
FAQ
Can I make this in one colour throughout? Yes, and it still reads clearly as a dragon. A single colour actually makes the wing texture stand out more because there is no contrast colour to pull the eye away from the shaping.
My wings curl after blocking. How do I fix that? Wet block each wing flat under a heavy book overnight. The sl st rows are what cause the curl, and they relax completely once the fibres are damp and weighted.
The head looks too large for the body. Is that right? Yes. The oversized head relative to the body is what gives amigurumi dragons their characteristic look, and mine has that same proportion. Check the photo for reference before deciding to resize.
Can I add legs if the pattern only shows arms? Use the same piece pattern as the arms for the legs, worked in the same yarn. Place them at the lower sides of the body pointing downward.