
Crochet Mini Fish Free Pattern Amigurumi In Pink & Red
Pinching the stuffed edges together before the back loop seam makes that final step far easier to see, and the whole fish takes about thirty to forty minutes. Pink and red stash scraps plus a 2.5 mm hook are all it needs, which keeps it an easy little gift.
Kids who want something pocket sized will claim this crochet mini fish first. Teachers use them as classroom prizes. Market sellers stock the mini fish amigurumi in batches because stash yarn covers the whole thing, and new crocheters finish one without stalling. Give the crochet mini fish to anyone who collects small things.
Crochet Mini Fish Amigurumi
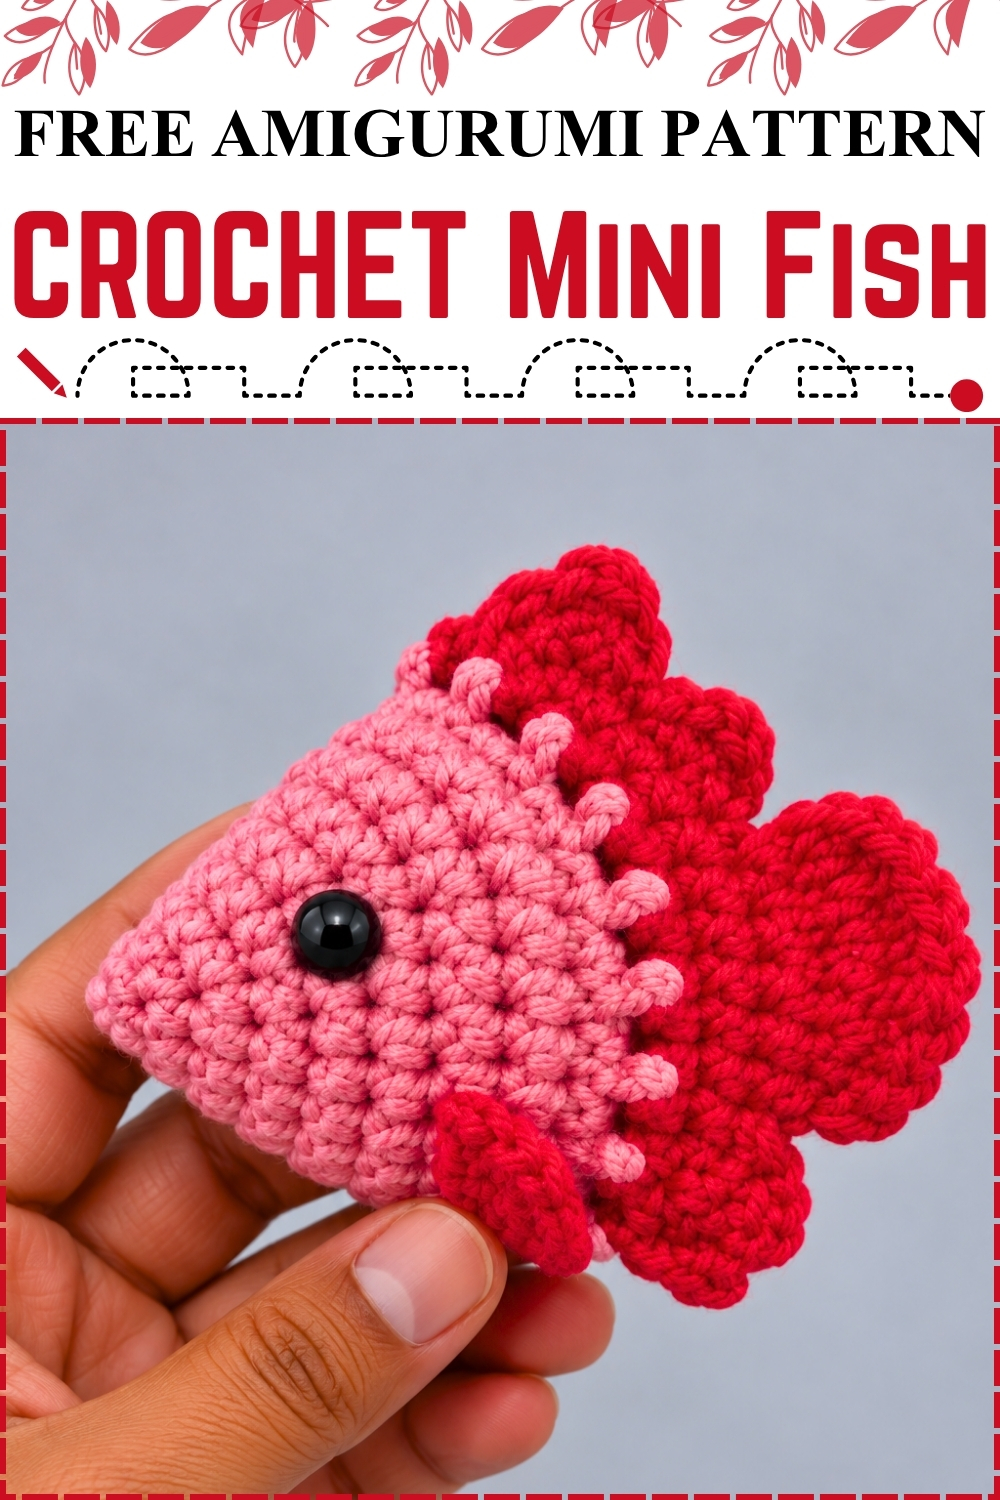
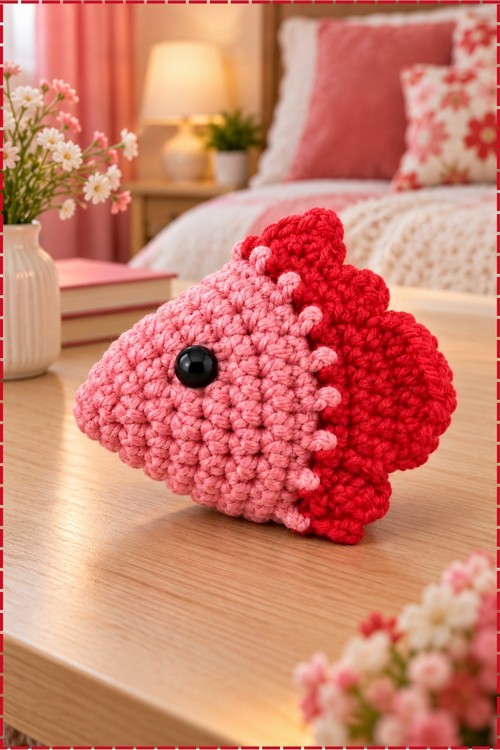
Increases spread across eight rounds build this crochet mini fish amigurumi from a magic ring out to a plump flat body, and the colour changes partway through is what splits the piece into a soft pink head and a bold red tail without any extra sewing. Both open edges get pressed together and joined through the back loops only, and the fin spikes grow straight from that same closing seam. Mine uses light pink for the front body and deep red for the back half and fins, with a single large black safety eye set low on the head. The whole fish fits in a closed fist.
Materials and Tools
- Light pink yarn, Color A, for the head and front body
- Deep red yarn, Color B, for the back body, tail, and fins
- Crochet hook, 2.5 mm
- One pair of black safety eyes
- Fiberfill stuffing
- Scissors and tapestry needle
Abbreviations
- MR: magic ring
- sc: single crochet
- inc: increase, meaning 2 single crochets in the same stitch
- hdc: half double crochet
- sl st: slip stitch
- blo: back loops only
- ch: chain
Difficulty and Time
This is a confident beginner level piece. The only technique that needs attention is the back loop only seam at the end, which is easier to see once the body is stuffed and the edges are pinched together. In my experience the whole fish takes about thirty to forty minutes.
Technique Notes and Tips
- Close your magic ring fully before joining round 1. A gap in the center will still show once the body is stuffed, and there is no fix for it after the fact.
- The colour change at round 5 into 6 happens on the final sl st of round 5. Drop Color A, pick up Color B, and pull the new colour through as you close the round. Fasten off Color A cleanly before starting round 6.
- Insert the safety eyes after round 6 and before stuffing, because the opening at this stage is just wide enough to reach the backing from inside. On mine the eye sits low on the pink section, closer to the mouth than to the top of the head.
- When joining the flat edges in the final round, pinch the open body flat first, lining up the stitches on both sides, and hold it firmly while you work. Losing your grip mid seam shifts the alignment.
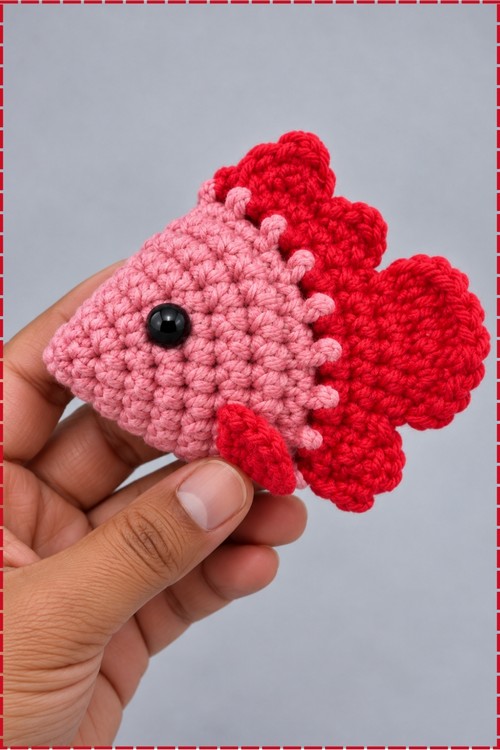
- The fin clusters use 4 hdc in a single stitch, which makes them fan outward as rounded lobes. On mine the red fins read as three distinct rounded bumps along the top edge and a matching set at the tail.
- Weave the yarn tail entirely inside the body using the tapestry needle, pushing it deep into the stuffing so no end pokes out at the seam.
The Pattern
Head and Body
- Round 1: make a magic ring (MR) using Color A and work 6 sc into the ring, then pull the tail tight to close the center. Sl st into the first stitch to join, then ch 1 [6 sts].
- Round 2: work 1 sc then 1 inc repeated around all 6 stitches. Sl st to join, ch 1 [9 sts].
- Round 3: work 2 sc then 1 inc repeated continuously around. Sl st to join, ch 1 [12 sts].
- Round 4: work 3 sc then 1 inc repeated around. Sl st to join, ch 1 [15 sts].
- Round 5: work 4 sc then 1 inc repeated around, then sl st to complete the round and change yarn to Color B at that final sl st [18 sts].
- Round 6: using Color B, work 5 sc then 1 inc repeated around. Fasten off and cut the Color A tail, then sl st into the first stitch to join and ch 1 [21 sts].
- Insert the safety eyes between the initial head rounds now, placing them on the pink Color A section before stuffing makes the backing inaccessible. Secure the backings tightly from inside.
- Round 7: work 6 sc then 1 inc repeated around. Sl st to join, ch 1 [24 sts].
Closing, Stuffing, and Fins
- Fill the fish body with fiberfill stuffing through the open top edge, pressing it evenly into the pink head end and the red tail end.
- Pinch the flat open edges together so the stitches on both sides line up, with the back loops of each matching pair sitting against each other.
- Working through the back loops only of both matching sides at once to join and seal the opening: work 3 sc along the top edge.
- Work 1 stitch with 4 hdc in the same stitch to create the first fin spike cluster, then repeat twice more for 3 fin clusters total: 4 hdc in 1 stitch, three times.
- Work 4 sc down the edge.
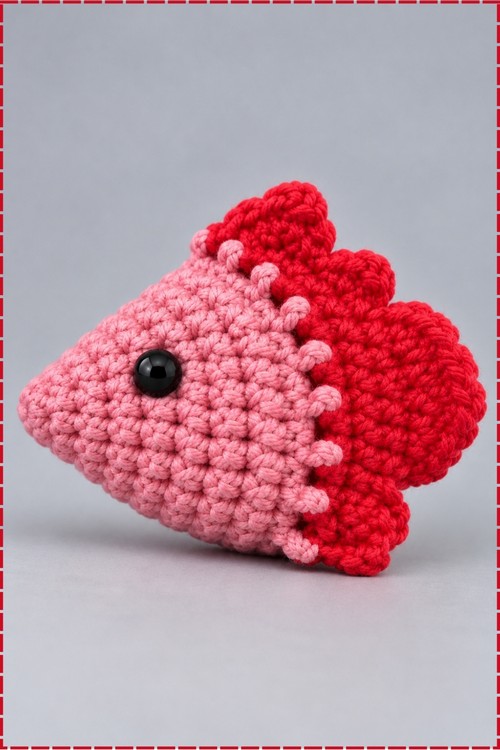
- Sl st to secure the seam. On mine the three fin clusters form a scalloped red crest running along the top of the fish, with the scallops growing from the seam rather than sitting on top of it.
Finishing
- Cut the yarn, pull the end through, and hide the tail inside the body using the hook or tapestry needle until nothing protrudes.
Yarn Substitution
Any smooth DK or sport weight yarn works at this hook size. Cotton gives a firmer body with crisper stitch definition; acrylic stays softer and the fins have a little more drape. Avoid anything fuzzy because the colour change line between pink and red is part of the design and needs to read clearly.
Customization Ideas
- Use orange and white for a clownfish version.
- Replace the safety eye with a single black bead sewn on, which is safer for very young recipients.
- Make a matching set of three in different colour combinations for a gift set.
- Add a small keyring to the top fin seam with a lobster clasp for a bag charm version.
FAQ
Can I change where the colour switch happens? Yes. Starting Color B one round earlier gives a smaller pink head; starting it one round later gives a larger one. Keep the total round count the same so the body size does not change.
My fin clusters look too small. What went wrong? Work the 4 hdc loosely rather than tight against the seam. Tight tension compresses the cluster into a bump rather than a rounded lobe.
The flat seam puckers at the sides. How do I fix it? Pinch the body completely flat before the first sc and hold it with your non hook hand throughout. Most puckering comes from the body rotating slightly during the join.