
Crochet Christmas Trio Amigurumi Pattern With Blue Horns
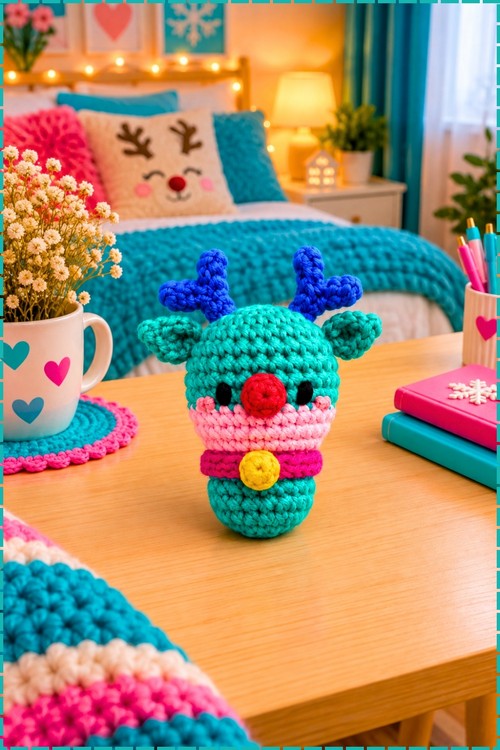
Because one shared base pattern drives all three figures, the reindeer, Santa and snowman in this crochet Christmas trio follow the same rounds with only colour swaps. Teal 4 ply cotton on a 3.0 mm hook shapes the reindeer, finished with blue horns, a red nose and a yellow bell.
Antlers and a fringed scarf make this Crochet Christmas Trio land well with anyone stitching for a child who is old enough to leave a toy on a shelf. Small hands can hold it. Gift makers filling stockings reach for the Crochet Christmas Trio because three figures cover three people without three separate patterns.
Crochet Christmas Trio
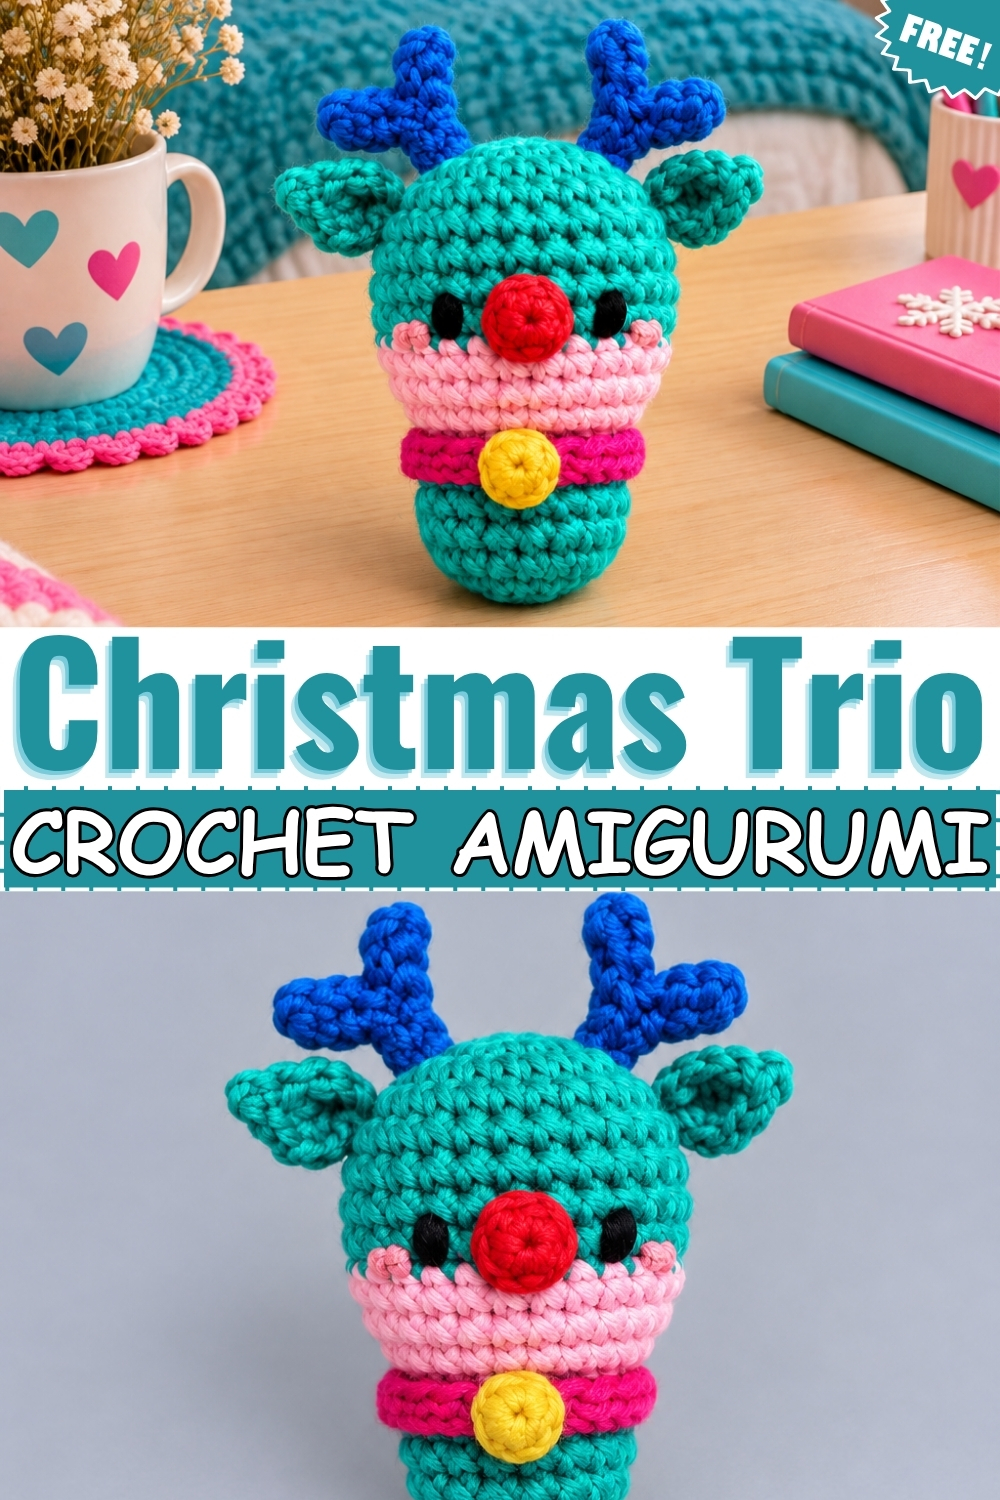
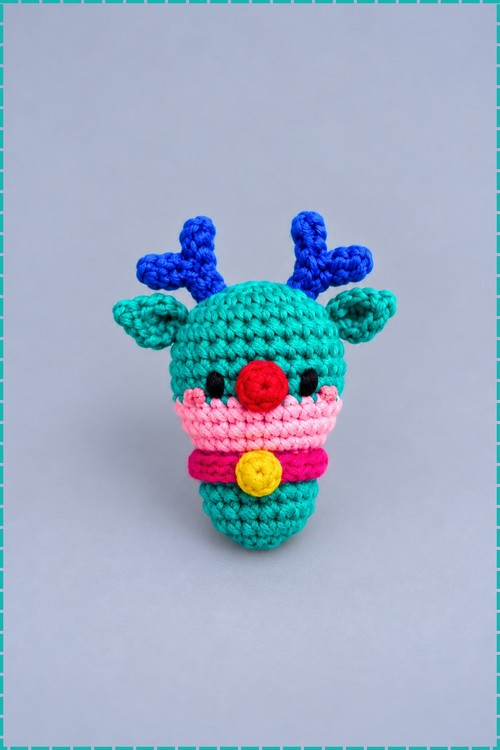
All three ornaments in this set share one base pattern, which means you learn the shape once and the reindeer, Santa, and snowman all follow the same rounds with colour swaps. Mine uses teal as the main body colour, giving the reindeer a bright, non-traditional look that reads clearly on a holiday shelf. Blue horns sit at the top, a bold red nose lands at the front, and a pink striped collar wraps the neck with a yellow bell hanging from it. Black eyes anchor the face, and pink blush sits on each cheek. Finished size is about three inches tall.
Materials and Tools
- 4-ply cotton yarn in teal for the main body
- 4-ply cotton yarn in blue for the horns
- 4-ply cotton yarn in pink for the collar and cheek detail
- 4-ply cotton yarn in red for the nose
- 4-ply cotton yarn in yellow for the bell
- 4-ply cotton yarn in teal or matching colour for the ears
- Small amounts of black embroidery thread or black yarn for the eyes
- 3.0 mm crochet hook
- Polyester fiberfill and a stuffing tool
- Yarn needle
- Scissors
Note: The source pattern calls for a full trio including Santa and a snowman. Those characters use additional yarn in white, skin tone, brown, green, orange, and red. The reindeer instructions below cover my finished piece. The Santa and snowman sections follow the same base and are included in full after the reindeer.
Difficulty and Time
Comfortable for anyone who has made amigurumi before. The colour-switching rounds on the reindeer face are the most involved part. From my build, allow an evening per character.
The Pattern
Shared Base: Head and Body
Note: Unless specified otherwise, start every round with chain 1 and end with a slip stitch into the first stitch.
- Magic ring: work 6 single crochet into the magic ring, then slip stitch to close [6].
- Round 1: work an increase in every stitch around [12]. Keep the magic ring pulled firmly shut, since a loose centre shows at the top of the head.
- Round 2: repeat 1 single crochet then 1 increase six times [18].
- Round 3: repeat 1 increase then 2 single crochet six times [24].
- Round 4: repeat 7 single crochet then 1 increase three times [27].
- Rounds 5 to 8: work 1 single crochet in each stitch around for four rounds [27].
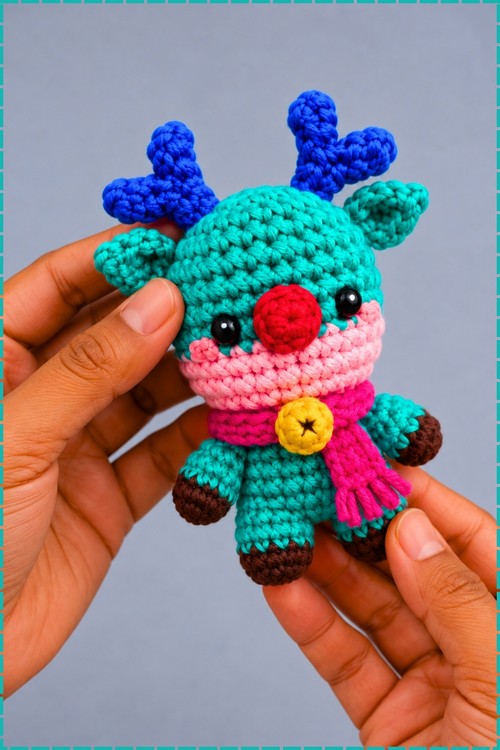
Reindeer Head and Body in Teal
- Rounds 5 to 8 use teal throughout, unlike the source pattern's two-colour face section. My reindeer has a solid teal head with no beige face patch, so the colour block instructions for rounds 9 and 10 are skipped and the full teal continues.
- Round 9: work 1 single crochet in each stitch around [27].
- Round 10: work 1 single crochet in each stitch around [27].
- Round 11: work 7 single crochet in teal, then work 1 decrease, 7 single crochet, 1 decrease, 2 single crochet in teal, then work 5 single crochet, 1 decrease in teal [24]. Since mine is all one colour, work the full round in teal and place the decreases in the same positions.
- Round 12: work 1 decrease, 2 single crochet, 1 decrease, 1 single crochet, then 1 single crochet, 1 decrease, 2 single crochet, 1 decrease, 2 single crochet, 1 decrease, then 2 single crochet, 1 decrease, 2 single crochet all in teal [18].
- Round 13: working in back loops only, work 1 single crochet in each stitch around in teal [18]. The unused front loops here form the body join ridge.
- Round 14: working through both loops, work 1 single crochet in each stitch around [18].
- Round 15: work 1 single crochet in each stitch around [18].
- Round 16: work 1 single crochet in each stitch around [18].
- Stuff firmly with fiberfill at this point. Pack the head well, since a soft head loses its round shape once the accessories are attached.
- Decrease around until closed, fasten off leaving a tail, and weave through the front loops to cinch the base shut.
Reindeer Collar in Pink
- Chain 20 in pink, or chain until the length fits around the neck.
- Row 1: chain 1, then slip stitch into the back bumps across. My collar is pink rather than green, worked in stripes that match the pink cheek detail.
- Fasten off and wrap around the neck, sewing or tucking the ends to secure.
Horns in Blue, Make 2
- Chain 4, then chain 1 to turn.
- Slip stitch into the back bumps of the next 3 chains.
- Chain 3, insert the hook into the 2nd chain from the hook, and slip stitch down the next 4 chains, inserting into the original base stitch to form the branch. My horns are blue rather than dark brown, which makes them stand out against the teal head.
- Fasten off.
Ears in Teal, Make 2
- Chain 4.
- Starting in the 2nd chain from the hook, work 2 single crochet.
- In the last chain, work 1 single crochet, chain 2, then 1 single crochet.
- On the opposite side of the chain, work 2 single crochet.
- Slip stitch to the first stitch to join and leave a long tail for sewing.
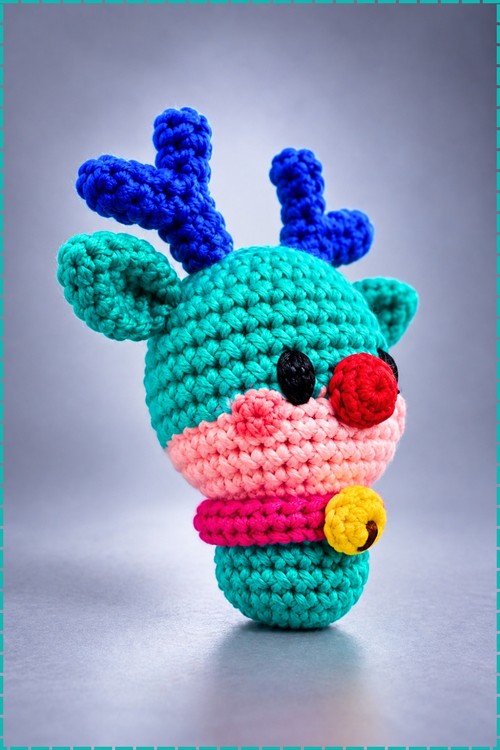
Nose in Red
- Magic ring: work 5 single crochet into the magic ring, then slip stitch to join [5].
- Round 1: work 1 single crochet in each stitch around [5]. Cinch tight and leave a long tail for sewing.
Yellow Bell
- Magic ring: work 5 single crochet into the magic ring, then slip stitch to join [5].
- Round 1: work 1 single crochet in each stitch around [5]. Cinch tight and leave a long tail for sewing. Attach at the centre front of the collar.
Assembly and Facial Details
- Sew the red nose at rounds 7 to 8 on the front of the head, centred.
- Embroider eyes in black at round 8, one on each side of the nose with even spacing.
- Attach the blue horns at rounds 1 to 2 at the top of the head, one on each side.
- Attach the teal ears at round 4, one on each side.
- Wrap the pink collar around the neck and attach the yellow bell at the centre front.
- Add pink blush to each cheek beside the eyes. On mine the circles are clearly visible and sit wide on the face.
Santa Claus: Head and Body Colour Modifications
Follow the shared base pattern with these colour shifts:
- Rounds 1 to 4: use white yarn [27 sts each round].
- Round 5: work 10 single crochet in white, switch to skin tone for 6 single crochet, then work 11 single crochet in white [27].
- Rounds 6 to 9: work 9 single crochet in white, 8 single crochet in skin tone, then 10 single crochet in white for each round [27]. Fasten off skin tone yarn after round 9.
- Round 10: work 1 single crochet in each stitch around in white [27].
- Round 11: in white, work 7 single crochet then 1 decrease then 1 single crochet; work the next 6 stitches in front loops only, leaving the back loops open for the beard, then work 1 decrease, 7 single crochet, 1 decrease [24]. Keep track of which stitches are the front-loop-only section, since the beard attaches there.
- Round 12: repeat 1 decrease then 2 single crochet six times in white [18].
- Rounds 13 to 16: switch to red yarn. In round 15, switch to black yarn for the belt section, then return to red to finish the round. Stuff and close as for the reindeer.
Santa Accessories
- Beard: attach white yarn to the unused front loops from round 11. In the same stitch, work 1 single crochet, 1 half double crochet, 2 double crochet, 1 half double crochet, then 1 single crochet. Fasten off and weave in ends. The taller stitches at the centre give the beard its rounded shape.
- Hat: using red yarn, start with a magic ring of 4 single crochet and increase gradually every round to form a cone shape. Work until the cone reaches your preferred hat height.
- Trim and pompom: surface weave white yarn along the base edge of the hat, then crochet a small 5-stitch magic ring sphere for the pompom and attach to the tip.
- Nose: make the same 5-stitch nose as the reindeer, using skin tone yarn. Sew at rounds 8 to 9.
- Embroider eyes at round 8, pink cheeks beside them, a white mustache and beard detailing below the nose at rounds 9 to 10, white eyebrows above the eyes, and a yellow belt buckle on the black belt strip. Attach the hat.
Snowman: Head and Body
- Follow the shared base pattern entirely in white yarn, with no colour changes.
- Carrot nose: make the same nose pattern as the reindeer in orange yarn. Sew at round 8.
- Hat: use the same cone pattern as Santa's hat.
- Scarf: chain 24 in blue yarn, chain 1, then slip stitch into all 24 back bumps. Wrap around the neck and secure.
- Embroider eyes and pink cheeks. Embroider a blue button on the body at round 15. Attach the scarf and hat.
Tips and Troubleshooting
- Carry colour changes cleanly by switching on the final yarn over of the last stitch before the new colour. Switching mid-stitch makes the change blurry.
- Count the stitches after every decrease round. A single missed decrease throws off the shaping and the ornament will not close neatly.
- Stuff each piece before the final closing rounds while you can still reach inside properly.
- Pin all accessories to the face before sewing anything. Horn position changes the expression completely.
- Make the nose and bell in one sitting since they use the same construction. Cutting and reattaching yarn for each one wastes time.
Customization Ideas
- Keep the classic brown and beige reindeer for a traditional look
- Make the set in matching colours so all three share a palette
- Add a hanging loop of chain behind each ornament to hang them on a tree
- Work the collar in a stripe of two colours for extra detail
- Embroider a small name on the body below the accessories
FAQ
Can I make just one ornament instead of the full trio? Yes. Each character is independent. The reindeer alone is a complete project.
Why does my collar not lie flat? Slip stitches into the back bumps naturally want to curl. Fasten off with a longer tail and use it to tack the collar flat against the neck from the inside.
My ornament leans to one side. What went wrong? Usually uneven stuffing or horns sewn at different heights. Check both horns are attached at the same round before the glue or yarn sets.