
Crochet Two Lobe Amigurumi Pattern With Chunky Love Hearts
Once two small domes join into a single round, the rest of this chunky crochet love heart decreases to a point and stays one piece with no side seams. Plush orange velvet yarn on a 4.5 to 6.0 mm hook makes a hand sized two lobe amigurumi in under an hour.
Makers keep coming back to these Crochet Chunky Love Hearts because the scraps bin finally gets used. One bright ball makes several. Requests pile up every February, and Crochet Chunky Love Hearts turn into garlands, keyring charms, and props for photos, which is why one batch never stays one batch for long.
Crochet Two Lobe Amigurumi
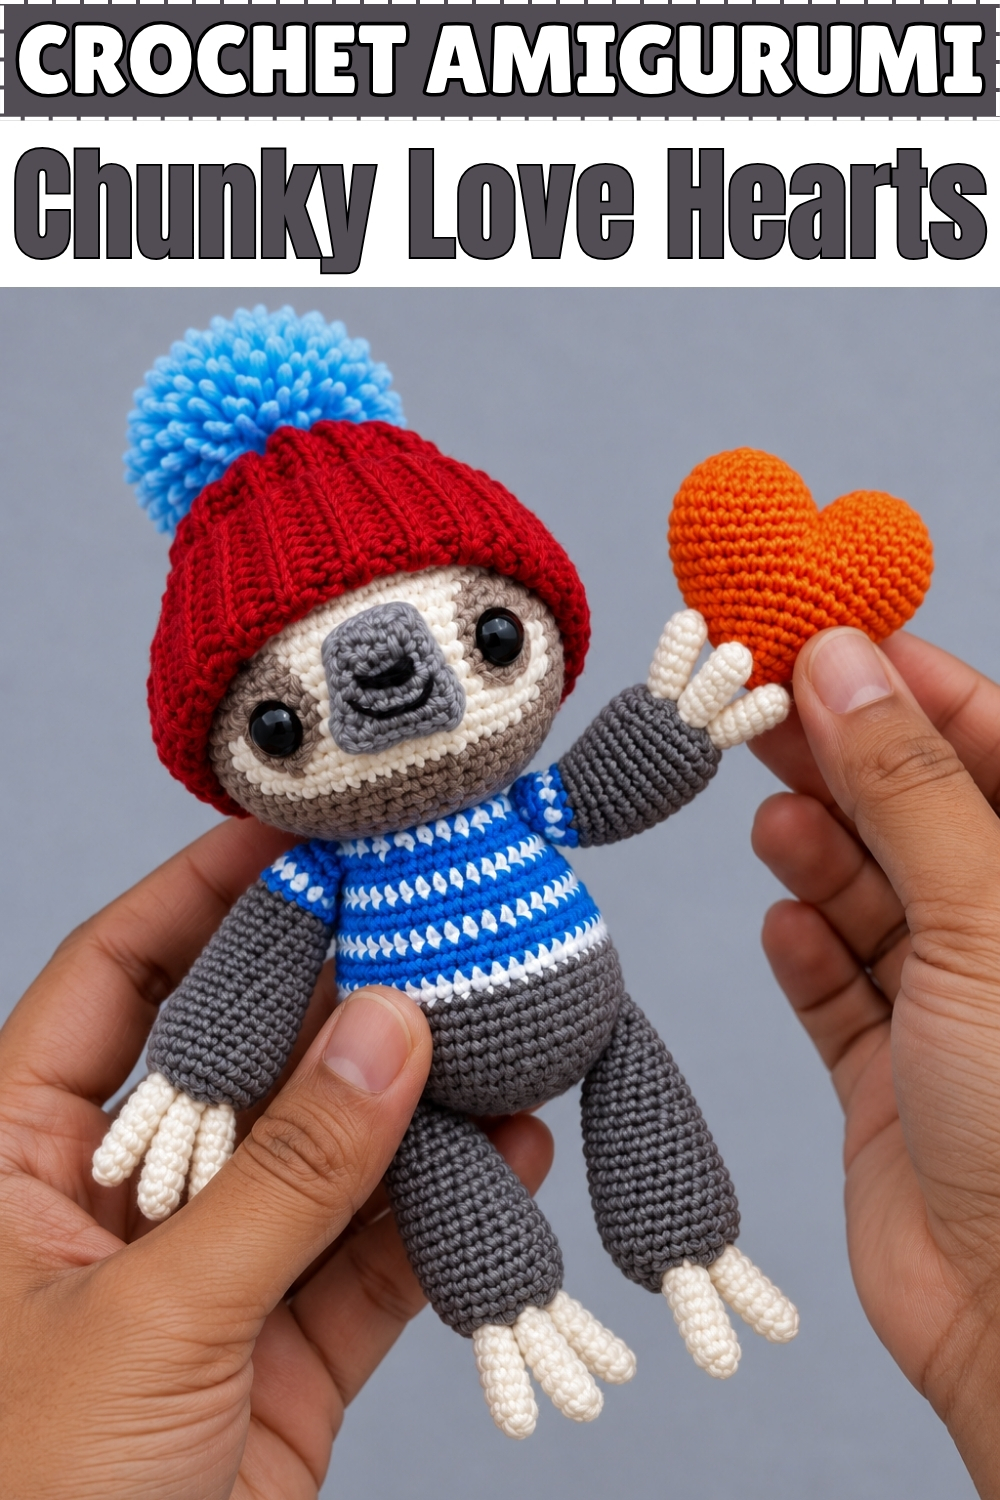
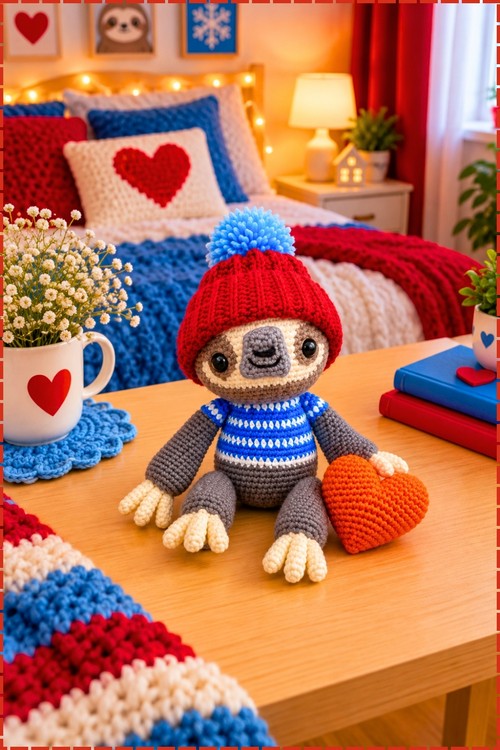
Two small domes get made first and then joined into one round, which is the whole trick behind the shape of a crochet chunky love heart. Mine came out in a warm pumpkin orange rather than the usual red, and it sits comfortably in one hand. Working in a continuous spiral means no seams run down the sides, so the surface stays smooth all the way around. Once the lobes join, every remaining round decreases toward the bottom point. Stuffing goes in gradually, and the finish cinches shut into a tidy tip.
Materials and Tools
- Chunky or plush velvet yarn in orange, or worsted weight or DK yarn if you want a smaller heart
- Crochet hook between 4.5 mm and 6.0 mm, sized to your yarn so the stitches stay tight
- Stitch marker
- Yarn or tapestry needle
- Scissors
- Fiberfill or toy stuffing
Difficulty and Time
Beginner friendly. If you can work a magic ring and a single crochet, you can make this. My orange heart took under an hour, though your first one will likely take longer while you get used to the join.
Beginner Technique Notes
Chain is abbreviated ch. Magic ring or magic circle is mr or mc. Single crochet is sc. Increase is inc and means working 2 single crochet into the same stitch. Decrease is dec and means single crochet 2 together, which joins two stitches into one. Stitch or stitches is st or sts. Square brackets mean repeat what is inside them, and round brackets give the total stitch count at the end of the round.
A magic ring is an adjustable loop you work your first stitches into, then pull closed. If magic rings still feel awkward, chain 2 and work all 6 stitches into the second chain from the hook instead. The centre will be slightly less tight but nobody will see it once the heart is stuffed.
Working in a continuous spiral means you never join rounds with a slip stitch. You simply keep going in a circle, which is why the stitch marker matters so much. Put it in the first stitch of each round and move it up every time you come back around. Without it you will lose your place within three rounds, and there is no seam to count from.
Tight stitches matter here. Go down a hook size from whatever your yarn band suggests, because loose stitches let the stuffing show through as pale patches. If you can see daylight through your fabric, your hook is too big.
Do not pull your yarn so tight that the work becomes stiff. Even tension is the goal, not maximum force.
The Pattern
First Dome
- Round 1: make a magic ring and work 6 single crochet into the ring, then pull it tight [6]. Close the ring fully before moving on, since a loose centre leaves a visible hole at the top of the lobe.
- Round 2: work an increase in every stitch around [12]. Place your stitch marker now if you have not already.
- Round 3: repeat 1 single crochet then 1 increase six times around [18]. The piece should be curving into a shallow bowl rather than staying flat.
- Round 4: single crochet in each stitch around [18].
- Round 5: single crochet in each stitch around [18]. The dome should now look like a small rounded cup.
- Cut the yarn leaving a tail of about 4 inches and secure the last stitch. Keep that tail, because you may need it to close a gap later.
Second Dome
- Rounds 1 to 5: repeat rounds 1 through 5 exactly as worked for the first dome [18].
- Do not cut the yarn at the end of round 5 on this second dome. Leave the working yarn on your hook, since this is what connects the two lobes together.
Joining the Domes
- Insert your hook into the first available stitch of the first dome and make 1 single crochet to connect the two pieces. Hold both domes side by side with their openings facing the same way so they do not twist.
- Continue working 1 single crochet into each of the remaining 17 stitches around the first dome.
- Work 1 single crochet into each of the 18 stitches around the second dome, giving 36 stitches around both joined lobes [36]. You now have one continuous round shaped like a wide figure eight.
- If a small gap appears where the two domes meet, thread the tail from dome 1 onto your needle and sew it closed on the inside. Almost everyone gets this gap on their first heart, so it is not a mistake.
Shaping the Body of the Heart
- Round 7: single crochet in each stitch around [36].
- Round 8: repeat 4 single crochet then 1 decrease six times around [30]. The two lobes should start merging into one shape here.
- Round 9: single crochet in each stitch around [30].
- Round 10: repeat 3 single crochet then 1 decrease six times around [24].
- Round 11: single crochet in each stitch around [24].
- Round 12: repeat 2 single crochet then 1 decrease six times around [18]. The heart outline should now be clearly readable from the front.
- Stuff the top two lobes firmly with fiberfill at this point, and keep adding stuffing as you work the remaining rounds. Push small pieces up into each lobe with the blunt end of your hook, since an understuffed lobe collapses and the heart loses its shape.
- Round 13: single crochet in each stitch around [18].
- Round 14: repeat 1 single crochet then 1 decrease six times around [12]. Add one more pinch of stuffing before the opening gets too small.
- Round 15: repeat 1 decrease six times around [6].
Finishing and Closing
- Fasten off leaving an 8 inch yarn tail.
- Thread the yarn tail onto your tapestry needle.
- Weave the needle through the front loops only of the remaining 6 stitches. Front loops only is what makes the closure sit flat rather than puckered.
- Pull tight to cinch the bottom completely closed into a neat point.
- Insert your needle into the centre of the bottom point, push it out through the back or side of the heart, pull tight, and weave the end in to hide it inside. Burying the tail this way stops it from working loose with handling.
Tips and Troubleshooting
- Count your stitches at the end of every round. Six stitches lost across the shaping rounds is the difference between a heart and a lumpy ball.
- Move your stitch marker before you work the first stitch of each new round, not after.
- Make both domes the same tension. One tighter lobe pulls the finished heart to one side.
- Stuff a little at a time rather than one big lump. Small pieces distribute evenly and avoid bumpy patches.
- If the bottom point looks rounded instead of pointed, pull the cinching tail harder and secure it with an extra stitch or two.
- Hold the heart up at arm's length before you close it and check both lobes look equally full.
Yarn Substitution
Chunky velvet gives the soft plush finish and works up fastest, though velvet can be slippery for a first project. Cotton shows the stitches more clearly and is easier to handle if you are still learning, and it makes a firmer heart. Acrylic sits nicely between the two and comes in every colour you could want. Whatever you pick, keep the fabric tight enough to hide the stuffing.
Customization Ideas
- Work it in classic red or soft pink for Valentine's Day
- Make a batch in graduating shades of one colour and set them in a bowl
- Add a chain loop at the top centre between the lobes to hang it up
- Stitch a small initial onto the front in contrasting yarn
- Scale it up with super chunky yarn and a larger hook for a pillow sized heart
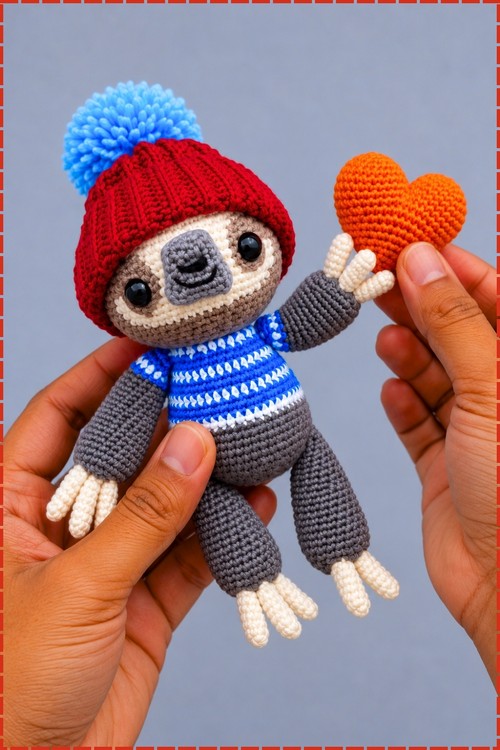
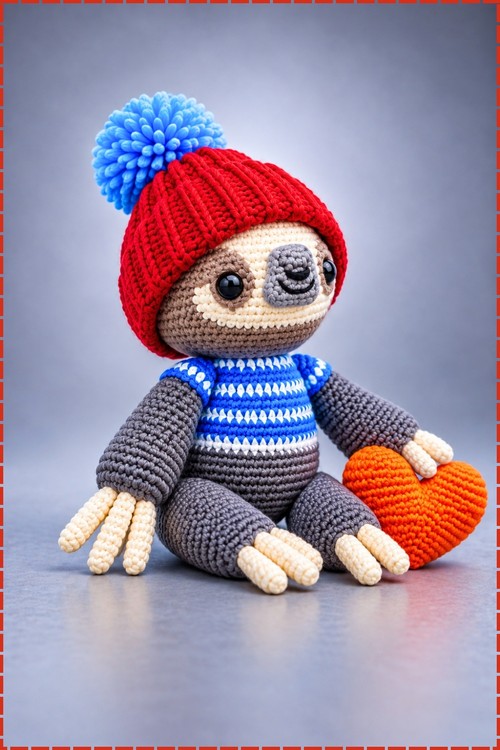
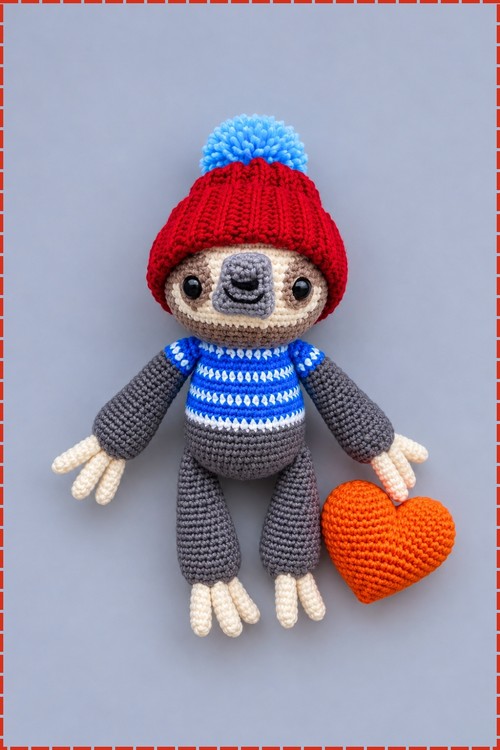
- Make a smaller one in DK yarn as a prop for another amigurumi to hold, which is how mine is photographed
FAQ
What is a continuous spiral and why does it matter? You work round and round without joining at the end of each round. It gives a smooth seamless surface, but it means you must use a stitch marker to know where each round begins.
My magic ring keeps coming undone. What do I do? Pull the tail firmly to close it, then weave that tail through a few stitches on the inside before you carry on. Alternatively, chain 2 and work your 6 stitches into the second chain instead.
How do I know when to stuff? Stuff the lobes as soon as you reach the point where the pattern says to, at round 12. Waiting until the end makes the opening too small to reach the top of each lobe.
Why does my heart look like a ball instead of a heart? Usually the two domes were joined twisted, or the gap between them was left open. Check both lobes sit side by side facing the same direction before you work that joining round.
Can I make this without a tapestry needle? Not really. The closing step needs a needle to weave through the front loops, and weaving in ends properly is what keeps the heart from unravelling.