
Crochet Gingerbread Doll Pattern Amigurumi With Cream Icing Details
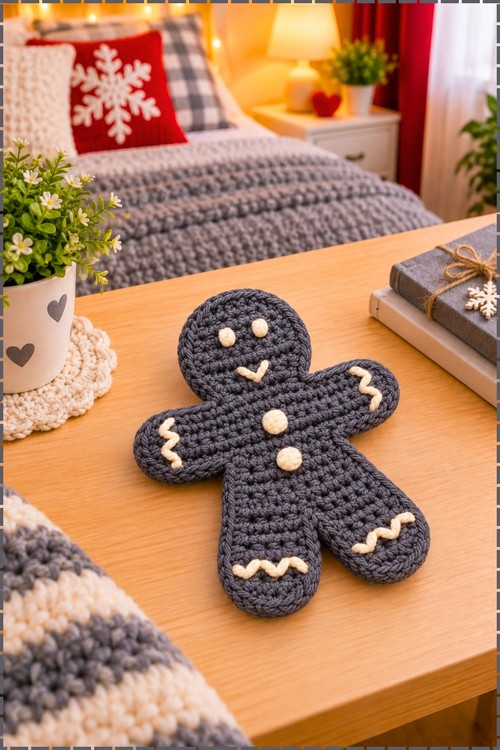
Seventeen chains and one short shoulder strip start this crochet gingerbread doll amigurumi, and the arms, body, legs and head all grow from it with no sewing. Charcoal grey yarn stands in for cookie brown, while cream zigzags and two round buttons pipe on the icing.
Flat cookie shape, cream icing lines, and this Crochet Gingerbread Doll Amigurumi works up in one piece. No limbs to sew. The Crochet Gingerbread Doll Amigurumi suits anyone who wants the holiday look without the assembly.
Crochet Gingerbread Doll Amigurumi
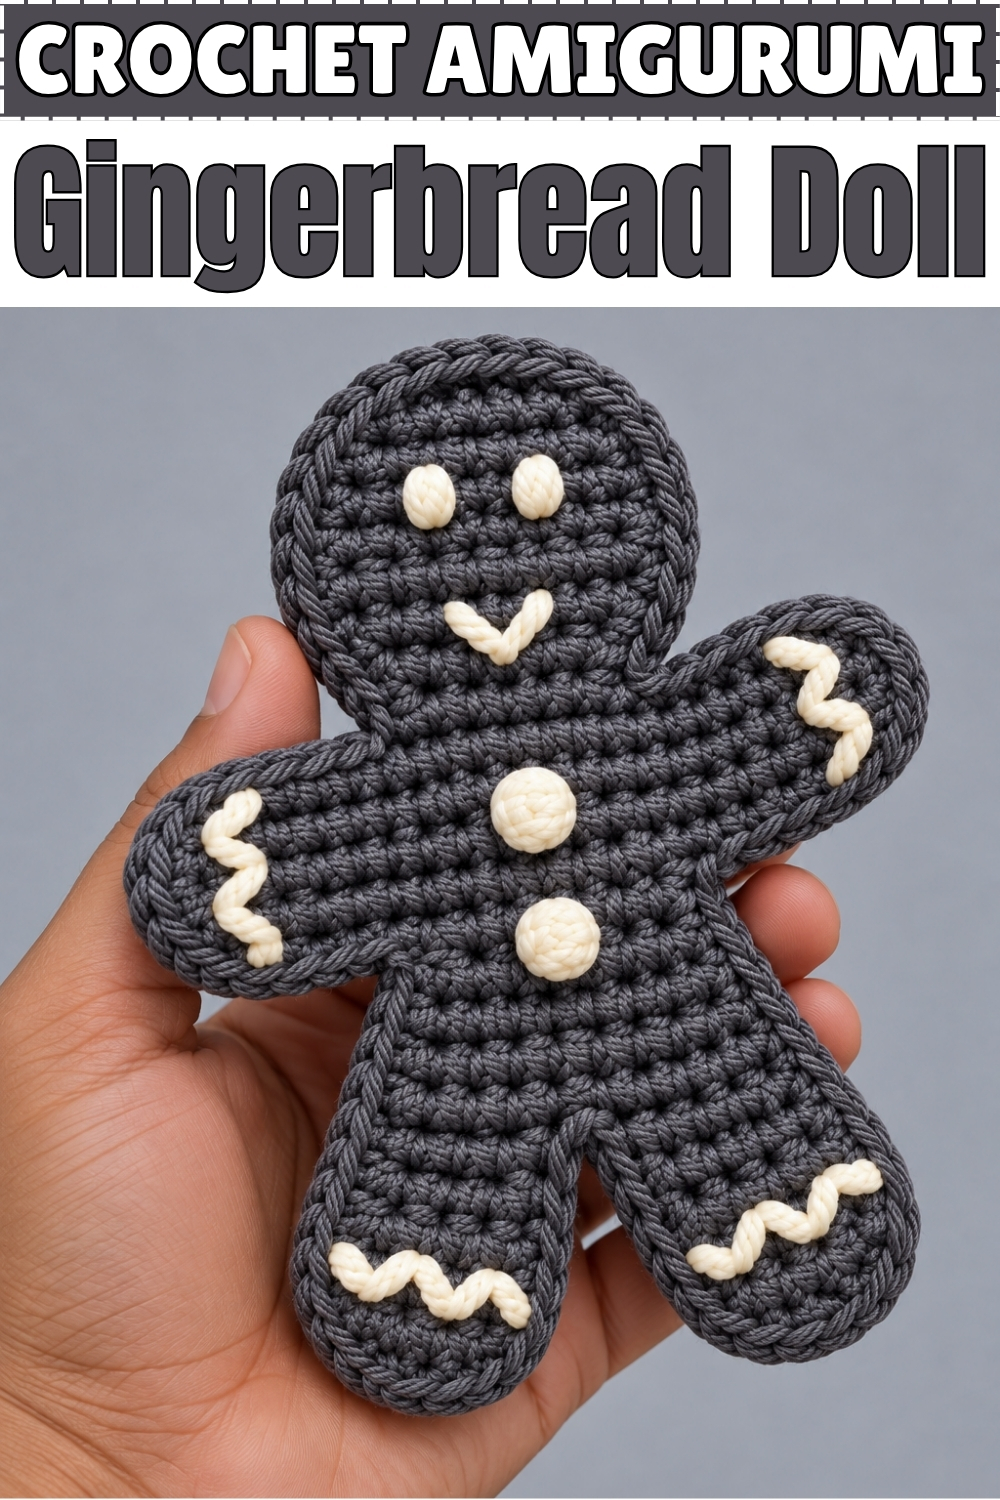
Everything grows out of one short shoulder strip, so the arms, body, legs, and head all connect as you go and nothing needs sewing together at the end. Mine is worked in charcoal grey rather than gingerbread brown, with all the icing details embroidered in soft cream. Rows stay short throughout, which makes this crochet gingerbread doll a genuinely quick project. Zigzag lines run across both arms and both legs, and two round cream buttons sit down the chest. Finished flat, it measures roughly six inches tall in my hands.
Materials and Tools
- Medium size 4 acrylic yarn in charcoal grey for the whole body
- Medium size 4 acrylic yarn in cream for all the embroidered icing details
- 3.75 mm crochet hook
- Scissors
- Tapestry needle for embroidery and weaving in ends
Difficulty and Time
Easy. Every row is single crochet, and the only thing to watch is where you reattach yarn. From my own build, allow an evening including the embroidery.
The Pattern
Arms and Shoulder Strip
- Make a slip knot and chain 17.
- Round 1: work 1 single crochet in the 2nd chain from the hook and in each chain across [16].
- Round 2: chain 1, turn, and work 1 single crochet in each of the 16 stitches [16].
- Round 3: chain 1, turn, and work 1 single crochet in each of the 16 stitches [16], then fasten off. This strip becomes both arms, so keep the tension even or one arm will sit longer than the other.
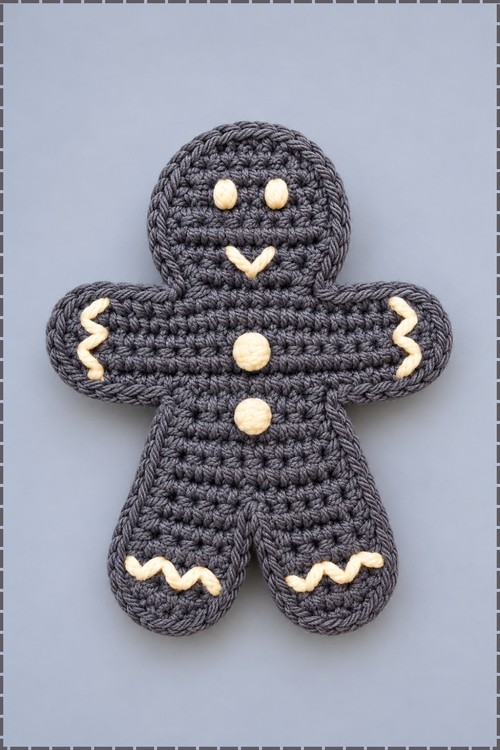
Body
- Insert your hook into the 6th stitch of the arm row.
- Round 1: chain 1, work 1 single crochet in the same stitch and 1 single crochet in each of the next 5 stitches [6].
- Round 2: chain 1, turn, and work 1 single crochet in each of the 6 stitches [6].
- Round 3: chain 1, turn, work 2 single crochet in the first stitch, 1 single crochet in each of the next 4 stitches, then 2 single crochet in the last stitch [8].
- Round 4: chain 1, turn, and work 1 single crochet in each of the 8 stitches [8].
- Round 5: chain 1, turn, and work 1 single crochet in each of the 8 stitches [8].
- Round 6: chain 1, turn, and work 1 single crochet in each of the 8 stitches [8].
Right Leg
- Round 1: chain 1, turn, and work 1 single crochet in each of the next 4 stitches [4]. Only half the body stitches are used here, leaving the other half waiting for the second leg.
- Round 2: chain 1, turn, and work 1 single crochet in each of the 4 stitches [4].
- Round 3: chain 1, turn, and work 1 single crochet in each of the 4 stitches [4].
- Round 4: chain 1, turn, skip the first stitch, then work 1 single crochet in each remaining stitch [3].
- Round 5: chain 1, turn, skip the first stitch, then work 1 single crochet in each remaining stitch [2], and fasten off.
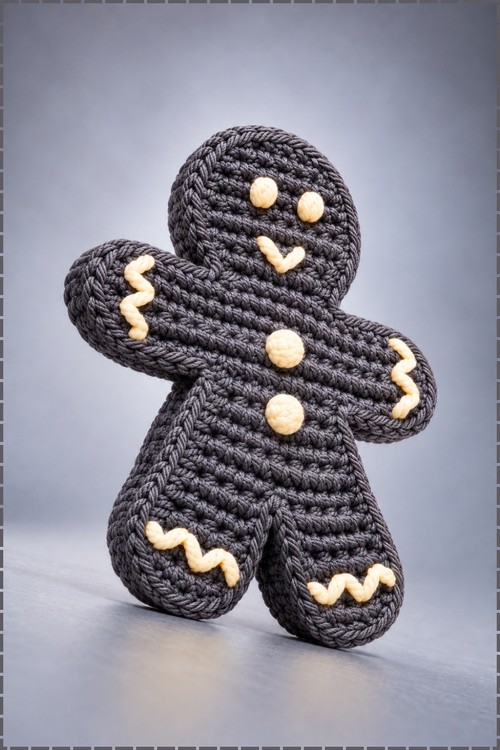
Left Leg
- Reattach yarn on the left side of the body.
- Round 1: chain 1, work 1 single crochet in the same stitch and 1 single crochet in each of the next 3 stitches [4].
- Round 2: chain 1, turn, and work 1 single crochet in each of the 4 stitches [4].
- Round 3: chain 1, turn, and work 1 single crochet in each of the 4 stitches [4].
- Round 4: chain 1, turn, skip the first stitch, then work 1 single crochet in each remaining stitch [3].
- Round 5: chain 1, turn, skip the first stitch, then work 1 single crochet in each remaining stitch [2], and fasten off. Both legs should now match in length and taper the same way.
Head
- Reattach yarn to the 7th stitch at the top edge of the arm strip.
- Round 1: chain 1, work 1 single crochet in the same stitch and 1 single crochet in each of the next 3 stitches [4].
- Round 2: chain 1, turn, work 2 single crochet in the first stitch, 1 single crochet in the next 2 stitches, then 2 single crochet in the last stitch [6].
- Round 3: chain 1, turn, work 2 single crochet in the first stitch, 1 single crochet in the next 4 stitches, then 2 single crochet in the last stitch [8].
- Round 4: chain 1, turn, and work 1 single crochet in each of the 8 stitches [8].
- Round 5: chain 1, turn, and single crochet 2 together at each edge [6].
- Round 6: chain 1, turn, and single crochet 2 together at each edge [4].
- Round 7: chain 1, turn, skip the first stitch, then work 1 single crochet in each of the next 3 stitches [3]. The head should now read as a rounded shape rather than a square.
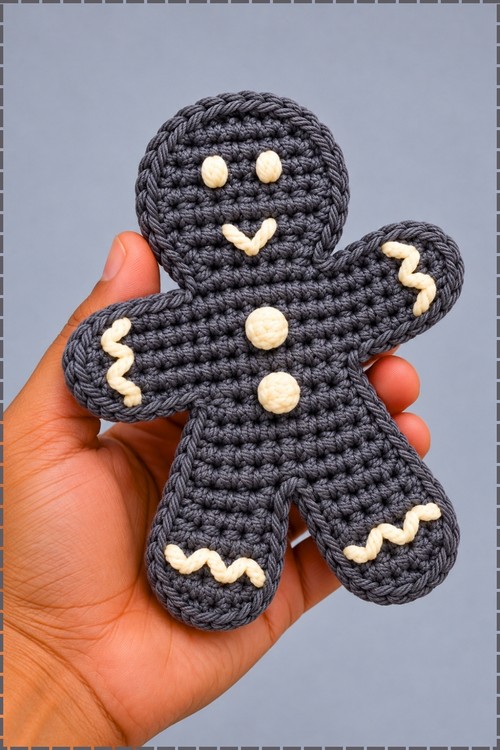
Border
- Chain 1 and single crochet all around the outer edge of the gingerbread doll to give a neat rounded outline.
- Fasten off and weave in the loose ends with a needle. The border is what softens the corners at the hands, feet, and head, so do not skip it.
Icing Details in Cream
- Using cream yarn and a tapestry needle, embroider a zigzag icing line across each arm near the wrist and across each leg near the ankle. Mine has all four zigzags placed toward the ends of the limbs.
- Embroider two short vertical stitches for the eyes, set wide apart on the upper half of the head.
- Embroider the mouth as a small V shape pointing downward, sitting low on the face below the eyes. My version uses this V rather than a curved smile.
- Embroider the buttons as French knots or small cluster stitches down the centre of the chest in cream. Mine has two buttons rather than three, spaced evenly below the neckline.
Tips and Troubleshooting
- Count the stitches on the shoulder strip before starting the body. Everything else is positioned off that count.
- Mark the 6th and 7th stitches with a pin before you reattach yarn, since miscounting there shifts the head or body off centre.
- Keep the embroidery stitches loose enough to sit on top of the fabric. Pulled tight, they sink in and disappear.
- Work the border with a relaxed hand so the edges do not curl.
Customization Ideas
- Use traditional gingerbread brown with white icing for a classic look
- Add a small chain loop at the top of the head to hang it on a tree
- Embroider the buttons in red or green for a colour accent
- Stitch a bow tie or a simple scarf in a contrasting yarn
- Make a set in different body colours and line them up along a shelf
FAQ
Can I hang this as an ornament? Yes. Attach yarn behind the head and chain until the loop reaches your preferred length, then secure both ends at the back.
Why is my doll lopsided? Check where you reattached for the body and the head. Starting one stitch off either side tilts the whole figure.
Does this need stuffing? No. It is worked flat and stays flat, which is why the border matters for a clean finished edge.