
Crochet Christmas Star Pattern Free With Smiling Face & Blue Elf Hat
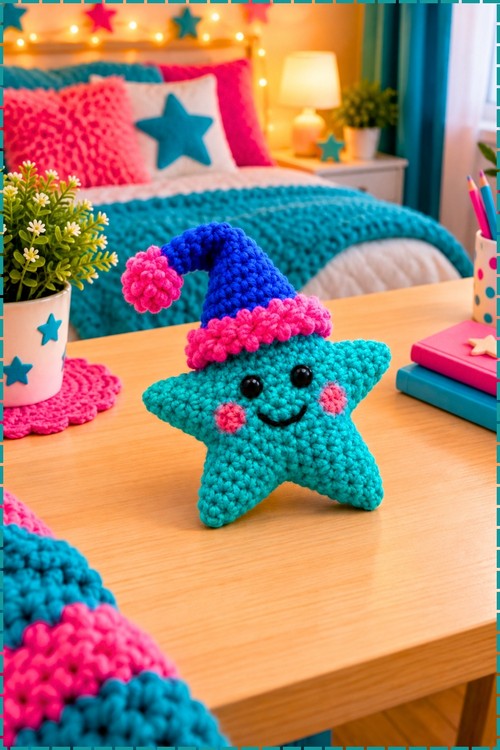
Join two teal star halves back to back and the stuffing puffs them into a plump crochet Christmas star with five clean points. Safety eyes, coral blush and an embroidered smile give it a face, while a royal blue elf hat with a hot pink pompom tops it off.
Working the points is the satisfying part, since each one closes cleanly and this Crochet Christmas Star takes shape fast. The hat is a small side project on its own. Stuffing goes quick. Finish the Crochet Christmas Star by embroidering the smile last, which is the moment the whole face suddenly arrives.
Crochet Christmas Star
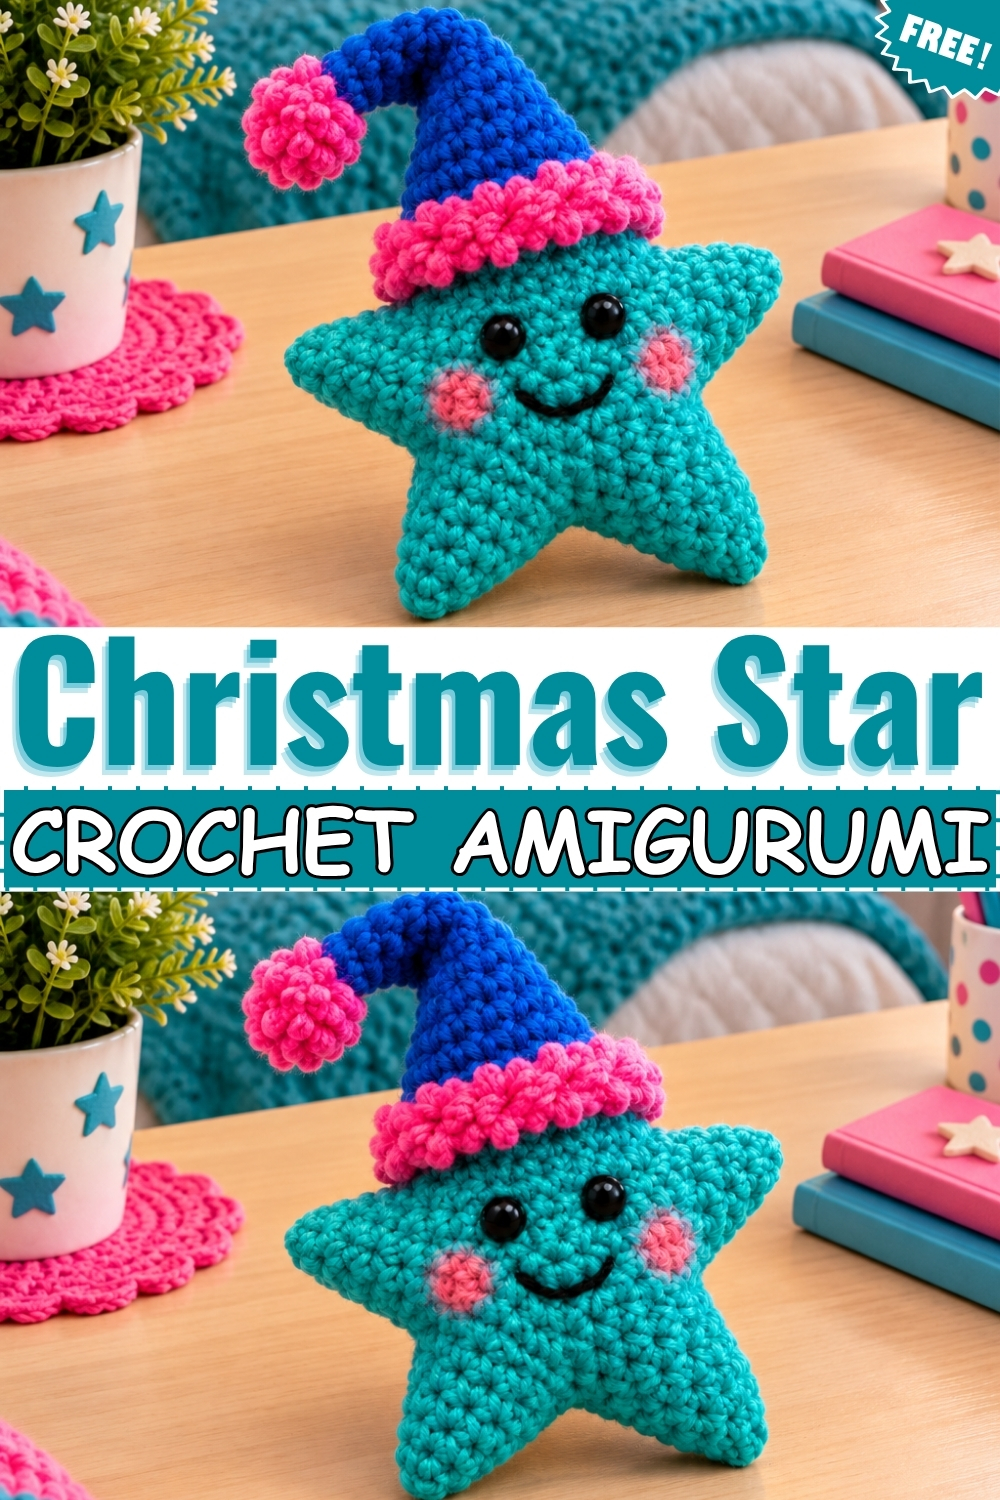
Two flat star pieces get worked separately and then joined back to back, which is how this crochet Christmas star ends up plump instead of flat. Teal yarn forms both halves, and a small face turns it into a character rather than a plain ornament. Black safety eyes sit close together above an embroidered smile, with coral blush circles stitched on either cheek. Adding a pointed blue hat with a hot pink brim and pompom gives mine its elf look. Each half starts from a magic ring disc, then grows five points straight off the edge.
Quick Facts
- Difficulty: easy to comfortable, with the star points being the only new skill
- Time: roughly two hours for the pair of star halves, plus another hour for the hat and face, based on my own build
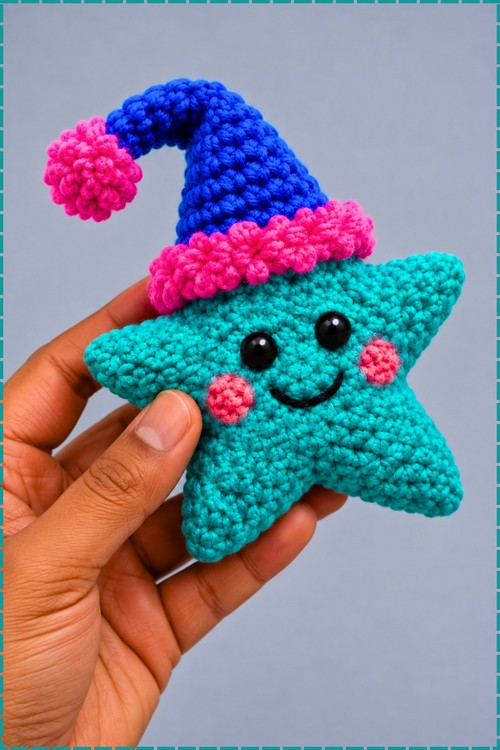
- Finished size: about six inches across in my hands, though yarn weight will change that
- Skills needed: magic ring, single crochet, increases, skipped stitches, slip stitch seaming
Materials and Tools
- Medium weight yarn in teal for both star halves
- Small amount of medium weight yarn in royal blue for the hat
- Small amount of medium weight yarn in hot pink for the hat brim and pompom
- Small amounts of black yarn for the smile and coral or salmon yarn for the blush
- Crochet hook matching your yarn weight
- Two black safety eyes
- Fiberfill stuffing
- Yarn needle
- Scissors
Customization Ideas
- Swap teal for classic yellow or gold if you want a traditional Christmas star
- Leave the hat off entirely and add a chain hanging loop at the top point instead
- Work the hat in red and white for a Santa version
- Embroider the eyes in black yarn rather than using safety eyes for a baby-safe toy
- Add tiny sequins or beads scattered across one side
- Make a set in different star colours with matching hats and string them along a mantel
The Pattern
Star Base, Make 2
- Round 1: start with a magic ring, chain 1, work 6 single crochet into the ring, pull tight, and join with a slip stitch into the first single crochet [6]. Close the ring fully now, because a loose centre shows straight through on a stuffed piece.
- Round 2: chain 1, work an increase, meaning 2 single crochet, in each stitch around, then join with a slip stitch to the first single crochet [12].
- Round 3: chain 1, repeat 1 single crochet then 1 increase six times, then join with a slip stitch to the first single crochet [18].
- Round 4: chain 1, repeat 1 single crochet in each of the next 2 stitches then 1 increase six times, then join with a slip stitch to the first single crochet [24].
- Round 5: chain 1, repeat 1 single crochet in each of the next 3 stitches then 1 increase six times, then join with a slip stitch to the first single crochet [30]. The disc should lie perfectly flat, since any cupping here will fight you when you join the halves.
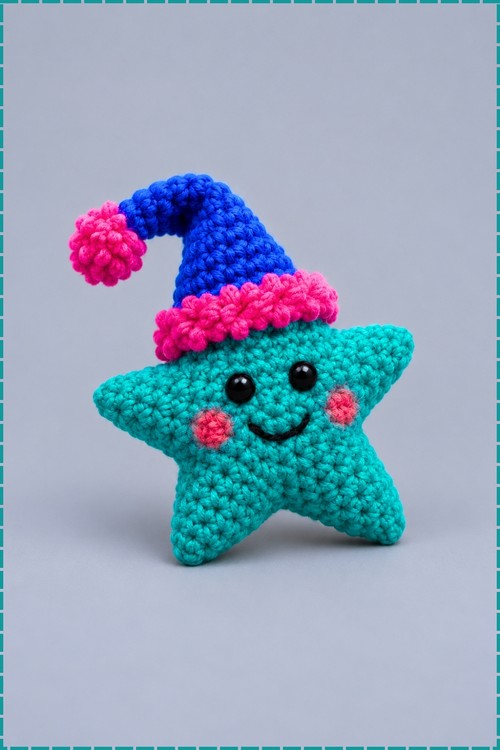
Star Point 1
- Row 1: chain 1, then work 1 single crochet in each of the next 6 stitches along the edge of the disc.
- Row 2: chain 1, turn the work, then work 1 single crochet in each of the 6 stitches, working from the back of the stitch [6].
- Row 3: chain 1, turn, work 1 single crochet in the first stitch, skip the next stitch, work 1 single crochet in the next stitch, work 1 single crochet in the next stitch, skip the next stitch, then work 1 single crochet in the last stitch [4]. The skipped stitches are what taper the point, so resist the urge to fill them in.
- Row 4: chain 1, turn, then work 1 single crochet in all 4 stitches from the back of the stitch [4].
- Row 5: chain 1, turn, skip the first stitch, work 1 single crochet in the next stitch, skip the next stitch, then work 1 single crochet in the last stitch [2].
- Row 6: chain 1, turn, then work 1 single crochet in the back of the stitch, and fasten off. The point should come to a narrow tip rather than a rounded nub.
Star Points 2 to 5
- Attach yarn to the next available stitch on round 5 of the centre disc.
- Repeat rows 1 to 6 four more times to complete all 5 points. Count the stitches between points carefully, since uneven spacing gives you one fat point and one skinny one.
- Repeat the entire star base to make a second identical piece in teal.
Face Details
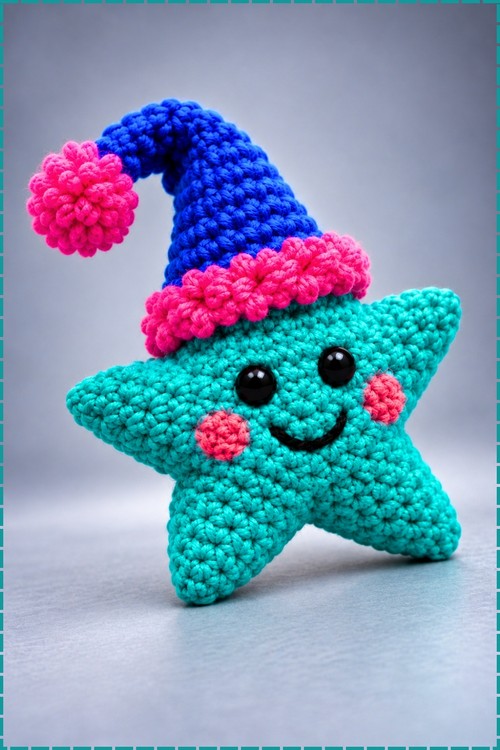
- Insert the safety eyes on the front star half before joining, positioning them on the centre disc above the middle, set fairly close together. On my star they sit just above centre with a narrow gap between them.
- Embroider the smile in black yarn as a shallow curve below and between the eyes, keeping it small so the face stays balanced.
- Embroider or stitch a small round blush patch in coral yarn on each cheek, out to the sides and slightly below eye level, matching the placement in my photo.
- Adding a face is optional if you want a plain ornament instead.
Assembly and Finishing
- Place the two star pieces together with wrong sides facing inward, lining up all five points before you start.
- Attach teal yarn at any side stitch and work slip stitches around the edges to join both sides together. Take the slip stitches through both edge loops so the seam stays neat and even.
- Before closing the final point or gap, gradually stuff the star with fiberfill until it feels firm and plump. Push small pieces right into each point with the blunt end of your hook, since soft tips make the star look droopy.
- Fasten off and weave in all remaining ends.
Elf Hat
- Work the hat in royal blue as a cone in a spiral, starting from a magic ring at the tip and increasing gradually until the opening fits comfortably over the top point of your star.
- Work even rounds until the cone reaches your preferred height. Mine bends over naturally at the tip because the hat is left unstuffed.
- Change to hot pink and work a rolled or textured brim around the opening, continuing until the brim looks as deep as you want it. On my hat the brim is worked in a dense bobbly texture so it stands out from the smooth blue cone.
- Make a pompom in hot pink to match the brim, sized to balance the hat, and sew it firmly to the tip of the cone.
- Sew the hat onto the star so the brim sits across the top point and tilts toward one side, with the tip flopping over. Pin it first and look at the face from the front, because hat angle changes the whole expression.
Tips
- Make both star halves before adding any face details, so you can pick whichever piece came out neater as the front.
- Stuff the points before the seam gets tight. Once you are three stitches from closing, there is no way to reach the far tips.
- Keep the blush circles small. Oversized cheeks crowd the eyes and the face stops reading as a star.
Yarn Substitution
Cotton gives the crisp stitch definition and firm points visible in my photo, and it holds the star shape without sagging. Acrylic works well too and stays softer for a child's toy, though the points come out slightly rounder. Avoid anything fuzzy, since the face and the hat brim both rely on clear texture. Keep the teal, blue, and pink in the same weight so the hat fits the star properly.
FAQ
Can I hang this on a tree? Yes. Attach a length of yarn to the back of the hat or to the top point and chain until the loop reaches your preferred length, then secure both ends.
Why do my star points look rounded instead of sharp? Usually the skipped stitches in rows 3 and 5 were worked into by mistake. Those skips create the taper, so check your stitch counts at the end of each of those rows.
Do the two halves need to match exactly? They should have the same stitch counts, yes. If one point sits slightly wider, ease it into place as you slip stitch around and the stuffing will even it out.
Is the hat difficult to add? No. It is a simple cone with a textured brim and a pompom, and it sews on with a few stitches through the top point of the star.