
Crochet Daphne Bridgerton Amigurumi Free Pattern
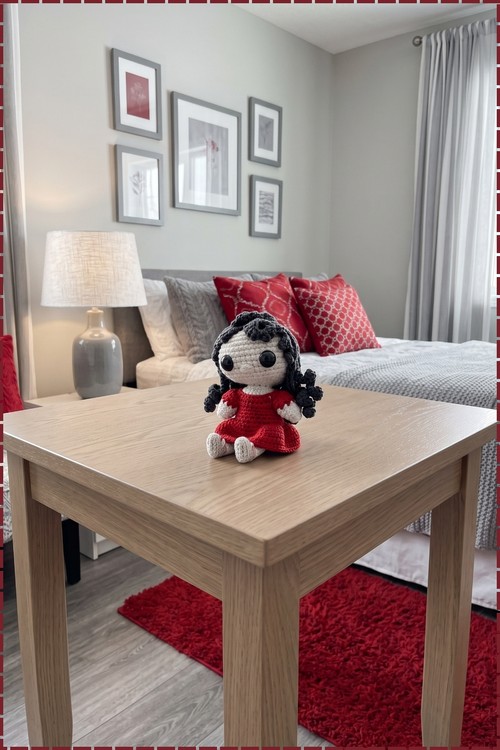
From a rectangular flat base, one continuous worsted weight spiral rises into the head and body of this Daphne Bridgerton doll. Dark grey curls, seven spiky bangs and a crown rosette sit above a gown with puffy sleeves and cream glove cuffs.
Ringlets and a red gown put the crochet Daphne Bridgerton doll together with very little shaping. Head, body, arms, hair. That is the whole build. Anyone who can work a round can finish crochet Daphne Bridgerton without fuss, and the crochet Daphne Bridgerton skirt needs no legs underneath.
Crochet Daphne Bridgerton
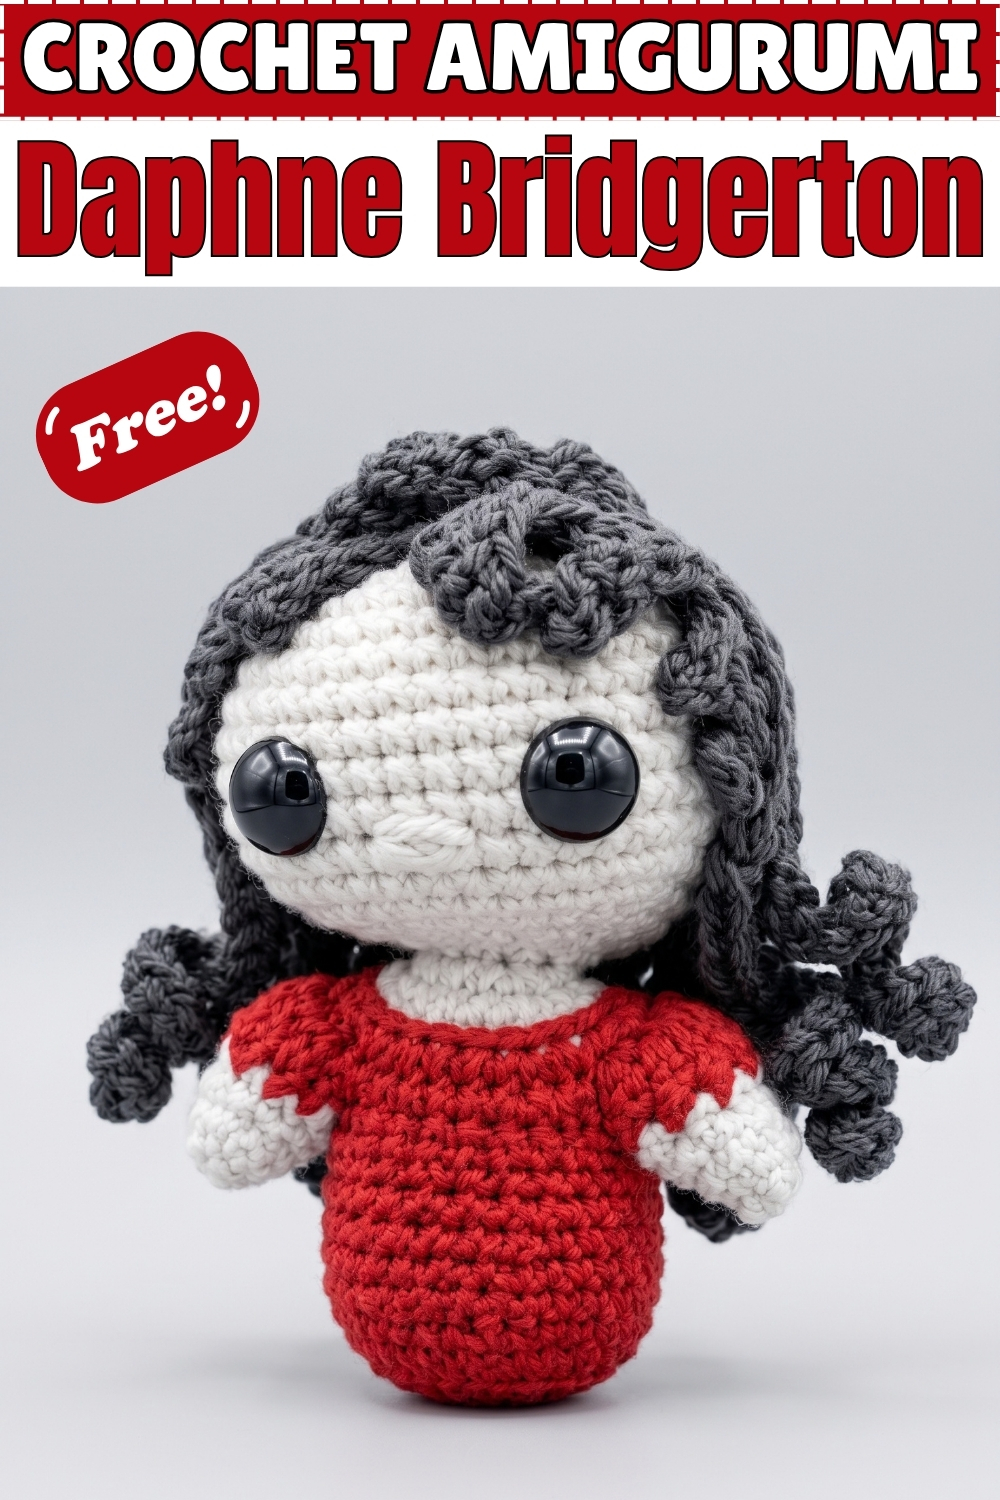
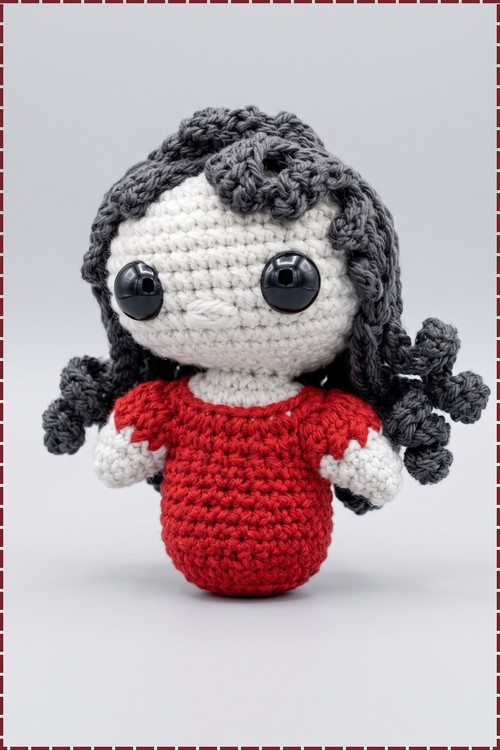
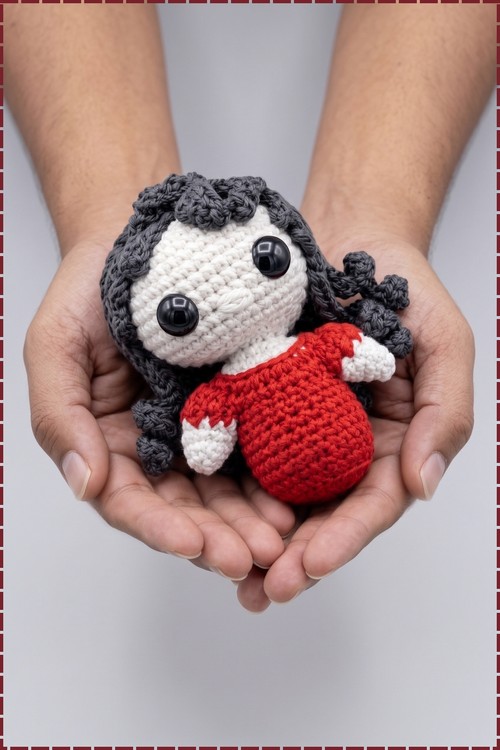
Head and body are one continuous piece on this doll, shaped from a rectangular flat base into a full rounded head through careful increases and decreases rather than a separate join. My crochet Daphne Bridgerton sits palm-sized with a cream skin tone body, a red dress with puffy sleeves, cream glove-cuffed arms, and dark grey curly hair arranged in loose side sections with a small rosette cluster at the crown. Large black safety eyes dominate the face. No separate neck piece, no seam at the waist, everything rolls out of the same spiral from Round 1 onward.
Materials and Tools
- Worsted weight yarn in cream or light flesh tone for the head, body and arms
- Worsted weight yarn in red for the dress
- Worsted weight yarn in cream or white for the glove cuffs on the arms
- Worsted weight yarn in dark grey for the hair, curls, bangs and bun
- 5.0 mm crochet hook
- Two 16 mm black safety eyes
- Stuffing
- Tapestry needle
- Stitch markers
- Sewing pins for hair placement
The source pattern specifies blue for the dress and light brown for the hair. My version uses red for the dress and dark grey for the hair throughout, as visible in the photo.
The Pattern
Head and Body
- Use the 5.0 mm hook and cream yarn
- Round 1: chain 2 and work 8 single crochet (sc) into the first chain, or use a magic ring [8]
- Round 2: increase (inc, 2 sc in the same stitch) in every stitch around [16]
- Round 3: sc 1, inc, repeat all the way around [24]
- Round 4: sc 1, inc in the next 2 stitches, sc in the next 6, inc in the next 2, sc in the next 2, inc in the next 2, sc in the next 6, inc in the next 2, sc 1 [32] and this round builds the rectangular silhouette that makes the face wider than a standard sphere
- Round 5: sc 2, inc in the next 2, sc 8, inc in the next 2, sc 4, inc in the next 2, sc 8, inc in the next 2, sc in the last 2 [40]
- Rounds 6 to 12: sc in each stitch around for 7 rounds [40]
- Round 13: sc 2, decrease (dec) twice, sc 8, dec twice, sc 4, dec twice, sc 8, dec twice, sc in the last 2 [32]
- Round 14: sc 1, dec twice, sc 6, dec twice, sc 2, dec twice, sc 6, dec twice, sc 1 [24]
- Pull up a long loop and pause here to place the facial features before continuing
- Eyes: find the centre of the face by counting 6 stitches from the start of the round, then count up 4 rounds and over 4 stitches on both sides and place the 16 mm safety eyes here with exactly 6 visible stitches between them, and on my doll these are large glossy black eyes that dominate the face
- Nose: thread cream yarn on a tapestry needle and create the nose flush with the bottom edge of the eyes, centred between them and spanning 2 stitches, passing the yarn back and forth several times to build a small raised bump, then tie off inside the head
- Round 15: dec, sc 1, repeat all the way around [16]
- Round 16: dec in every stitch around [8]
- Begin stuffing the head firmly now, shaping it from the outside as you work
- Round 17: sc in each stitch around [8]
- Round 18: inc in every stitch around [16]
- Round 19: inc, sc 1, repeat all the way around [24]
Dress and Neckline
- Round 20: on the final yarn over of Round 19, change to red yarn, then work inc, sc in the next 2 stitches, repeat all the way around [32] and you can cut the cream yarn here
- Round 21: inc in the first stitch, make 6 modified bobble stitches (yarn over, insert hook, pull up a loop, pull through 2 loops, yarn over, insert into the same stitch, pull up a loop, pull through 2 loops, pull through all 3 loops), sc in the next stitch, inc in the next stitch, sc in the next 7 stitches, inc in the next stitch, make 6 modified bobble stitches, sc in the next stitch, inc in the next stitch, sc in the last 7 stitches [36] and the six bobbles on each side form the puffy sleeve texture visible in the photo
- Neckline detail: before continuing, use a tapestry needle and red yarn to backstitch all the way around the collarbone where the red and cream meet, then pass the needle back under each backstitch loop to create a rope-like trim, and tie off on the inside
- Round 22: skip the first 8 stitches, sc in the 9th stitch, sc in the next 9 stitches, skip the next 8 stitches, sc in the remaining 10 stitches [20] and the two skipped groups become the armholes
- Round 23: working in back loops only (BLO), sc in each stitch around [20] and the free front loops from this round will carry the waistline detail later
- Rounds 24 to 26: working in both loops normally, sc in each stitch around for 3 rounds [20]
- Waistline detail: use the exposed front loops from Round 23 and the same whipped backstitch method used at the neckline to add a trim all the way around the waist in red yarn
- Stuff the body lightly now
- Round 27: working in BLO, dec, sc 2, repeat all the way around [15]
- Round 28: working in both loops, dec, sc 1, repeat 5 times around [10]
- Round 29: dec in every stitch around [5]
- Slip stitch, fasten off, and weave the tail through the final loops to close the bottom flat
Arms and Glove Cuffs (Make 2)
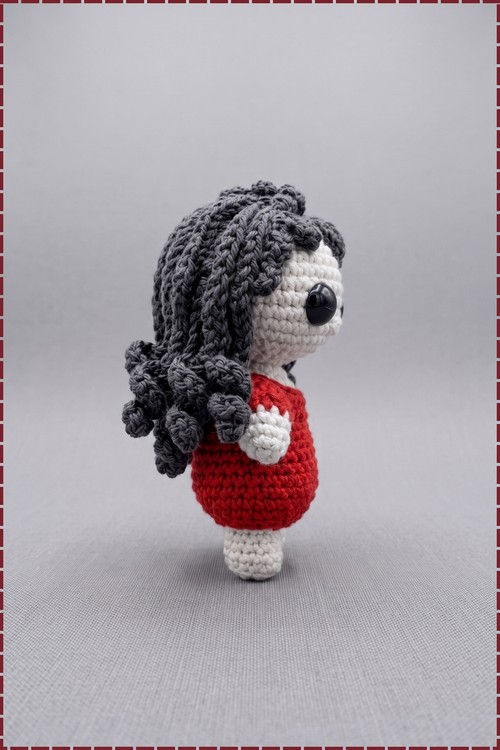
- The armholes come from the 8 skipped stitches plus the small gaps at each armpit
- Arm 1: attach cream yarn to the 2nd stitch from the back of the armhole, sc in that stitch, work 1 dec by grabbing a loop from the armpit gap and the next available stitch, work 1 more dec the same way, sc in the last 5 stitches [8]
- Switch to cream or white yarn for the glove cuff
- Rounds 2 and 3: sc in each stitch around [8]
- Fasten off with a long tail, stuff the arm lightly, fold it flat, and sew closed across 4 stitches matching outside loops stitch for stitch
- Arm 2: attach cream yarn to the 2nd stitch from the back of the second armhole, sc in the first 6 stitches, then work 2 dec across the armpit gap to close the holes [8]
- Switch to cream or white yarn and repeat Rounds 2 and 3, then stuff lightly, fold and sew closed
Hair Base and Curls
- Use the 5.0 mm hook and dark grey yarn
- Round 1: chain 2 or use a magic ring and work 8 sc [8]
- Round 2: inc in every stitch around [16]
- Round 3: inc, sc 1, repeat all the way around [24], then slip stitch to the first stitch
- Curls, make 12 without detaching from the base: for each curl, chain 26, work a half double crochet increase (hdc inc) in the 2nd chain from the hook, hdc inc in the next 9 chains (10 increases total), hdc in the final 15 chains, slip stitch to the next stitch on the base circle, slip stitch to the stitch after that to position for the next curl
- Repeat this 12 times using all 24 base stitches, then fasten off leaving a very long tail for assembly
Bangs (7 Spikes)
- Use the 5.0 mm hook and dark grey yarn
- Spike 1: chain 3, slip stitch (sl st) in the 2nd chain from the hook, sc in the last chain
- Spike 2: chain 4, sl st in the 2nd chain, sc, half double crochet (hdc)
- Spike 3: chain 5, sl st in the 2nd chain, sc, hdc, double crochet (dc)
- Spike 4 (centre bang): chain 9, sl st in the 2nd chain, sc, hdc, dc in the next 2 chains, treble crochet (tr) in the next 2 chains, leave the last chain untouched
- Spike 5: chain 7, sl st in the 2nd chain, sc, hdc, dc in the last 3 chains
- Spike 6: chain 4, sl st in the 2nd chain, sc, hdc
- Spike 7: chain 3, sl st in the 2nd chain, sc
- Fasten off leaving a tail for sewing
Assembly and Hair Styling
- Pin the bangs to the front of the head with the spikes curling naturally down toward the face, and on my doll the dark grey bangs frame the forehead with the centre spike sitting slightly forward
- Place the hair base on top of the head and pull the front 4 curls forward over the bangs
- Align the front of the wig cap flush with the top of the bangs
- Pin 4 curls to the left side and 4 curls to the right side, and a gap at the back is normal at this point
- Sew the bangs to the head
- Sew the wig cap base to the head
- Sew the side and back curls to each other side by side to form one solid hair piece, anchoring into the head every 2 to 3 stitches
- Pull the front 4 curls back to the crown of the head like a half ponytail and tack all 4 together at the top
- Take the 2 middle curls from that group, roll each tightly into a circular rosette, pin in place, and sew securely, and on my doll these sit at the very top of the head as two small spiral clusters
- Arrange the remaining 2 curls below the rosettes to finish the updo and cover any gaps at the back
Tips
- Place both safety eyes before stuffing the head. Once Round 16 closes down to 8 stitches the gap is too narrow to work from, and forcing eyes through from the inside will distort the face.
- Stuff the head in small pinches rather than one piece. Worsted weight at 5.0 mm is an open fabric and one large lump will show bumps through the rounds.
- Pin every hair curl before sewing any of them. Picking up and repositioning a sewn curl pulls the wig cap out of alignment.
FAQ
Why does the face look square instead of round? Rounds 4 and 5 are written to create a rectangular face shape intentionally, which is the signature look of this doll. If you want a rounder face, work those two rounds as standard even increases instead, but expect a different final look.
Can I use a different hook size? Go down from whatever your yarn recommends, not up. Looser fabric shows stuffing. At 5.0 mm with worsted the fabric should feel dense when you press it.
How do I stop the curls from unravelling? Each curl is a long chain worked back on itself with hdc increases, and the structure holds once the yarn is sewn down to the wig cap base. Anchoring every curl along its full length rather than just at the tip is what keeps them in plac
e.