
Crochet Dog Keychain Free Pattern Red Puppy Amigurumi
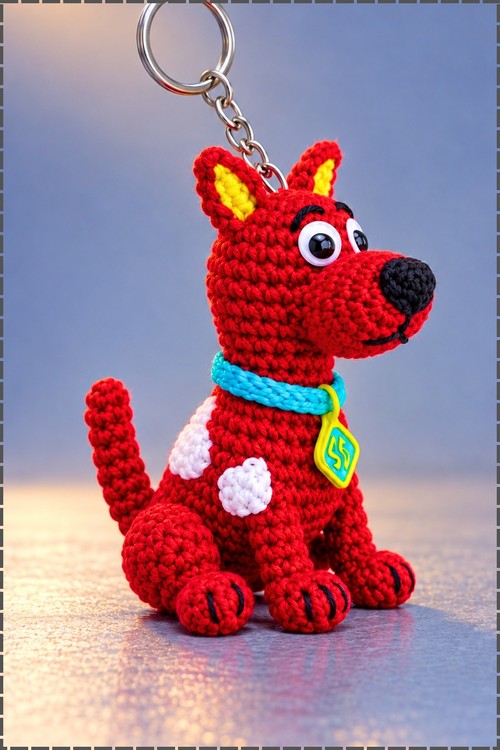
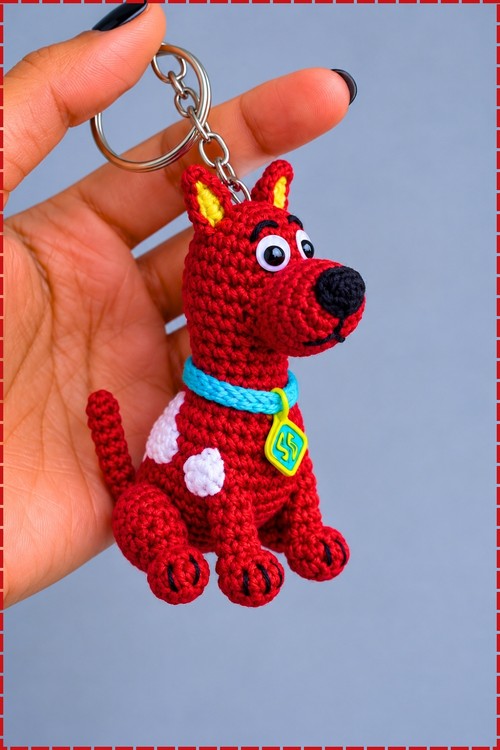
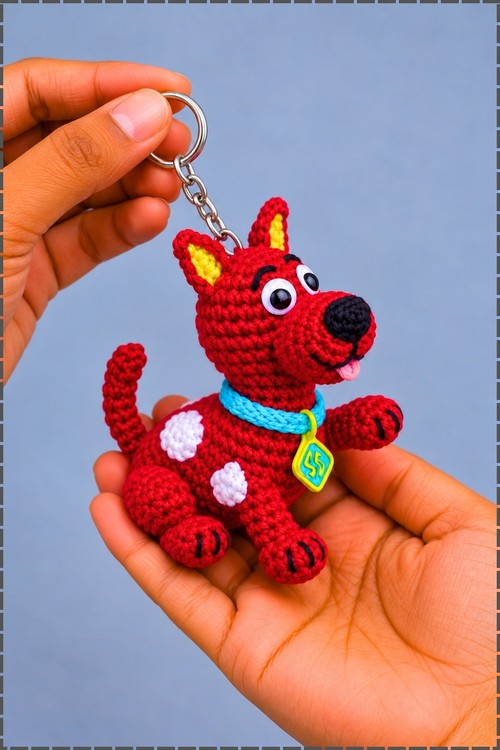
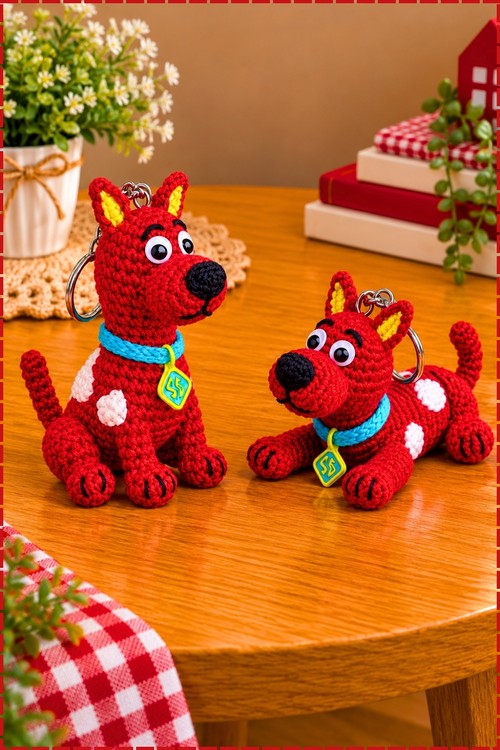
Sewn with the front legs angled forward, the red puppy keychain sits up straight, while a different placement lets it stretch out flat. White patches, a black snout and a turquoise collar with a dangling tag fill out roughly two to three hours of making.
Yellow lined ears and a long snout make the Crochet Dog Keychain satisfying to build piece by piece. Each colour change rewards you fast. Sewing on the snout is the moment it comes alive. Finish the collar, clip the ring, and the Crochet Dog Keychain suddenly looks back at you.
Crochet Dog Keychain
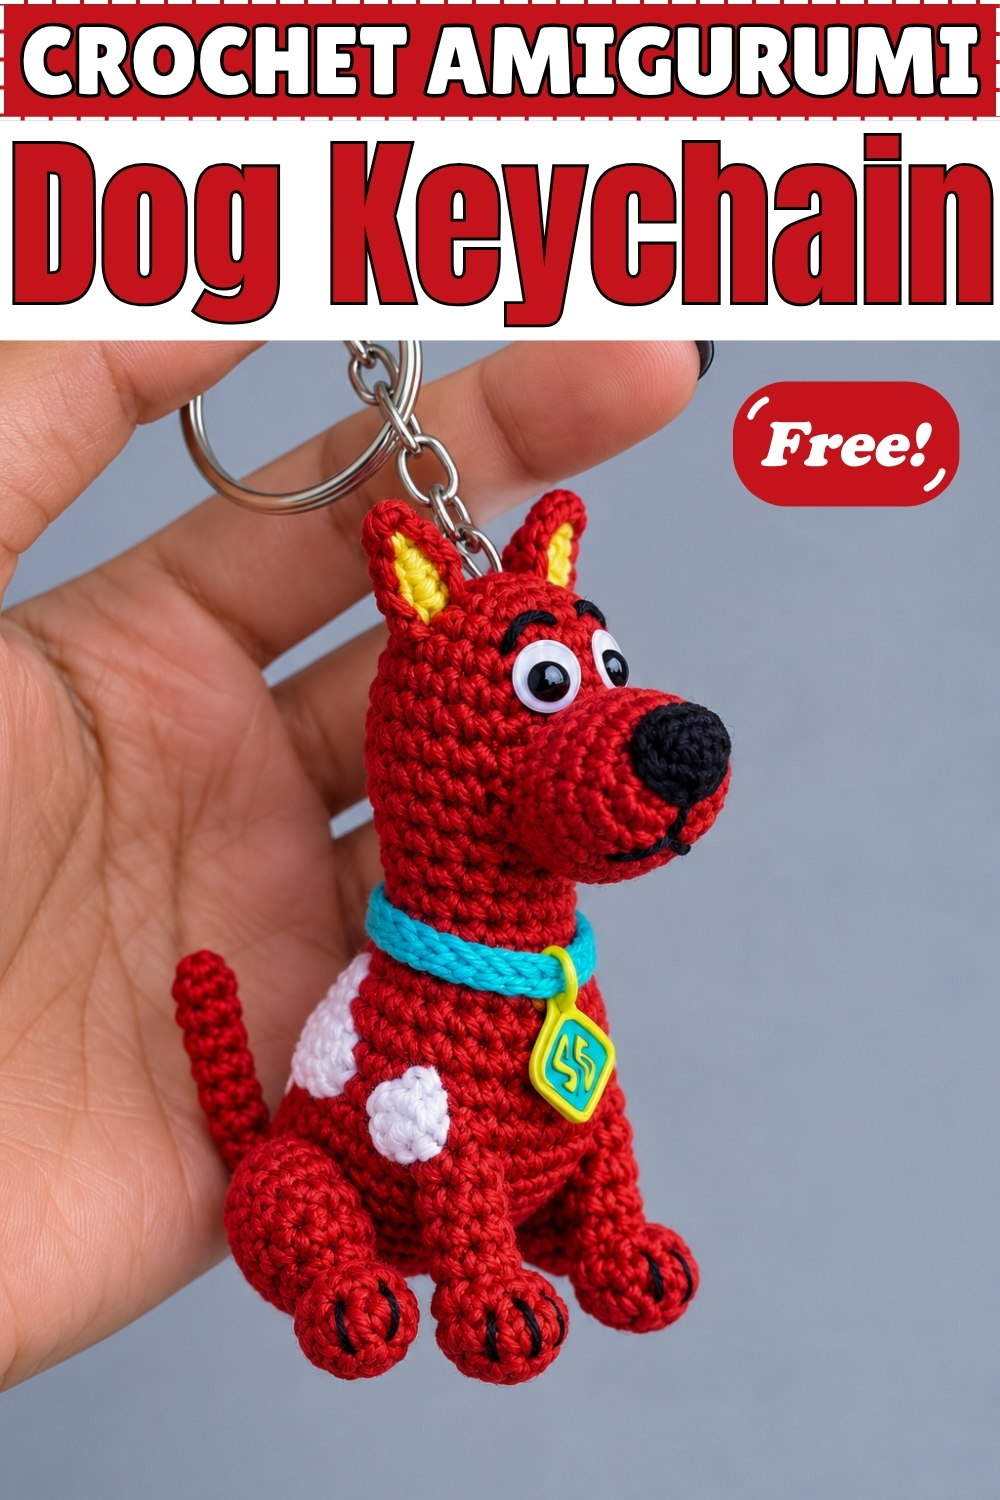
Built from separate pieces and sewn together at the end, this crochet dog keychain gives you full control over how the finished pose sits. Legs, tail, body and snout each work up in minutes, and assembly is where the personality arrives. Mine came out in bright red with white patches, a black snout and bright yellow inner ears. Sewing the front legs forward makes one dog sit upright while the other stretches out flat. Small touches like the turquoise collar and its hanging tag turn a plain puppy into a proper character.
Quick Facts
- Difficulty: easy, with a little patience needed for sewing small parts straight.
- Time: roughly two to three hours from my own making, a bit longer if you add the collar and tag.
- Finished size: small enough to hang comfortably from keys, though yarn and tension shift this a lot, so treat it as an estimate.
- Sewing involved: yes, this one is made in pieces and assembled.
- Beginner friendly: yes, apart from the ear technique, which is fiddly at first.
Materials and Tools
- 3 ply yarn in bright red for the body, head, all four legs, the tail and the outer ears.
- Small amounts of white for the body patches and the eye whites.
- Small amount of black for the snout tip, the pupils and the eyebrow marks.
- Small amount of bright yellow for the inner ears.
- Small amount of turquoise for the collar, plus yellow and green for the hanging tag. Both are optional additions not included in the original pattern.
- 2.5 mm crochet hook.
- Fiberfill stuffing, tapestry needle, scissors.
- Keychain ring. Mine is a plain silver split ring attached at the back of the head.
Abbreviations Used
- MR means magic ring.
- ch means chain.
- sc means single crochet.
- inc means increase, two single crochet in the same stitch.
- dec means decrease, worked as an invisible decrease.
- dc means double crochet.
- sl st means slip stitch.
- FLO means front loop only.
- st or sts means stitch or stitches.
Customization Ideas
- Change the pose at assembly. Sewing the back legs tucked under gives a sitting dog, while angling all four legs outward gives the lying down version, and both of mine use the same pieces.
- Swap the colours completely. The same pattern reads well in brown with a cream belly, or grey with white paws.
- Leave the collar off for a plain puppy, or chain a collar in any colour, chaining until it wraps the neck comfortably and joining with a slip stitch.
- Make the hanging tag by working a tiny flat square or oval in yellow, edging it in green, and sewing it to the front of the collar.
- Skip the white patches for a solid coloured dog, or add more of them for a spotted look.
- Leave the keyring off entirely and the finished dog works as a small shelf toy.
- Embroider a collar directly onto the neck with a few long stitches if sewing a separate band feels fussy at this size.
The Pattern
Back Legs (Make 2)
- Round 1: In a MR, ch 1 and work 5 sc. Pull tight to close (5 sts).
- Rounds 2 to 3: Work 1 sc in each st around (5 sts).
- Round 4: Work 2 sc in each st around (10 sts). The leg widens sharply here to form the thigh.
- Rounds 5 to 7: Work 1 sc in each st around for 3 rounds (10 sts).
- Round 8: Dec 5 times working in FLO (5 sts). Using front loops only leaves a visible ridge, which is what gives the thigh its rounded edge.
- Fasten off, stuff the leg with fiberfill, then weave the yarn tail through the front loops and pull tight to close the opening. Keep the stuffing light so the leg still flexes when you sew it on.
Front Legs (Make 2)
- Round 1: In a MR, ch 1 and work 7 sc. Pull tight to close (7 sts). The wider start becomes the paw.
- Rounds 2 to 3: Work 1 sc in each st around (7 sts).
- Round 4: Dec 2 times, then work 3 sc in the remaining sts (5 sts).
- Rounds 5 to 7: Work 1 sc in each st around for 3 rounds (5 sts). The leg should be a slim tube with a slightly fatter paw end.
- Fasten off leaving a long tail for sewing. Do not stuff these, since they are narrow enough to hold their shape and stuffing makes them stiff.
Tail
- Round 1: In a MR, ch 1 and work 6 sc. Pull tight to close (6 sts).
- Rounds 2 to 11: Work 1 sc in each st around for 10 rounds (6 sts).
- Fasten off leaving a tail for sewing. Leave the tail unstuffed so you can bend it into the upright curve both of mine have.
Body
- Round 1: In a MR, ch 1 and work 6 sc. Pull tight to close (6 sts).
- Round 2: Inc in every st around (12 sts).
- Round 3: Work (1 sc, inc) repeat around (18 sts).
- Round 4: Work (1 sc in next 2 sts, inc) repeat around (24 sts). The piece should still lie almost flat at this point.
- Rounds 5 to 9: Work 1 sc in each st around for 5 rounds (24 sts). These rounds form the chest and belly.
- Round 10: Work (1 sc in next 2 sts, dec) repeat around (18 sts).
- Round 11: Work (1 sc, dec) repeat around (12 sts).
- Stuff the body firmly with fiberfill before going further, since the opening narrows from here and you cannot reach the lower body afterwards.
- Rounds 12 to 18: Work 1 sc in each st around for 7 rounds (12 sts). This long straight section becomes the neck and upper chest, and keeping it firm is what lets the head sit up rather than droop.
- Round 19: Dec 6 times around (6 sts).
- Fasten off, thread the yarn through the front loops of the remaining stitches, pull tight to close and hide the end inside.
Head and Snout
- Round 1: In a MR, ch 1 and work 6 sc. Pull tight (6 sts).
- Round 2: Inc in every st around (12 sts).
- Rounds 3 to 6: Work 1 sc in each st around for 4 rounds (12 sts). You should have a short rounded tube, which becomes the muzzle projecting forward from the face.
- Fasten off leaving a tail for assembly. Stuff this piece lightly before closing so the snout stays rounded rather than flat.
Ears (Make 2, Worked Onto the Head)
- Attach red yarn near the top front of the head at the Round 2 position using a slip knot.
- Ch 3.
- Work 1 dc in the next stitch.
- Ch 1, then make a sl st into the top two loops of the dc to create a picot point. This picot is what gives the ear its pointed tip.
- Ch 3, then sl st back into the same stitch base to form the ear shape.
- Fasten off, cut the yarn and weave in the ends. Repeat on the opposite side for the second ear, matching the height carefully, because uneven ears are the first thing the eye catches on a face this small.
- Work a second ear shape in bright yellow on top of each red ear if you want the two tone look on mine, using the same sequence and sitting it just inside the red outline.
Assembly and Details
- Sew the head firmly onto the top of the upper body section, angling it slightly forward so the snout points out rather than up. Use plenty of small stitches around the full join, since a head attached at only a few points will spin.
- Sew the two front legs to the front of the chest, positioning them together and pointing forward for the sitting pose or splayed outward for the lying pose.
- Sew the two back legs to the lower sides of the body with the wider thigh end against the body, so the narrow paw end points forward.
- Sew the tail to the back of the body at the base, angling it upward into a gentle curve.
- Embroider the snout tip in black as a solid oval covering the front end of the muzzle, then work a short vertical line down from it for the mouth.
- Make the eyes by stitching two white ovals side by side above the snout, then embroidering a black pupil inside each one. Mine sit large and close together, which is what gives the face its cartoon look.
- Embroider two short black eyebrow marks above the eyes, angled slightly inward.
- Sew or embroider a few white patches onto the body, placing one on each side toward the back. Keep them irregular rather than neat circles.
- Chain a turquoise collar until it wraps the neck comfortably, join with a slip stitch and sew it in place at the base of the head.
- Make a small flat tag in yellow, edge or detail it in green, and sew it to the front centre of the collar so it hangs just below the chin.
- Attach the keychain ring securely to the top back of the head, stitching through several stitches to spread the weight.
Tips
- Sew every part on with pins or a few loose anchor stitches first, then check the pose from the front before committing. Position matters more than stitch quality on a piece this small, and a leg a few stitches out of place changes the whole character.
- Keep the neck section firm. Rounds 12 to 18 carry the head, and any softness there means the head tips forward the moment the dog hangs from keys.
- Embroider the face before attaching the head. Working on a loose piece you can turn in your hand is far easier than stitching around an assembled body.
Yarn Substitution
Thin 3 ply cotton gives the crisp stitch definition visible across the body and the tight fabric that stops stuffing showing through the red. Any similar weight cotton works at the same hook. Heavier yarn produces a noticeably bigger dog, which stops being keychain sized, so go up a hook and accept a small toy instead. Avoid fluffy or brushed yarns, since the halo swallows the embroidered eyes and snout completely at this scale.
Frequently Asked Questions
My ears look like loops rather than points. What went wrong? The picot is the part that creates the point. After the double crochet, chain one and slip stitch into the top two loops of that same double crochet, not into the head. Skipping that step leaves a soft loop with no tip. Can I use safety eyes instead of embroidering? Yes, though the look changes. My version uses embroidered white ovals with black pupils, which sit flat and wide and read as cartoon eyes. Safety eyes give a rounder, more traditional amigurumi face, and they need inserting before the head is closed and stuffed. How do I stop the legs looking uneven? Count the rounds on both pieces before sewing, then mark the attachment points on the body with pins and measure from the same landmark on each side. Sewing one leg then eyeballing the second is where symmetry usually goes wrong. Do the collar and tag come from the original pattern? No. Both are additions on my version, along with the yellow inner ears and the white body patches. The base pattern gives a plain dog, so treat those as optional finishing touches.