
Crochet Doll Free Pattern - Round Kitty Amigurumi
Little hands wrap right around the round kitty amigurumi, since its head and body form one ball with no neck and no seam. Cream acrylic on a 2.0 mm hook keeps the stitches tight, and pink thread for the eyes gives a gentler face than black would.
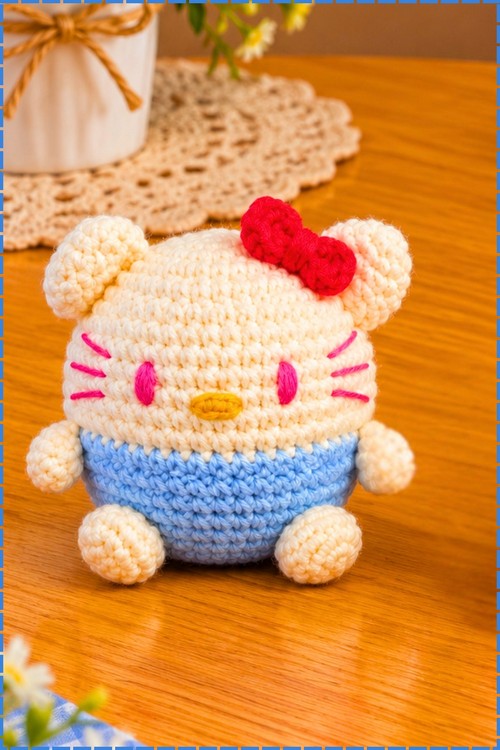
Pink whiskers and a red bow finish this Crochet Doll. Round body, no neck, short arms. Worked in one piece with a colour change halfway. Face is embroidered. The Crochet Doll suits anyone who wants a quick make with few parts to sew on at the end.
Crochet Doll
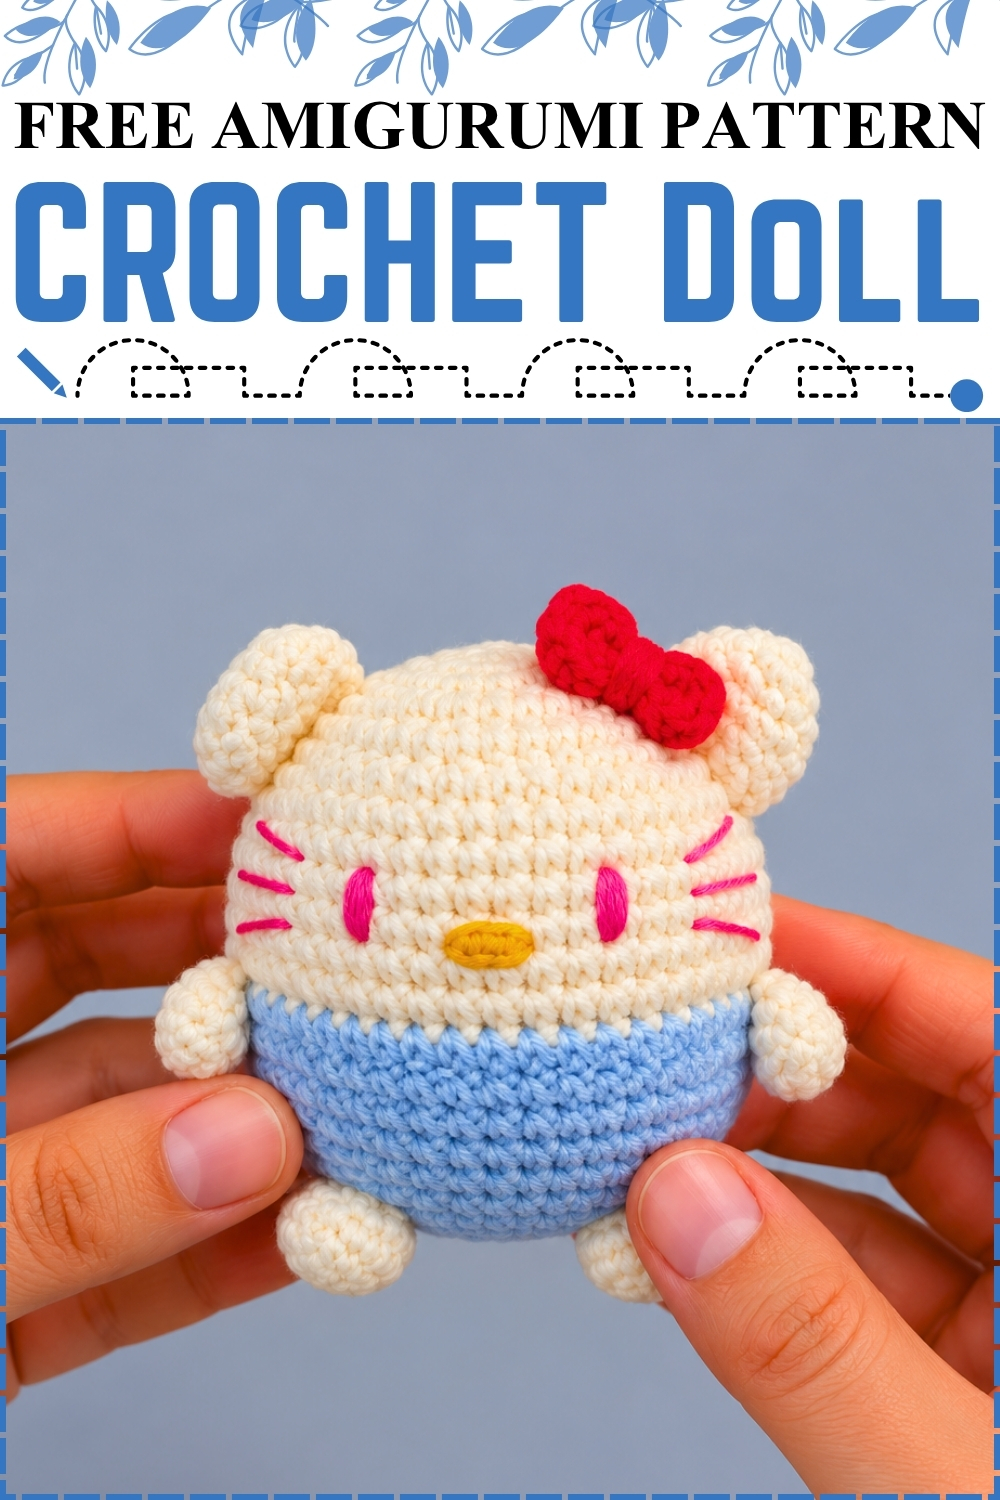
Worked as one continuous ball from the top of the head down through the outfit, this crochet doll needs no seam between head and body. Ears, arms and feet sew on afterwards, which keeps the main piece easy to hold while you work. Colour changes happen once at the waist, so the shape stays smooth right through the join. Mine uses cream rather than stark white, paired with a soft blue lower half and a red bow set high on one side. Pink embroidery for the eyes and whiskers gives a gentler face than black thread would.
Materials
- 100% acrylic yarn in cream for the head, ears, arms and feet.
- Light blue acrylic for the lower body.
- Red acrylic for the bow.
- Small amounts of yellow for the nose and bright pink for the eyes and whiskers. My version uses pink for both rather than black.
- 2.0 mm crochet hook.
- Fiberfill stuffing, darning needle, scissors, sewing pins.
Difficulty and Time
Easy throughout, with only the colour change and the bow asking for any real attention. Based on my own making, expect around two to three hours. The finished doll sits small and round in the palm, though yarn and tension change that noticeably, so treat any size as an estimate.
Abbreviations
- MR means magic ring.
- ch means chain.
- sc means single crochet.
- inc means increase, two single crochet in the same stitch.
- dec means decrease.
- dc means double crochet.
- sl st means slip stitch.
The Pattern
Main Body and Head
Worked in one piece from the top of the head down. Each round closes with a slip stitch and a chain 1.
- Round 1: Make a MR, ch 1 and work 6 sc into the ring. Close the ring, sl st, ch 1 (6 sts).
- Round 2: Work 6 inc (12 sts). Sl st, ch 1.
- Round 3: Work (1 sc, inc) 6 times (18 sts). Sl st, ch 1.
- Round 4: Work (2 sc, inc) 6 times (24 sts). Sl st, ch 1.
- Round 5: Work (3 sc, inc) 6 times (30 sts). Sl st, ch 1.
- Round 6: Work (4 sc, inc) 6 times (36 sts). Sl st, ch 1.
- Round 7: Work (5 sc, inc) 6 times (42 sts). Sl st, ch 1.
- Round 8: Work (6 sc, inc) 6 times (48 sts). Sl st, ch 1.
- Rounds 9 to 15: Work 1 sc in each st around for 7 rounds (48 sts per round). These straight rounds form the whole face and the sides of the head.
- Round 16 (Colour Change): Attach the light blue yarn in the last sc of the previous round, then work (7 sc, inc) 6 times (54 sts). Cut the cream yarn. Joining the new colour on the final pull through of the previous stitch keeps the waistline crisp instead of speckled.
- Rounds 17 to 21: Work 1 sc in each st around for 5 rounds (54 sts per round). This is the widest part of the doll.
- Round 22: Work (7 sc, dec) 6 times (48 sts). Sl st, ch 1.
- Round 23: Work (6 sc, dec) 6 times (42 sts). Sl st, ch 1.
- Round 24: Work (5 sc, dec) 6 times (36 sts). Sl st, ch 1.
- Round 25: Work (4 sc, dec) 6 times (30 sts). Sl st, ch 1.
- Round 26: Work (3 sc, dec) 6 times (24 sts). Sl st, ch 1.
- Pack fiberfill firmly inside the body now, filling the head fully before the opening narrows.
- Round 27: Work (2 sc, dec) 6 times (18 sts). Sl st, ch 1.
- Round 28: Work (1 sc, dec) 6 times (12 sts). Add extra stuffing through the remaining opening.
- Round 29: Dec 6 times. Ch 1, cut the yarn and close the hole with a darning needle, then weave the tail inside.
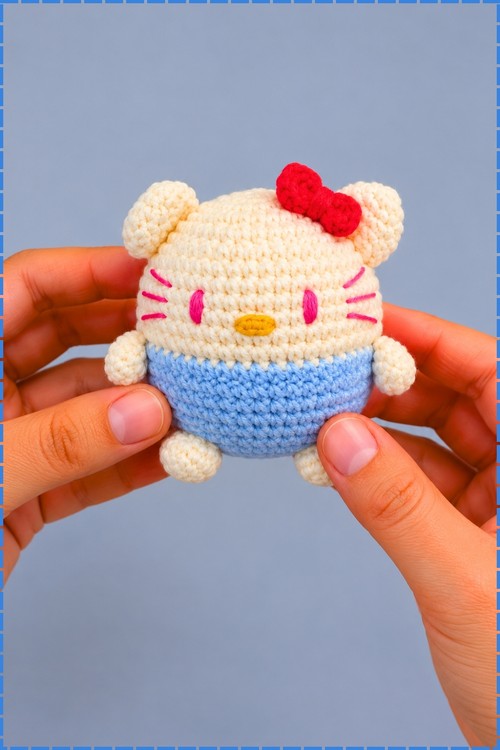
Hands (Make 2, Cream)
- Round 1: Make a MR, ch 1 and work 8 sc into the ring. Close the ring (8 sts).
- Rounds 2 and 3: Work 1 sc in each st around (8 sts per round).
- Flatten the piece and join the edges with 3 sc across. Ch 1, leave a long tail for sewing and cut. Leave these unstuffed so they sit flat against the body.
Legs (Make 2, Cream)
- Round 1: Make a MR, ch 1 and work 6 sc into the ring. Close the ring (6 sts).
- Round 2: Work 6 inc (12 sts).
- Round 3: Work 1 sc in each st around (12 sts).
- Round 4: Work (1 sc, dec) 4 times (8 sts).
- Work 1 sc, leave a long tail for sewing and cut.
Ears (Make 2, Cream)
- Round 1: Make a MR, ch 1 and work 6 sc into the ring. Close the ring (6 sts).
- Round 2: Work 1 sc in each st around (6 sts).
- Round 3: Mark the beginning of the round with a scrap of yarn, then work 6 inc (12 sts).
- Round 4: Work (1 sc, inc) 6 times (18 sts).
- Round 5: Work (1 sc, dec) 6 times (12 sts).
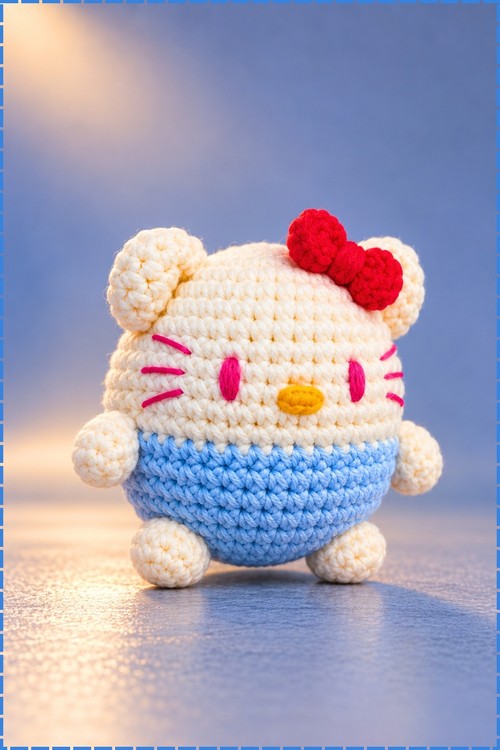
- Join the edges together with 5 sc across. Ch 1, leave a long tail for sewing and cut. The finished ear should look like a small rounded pad rather than a point.
Bow (Red)
- Make a MR and ch 4, work 3 dc into the ring, ch 4, then sl st into the ring.
- Ch 4, work 3 dc into the ring, ch 4, then sl st into the ring again.
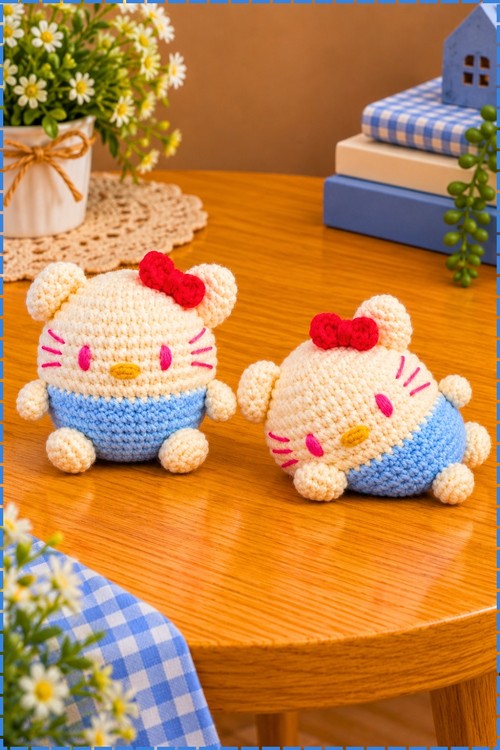
- Leave yarn for sewing and cut. Pull the ring tight, then wrap yarn around the centre to pinch the two loops into a bow shape.
Assembly
- Pin the ears to the top of the head, set wide apart at the upper corners so the head still reads as round between them.
- Pin the hands to each side of the body at the colour change line, and the legs to the base so the doll stands upright on its own.
- Pin the bow above and slightly outside the left ear as you look at the doll, sitting high on the head.
- Sew every piece down with its own yarn tail, then hide the ends inside the body.
- Embroider the nose as a small yellow oval at the centre of the face, just above the colour change.
- Embroider the eyes in bright pink as two upright ovals set well apart, level with the nose and roughly in line with the inner edge of each ear.
- Embroider three pink whiskers on each side of the face, angled outward and spaced evenly across the cheek.
Tips
Keep the slip stitch joins loose. A tight join at the end of every round builds a visible seam line straight down the doll, which shows badly on a shape this round. Stuff the head before Round 27 rather than waiting, since the opening closes fast after that and the top of the head is the first place to go lumpy. Pin every piece and look at the doll from the front before sewing anything, because ears set too close together lose the round head shape entirely. Work the face embroidery last, once the ears are on and you can judge the spacing against them.
Customization
- Change the outfit colour. The pattern only shifts once at Round 16, so any colour works for the lower half.
- Swap the pink face embroidery for black if you want a sharper look.
- Make the bow in any colour, or leave it off for a plain kitty.
- Add a hanging loop to the top of the head, chaining until the loop reaches the length you want.
- Embroider a small mouth below the nose for a different expression.
Frequently Asked Questions
Why does my doll have a visible seam down one side? Every round in this pattern closes with a slip stitch and a chain, which stacks the joins into a line. Keep the slip stitch and chain loose, and turn the seam to the back during assembly so it sits behind the doll. Can I work this in a continuous spiral instead? Yes, and it removes the seam. Skip the slip stitch and chain 1 at the end of each round and use a stitch marker instead. Counts stay exactly the same, but the colour change at Round 16 will step slightly rather than meeting cleanly. How do I keep the doll standing up? Stuff firmly and sew both feet flat to the underside of the body rather than to the front. Mine stands on its own because the two feet sit slightly apart and take the weight evenly.