
Crochet Fish Keychain Free Pattern - Blue Head Yellow Body
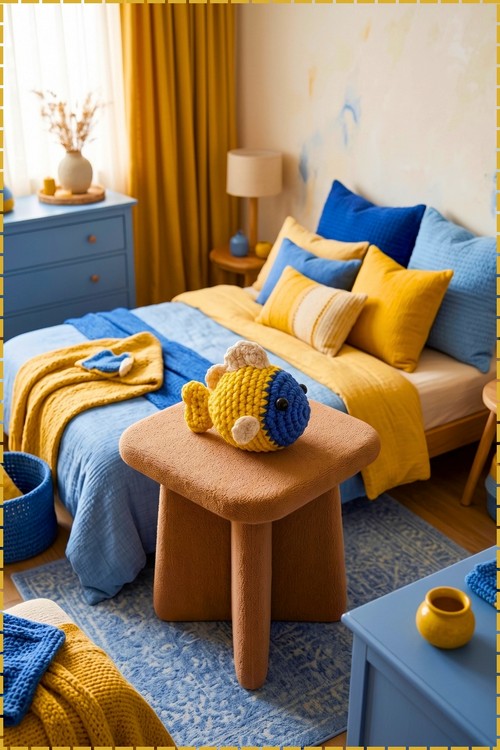
Switch from cobalt blue to golden yellow at the right round and the crochet fish keychain takes its two tone body without a single seam. A 3.00 mm hook works the whole thing, the tail grows straight from the closed end, and one black bead becomes the eye.
Cream fins and a blunt head give the Colorful Crochet Fish Keychain the look of something that swims slowly and thinks even slower. One eye, no mouth, no worries. It drifts along on a bag strap. That calm face is why the Colorful Crochet Fish Keychain never looks in a hurry.
Colorful Crochet Fish Keychain
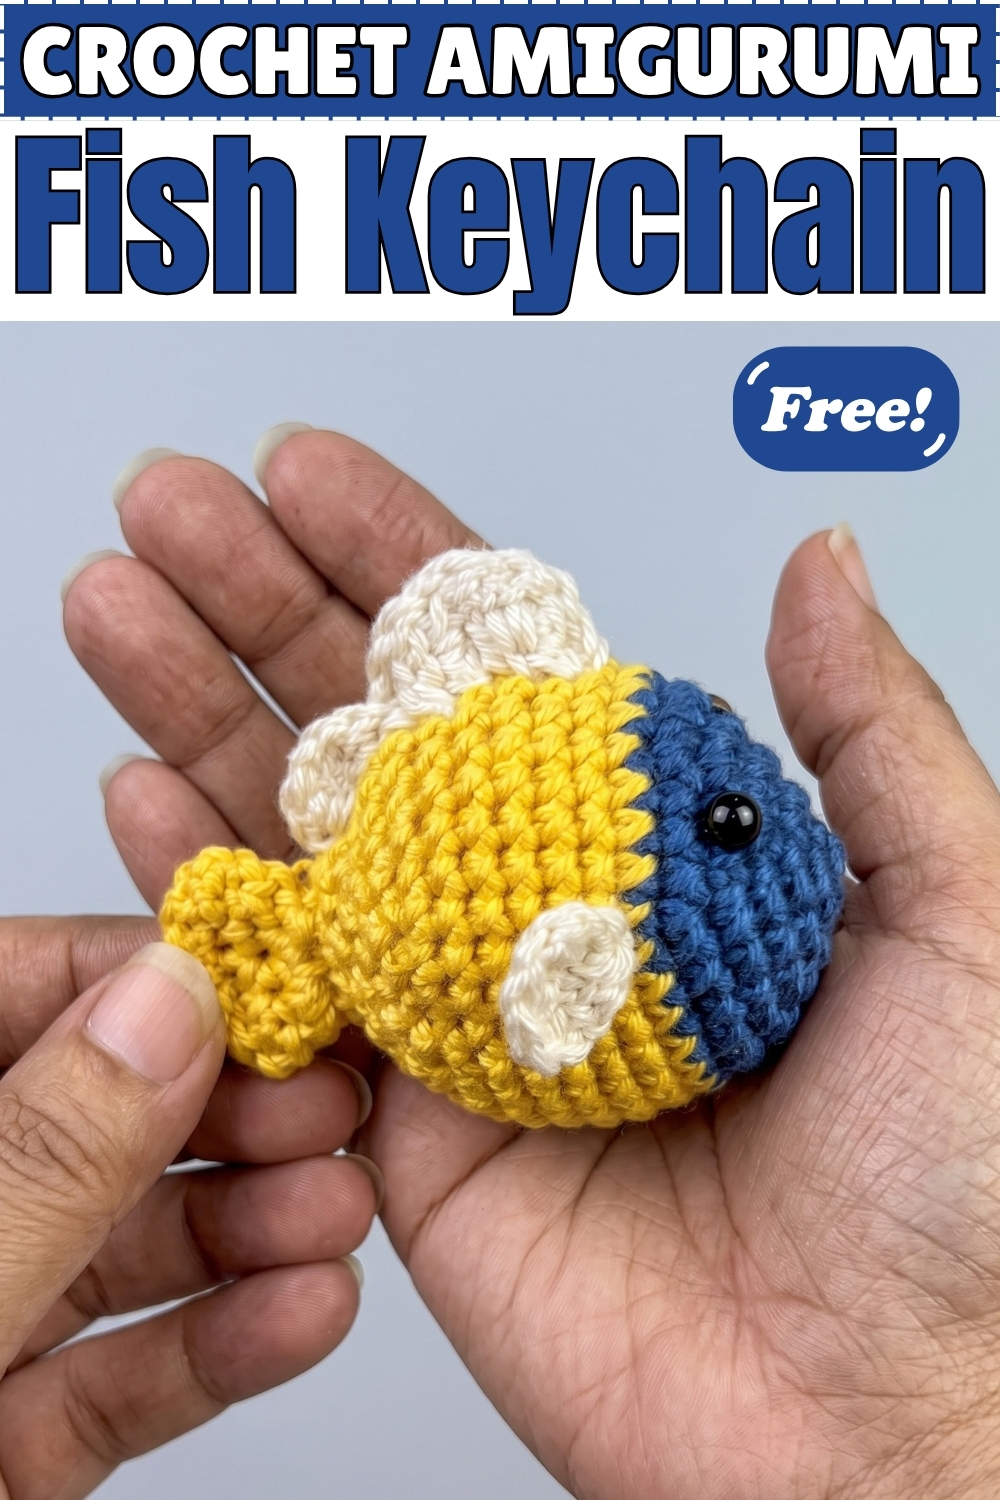
Colour changes are the whole personality of this crochet fish keychain, and the build handles them simply: the head works up in one shade, the body switches to a second, and the fins attach in a third. Everything from Round 1 to Round 16 is one continuous amigurumi piece with no seaming needed between head and body. The tail grows directly from the closed end, and the scalloped dorsal fin attaches to the top seam without sewing. My version uses cobalt blue for the head, golden yellow for the body and cream for both the dorsal and side fins. A single black bead sits on the blue head for the eye.
Materials and Tools
- Yarn in cobalt blue for the head section.
- Yarn in golden yellow for the body.
- Yarn in cream or off white for the dorsal fin and the side fins.
- 3.00 mm crochet hook.
- Two small black beads for the eyes, or black safety eyes if you prefer. My version uses a single small black bead on one visible side.
- Fiberfill stuffing.
- Metal keychain ring.
- Tapestry needle and scissors.
Difficulty and Time
Easy to confident beginner. The tail and dorsal fin both use taller stitches, so read those sections before starting if you are new to treble crochet. From my own making, this takes roughly one to one and a half hours including the fins and assembly.
Abbreviations Used
- ch means chain.
- sc means single crochet.
- dc means double crochet.
- tr means treble crochet.
- sl st means slip stitch.
- sc 2 together means decrease, two single crochet worked together into one stitch.
- inc means increase, two single crochet in the same stitch.
- R means round.
The Pattern
Part 1: Head and Body
Begin with cobalt blue yarn.
- Round 1: Make a magic ring, ch 1 and work 6 sc into the ring. Sl st to join (6 sts).
- Round 2: Ch 1, work 2 sc in each stitch around. Sl st (12 sts).
- Round 3: Ch 1, work (1 sc, inc) repeat 6 times. Sl st (18 sts).
- Round 4: Ch 1, work (1 sc, 1 sc, inc) repeat 6 times. Sl st (24 sts).
- Round 5: Ch 1, work (1 sc, 1 sc, 1 sc, inc) repeat 6 times. Sl st (30 sts). The blue head is now complete. This is also where the eye bead goes, so keep it in mind as you move to the next round.
- Change to golden yellow yarn.
- Rounds 6 to 12: Ch 1, sc all around. Sl st (30 sts per round). Seven straight rounds give the fish its round, plump body. Attach the black bead eye to the blue section, about one round up from the colour change and toward the side, before the body closes too far to reach inside comfortably.
- Round 13: Ch 1, work (1 sc, 1 sc, 1 sc, sc 2 together) repeat 6 times. Sl st (24 sts).
- Round 14: Ch 1, work (1 sc, 1 sc, sc 2 together) repeat 6 times. Sl st (18 sts).
- Round 15: Ch 1, work (1 sc, sc 2 together) repeat 6 times. Sl st (12 sts).
- Stuff the body firmly with fiberfill now, pushing it in evenly so the body stays round rather than lumpy.
- Round 16: Ch 1, work (sc 2 together) repeat 6 times. Sl st (6 sts).
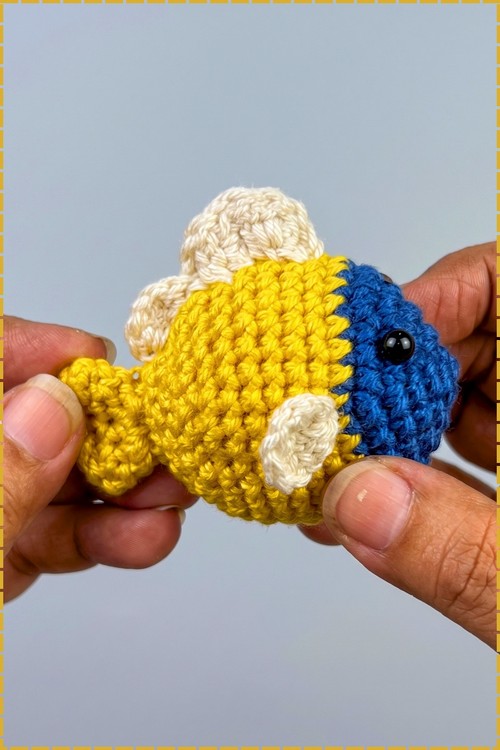
Part 2: The Tail
Continue directly from the closed end of Round 16 in yellow yarn. The tail is worked right onto the body without cutting the yarn.
- First lobe: Ch 2, work 2 tr (treble crochet) in the same stitch, 1 dc and 1 sc in the same stitch.
- Second lobe: Ch 2, work 2 tr in the same stitch, ch 2 and sl st.
- Cut the yarn, pull it through and weave the loose tail into the body with the tapestry needle.
Part 3: Top Dorsal Fin
Attach cream yarn to the top seam of the fish body. The three scallops together form the raised dorsal fin running along the back.
- First scallop: Ch 2, work 1 dc, 1 dc, 1 dc, ch 2 and sl st into the body.
- Middle scallop: Ch 2, work 1 tr, 1 tr, 1 tr, 1 tr, ch 2 and sl st into the body. The middle scallop is taller than the outer two, which is what gives the fin its arched profile.
- Third scallop: Ch 2, work 1 dc, 1 dc, 1 dc, ch 2 and sl st into the body.
- Cut the yarn and hide both tails inside the body.
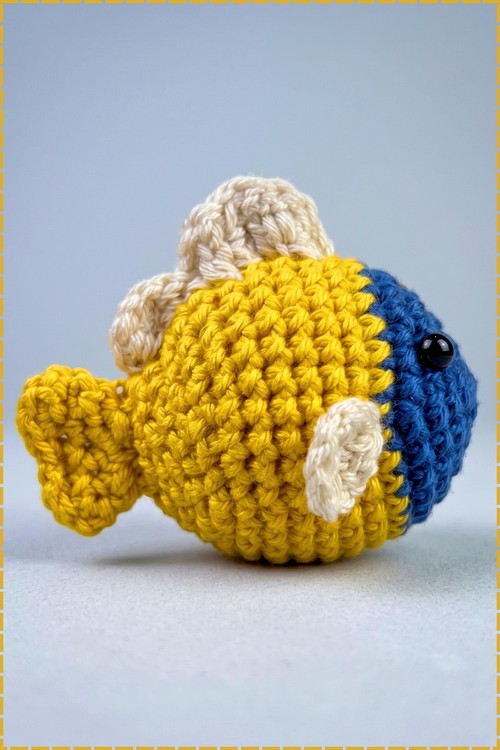
Part 4: Side Fins (Make 2)
Use cream yarn. Each fin is a small flat shell worked from a magic ring.
- Make a magic ring.
- Ch 3, work 3 dc into the ring, ch 3 and sl st into the ring.
- Pull the magic ring tight.
- Cut the yarn leaving a long tail for sewing. Make the second fin in exactly the same way.
- Sew one fin onto each side of the fish at the colour change line between blue and yellow, so the fin sits half on each colour. In my photo, the cream fins read cleanly against both colours and anchor right at the widest point of the body.
Part 5: Finishing Touches
- Sew the black bead eye firmly to the blue head section if you have not already, using the thread tail to go through the bead twice before knotting off inside the body.
- Attach the metal keychain ring to the top of the fish directly in front of the dorsal fin, threading it through a stitch at the seam and knotting securely so the fish hangs level rather than nose down.
- Weave in any remaining ends inside the body.
Troubleshooting
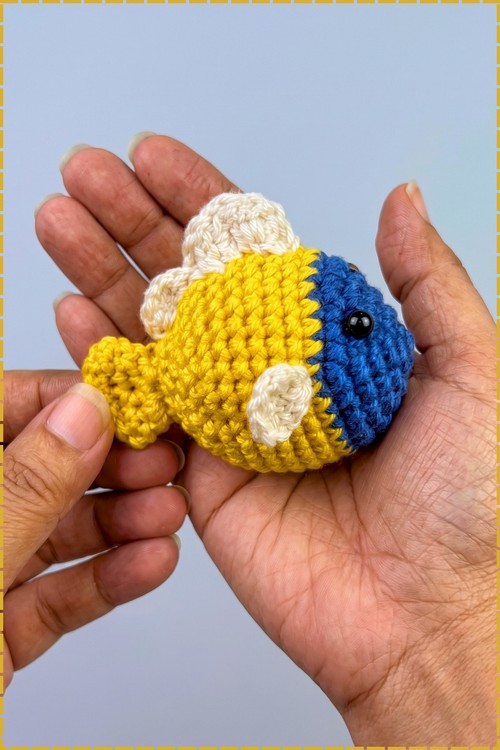
If the tail lobes splay apart instead of sitting side by side, the slip stitch at the end of the first lobe is pulling too loose. Work into the exact same stitch base for both lobes and pull the chain 2 snug before beginning the trebles. If the dorsal fin scallops fall sideways, the attachment slip stitches are too far apart on the body seam. Space them consistently, one per stitch, and the arch holds itself. If the side fins spin after sewing, go back through each one with the tail and add a second anchoring stitch below the first.
Yarn Substitution
Any smooth lightweight yarn at a matching gauge works here. Cotton holds the fin shapes better than acrylic because it does not stretch, but acrylic at the same weight is fine for a keychain that will not get heavy wear. Avoid fluffy or textured yarns since the bead eyes and the fin scallops both disappear into halo or nubby surfaces. The colour contrast between the head and the body is what makes the fish readable at keychain size, so choose your two main shades to sit as far apart on the value scale as possible.
Customization Ideas
- Reverse the colours. A yellow head with a blue body looks completely different and works equally well with cream fins.
- Use safety eyes instead of sewn beads for a more secure finish on a child's toy.
- Change all three colours to match a specific reef fish. Deep teal with a pale belly and orange fins reads as a tropical species straight away.
- Add a second bead eye on the opposite side of the head for a fully round fish rather than a display piece.
- Leave the keyring off and add a hanging loop instead by chaining until the loop reaches your preferred length and attaching both ends to the top seam.
- Make a set in three different colourways as a gift for an ocean lover.
Frequently Asked Questions
Can I use a single colour for the whole fish? Yes, and the shape still reads clearly as a fish. The head to body colour change is what gives this version its graphic quality, but a solid colour with contrasting fins is a valid and faster alternative. How do I stop the fish from hanging nose down on the keyring? The ring needs to sit directly above the centre of gravity, which is roughly above the colour change line. If the fish tips forward, move the ring one or two stitches back toward the tail and try again before knotting it permanently. My side fins look different from each other. What went wrong? Magic ring tension is almost always the cause. If the ring closes to different tightnesses the two fins end up different diameters. Practise pulling the ring tail before working into it, and keep both rings the same snugness before crocheting into them.