
Crochet Flower Pots Free Pattern
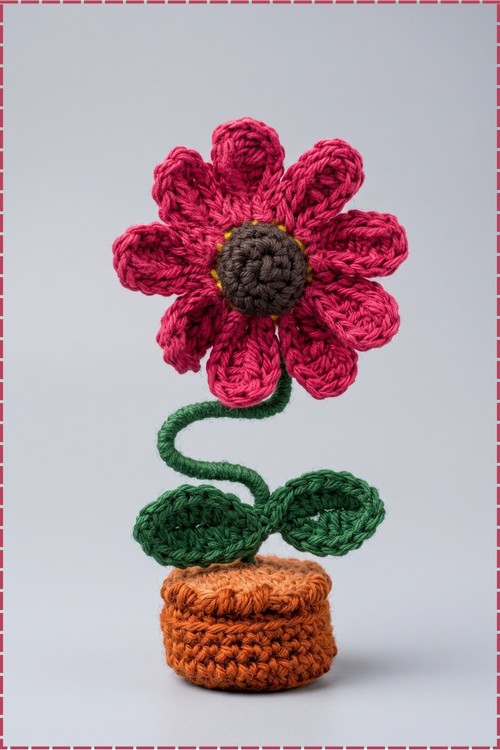
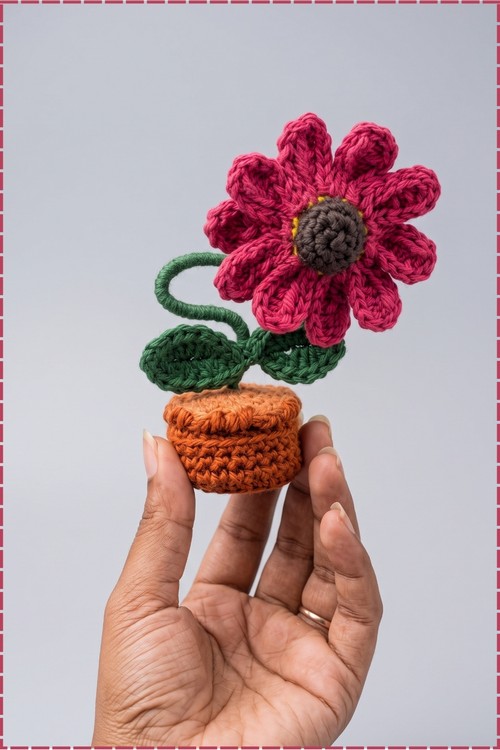
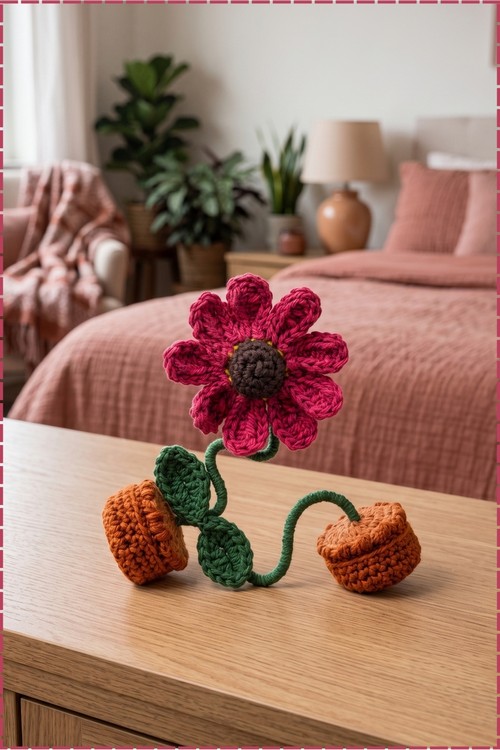
Every petal of the crochet flower pot sits in deep pink around a grey brown centre and yellow base ring, while a terracotta pot with tan soil cover holds the curling green stem. A cardboard circle keeps the base flat, and an optional adhesive strip mounts it on a dashboard.
Spring gift tables and Mother's Day baskets are where the Crochet Flower Pot earns its keep, since it never wilts. Easter brunch place settings take one each. Teacher gifts in May. Make the Crochet Flower Pot in autumn shades instead and the same pattern carries straight through to a Thanksgiving centrepiece.
Crochet Flower Pot
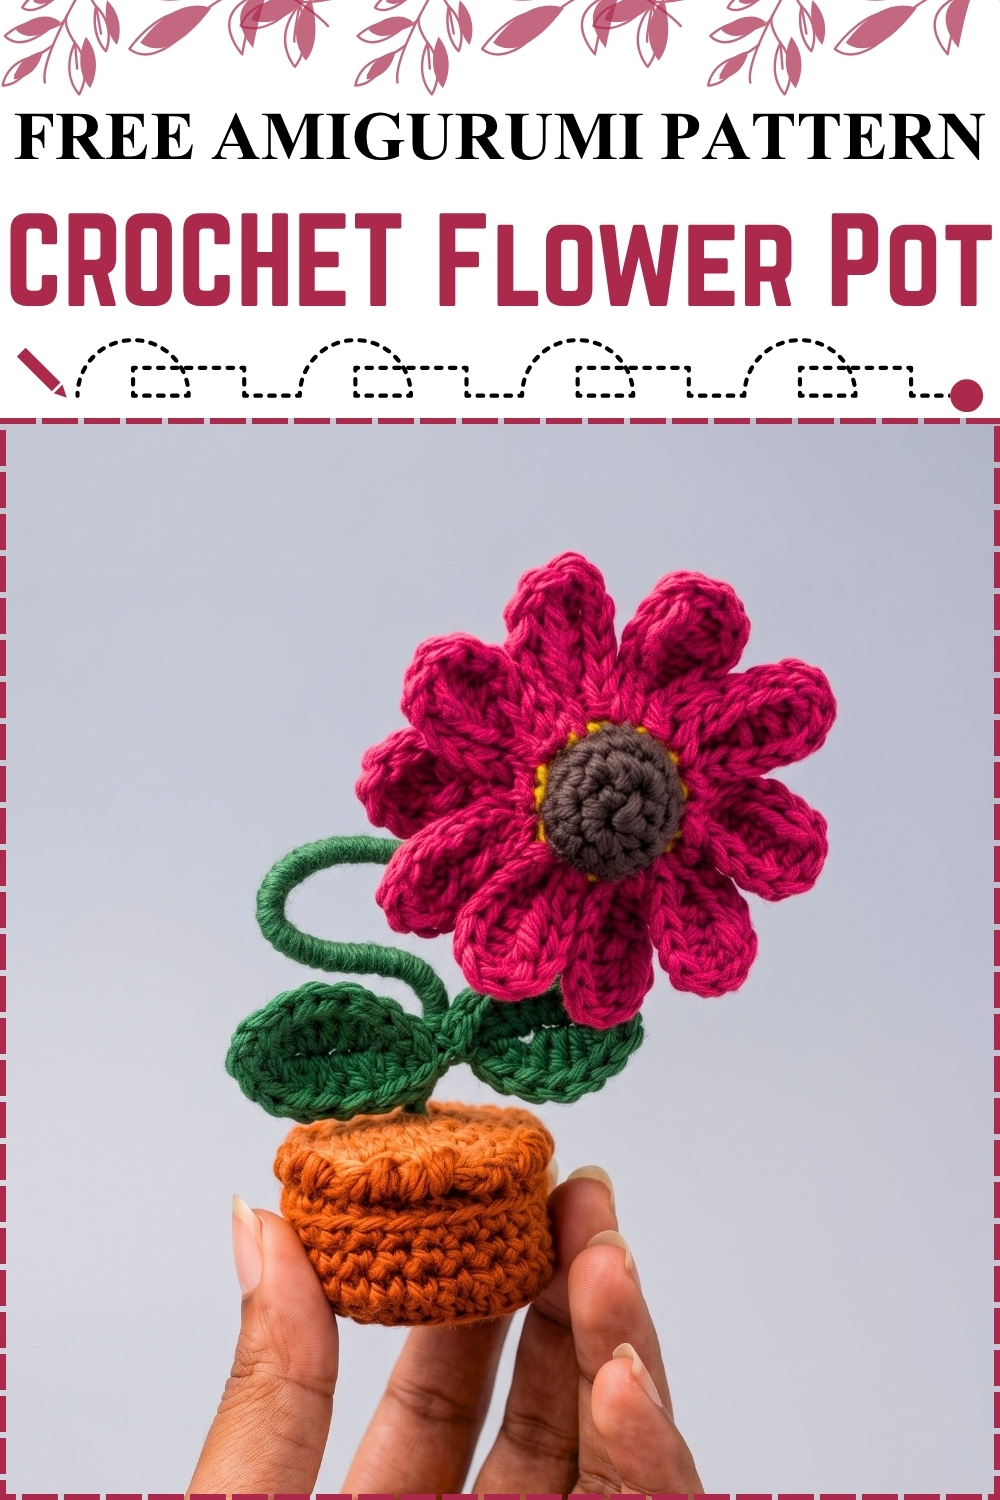
Nine chained petals worked straight out of a small magic ring base form the bloom on this crochet flower pot, which means the whole flower head comes off the hook in one piece. Separate rounds build the pot, the soil cover and the centre dome. Gluing or sewing brings it all together at the end, with a cardboard circle keeping the base flat. My version sits on a tall curling green stem rather than resting flat on the soil. Terracotta orange replaced the dark brown pot, which suits the pink petals far better.
Why I Love This One
Nothing else on my desk survived the summer, and this one never needed watering.
How Mine Came About
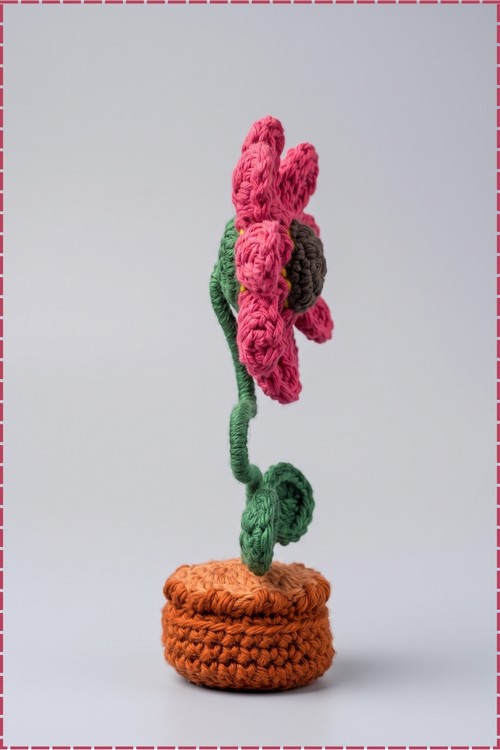
I made the pot first and immediately disliked it. Dark brown looked heavy under a bright flower, so I pulled it out and reworked it in a terracotta orange that reads like a real clay planter. Then came the flower, which the pattern has sitting flat on the soil like a cut bloom pushed into place. Mine kept wanting to stand up. So I crocheted a long cord, curled it over on itself, and anchored it into the soil cover so the flower rises above the pot and leans slightly forward. Two leaves went on either side of the stem base. The yellow ring that shows around the centre was unplanned, just the petal base worked in yellow, and it ended up being the detail that makes the flower read properly.
Materials and Tools
- Yarn in Deep Pink for the petals. The original suggests white or yellow
- Yarn in Yellow for the petal base ring
- Yarn in Grey Brown for the flower centre
- Yarn in Terracotta Orange for the pot. The original calls for dark brown
- Yarn in Light Tan for the soil cover
- Yarn in Green for the leaves and the stem
- Crochet hook to suit your yarn
- Fiberfill stuffing
- A small circle of cardboard for the pot base
- Yarn needle
- Fabric glue or a hot glue gun
- Scissors
- Optional double sided adhesive strip if you want to mount it on a dashboard
Difficulty and Time
Easy, with a lot of small pieces rather than any hard stitches. The nine petals go faster than they look, since each one is a single chain worked back down. In my experience the whole thing came together across one long evening, with most of that spent on the flower head and the assembly rather than the pot. Nothing here needs more than a basic understanding of chains, single crochet, half double crochet and double crochet.
The Pattern
Flower Petals
- Use Deep Pink yarn for the petals, and Yellow for the base ring if you want the yellow edge visible around the centre as on mine.
- Start with a MR, work 8 SC into the ring, pull tight and SL ST into the first SC to join.
- Petal step 1: CH 8.
- Petal step 2: skip the first 3 chains, then place 1 DC in the fourth chain from the hook.
- Petal step 3: place 1 DC in the next chain, 1 DC in the next chain, 1 HDC in the next chain and 1 SC in the last chain.
- Petal step 4: SL ST into the next stitch on the magic ring base.
- Petal step 5: repeat steps 1 to 4 all the way around until you have 9 petals, then fasten off and weave in the ends.
- Keep every petal at the same tension. Nine petals around an 8 stitch base means they sit close together, and one loose petal stands out immediately.
- On my flower the petals splay outward in a flat star rather than cupping forward, which comes from blocking the piece gently under a damp cloth once it is finished.
Flower Centre
- Use Grey Brown yarn.
- R1: MR with 6 SC [6]
- R2: 1 SC, INC repeated around
- R3: SC in each stitch around. The piece should now be a small domed button rather than a flat disc.
- Fasten off leaving a tail. This gets attached to the middle of the petal piece later.
- Push a tiny pinch of stuffing inside before you close it if you want the raised centre visible on mine.
Flower Pot
- Use Terracotta Orange yarn. The original calls for dark brown.
- R1: MR with 6 SC [6]
- R2: INC in each stitch around [12]
- R3: 1 SC, INC repeated around [18]
- R4: working in BLO for this round only, 2 SC, INC repeated around [24]. Working the back loops only here creates the sharp fold between the base and the sides, which is what gives the pot its flat bottom and straight walls.
- R5 to R8: SC in each stitch around [24]
- Cut a small circle of cardboard and set it inside the bottom of the pot so it lies flat.
- Cut the cardboard slightly smaller than the base, not the same size. Too large and it buckles and the pot rocks.
Soil Cover
- Use Light Tan yarn. The original calls for light brown.
- R1: MR with 6 SC [6]
- R2: INC in each stitch around [12]
- R3: 1 SC, INC repeated around [18]
- R4: 2 SC, INC repeated around [24]. The disc should match the pot opening exactly at 24 stitches, so check it against the rim before you fasten off.
- Fasten off leaving a long tail for sewing.
Leaves
- Use Green yarn.
- CH 7.
- Starting in the second chain from the hook, work down the chain as follows: 1 SC, 1 HDC, 1 DC, 1 DC, 1 HDC, 1 SC.
- Pivot your work to crochet up the opposite side of the starting chain.
- Work up that side as follows: 1 SC, 1 HDC, 2 DC, 1 HDC, 1 SC.
- SL ST to finish the leaf and fasten off, leaving a tail for sewing.
- Make as many leaves as you want. My pot has two, set either side of the stem base and angled gently downward.
Stem
- The original pattern has no stem, so work this using a general maker method in Green yarn.
- Chain until the stem reaches your preferred height, allowing extra length for the curl.
- Work back along the chain in slip stitch or single crochet to give the cord body and stop it twisting loosely.
- Fasten off leaving long tails at both ends for anchoring.
- Curl the cord into a loop partway up its length, as on my pot, and tack the overlap with a few stitches in matching green so it holds the shape.
- Anchor the lower end firmly into the soil cover and the upper end into the back of the flower head.
Assembly
- Stuff the terracotta pot lightly with fiberfill, keeping the cardboard circle flat at the bottom.
- Sew or glue the tan soil piece over the top opening of the pot to seal it.
- Glue the grey brown centre directly into the middle hole of the petal piece, leaving a ring of the yellow base showing around it as on my flower.
- Attach the stem to the back of the flower head first, before anything goes near the pot. Working on a flat surface is far easier than reaching over a finished planter.
- Anchor the lower end of the stem into the centre of the soil cover and secure it well, since the whole flower head hangs off that one join.
- Glue or sew the leaves onto the soil either side of the stem, angled outward and slightly down.
- Check that the flower balances before the glue sets. Mine leans slightly forward, which looks intentional, but a backward lean does not.
- Apply a double sided adhesive strip to the base if you want to mount it on a car dashboard. Mine has no strip, so treat this as optional.
Tips and Troubleshooting
- Count your chain carefully on every petal. A chain of 7 or 9 instead of 8 changes the petal length and you will see it the moment they sit side by side.
- Block the finished petal piece under a damp cloth. It takes five minutes and turns a slightly curled flower into a flat open bloom.
- Keep the pot sides tight. Loose stitches at 24 stitches around let the fiberfill show through and the pot loses its crisp cylinder shape.
- Measure the soil disc against the pot rim before fastening off, not after. Both finish at 24 stitches but tension differences between pieces can still leave a gap.
- Secure the stem at both ends with stitches, not glue alone. Glue holds initially and then lets go, usually while someone is holding it.
- Weigh the pot down with a few coins or a washer under the cardboard if your flower sits as tall as mine. A top heavy pot tips over.
Yarn Substitution
Smooth cotton is what gives this piece its crisp petal edges and defined stitch texture, and it holds the curled stem shape without drooping. Acrylic works and is softer, though the petals come out floppier and the stem will need wire inside to keep a curl. A mercerised cotton gives a slight sheen that suits the bright pink well. Avoid anything fluffy, since the petal shaping depends entirely on seeing the difference between the double crochet and single crochet along each petal.
Customization Ideas
- Work the petals in white or yellow as the original suggests for a daisy or sunflower.
- Skip the stem and glue the flower flat onto the soil for the original dashboard version.
- Thread floral wire through the stem cord so you can bend and rebend it.
- Make three pots in different flower colours and group them together.
- Use a real terracotta pot instead of the crocheted one and sit the soil cover inside it.
- Add a second smaller bud on a shorter stem beside the main flower.
- Stitch a tiny bee or ladybird onto one of the leaves.
Alt Text Suggestions for Photos
- Crochet flower pot with a deep pink daisy on a curled green stem rising from a terracotta planter
- Handmade amigurumi flower pot held in two hands with green leaves and a grey brown flower centre
- Pink crochet daisy with nine petals and a yellow ring around its centre on a tall green stem
- Close up of a terracotta crochet pot with a tan soil cover and two green leaves
Frequently Asked Questions
How tall does it finish? The pot itself sits small enough to hold between two fingers, and the stem roughly triples the overall height on mine. No measurement is given anywhere in the pattern, so this is my own experience. The pot height is fixed by rounds 5 to 8, but the stem is entirely up to you.
Can I make it without the stem? Yes, and that is the original version. Glue the flower head flat onto the soil cover with the leaves tucked around it. It sits lower and more stably, which is exactly why the pattern designed it that way for a car dashboard.
Why do my petals curl up instead of lying flat? Nine petals crowded around an 8 stitch base will naturally cup if your tension is tight. Block the piece under a damp cloth and let it dry flat under a light weight. Loosening your double crochets slightly on the next one also helps.
Does it really need the cardboard circle? It does if you want the pot to stand square. Without it the magic ring base pulls into a dome under the weight of the stuffing and the pot rocks. Cut it a touch smaller than the base so it drops in flat.