
Crochet Football Amigurumi Free Pattern
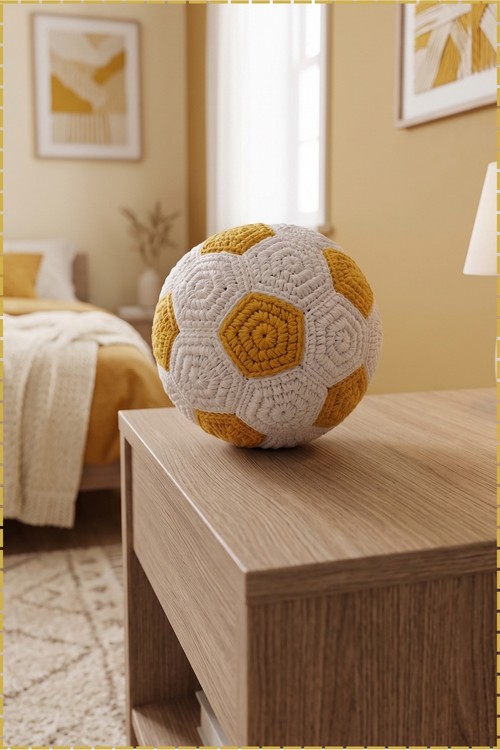
Stitch together cream and mustard yellow panels on a 4.0 mm hook and the crochet football takes its classic patchwork shape, ready for a playroom shelf. Thin cream thread on a metal needle joins each panel for neat, nearly invisible seams.
Sports mad kids are the obvious home for the Crochet Football, since it rolls without breaking anything. Nursery decorators use it as a soft prop on a shelf. Motif crocheters with a scrap pile get somewhere to spend it, and a Crochet Football suits anyone wanting joining practice on a shape that forgives small errors.
Crochet Football
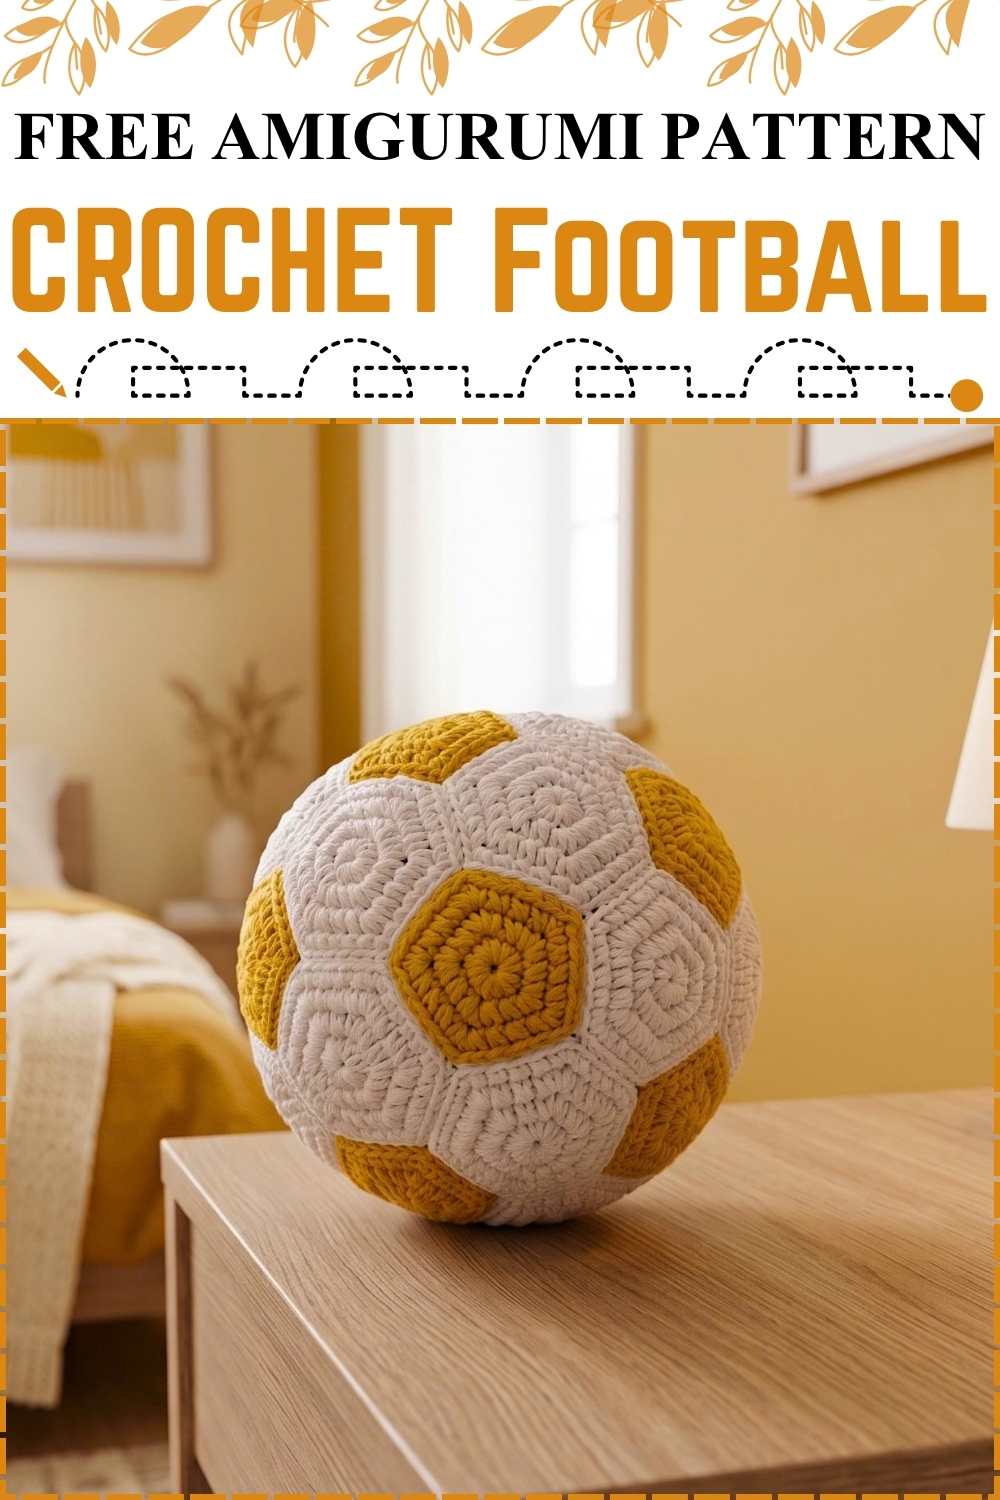
Thirty two separate flat circles make up this crochet football, sewn edge to edge until they curve into a sphere on their own. Twenty panels take the hexagon positions and twelve take the pentagons, following the same geometry a real ball uses. Nothing gets shaped by increasing or decreasing, since the ball's roundness comes entirely from the joins and the stuffing. Cream and mustard replace the usual white and black on my version, which reads softer in a bedroom than the standard colourway. Sewing is the real work here, not the crocheting.
Materials and Tools
- Yarn in Cream for the larger panels. The original pattern calls for white
- Yarn in Mustard Yellow for the smaller panels. The original pattern calls for black
- 4.0 mm crochet hook
- Scissors
- A plastic sewing needle for weaving in yarn tails
- A metal needle and thin thread in a matching cream shade for joining the panels
- Polyester fiberfill
- Optional keychain base, pliers and stitch markers
Mine uses a smooth cotton rather than the plush yarn the original specifies, which is why the stitch rounds are clearly visible on each panel and the panel edges meet in sharp seams.
Difficulty and Time
The crochet is genuinely beginner level. Two rounds per panel, no shaping, no counting past twelve. What makes this a long project is volume and assembly. Thirty two panels plus the sewing took me several sittings, with the joining taking considerably longer than making all the panels put together. Plan it as a multi evening project rather than an afternoon.
Technique Notes and Working Tips
- Magic ring, written as MR, is an adjustable loop. Chaining 2 and working into the first chain does the same job and is easier on thick yarn.
- Single crochet, written as sc, is the only stitch in the panels.
- Increase, written as inc, means two single crochet in the same stitch.
- Slip stitch, written as sl st, closes each panel's final round.
- Back loops only, written as BLO, means working or sewing through just the back loop of each stitch. Joining through back loops only is what makes the seams sit flat and the panels meet cleanly rather than bunching.
- Make all 32 panels before you sew anything. Batching them keeps your tension consistent, and tension differences between panels show up badly once they sit side by side.
- Weave in every tail as you finish each panel. Thirty two panels with loose ends waiting is a job nobody wants at the end.
- Keep your sewing thread tension even and firm but not tight. Pulling hard puckers the seam and the ball ends up lumpy rather than round.
- Count your panels before assembly. You need exactly 20 of one and 12 of the other, and realising you are one short mid sphere is a frustrating way to find out.
- Work the seams in a matching cream thread, not a contrast. Visible stitching across a panel edge is the main thing that makes a handmade ball look rough.
The Pattern
Cream Panels, Make 20
- These take the hexagon positions on the ball.
- Make a slip knot and ch 2, or start with a MR.
- R1: 6 sc into the second chain from the hook, or into the MR [6]
- R2: 6 inc, working 2 sc into every stitch around [12]. The piece should sit as a small flat disc with no cupping. If it domes, your tension is too tight for the panels to lie flat against each other later.
- Make a sl st to join the edges, fasten off and cut the yarn.
- Weave both tails into the back of the piece with the plastic needle and trim the excess.
- Repeat until you have 20 identical cream circles.
Mustard Panels, Make 12
- These take the pentagon positions on the ball.
- Make a slip knot and ch 2, or start with a MR.
- R1: 5 sc into the second chain from the hook, or into the MR [5]
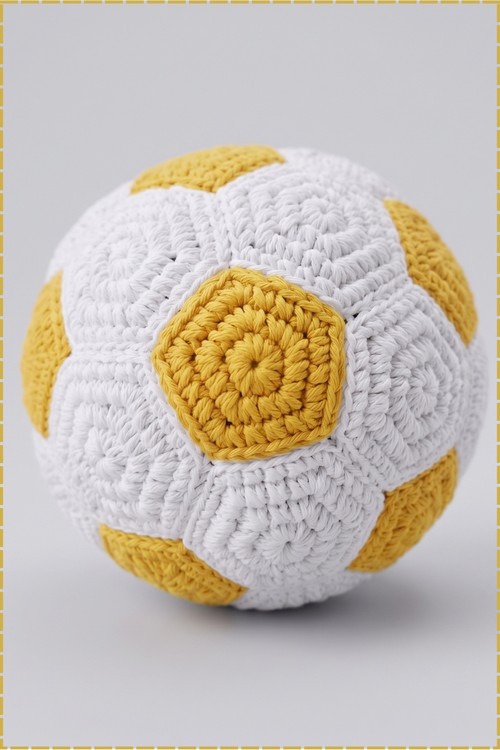
- R2: 5 inc, working 2 sc into every stitch around [10]. These finish slightly smaller than the cream panels, which is correct and is what creates the ball's curvature.
- Make a sl st to join the edges, fasten off and cut the yarn.
- Weave both tails into the back of the piece and trim the excess.
- Repeat until you have 12 identical mustard circles.
Assembly
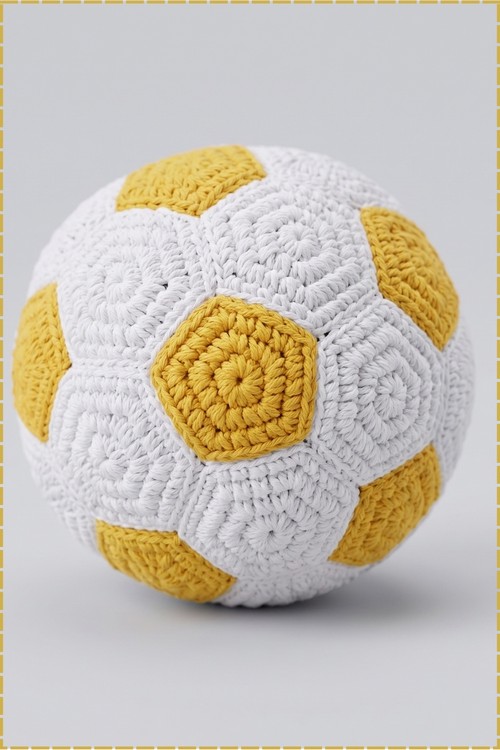
- Sew the panels together with the metal needle and thin cream thread, working through the back loops only of the stitches for a seamless finish.
- Follow the standard ball geometry as you go. Every mustard panel is surrounded entirely by 5 cream panels, and every cream panel is surrounded by an alternating ring of 3 mustard and 3 cream pieces.
- Lay 1 mustard panel flat as the centre.
- Sew 5 cream panels around that centre piece one at a time, also joining the side edges of the cream panels where they touch each other, which produces a flower shape. The piece will not lie flat once those side seams close, and that is the sphere beginning to form.
- Attach the next ring by sewing a mustard panel into each V shaped gap between two cream panels, then a cream panel, then a mustard panel, continuing around to the end of the round.
- Keep building outward, placing cream and mustard panels alternately into their gaps and sewing every adjacent edge as you go.
- Check the alternating rule every few panels rather than at the end. Unpicking one misplaced panel from the middle of a finished sphere means undoing five seams.
- When you reach the final 6 panels, which is 5 cream and 1 mustard, sew the 5 cream panels into place first and leave the last mustard panel off as your opening.
- Stuff the ball very firmly through that opening with fiberfill, pushing it right out to every seam so the sphere stretches taut and holds its shape.
- Underfilling is the most common reason these come out dented rather than round. My ball took considerably more stuffing than I first expected.
- Sew the final mustard panel into the remaining hole, adding a little more stuffing just before you close the last edge.
- Tie off the sewing thread, weave the tail deep into the ball and cut the excess.
Optional Keychain
- Open a keychain ring with pliers and fasten it securely through the yarn of one of the top panels.
- No keychain is attached on my version, so treat this step as optional. At the size mine finished, a hanging ring would be impractical anyway.
Yarn Substitution
The original calls for plush yarn, which gives a softer surface and hides the seams almost completely. Mine uses smooth cotton instead, and the trade is worth knowing. Cotton shows every stitch round on each panel and makes the seams crisp and visible, which gives the structured look in my photo. Cotton is also much easier to sew through, since plush yarn hides the back loops you need to catch. If you want a squishier ball with soft edges, go with plush. If you want defined panels, use cotton or a smooth acrylic.
Customization Ideas
- Use the classic white and black for a traditional ball.
- Work both colours in your own team's colours.
- Make all 32 panels in a single colour for a plain textured ball.
- Scale the whole thing up with chunkier yarn and a larger hook for a floor cushion sized ball.
- Add a hanging loop at the top rather than a keyring if you want to suspend it.
- Embroider a name or number across one cream panel before assembly.
Alt Text Suggestions for Photos
- Cream and mustard crochet football made from 32 sewn panels sitting on a wooden nightstand
- Handmade amigurumi soccer ball in yellow and off white cotton yarn in a bedroom
- Crochet football showing the hexagon and pentagon panel layout and visible seams
- Close up of a mustard crochet panel surrounded by five cream panels on a yarn soccer ball
Frequently Asked Questions
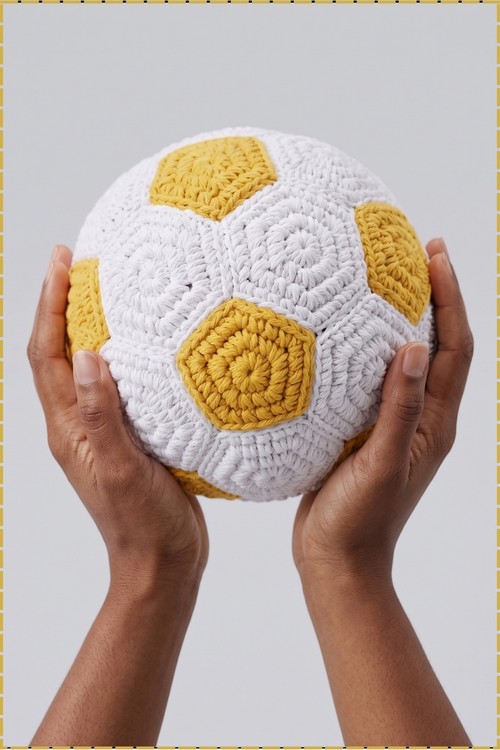
How big does it finish? Mine came out noticeably larger than a keychain, closer to a decorative ball you would set on a shelf. The pattern gives no finished measurement, so size depends entirely on your yarn thickness and hook. Thicker yarn on the same 32 panels gives a much bigger ball, which is how mine ended up as a room piece rather than a charm.
Why is my ball lumpy instead of round? Two likely causes. Either the panels are not stuffed tightly enough, which leaves the seams slack and the surface dented, or your sewing tension varied between seams and pulled some joins tighter than others. Stuff harder than feels reasonable and the sphere usually corrects itself.
Do I have to sew through the back loops only? It is strongly worth it. Joining through back loops only leaves the front loops standing as a neat ridge at each seam, which is what gives the panels their defined edges. Sewing through both loops works structurally but produces a flatter, messier join.