
Crochet Amigurumi Smiski Keychain With White Headphones
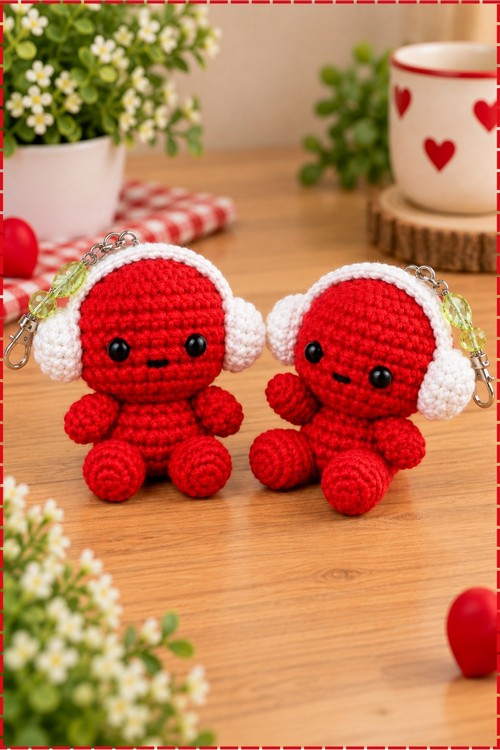
Valentine's Day gift bags suit the red crochet smiski keychain, which wears white headphones and hangs from a silver lobster clasp threaded with pale green beads. Red and white four ply milk cotton on a 2.5 mm hook makes an egg sized charm in about two hours.
Earmuffs sewn on either side, the crochet keychain smiski amigurumi clips onto any bag. Simple rounds, no colour changes. Crochet keychain smiski amigurumis stay small and quick.
Crochet Keychain Smiski Amigurumi
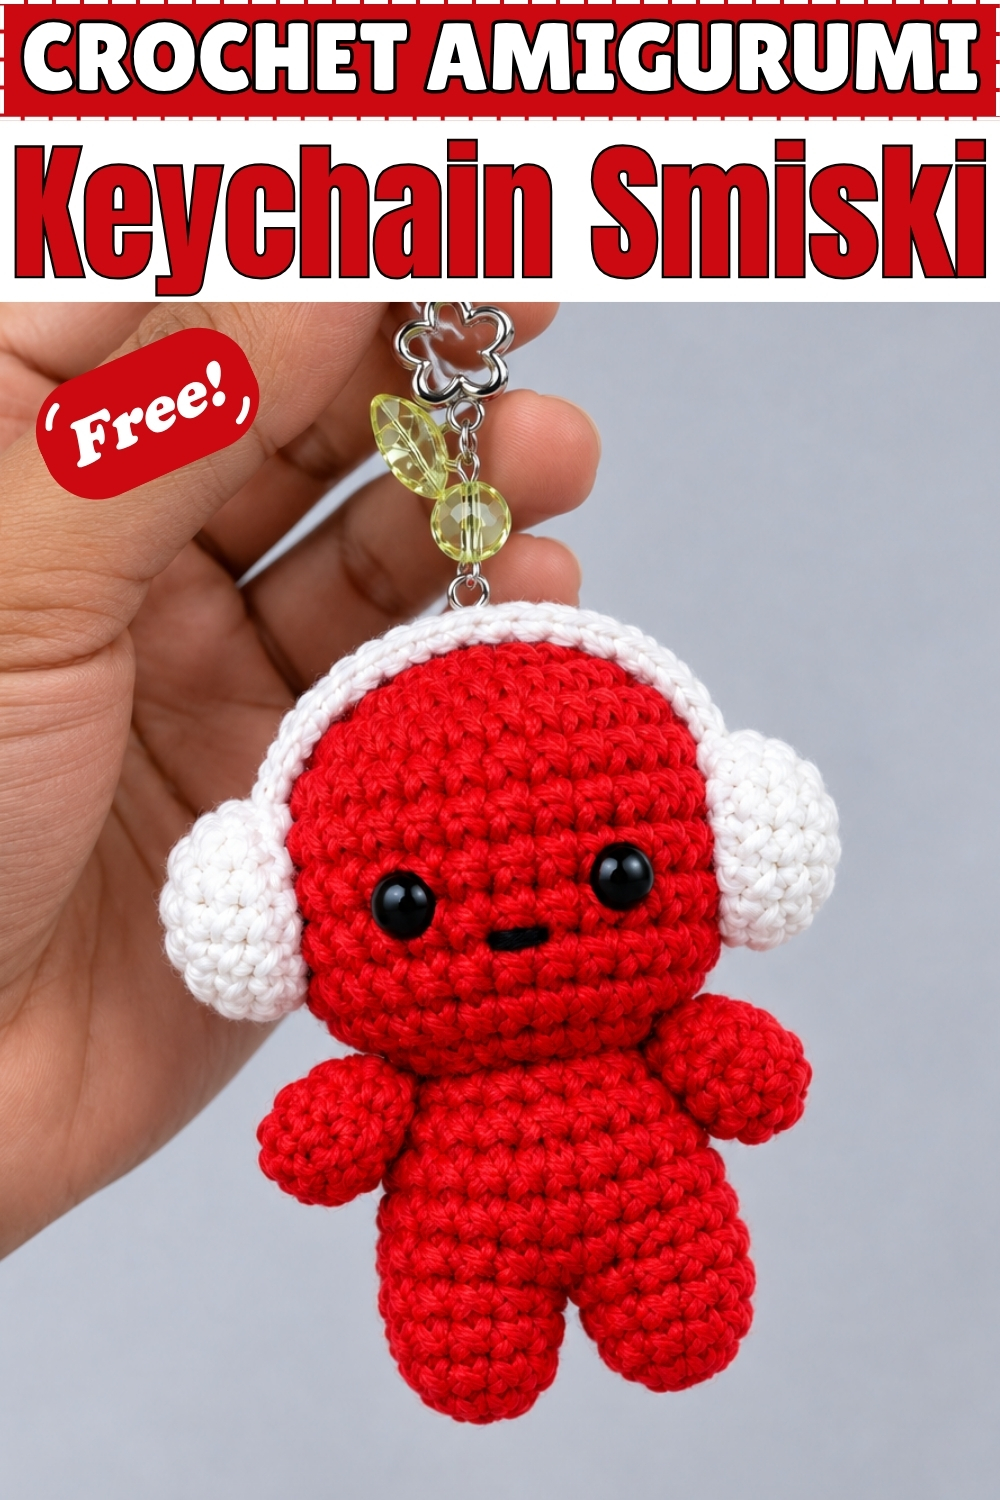
Legs come first in this crochet keychain Smiski amigurumi, worked as two small tubes and then joined into a single round that becomes the whole body. Red cotton covers everything from the feet to the top of the head. White headphones sit over the ears with a strap running across the crown. Black safety eyes and one short stitched mouth make up the entire face. Nothing needs sewing except the arms, the head and the headphones. Beads on the clip add a bit of weight when it swings. Each one finishes small enough to sit in a palm.
Who This Pattern Suits
If you can work a magic ring, a single crochet, an increase and a decrease, you can make this. The only step that feels new to most beginners is joining the two legs into one round, and that part is explained slowly below. Everything else is plain single crochet going round and round.
Materials and Tools
- Four ply milk cotton yarn in red for the body, head, arms and legs. Milk cotton gives the smooth, slightly glossy surface you can see in my photo.
- Small amount of four ply cotton in white for the headphones and strap.
- 2.5 mm crochet hook. This is smaller than the yarn label suggests, and that is deliberate so the stuffing stays hidden.
- Two 6 mm black safety eyes with backings.
- Black embroidery thread or fine black yarn for the mouth.
- Fiberfill stuffing.
- Yarn needle and scissors.
- Stitch marker.
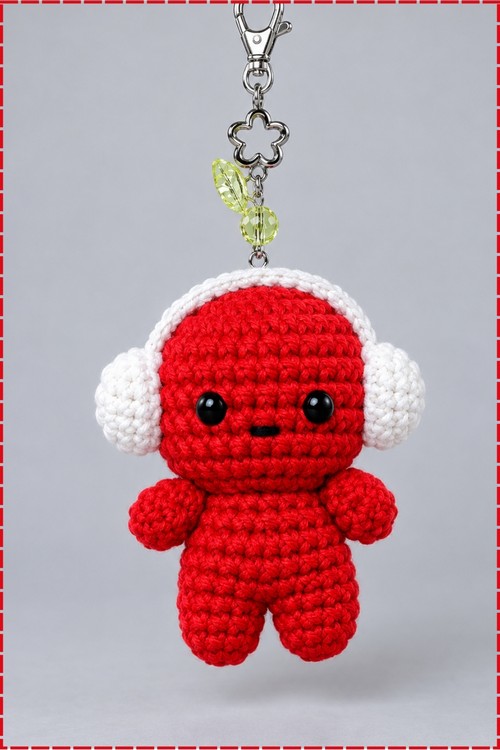
- Keychain clip. Mine is a silver lobster clasp on a short chain with two pale green faceted beads threaded above it.
Size and Time
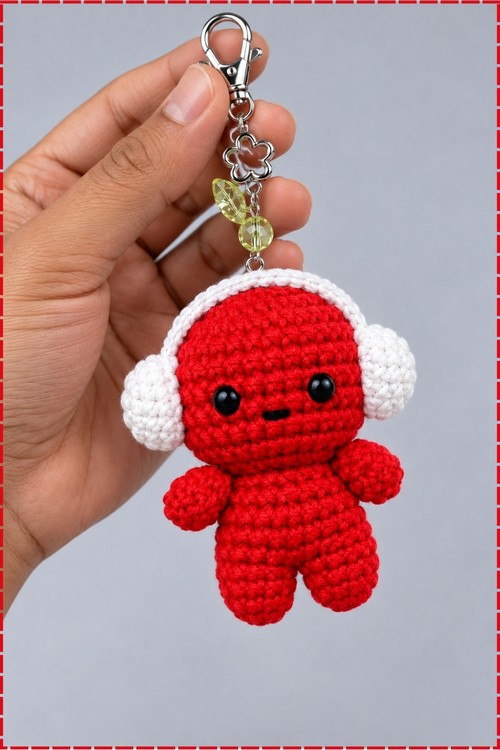
Mine sits about palm height, roughly the size of a small egg, though your tension will change this. From first magic ring to finished keychain I spend around two hours, and the assembly takes longer than the crochet does.
Beginner Technique Notes
- A magic ring is an adjustable loop you crochet into and then pull closed, which gives a hole free start. If you cannot manage one yet, chain 2 and work your first round into the second chain from the hook instead.
- SC means single crochet. INC means increase, which is two single crochets into the same stitch. DEC means decrease, which is two stitches worked together so they become one. SL ST means slip stitch.
- A bracketed instruction like (4 SC, 1 INC) x4 means repeat everything inside the brackets four times in a row around the round.
- This pattern uses joined rounds, not a spiral. Every round ends with a slip stitch into the first stitch and a chain 1 before you start the next one. That chain 1 does not count as a stitch, so do not work into it.
- Joined rounds leave a visible seam line running up the piece. Turn that seam to the back of the doll when you assemble, and nobody sees it.
- Keep your stitches tight. On a piece this small, loose fabric shows white fiberfill through red yarn immediately.
- Count every round out loud or place a marker in the first stitch. Being one stitch out on a 24 stitch round throws off everything above it.
The Pattern
Unless a bullet says otherwise, end every round with a slip stitch and chain 1.
Leg One
- Round 1: make a magic ring and work 5 SC into it. (5)
- Round 2: 5 INC. (10)
- Round 3: 1 SC in each stitch around. (10)
- Round 4: 1 SC in each stitch around, then slip stitch and fasten off. (10) You should have a tiny open topped cup. Leave it unstuffed for now.
Leg Two
- Repeat rounds 1 to 4 exactly as written for the first leg, but do not cut the yarn at the end of round 4. The working yarn stays attached and becomes the yarn you use for the whole body.
Joining the Legs and Working the Body
- With the working yarn still on leg two, slip stitch into the first single crochet of leg one and chain 1. Hold both legs side by side with the seams facing the same direction before you join, so the feet end up pointing forward rather than outward.
- Round 5: (4 SC, 1 INC) x4. (24) You are now working across both legs as one continuous round, so the two separate tubes become a single body here. The join area can feel tight and awkward on the first pass, which is normal.
- Rounds 6 to 8: 1 SC in each stitch around for 3 rounds. (24) The body should look like a short straight barrel sitting on two small feet.
- Round 9: (2 SC, 1 DEC) x6. (18)
- Round 10: 1 SC in each stitch around, then slip stitch and leave a long tail for sewing. (18) Stuff the body firmly before you move on, pushing a little stuffing down into each leg with the blunt end of your hook.
Head
- Round 1: 6 SC in a magic ring. (6)
- Round 2: 6 INC. (12)
- Round 3: (1 SC, 1 INC) x6. (18)
- Round 4: (1 SC, 1 INC, 1 SC) x6. (24)
- Round 5: (3 SC, 1 INC) x6. (30)
- Rounds 6 to 10: 1 SC in each stitch around for 5 rounds. (30) The head is now a tall rounded dome and should look noticeably bigger than the body, which is correct for this shape.
- Round 11: (3 SC, 1 DEC) x6. (24)
- Round 12: (2 SC, 1 DEC) x6. (18) Stuff the head firmly here while the opening is still wide, then leave a long tail for sewing it to the body.
Arms, Make Two
- Round 1: 6 SC in a magic ring. (6)
- Round 2: (2 SC, 1 INC) x2. (8)
- Round 3: 1 SC in each stitch around. (8)
- Round 4: (2 SC, 1 DEC) x2. (6) Leave a tail for sewing. Do not stuff the arms. They are small enough to hold their shape and stay flat against the body the way mine do.
Headphones
- Round 1: 6 SC in a magic ring using white yarn. (6)
- Round 2: (1 SC, 1 INC) x3. (9)
- Round 3: 1 SC in each stitch around. (9) This gives a small white disc that will cover each ear.
- Make a second piece exactly the same way, but do not cut the yarn on the second one.
- Strap: chain 12 from the second ear piece, then slip stitch into the first single crochet of the first ear piece to connect them. Check the strap length against your head before you fasten off, since a strap pulled too tight lifts the ear cups away from the sides.
Assembly
- Sew the head onto the body using the long tail from the body, stitching all the way around the join so no gap shows. Add a pinch more stuffing through the opening just before you close it. The head should sit level, not tilted.
- Insert the 6 mm safety eyes between rounds 8 and 9 of the head, about 5 stitches apart, and secure the backings inside. Get the eyes in before the head is fully closed if you can, because reaching the backings afterwards is difficult.
- Embroider a small mouth with black thread between rounds 9 and 10, centred directly below and between the eyes. On mine it is one short straight line with the tiniest downward dip, nothing more.
- Sew the arms to the sides of the body right at the seam between the head and body, pointing slightly forward and down. Pin both before sewing and check from the front that they sit at the same height.
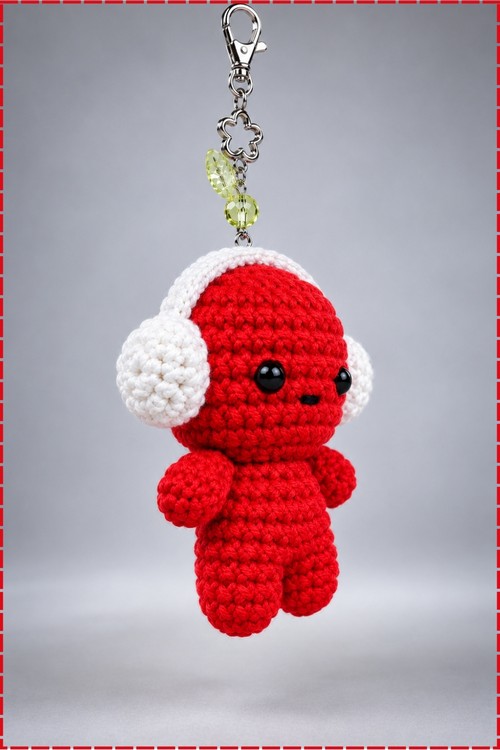
- Place the headphones over rounds 6 to 9 of the head with the strap arching across the crown. On my version each white ear cup sits low on the side of the head, roughly level with the eyes, and the strap runs clearly over the top rather than behind. Sew around the edge of each ear cup for a secure hold, or use a small amount of fabric glue if you prefer the finish of the original.
- Attach your keychain clip at the top of the head, just behind the headphone strap. I threaded two small beads onto the chain above the clasp before fixing it, which gives a little sparkle when the keychain moves. Anchor the ring through several stitches rather than just one so the weight is spread.
Tips and Troubleshooting
- If the join between the legs leaves a hole, thread a short length of red yarn and close it with two or three small stitches from the inside before you stuff. Almost every maker gets a gap here on the first attempt.
- Stuff in small pinches rather than one lump. Use the blunt end of your hook to push stuffing into corners, and stop as soon as the fabric starts to stretch and show gaps.
- If the head wobbles on the body, your sewing stitches were too far apart. Sew around the join twice, catching every stitch of the opening both times.
- If one arm looks higher than the other, unpick it. On a doll this small a single round of difference is obvious, and pinning both before sewing saves the trouble.
- If your doll will not sit upright, the feet are under stuffed. Firm feet give it a base to balance on.
Yarn Substitution
Any smooth four ply or sport weight cotton works here and gives the same clean stitch definition. Acrylic is fine too, though it looks slightly softer and less crisp than the milk cotton I used. Avoid anything fuzzy, since the face is tiny and texture hides the mouth completely. If you move up to DK or worsted, the pattern still works round for round, you just get a bigger doll and will need larger safety eyes to keep the proportions right.
Customization Ideas
- Change the body to mint green, soft pink or lilac and keep the headphones white.
- Swap the headphone colour to black or pastel for a different look with the same red body.
- Skip the headphones entirely for a plain version, or make both so they can be swapped.
- Leave off the safety eyes and embroider the whole face for a baby safe toy.
- Make two in different colours and clip them to a bag together, as in my photo.
- Add a longer chain and hang it from a rear view mirror instead of a keyring.
FAQ
I cannot do a magic ring. Can I still make this? Yes. Chain 2 and work your first round of stitches into the second chain from the hook. Pull the tail tight at the end and the small hole closes well enough on a piece this size.
What does joining the legs actually mean? You finish both legs separately, then use the yarn still attached to the second leg to slip stitch into the first leg. From that point you crochet around both of them as if they were one piece, and the body grows up from there.
Why does my round have the wrong number of stitches? The most common cause is accidentally working into the chain 1 at the start of a round. That chain is just a turning step, not a stitch, so skip it and work your first single crochet into the stitch below.
Do I stuff as I go or at the end? Stuff the body before sewing the head on, and stuff the head before closing it. Once either piece is sewn shut you cannot add more without unpicking.
My doll looks lumpy. What went wrong? Usually too much stuffing added in one go. Pull some out, tease it into small pieces, and push those in gradually while rolling the piece between your palms to smooth the shape.
Take it one round at a time and your first one will turn out better than you expect.