
Crochet Grumpy Turnip Pattern Free Plushie In Cream Chenille Yarn
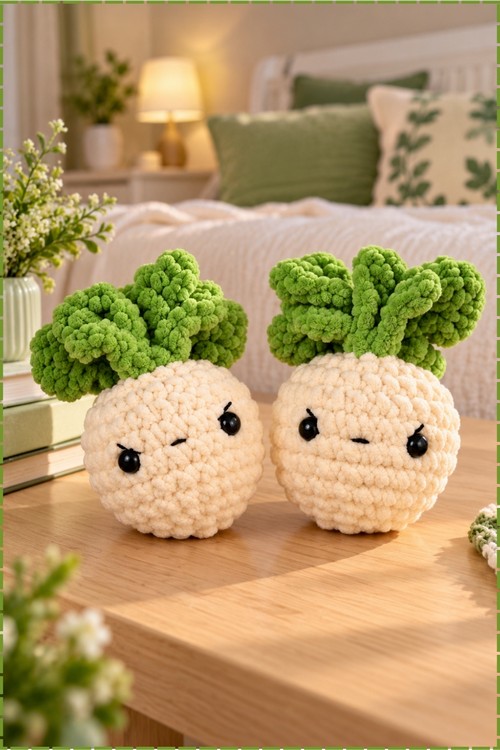
Need a gift with attitude in under two hours? The crochet grumpy turnip plushie works up in about ninety minutes from super bulky cream and grass green chenille on a 6.0 mm hook, with embroidered eyebrows setting its apple sized scowl.
Pick one up and the scowl stares right back, which is why the crochet grumpy turnip plushie lands best with people who find sweet toys a bit much. Gift it to the friend who hates mornings. Teens keep them on desks. Crochet grumpy turnip plushies also suit anyone building a shelf of vegetables with attitude.
Crochet Grumpy Turnip Plushie
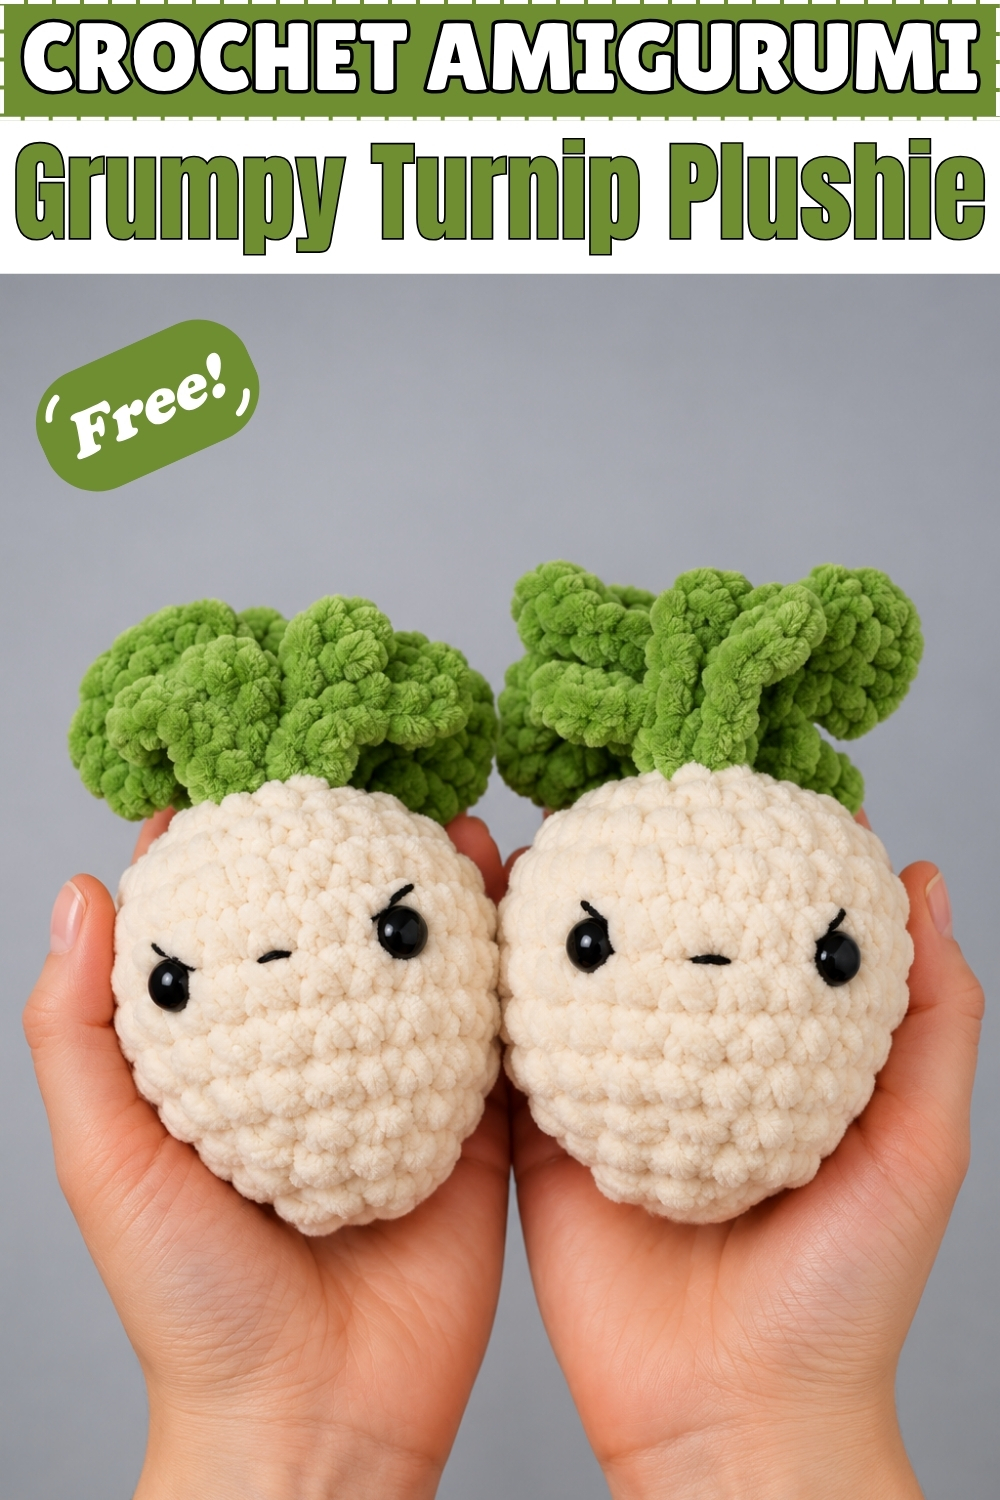
Six single crochets worked into one chain start this grumpy turnip plushie, and the entire body grows outward from that single point in a spiral. Rounds of increases widen it into a fat little root before the decreases pull the top back in again. Green leaves anchor through the open top and knot on the inside where nothing shows. Black safety eyes sit low on the face with one short stitched line for a mouth. Angry eyebrows do most of the character work. Chenille yarn gives the surface its soft bumpy texture. Each one fills a palm and glares.
Why I Love This One
Two of them ended up on my windowsill, scowling at each other, and I have not been able to take them down since. Something about a vegetable with a bad attitude turns out to be very hard to put away.
The Story Behind My Two
I made the first turnip as a quick afternoon project, thinking it would be a one off. Super bulky chenille works up so fast that the body was finished before the tea went cold. Then I embroidered the eyebrows, sat it on the table, and immediately started a second one so the first would have company. They now live as a pair, and honestly the pair works better than a single. Two grumpy faces reading the same mood is funnier than one.
Materials and Tools
- Super bulky, size 6 chenille or velvet yarn in cream or off white for the body. Mine reads as a soft ivory rather than a bright white, and that warmer tone is what makes it look like an actual turnip.
- Super bulky chenille yarn in bright grass green for the leaves. My green is noticeably more saturated than a baby green, which gives better contrast against the cream.
- 6.0 mm crochet hook for the whole pattern.
- Black crochet thread or embroidery floss for the mouth and eyebrows.
- Two 10 mm black safety eyes with backings, or fabric glue if your eyes have no washers.
- Polyester fiberfill, plus yarn scraps if you want extra firmness.
- Yarn needle, stitch marker and scissors.
Size and Time
Mine sits comfortably in one hand, roughly the size of a large apple, though chenille tension varies a lot between makers so treat that as a rough guide. Start to finish I spend around an hour and a half on one, and most of that goes into the face rather than the crochet itself.
The Pattern
Leaves, Make Two
- Start with a slip knot and chain 11.
- Starting in the second chain from the hook, work 1 slip stitch in each of the next 4 chains. These short stitches form the narrow stem end that disappears into the top of the turnip.
- In the next chain, work 2 half double crochets in the same stitch.
- In the next 2 chains, work 1 slip stitch in each.
- In the next chain, work 2 half double crochets in the same stitch.
- In the next chain, work 2 double crochets in the same stitch.
- In the final chain, work 2 double crochets in the same stitch. You have now reached the tip and turn the corner to come back along the other side.
- Find the first chain space on the opposite side of the foundation and work 2 double crochets into it.
- In the next stitch, work 2 double crochets.
- In the next stitch, work 2 half double crochets.
- In the next 2 stitches, work 1 slip stitch in each.
- In the next stitch, work 2 half double crochets.
- In the final 4 stitches, work 1 slip stitch in each. The leaf should now be a pointed oval, wider at the tip and tapering to a thin base.
- Pull up a long loop, cut the yarn, and weave one tail down through the centre of the leaf so one tail exits the left of the base and one exits the right. Both tails are what hold the leaf onto the turnip later, so leave them generous.
- Repeat the whole sequence for a second identical leaf and set both aside. Chenille curls as you work it, so pinch each leaf flat between your fingers once it is off the hook and it will hold the shape.
Body in Cream
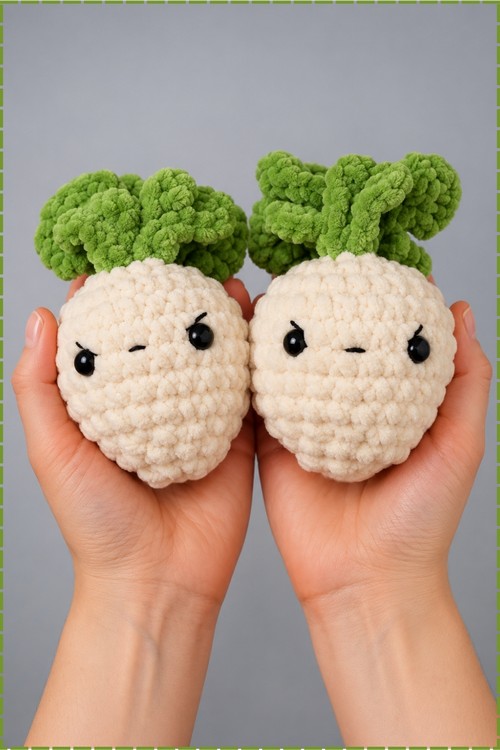
- Make a slip knot and chain 2, then work 6 single crochets into the second chain from the hook, all into the same spot. Place a stitch marker in the last stitch. (6)
- Round 1: increase in every stitch around. (12)
- Round 2: single crochet 1, increase, repeated 6 times. (18)
- Round 3: single crochet 2, increase, repeated 6 times. (24)
- Rounds 4, 5 and 6: single crochet in every stitch for 3 straight rounds. (24) The body should now look like a short cream barrel with a flat base.
- Round 7: single crochet 2, invisible decrease, repeated 6 times. (18) The shoulder of the turnip starts curving in here, which is where the face sits.
- Round 8: single crochet in every stitch around. (18)
- Round 9: single crochet 1, invisible decrease, repeated 6 times. (12)
- Round 10: single crochet in every stitch around. (12) Pull your working loop long and pause here, because the face and leaves go in while the top is still open.
- Keep your decreases invisible rather than standard. Chenille shows every bump, and ordinary decreases leave visible lumps around the shoulders where the face sits.
Face and Leaves
- Decide which side is the front by turning the starting spiral overlap to the back, then work the face on the opposite side.
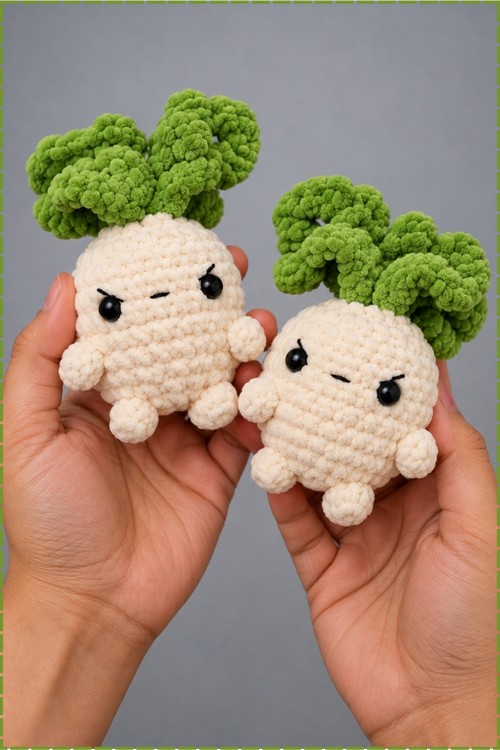
- Insert the 10 mm safety eyes between rounds 5 and 6, leaving about 4 visible holes between them. Secure the backings on the inside. On my turnips the eyes sit low and wide, well below the midpoint, and that low placement is what makes the face read as sulky rather than surprised.
- Using black floss and a yarn needle, embroider one short straight mouth centred between and slightly below the eyes. Mine is a single flat line with no curve at all, which is the whole joke.
- Embroider a short diagonal eyebrow above each eye, both angling down toward the centre of the face. Keep them close to the eye and keep both at the same angle, since one brow sitting higher than the other turns grumpy into confused.
- Knot and secure all floss ends on the inside of the body before you stuff.
- Hold the two leaves together at the top centre of the open body, then push the two tails from each leaf down through the opening to the inside. Tie each leaf's own pair of tails into a firm double knot inside the body. Mine are arranged so the leaves fan slightly outward and forward rather than sitting flat, which is what gives that sprouting look over the face.
- Chenille floss knots slip more than you expect, so double knot and then knot once more before trimming.
Stuffing and Closing
- Stuff the body firmly with polyester fiberfill, adding yarn scraps if you want extra weight. Push stuffing into the base first so the turnip sits upright on its own instead of rolling.
- Round 11: pick your working loop back up and work 6 invisible decreases in a row. (6) Keep the leaf tails out of the way as you work this round so you do not stitch through them.
- Pull up a short tail and cut the yarn.
- Thread the tail on a yarn needle, weave through the front loop only of the remaining 6 stitches, and pull tight to cinch the hole closed around the base of the leaves.
- Bury the end deep inside the body and trim. On chenille, pass the needle back and forth through the stuffing a few extra times, because the pile grips less than plain yarn and a short tail will work its way loose.
Tips and Troubleshooting
Chenille eats stitch definition, so count out loud or place a marker every round. Losing your place in a spiral is far easier here than with cotton, and unpicking velvet yarn is genuinely unpleasant. Work tighter than feels natural too, since loose stitches on super bulky yarn let white stuffing peek through the gaps, and that shows badly against a cream body.
If your turnip leans rather than sitting flat, the base is under stuffed. Push more fiberfill into the bottom third and the shape will square itself up. If the eyebrows look wrong no matter how you place them, pull them out and set them closer to the eyes. Distance reads as puzzled, proximity reads as annoyed.
Worm and shedding are the other chenille complaints. Choose a yarn labelled as low worming, keep a firm tension, and go down a hook size before you go up.
Yarn Substitution
Any super bulky velvet or chenille yarn works here, and the texture is most of the appeal. If you only have worsted weight, the pattern still runs exactly as written, you just end up with a turnip roughly half the size, which makes a nice keychain sized version. Avoid smooth acrylic in super bulky if you can, because the bumpy chenille surface is what sells the vegetable look. For the leaves, a brighter green reads better than a muted one against cream, which is the change I made from the original.
Customization Ideas
- Work the body in pale pink or deep purple to turn it into a radish or a beet, keeping the same green top.
- Add a third leaf using the same leaf instructions and knot it in alongside the other two for a fuller sprout.
- Swap the straight mouth for a small downward curve if you want properly furious rather than deadpan.
- Leave the eyebrows off entirely for a neutral turnip, then make a grumpy one to sit next to it.
- Sew a small loop of green yarn into the top between the leaves and hang the turnip from a bag.
- Make a pair in slightly different sizes by changing hook size, and give them to someone as a set.
FAQ
Can I make this without safety eyes? Yes. Embroider two solid black ovals with the same floss you use for the brows and place them between rounds 5 and 6, exactly where the safety eyes would sit. This is the version to make for a baby or a toddler.
Why does my turnip look round instead of turnip shaped? Usually the three straight rounds at 24 stitches got shortened. Those rounds are what give the body its height before the decreases start, so work all three even if the shape looks too tall at that point.
How do I stop the leaves pulling out? The knots must be tied inside the body before stuffing, not after. Stuffing packed around a tight double knot holds it in place permanently. Leaves tied loosely or glued will come away the first time someone picks the turnip up by its greens.
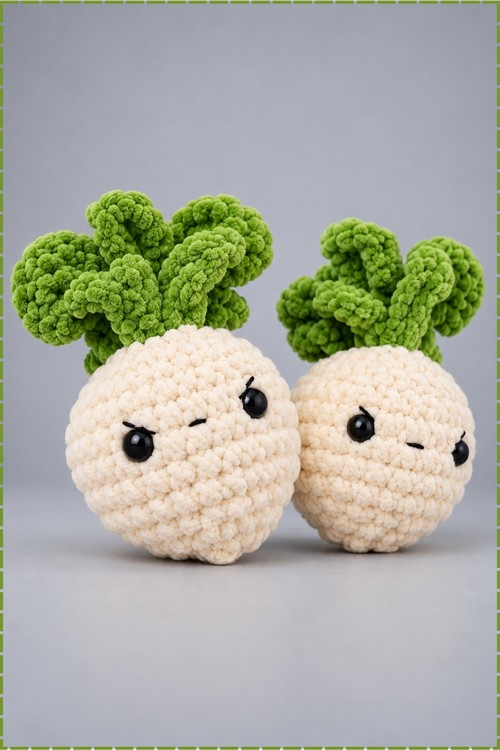
Do I need two turnips? Not at all, but the pair in my photo took the same evening to finish and they do read better together. One sulking vegetable is a decoration, two is a conversation.