
Crochet Hamster Wearing Hat Amigurumi Pattern Free No Sew
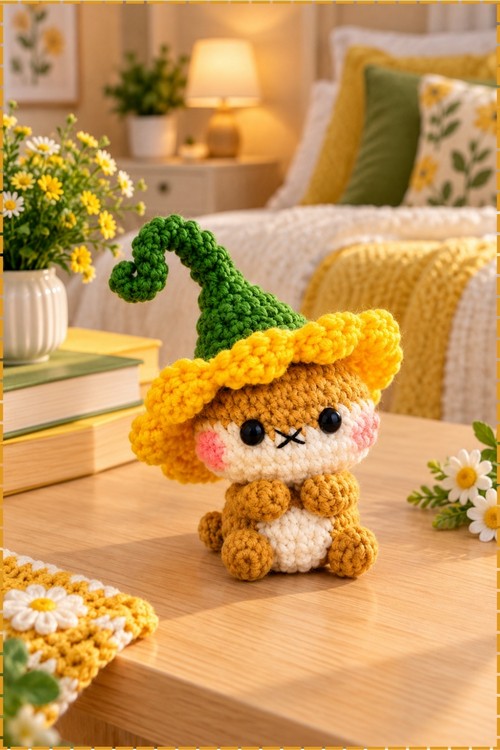
Who could resist a brown hamster peeking out from under a green pointed hat with a curled tip and a yellow petal brim? Body and head work as one continuous piece, so only the ears and hat need sewing, while colour changes carry the cream face and belly up the front.
Kids who love soft toys with hats will reach for the crochet hamster wearing amigurumi first, and so will anyone building a Halloween shelf display. Makers with a few finished projects behind them handle it comfortably. The crochet hamster wearing amigurumi also suits gift givers who want something a little odd.
Crochet Hamster Wearing Amigurumi
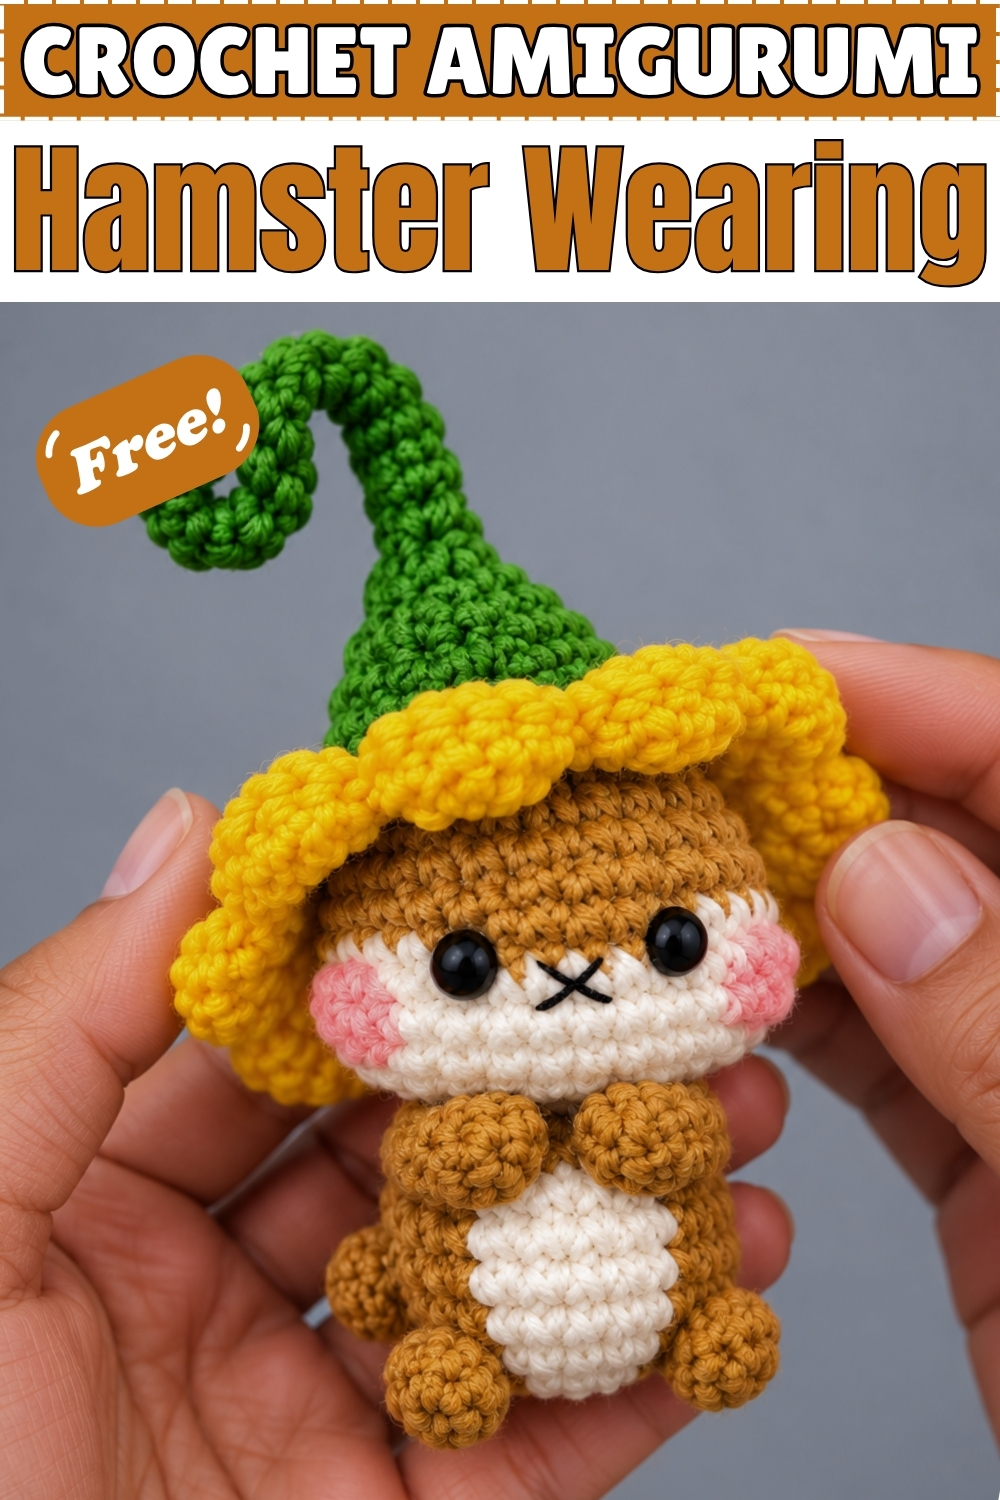
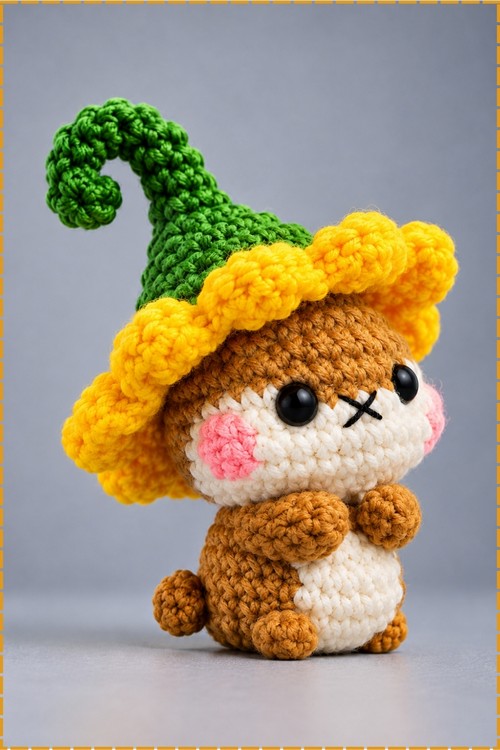
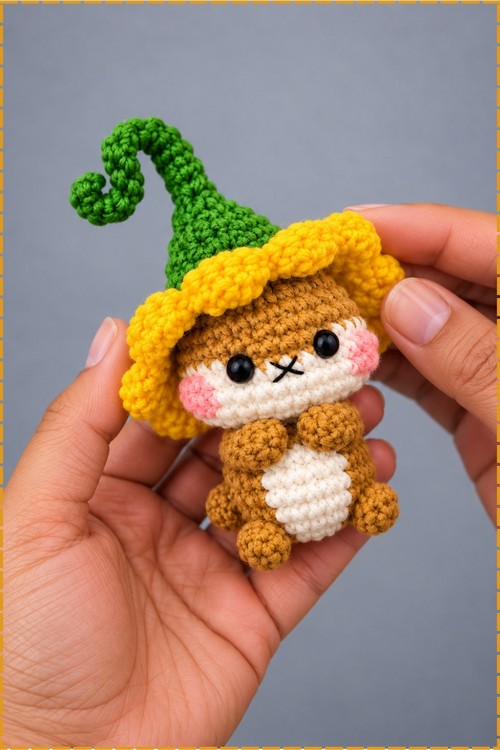
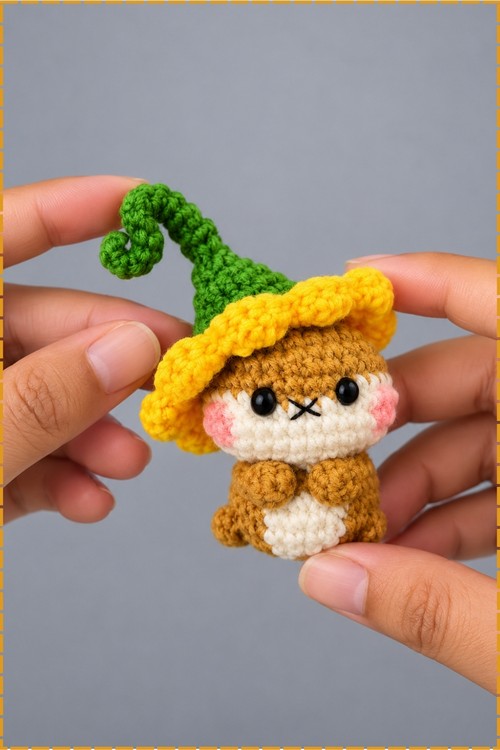
Body and head work as one continuous piece here, so this crochet hamster amigurumi needs no sewing apart from the ears and the hat. Colour changes carry the cream face and belly up the front while brown wraps around the back and sides. Bobble stitches form the small paws that sit at the chest. Mine wears a green pointed hat with a curled tip and a wide yellow petal brim. Safety eyes, pink blush, and a stitched mouth finish the face. Expect a few hours of work, most of it spent managing colour changes.
Materials
- Brown yarn for the main body
- Cream or off white yarn for the face and belly
- Green yarn for the hat cone
- Yellow yarn for the hat petals
- Crochet hook sized for a tight amigurumi fabric
- Fiberfill stuffing
- Stitch markers
- Oval safety eyes in black, or glue on eyes
- Pink blush
- Black embroidery thread or yarn for the mouth
- Tapestry needle and scissors
My hat uses green for the cone and yellow only for the petal brim, which differs from the plain pattern where the whole hat is yellow. Everything else matches: brown body, cream face and belly.
Difficulty and Time
Intermediate. The stitches are basic, but rows 7 through 17 carry colour changes mid row and you need to track both colours at once. Allow three to four hours in my experience, plus time for the hat.
Technique Notes and Working Tips
- Every row here is joined with a slip stitch and started with a chain 1, not worked in a spiral. That makes the colour changes easier to line up but leaves a seam, so keep it at the back.
- Change colour on the last yarn over of the stitch before the new colour starts. Pulling the new colour through to finish the previous stitch is what keeps the join clean with no stray old colour on top.
- Carry the unused colour along the inside rather than cutting and rejoining each time. Cut yarn at every change means dozens of ends to weave and a lumpy interior.
- Keep the carried yarn loose behind the work. Pulling it tight puckers the fabric and the cream belly will dimple inward.
- Bobble stitch for the paws: work several incomplete double crochets into the same stitch, then pull through all loops at once. Push the bobble to the front of the work with your thumb as you close it, or it sits flat.
- Stuff lightly at row 11 as instructed and firm it up before closing. Overstuffing early stretches the colour change rows and the cream panel distorts.
- Place the safety eyes before the head closes. Once row 18 is drawn shut you cannot reach the backs of the posts.
- Count at the end of every colour block, not just at the end of the row. A miscount inside the white section shifts the whole face panel sideways.
The Pattern
Part 1: Body and Head
Worked as one piece from the base up.
- Row 1: Make a magic ring and work 8 single crochet (sc) into it, pull tight to close, and finish with 1 slip stitch (sl st) in the first stitch. (8)
- Row 2: Chain 1, work 1 increase (inc, meaning 2 sc in the same stitch) in every stitch around, and finish with 1 sl st. (16)
- Row 3: Chain 1, work [1 sc, 1 inc] repeating all the way around, and finish with 1 sl st.
- Row 4: Chain 1, work 1 sc in every stitch around, and finish with 1 sl st.
- Row 5: Chain 1, work 1 sc in every stitch around, and finish with 1 sl st.
- Row 6: Work 1 sc in each of the first 6 stitches, 1 inc in each of the next 4 stitches, 1 sc in each of the next 4 stitches, 1 inc in each of the next 4 stitches, then 1 sc in each of the remaining 6 stitches. The paired increase groups widen the sides rather than the front and back, which is what gives the hamster its rounded, slightly squat body.
- Row 7: With brown, work 1 sc in each of the first 6 stitches, changing to cream on the 7th stitch. With cream, work 7 sc, changing back to brown on the 7th stitch. With brown, work 4 sc, changing to cream on the 4th stitch. With cream, work 7 sc, changing to brown on the 7th stitch. With brown, work 1 sc in each of the remaining 7 stitches. The two separate cream sections in this row later merge into one continuous belly panel, so do not be alarmed that it looks like two patches.
- Row 8: With brown, work 5 sc, changing to cream on the 6th stitch. With cream, work 20 sc, changing to brown on the 20th stitch. With brown, work 6 sc in the remaining stitches.
- Row 9: With brown, work 5 sc, changing to cream on the 6th stitch. With cream, work 20 sc, changing to brown on the 20th stitch. With brown, work 6 sc in the remaining stitches. The cream panel is now one wide block across the front, which becomes the belly on my hamster.
- Row 10: With brown, work 5 sc, changing to cream on the 6th stitch. With cream, work 4 decreases (dec), then 4 sc, then 4 dec, changing back to brown on the 4th decrease. With brown, work 6 sc in the remaining stitches.
- Row 11: With brown, work 5 sc, changing to cream on the 6th stitch. With cream, work 6 dec, changing to brown on the 6th decrease. With brown, work 1 sc in each remaining stitch. This is the narrowest point and forms the waist between body and head.
- Stuffing: stuff the body lightly with fiberfill at this stage, keeping the shape rounded but not rigid.
- Row 12: Chain 1, work [1 sc, 1 inc, 1 sc] repeating around. The head starts widening here, directly above the waist.
- Row 13: Work 10 sc, make 1 bobble stitch, work 2 sc, make 1 bobble stitch, then work 10 sc in the remaining stitches. The two bobbles become the paws on my hamster, sitting side by side at the center of the chest just below the face.
- Row 14: Work 1 inc in each of the first 3 stitches, then 6 sc changing to cream on the 7th stitch. With cream, work 3 sc, changing to brown on the 4th stitch. With brown, work 7 sc. Then work 1 inc in each of the last 3 stitches.
- Row 15: With brown, work 12 sc, changing to cream on the 13th stitch. With cream, work 3 sc, changing to brown on the 4th stitch. With brown, work 1 sc in each remaining stitch. The narrow cream section in rows 14 and 15 begins the muzzle, which sits low and central on the face.
- Row 16: Work 3 dec, then 3 sc, then 1 bobble stitch, then 2 sc changing to cream on the 2nd stitch. With cream, work 4 sc, changing to brown on the 4th stitch. With brown, work 2 sc, then 1 bobble stitch, then 4 sc. Finish with 3 dec. These two bobbles sit either side of the face and form the cheeks on my version.
- Row 17: Work the [1 sc, 1 dec] pattern around, carrying the cream and brown colour shifts in the same sequence the rows above establish. Attach the safety eyes and finish the face before you go any further, since the opening closes in the next row.
- Row 18: Work 8 consecutive decreases to close the shape down.
- Finishing: cut the yarn leaving a long tail of around 16 cm, thread it through the remaining stitches, pull tight to close, and weave in the ends.
Part 2: Ears and Face
- Ears sit between rows 2 and 3 counting down from the top of the head. On my hamster they are small and barely raised, tucked under the hat brim.
- Ear: chain 4, then make 1 sl st back into the same base spot.
- Fasten off with a short tail and repeat for the second ear.
- Mouth: embroider the mouth around row 8 counting down from the top. Mine is a small x shape in black thread, sitting just right of center on the cream muzzle.
- Eyes: attach the oval safety eyes around rows 7 and 8, spaced wide apart across the cream face panel.
- Blush: add pink blush to the cheeks, placed over the bobble cheeks on either side so the colour sits on the raised part.
Part 3: The Flower Hat
- Foundation: chain 13.
- Hat base row 1: working in the back loops only and skipping the first loop, work sc across the chain to the end.
- Hat base: work 4 sc in the very last chain stitch to turn.
- Hat base rows 2 through 8: continue working rows with increases and single crochets to expand the dome of the hat. On my version the dome extends up into a long cone that curls over at the tip, so keep working the cone narrow and long rather than stopping at a shallow dome.
- Hat brim row 9: change to yellow yarn.
- Hat brim row 9: working in the back loops, skip the first stitch, then work 6 treble crochets into the next stitch to form a petal.
- Hat brim row 9: skip a stitch, then work 1 sl st into the next stitch.
- Hat brim row 9: repeat the petal pattern around for a total of 9 flower petals. The treble crochets stack up and flare outward, which is what makes the brim sit wide and wavy around the hamster's head.
- Fasten off and secure all ends.
- On my hamster the hat sits low, with the yellow brim resting just above the eyes and dipping down over the ears. The green cone leans back and to one side with the curled tip hanging free.
Yarn Substitution
Any smooth worsted or sport weight works. Cotton gives the cleanest colour change edges, which matters a lot on a piece with this much colour work. Acrylic is softer and more forgiving on tension but blurs the boundary between brown and cream slightly.
Avoid fuzzy or brushed yarn entirely. The bobble paws and cheeks disappear under a halo, and the colour change lines go muddy.
Customization Ideas
- Change the hamster to grey, cream, or caramel for different breeds.
- Make the hat in one colour throughout, as the plain pattern does, for a simpler look.
- Swap the petal brim for a plain round brim worked in single crochet.
- Skip the hat entirely and add small embroidered details instead.
- Use a straight stitched mouth instead of an x.
- Make the cone shorter for a beanie rather than a pointed hat.
FAQ
How do I keep the colour change edges from looking messy?
Change on the last yarn over of the preceding stitch rather than at the start of the new one. Any brown still visible on top of a cream stitch means the change happened one stitch too late.
Can I work this in a spiral instead of joined rows?
You can, but the colour change positions will drift by one stitch each row and the face panel will spiral sideways up the head. Joined rows exist here specifically to keep the panels aligned.
Why do my bobble stitches sit flat?
Either too few loops gathered, or the bobble was not pushed out to the front as it closed. Press it outward with your thumb while you pull through the final loop.