
Crochet Hat Keychain Free Pattern Easy
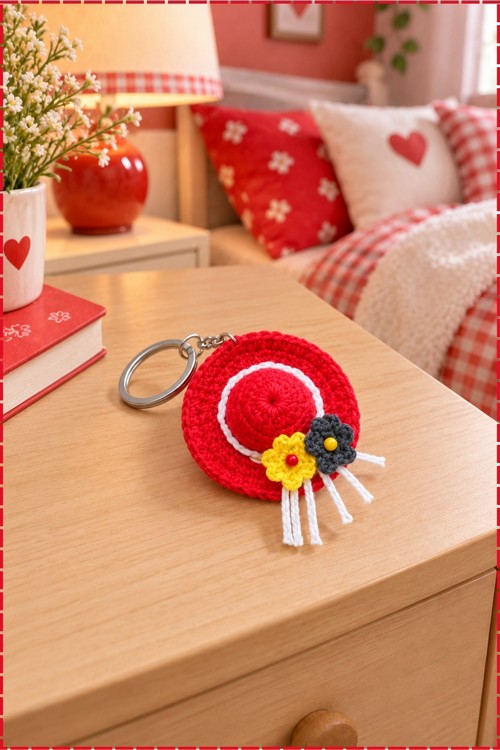
Craft fair shoppers spot the flared red brim first, then lean in for the grey and yellow flowers with bead centers and the white streamers. Chains, single crochet, and double crochet are the only stitches involved, so leftover cotton becomes a keychain in one evening.
Everyone who sees the crochet hat keychain on a bag asks where it came from, which is why makers end up making the same one over and over. The flowers and ribbon ties change with every version, so no two match. Requests for the crochet hat keychain pile up fastest at craft fairs.
Crochet Hat Keychain
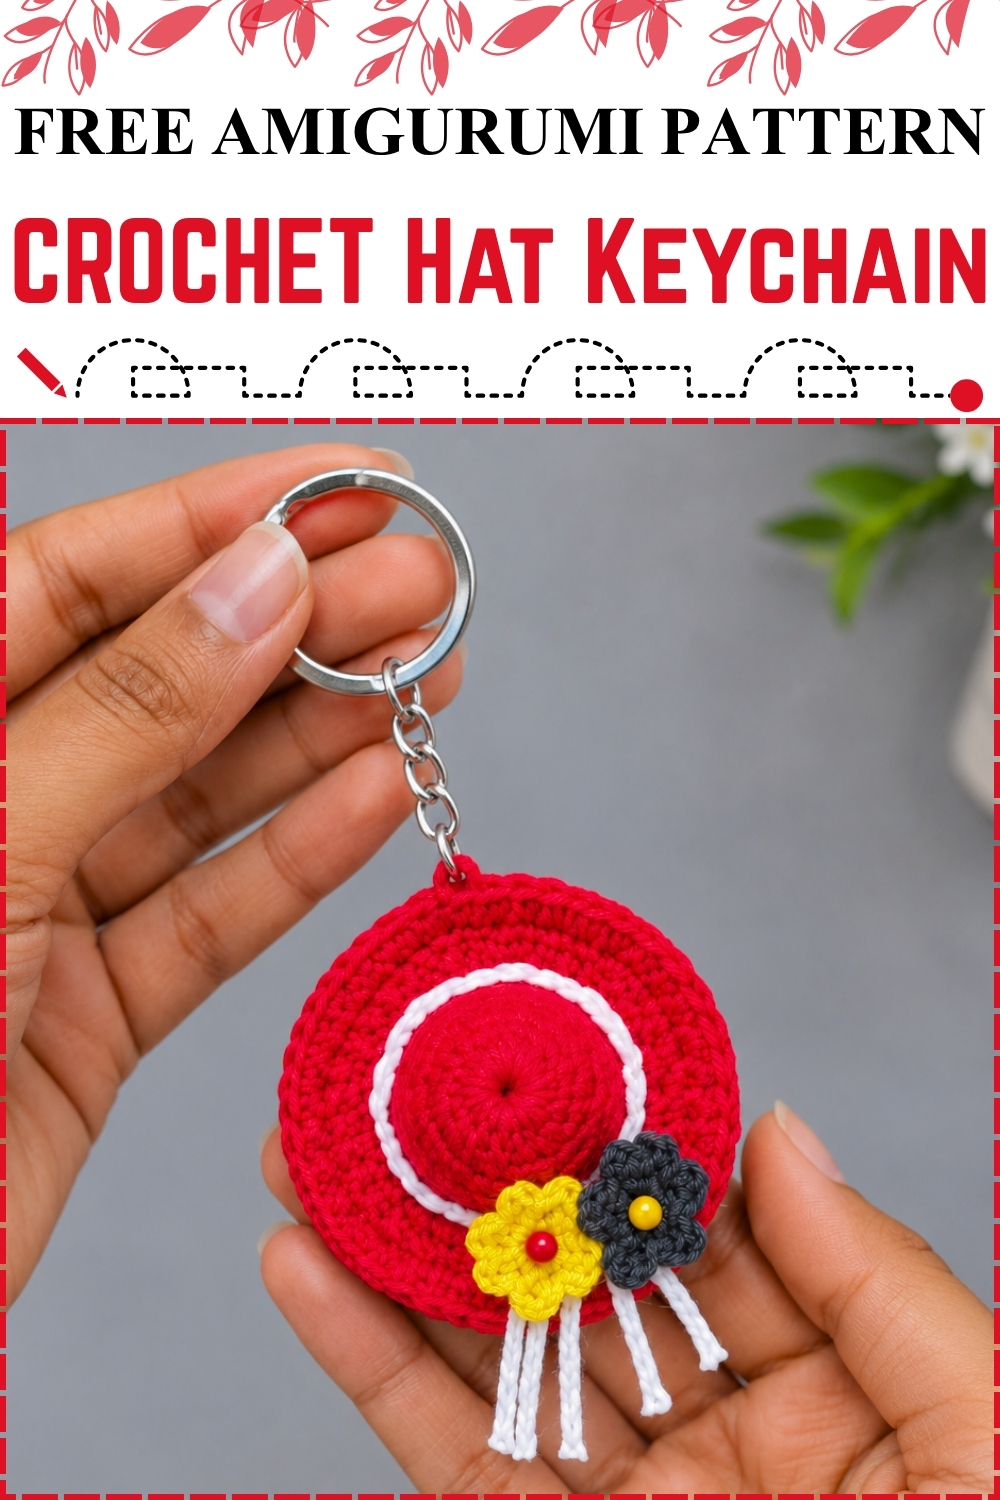
Flat rounds build the crown of this crochet hat keychain, then one round of paired double crochets flares outward to form the brim. Working from a magic ring keeps the top of the hat smooth with no hole in the center. Mine uses red cotton with a white band wrapped around the crown and two small flowers sitting where the band meets the brim. Loose white strands hang below like ribbon ends. Beginners need only chains, single crochet, and double crochet to finish the whole thing. Most makers complete one in an evening using leftover cotton scraps.
Materials and Tools
- Cotton yarn in four colours. Mine uses red for the hat, white for the band and streamers, dark grey for one flower, and yellow for the other
- 2.5 mm crochet hook
- Yarn needle
- Scissors
- Keychain ring
- Two small beads for the flower centers. I used a red bead in the yellow flower and a yellow bead in the grey flower
Cotton is the right fibre for a piece this small. It holds a crisp edge, the brim stays flat instead of curling, and the colours stay bright after the keychain has been knocked around in a bag for a few months.
Difficulty and Time
This is a true beginner project. Nothing beyond the basics appears anywhere in it, and the whole hat is worked in joined rounds, which means you always know where a round begins and ends.
Allow around an hour for the hat in my experience, plus twenty minutes or so for the flowers, band, and assembly. Your first one will take longer than your second.
Beginner Technique Notes
Read this section before you start and the pattern will make far more sense.
- Magic ring: wrap the yarn around your fingers to form an adjustable loop, work your stitches into that loop, then pull the tail to close it. If magic rings frustrate you, chain 4 and slip stitch into the first chain to make a small ring, then work into the ring. The center hole will be slightly larger but still small enough to hide.
- Chain 3 counting as a double crochet: in this pattern the starting chain 3 stands in for your first double crochet. That is why round 1 says to make 18 double crochets total including the chain 3, not 18 plus the chain. Counting the chain 3 as an extra stitch is the single most common mistake here and gives you 19 stitches instead of 18.
- Joined rounds: every round ends with a slip stitch into the first stitch of that round, and the next round starts with a chain 1 or chain 3. You are not working in a spiral, so no stitch marker is needed.
- Single crochet: insert the hook, yarn over, pull up a loop, yarn over, pull through both loops.
- Double crochet: yarn over first, insert the hook, pull up a loop, yarn over and pull through two, yarn over and pull through the last two.
- Tension: keep it firm. A loose hat flops and the brim will not hold its shape. If your fabric looks gappy, go down a hook size rather than trying to crochet tighter by force.
- Counting: stop at the end of every round and count. On a piece this small, one missed stitch changes the whole shape, and it is far easier to fix one round back than five.
The Pattern
Round 1: The Crown Base
- Make a magic ring.
- Chain 3, which counts as your first double crochet (dc).
- Work 18 double crochets in total inside the magic ring, counting the starting chain 3 as the first of them. (18)
- Slip stitch into the top of the 3rd chain of the first stitch to join and close the round, then pull the yarn tail to tighten the magic ring. Your piece should be a flat red disc, roughly the size of a coin, with no visible hole in the middle.
Round 2: Starting the Crown Sides
- Chain 1.
- Make 1 single crochet (sc) in the same stitch.
- Work 1 single crochet in the top of each double crochet around.
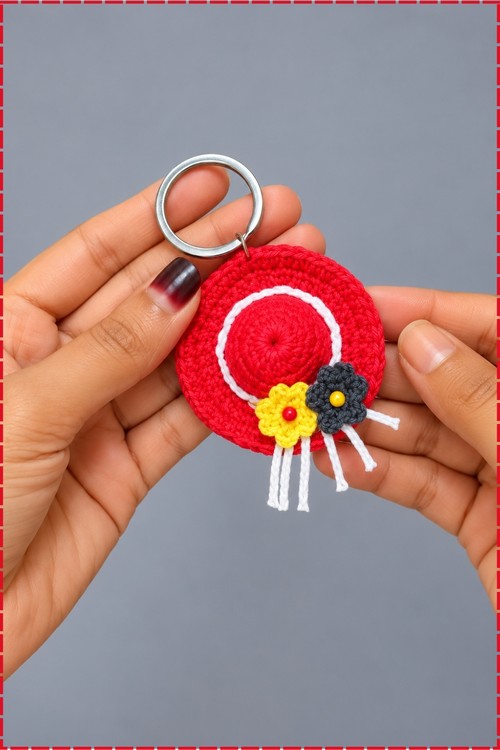
- Slip stitch into the top of the first single crochet to join. Switching from double to single crochet with no increases is what makes the fabric turn upward and start forming the sides of the crown.
Round 3: Crown Side
- Chain 1.
- Make 1 single crochet in the same stitch.
- Work 1 single crochet in the top of each stitch around.
- Slip stitch into the top of the first single crochet to join. The disc should now be sitting up like a shallow bowl rather than lying flat on the table.
Round 4: Crown Side
- Chain 1.
- Make 1 single crochet in the same stitch.
- Work 1 single crochet in the top of each stitch around.
- Slip stitch into the top of the first single crochet to join.
Round 5: Crown Side
- Chain 1.
- Make 1 single crochet in the same stitch.
- Work 1 single crochet in the top of each stitch around.
- Slip stitch into the top of the first single crochet to join. Four plain rounds give the crown its full height, and this is where the white band will sit later, so try to keep the tension even across all of them.
Round 6: The Brim
- Chain 3, which counts as your first double crochet.
- Make 1 double crochet in the same stitch, so that space holds 2 double crochets in total.
- Work 2 double crochets into the top of each stitch all the way around the brim.
- Slip stitch into the top of the 3rd chain of the initial chain 3 to join. Doubling every stitch in one round is a big jump, and that sudden increase is exactly what makes the brim flare straight out instead of continuing upward. Press the brim flat with your palm as you work so it does not ruffle.
Round 7: The Brim Edge
- Chain 1.
- Make 1 single crochet into the top of the next double crochet.
- Chain 1.
- Make 1 single crochet in the next double crochet, then chain 1, and repeat this pattern all the way around the brim edge.
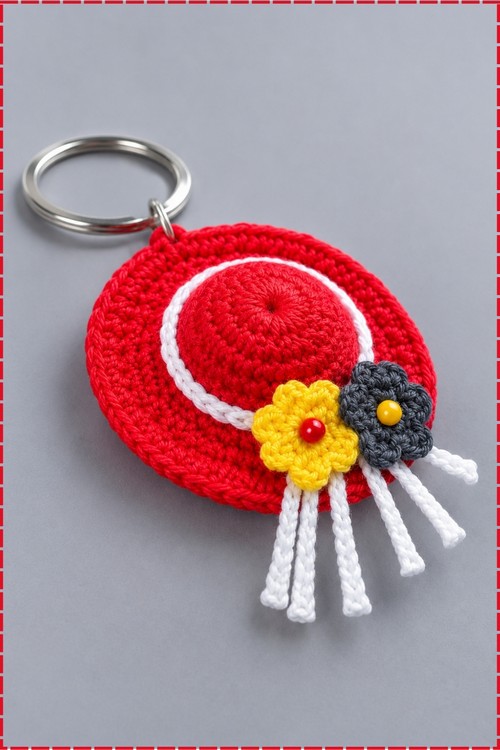
- Slip stitch into the top of the first single crochet, chain 1, cut the yarn, and fasten off. The alternating single crochet and chain gives the outer edge a light, slightly open finish that stops the brim from looking thick and heavy.
The Hat Band and Streamers
- Cut three strands of white yarn to equal lengths, long enough to wrap around the crown with plenty left over for the hanging ends.
- Twist the strands together and attach them securely to the hat with your yarn needle.
- On my keychain the white band wraps all the way around the base of the crown where it meets the brim, and the loose ends hang down past the bottom edge of the brim as streamers. Position the band in the dip between crown and brim rather than higher up, or it slides as the keychain moves.
The Accent Flowers
Make two flowers. Mine are yellow and dark grey.
- Make a magic ring.
- Chain 3, then make 1 single crochet into the magic ring to form the first petal section.
- Repeat the chain 3 and single crochet into the magic ring until you have 6 petal sections in total.
- Slip stitch into the magic ring, chain 1, cut the yarn, and fasten off. Do not pull the ring fully closed before you check the petals are evenly spread, since the flower is tiny and one crowded petal is noticeable.
- Sew a small bead into the center of each flower. I used a red bead in the yellow flower and a yellow bead in the grey flower, which keeps the colours from blending into each other.
Assembly
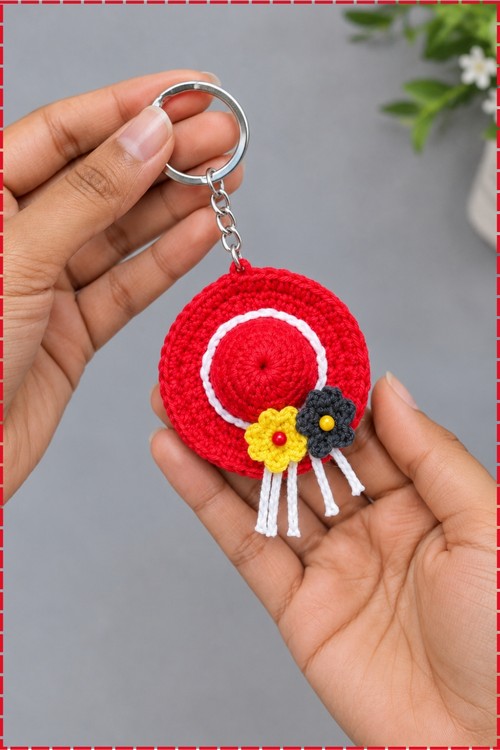
- Sew the two flowers onto the hat side by side, sitting on the white band at the point where the crown meets the brim. On mine they sit slightly off center toward the right, with the yellow flower on the left and the grey one on the right.
- Arrange the white streamers so they fan out below and to the sides of the flowers before you secure them, since trapped streamers under a flower look bunched.
- Attach the keychain ring through the top edge of the crown, directly opposite the flowers. Pass the ring through a stitch rather than through a gap, so the hat does not pull out of shape when it hangs.
Tips and Troubleshooting
Yarn Substitution
Stick with cotton if you can. Acrylic will work and is softer to handle, though it stretches, and a stretched brim loses its flat shape. Mercerised cotton gives the brightest colour and the sharpest stitch definition.
Avoid fuzzy, chenille, or velvet yarns completely. The brim edge and the little flowers rely on seeing individual stitches, and a halo hides all of it.
Customization Ideas
- Change the hat colour entirely. The same pattern reads as a straw hat in beige, a sun hat in white, or a winter hat in navy.
- Use one flower instead of two, or skip the flowers and leave just the band and streamers.
- Swap the beads for French knots embroidered in a contrast colour.
- Make the band in a different colour than the streamers.
- Attach a lobster clasp instead of a split ring to turn it into a bag charm.
- Make a set in different colours for a craft fair or party favours.
FAQ
I cannot make a magic ring. What else can I do?
Chain 4 and slip stitch into the first chain to make a small loop, then work your 18 double crochets into that loop. The center will show a tiny hole, which is barely visible on a red hat.
Why does my brim ruffle instead of lying flat?
Your tension loosened during round 6, or you worked more than two double crochets into a stitch somewhere. Count that round again. Ruffling means too many stitches, cupping means too few.
Do I need a stitch marker?
No. Every round in this pattern is joined with a slip stitch and started with a chain, so the beginning of each round is always visible.
How do I stop the chain 3 from leaving a gap?
Pull the first chain of the three snug against the ring and keep the slip stitch at the end of the round tight. A small gap at the join is normal and the white band covers that area anyway.
Can I make this bigger?
Yes, add more increase rounds after round 1 following a standard flat circle, then work your plain crown rounds and finish with the brim round as written. Be aware that the stitch counts in this pattern will no longer apply, so you will be working the maths yourself.