
Halloween Crochet Amigurumi Pumpkin Pattern
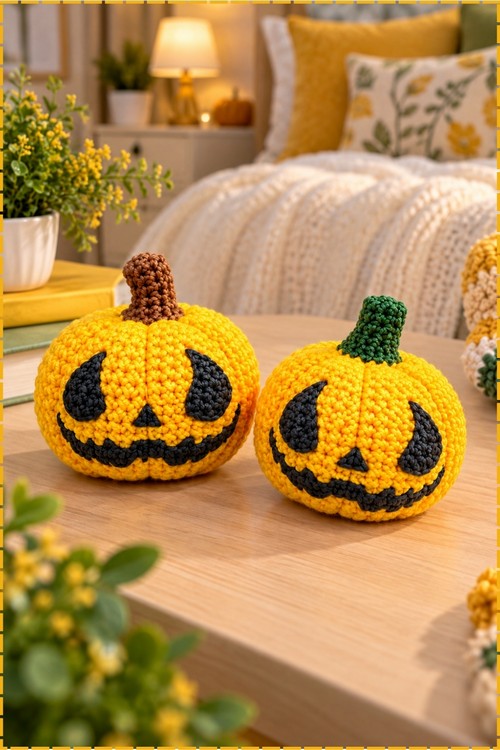
To get the deep ridges, wrap strands from the stem down through the base once the stitching is done. Golden yellow cotton, a brown or green stem, and a charcoal grin painted between those ridges get each pumpkin ready for a Halloween shelf in about two hours.
Pulling the ribbing into the crochet halloween pumpkin amigurumi is the moment it stops being a ball and turns into something with a shape. The face goes on last. Watching the grin appear stitch by stitch is why the crochet halloween pumpkin amigurumi rarely gets made just once.
Crochet Halloween Pumpkin Amigurumi
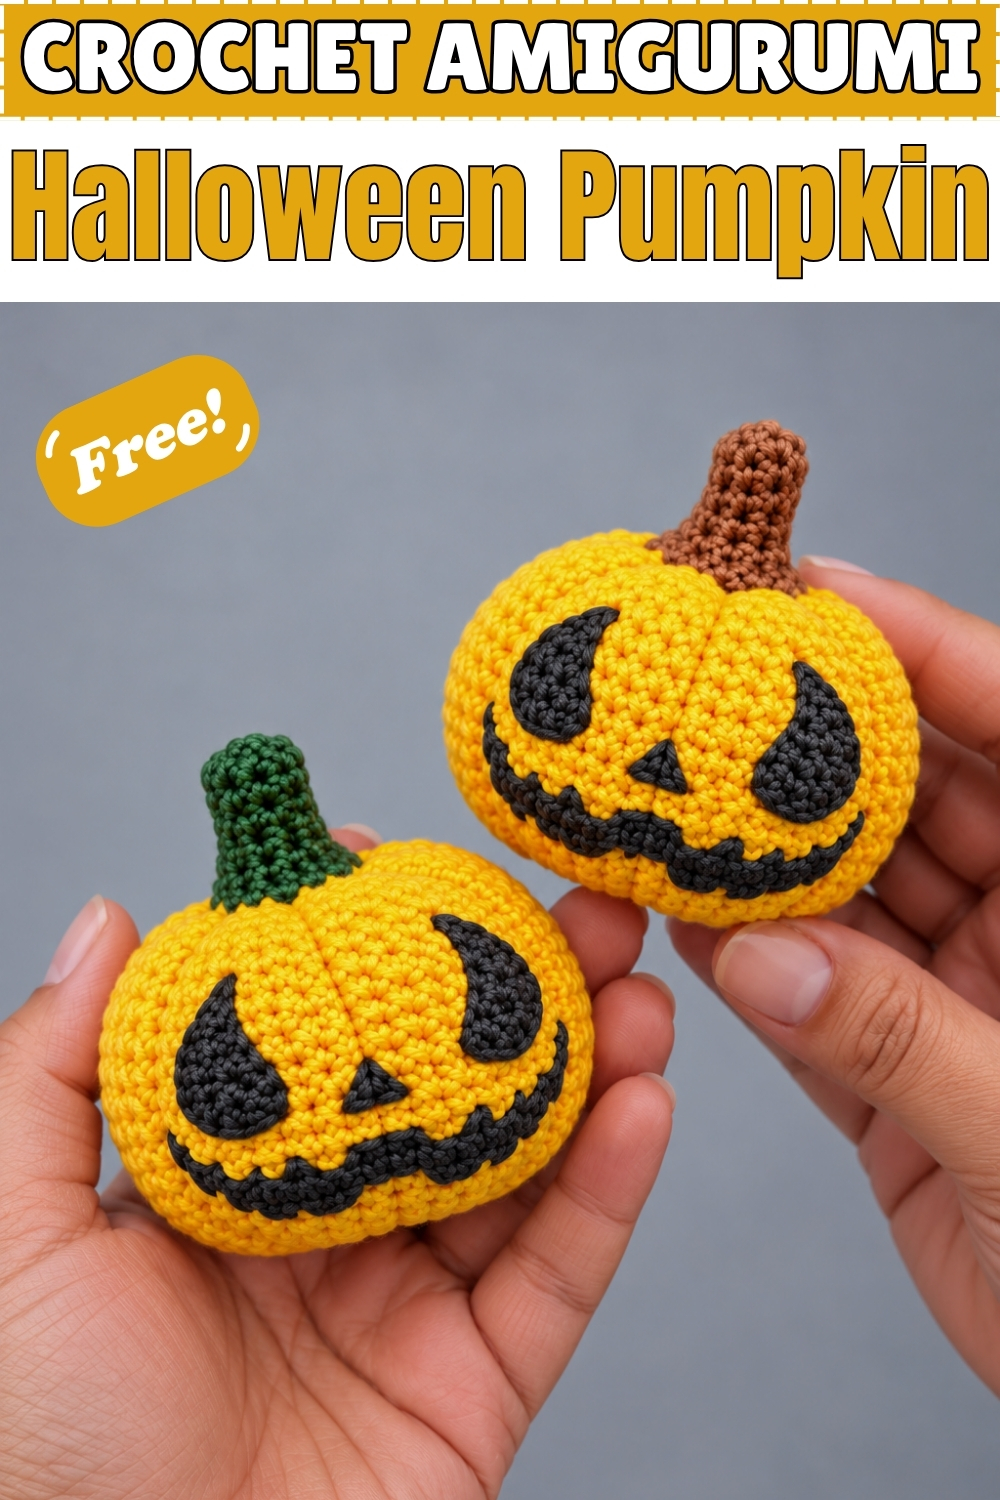
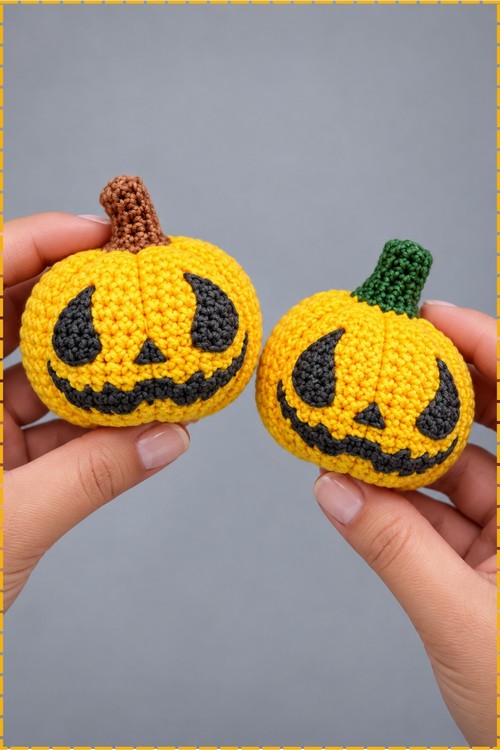
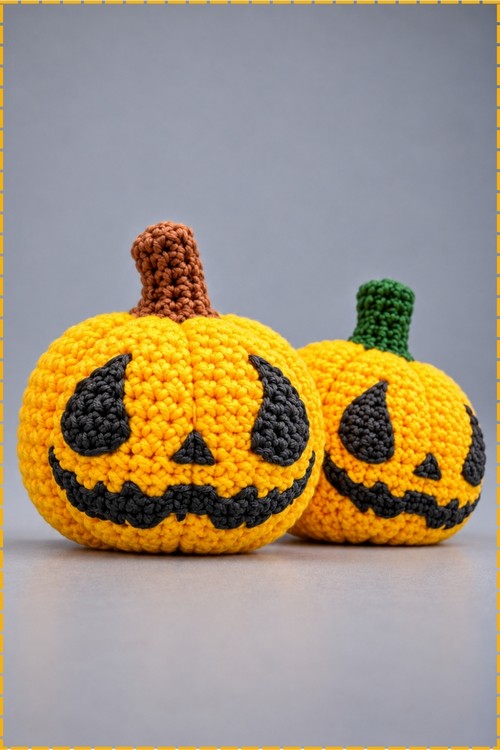
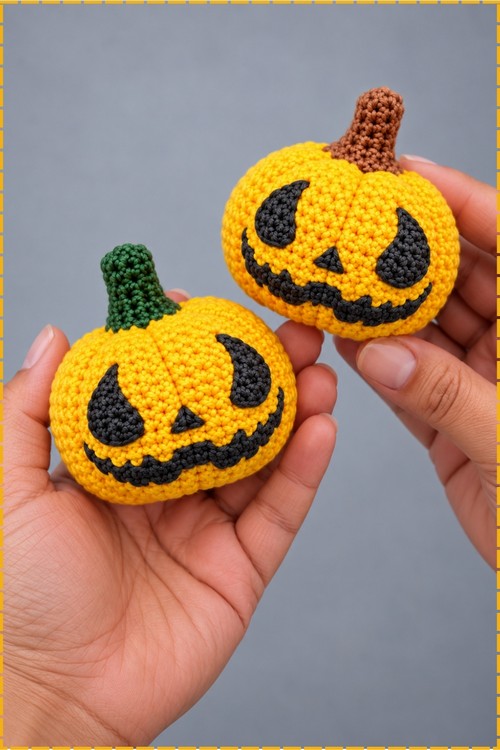
Increases widen the body through round 8, then eight plain rounds hold the pumpkin at full width before the decreases shape the top. Wrapped strands pulled from the stem down through the base create the ridges once all the stitching is finished. Mine come in golden yellow rather than orange, with faces painted in dark charcoal instead of solid black. One pumpkin got a brown stem and the other a deep green one. Painting the face last lets you place the features between the ridges. Expect around two hours each, including the ridge wrapping.
Quick Facts
- Difficulty: easy to intermediate. All single crochet, with the ridge wrapping being the only unusual technique
- Time: roughly two hours per pumpkin in my experience, with the painting adding drying time on top
- Stitches used: single crochet, increase, decrease
- Size: fits comfortably in one hand, as the photo shows
- Finish: the face is painted on, not crocheted or embroidered
Materials and Supplies
- Golden yellow yarn for the pumpkin body
- Brown yarn for one stem and dark green for the other, or pick a single colour for both
- 2.0 mm crochet hook, or whatever size suits your yarn while keeping the fabric flexible
- Fiberfill stuffing
- Tapestry needle, plus a long doll making needle if you have one
- Sewing pins
- Black or dark charcoal fabric or acrylic paint
- Fine tip paintbrush, or a fabric marker
- A fine marker or light pencil for sketching the face
My pair uses golden yellow rather than the orange the pattern calls for, and the painted faces read as dark charcoal grey rather than flat black. Two stem colours across two pumpkins keeps them from looking like identical copies.
Customization Ideas
- Make them in classic orange, cream, pale sage, or deep rust for a mixed autumn set.
- Give each pumpkin a different face. Mine have slightly different mouths, which is what makes a pair look handmade rather than mass produced.
- Skip the face entirely for a plain decorative pumpkin that works all autumn, not just Halloween.
- Embroider the face in black yarn instead of painting it, if paint on yarn makes you nervous.
- Pull the ridge strands tighter for a deeply segmented pumpkin, or leave them loose for a rounder one.
- Add a chained loop at the top of the stem to hang it, or sew a pin back on for a brooch.
- Make them in three sizes by changing hook and yarn weight while keeping the same counts.
The Pattern
The piece is worked primarily on the reverse side, so the texture faces outward as shown.
The Pumpkin Body
- Round 1: Make a magic ring containing 8 single crochet (sc), then close the ring. (8)
- Round 2: Work 8 increases, meaning 2 sc in each stitch. (16)
- Round 3: Work (1 sc, 1 increase) repeated 8 times. (24)
- Round 4: Work (2 sc, 1 increase) repeated 8 times. (32)
- Round 5: Work 1 sc in each stitch around. (32)
- Round 6: Work 1 sc in each stitch around. (32) The two plain rounds here interrupt the increases and start rounding the base rather than letting it stay flat.
- Round 7: Work (3 sc, 1 increase) repeated 8 times. (40)
- Round 8: Work (4 sc, 1 increase) repeated 8 times. (48) This is the widest point of the pumpkin.
- Round 9: Work 1 sc in each stitch around. (48)
- Round 10: Work 1 sc in each stitch around. (48)
- Round 11: Work 1 sc in each stitch around. (48)
- Round 12: Work 1 sc in each stitch around. (48)
- Round 13: Work 1 sc in each stitch around. (48)
- Round 14: Work 1 sc in each stitch around. (48)
- Round 15: Work 1 sc in each stitch around. (48)
- Round 16: Work 1 sc in each stitch around. (48) Eight plain rounds give the pumpkin its height, and even tension across all of them matters because this is the surface the face sits on.
- Turn your piece inside out so you are working on the reverse side from here on.
- Round 17: Work (4 sc, 1 decrease) repeated 8 times. (40)
- Round 18: Work 1 sc in each stitch around. (40)
- Round 19: Work 1 sc in each stitch around. (40)
- Round 20: Work (3 sc, 1 decrease) repeated 8 times. (32)
- Round 21: Work 1 sc in each stitch around. (32)
- Stuffing: pause here and stuff the pumpkin firmly with fiberfill, shaping it into a rounded form with your hands. Firm stuffing is what lets the ridge wrapping bite in later. A soft pumpkin just collapses when you pull the strands.
- Round 22: Work (2 sc, 1 decrease) repeated 8 times. (24)
- Round 23: Work (1 sc, 1 decrease) repeated 8 times. (16)
The Stem
- Switch to your stem colour at the start of round 24. I used brown on one pumpkin and dark green on the other.
- Round 24: Work 1 sc in each stitch around. (16)
- Round 25: Work (1 sc, 1 decrease) repeated 5 times. (11)
- Round 26: Work 1 sc in each stitch around. (11)
- Round 27: Work 1 sc in each stitch around. (11)
- Round 28: Work 1 sc in each stitch around. (11) The stem stands up straight at this width, and on my pumpkins it leans very slightly to one side, which happens naturally once the ridges pull.
- Round 29: Make 4 decreases to close the opening.
- Cut the yarn, weave in the remaining ends with a tapestry needle, and hide the excess inside.
Shaping the Ridges
- Cut a long strand of the same golden yellow yarn and thread it onto a long doll making or tapestry needle.
- Insert the needle near the base of the stem and bring it out through the center of the bottom magic ring.
- Wrap the yarn around the outside of the pumpkin to form one vertical segment, pulling gently to create the indented ridge. Do not pull too tight if you want a softer, rounder pumpkin.
- Repeat around the entire pumpkin at even intervals of about 5 to 7 stitches apart to form all the ridges. Keeping the spacing consistent is the whole job here, so count the stitches between each wrap rather than judging by eye.
- Secure the thread and weave in any remaining ends. On my pumpkins the ridges are pulled moderately, deep enough to read clearly from the front but not so deep that the shape goes flat.
Painting the Face
- Lightly sketch the eyes, nose, and jagged mouth with a fine marker or a light pencil guide. Place the features between the ridges rather than across them, since paint sitting in a groove looks broken once it dries.
- Fill in the features with a fine tip paintbrush and black fabric or acrylic paint. Mine read as dark charcoal grey rather than flat black, which sits more softly against the yellow.
- Work in thin coats. Loading the brush floods the yarn and the paint spreads along the fibers past your outline.
- Let the paint dry completely, or speed it up with a hair dryer on a cool setting.
Tips
Yarn Substitution
Any smooth cotton or cotton blend works well. Cotton takes the paint cleanly and holds the ridge indentations without springing back.
Acrylic is usable but softer, so the ridges relax over time and the paint can sit on the surface rather than soaking in. Avoid fuzzy or textured yarn completely, since the face needs a flat surface to paint on and a halo will wick the paint outward in every direction.
FAQ
Why does the pattern say to work on the reverse side?
Turning the piece inside out puts the bumpier side of the single crochet fabric outward, which gives the pumpkin a slightly rougher, more organic surface. It is a look choice rather than a structural one.
Can I embroider the face instead of painting it?
Yes. Use black yarn or embroidery thread and work the shapes in satin stitch. Expect a chunkier, softer face than the crisp painted edges in my photo.
My ridges are uneven. Can I redo them?
Yes, as long as you have not woven in the ends. Pull the strand out, re count the spacing, and start again. It is worth doing, since uneven ridges are the first thing anyone notices.
How do I stop the paint cracking?
Use fabric paint rather than plain acrylic, or mix acrylic with a fabric medium. Plain acrylic dries stiff and will crack if the pumpkin gets squeezed.