
Crochet Hanging Plant Pot Free Pattern Amigurumi
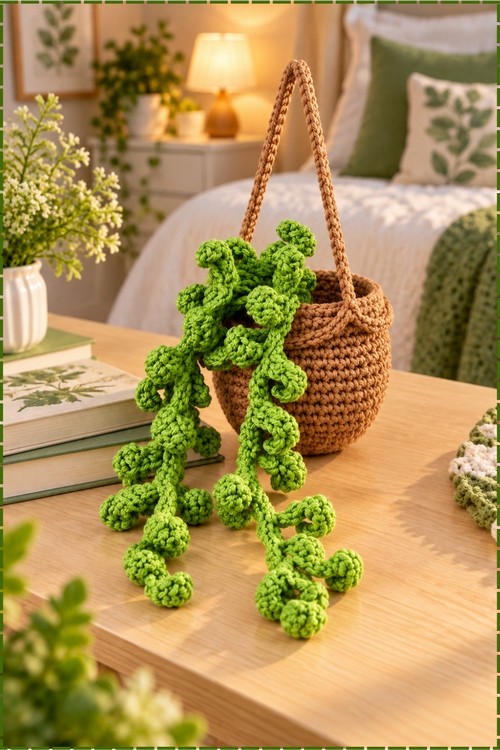
Slip stitching back along each chained vine is what makes the bright green leaves coil tightly on their own. Terracotta cotton shapes the rounded belly of the pot and its matching strap, and the trailing vines never need water, even in a hallway corner that sees no daylight.
Loose and sprawling, the crochet hanging plant pot behaves like a plant that has stopped listening to anyone. Tendrils curl in whatever direction they please. Add more, add fewer, let it get unruly. The crochet hanging plant pot only looks right once it has outgrown its own container.
Crochet Hanging Plant Pot
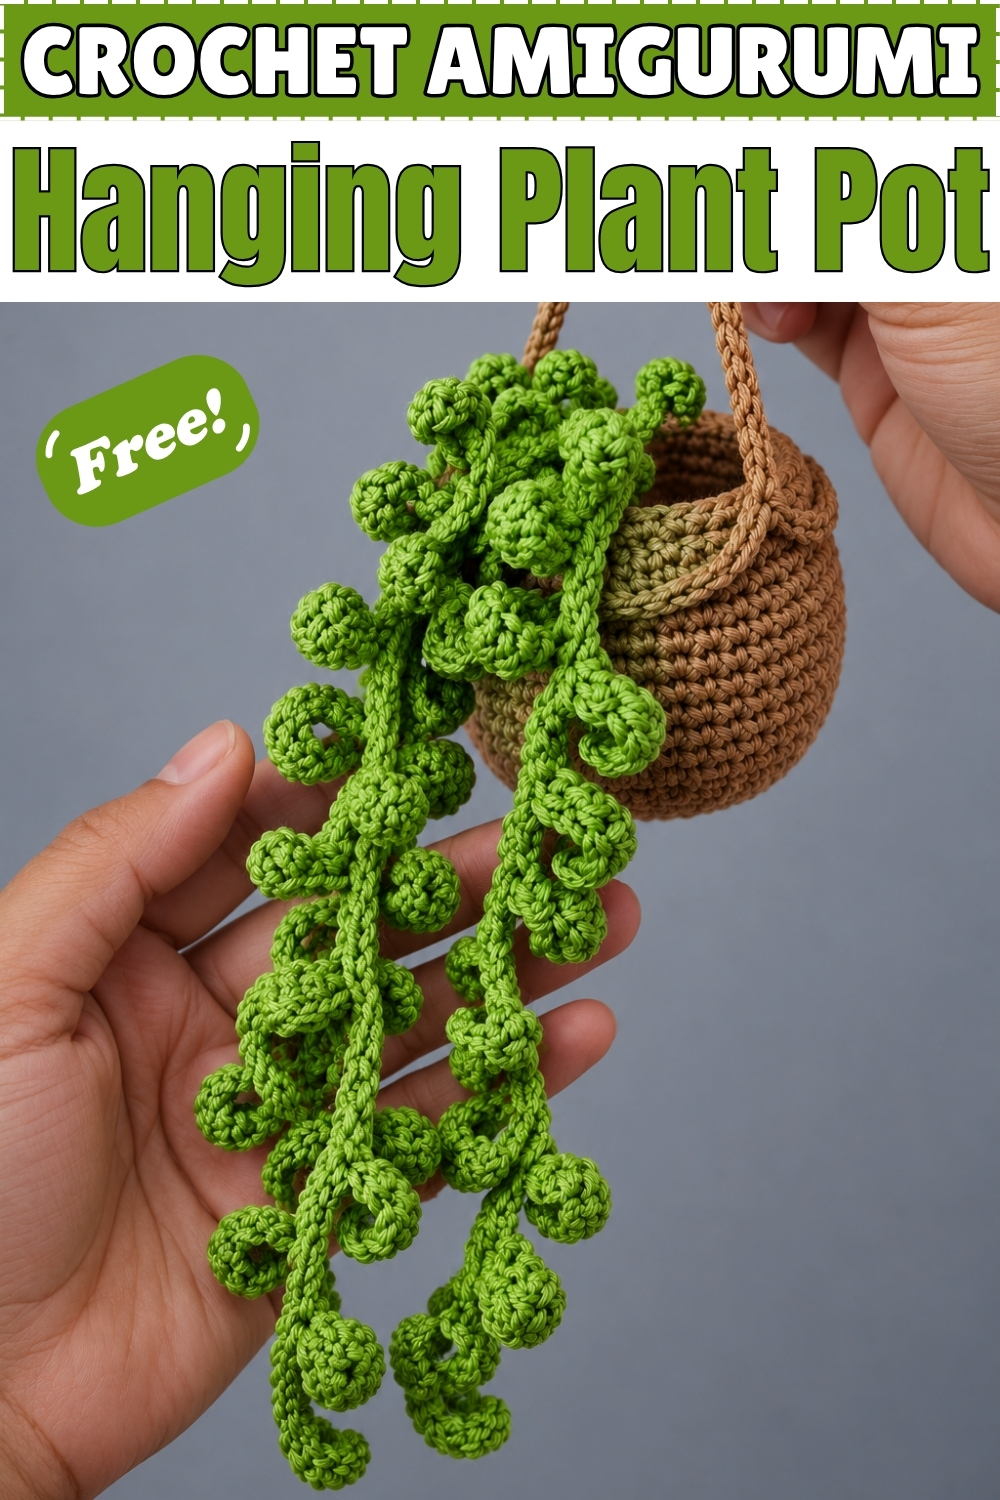
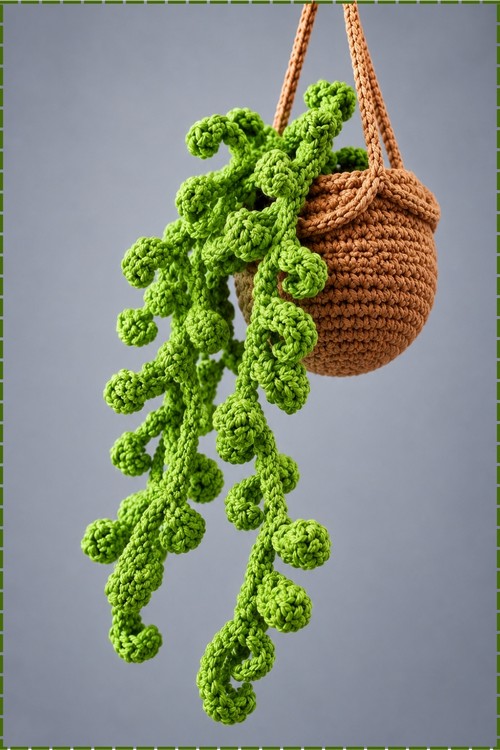
Rounds of single crochet build a rounded belly on this crochet hanging plant pot, then decreases pull the top back in so the vines spill out of a small opening. Each vine starts as a long chain with leaf clusters worked along it, and the return pass is what makes everything coil. Mine uses a warm terracotta cotton for the pot, with the strap worked in the same colour. Bright green leaves curl tightly on their own once the vine is finished. Hanging it takes nothing more than a chained strap anchored at two points. Expect an evening for the pot alone.
Why I Keep Making These
I made the first one because I kill real plants. Mine hangs in a corner of the hallway that gets no daylight at all, which is exactly the spot where nothing living has ever survived more than a month.
The part that surprised me is the curl. You chain the vine, add the leaves, and it looks like a limp green string. Then you slip stitch back along the chain and the whole thing twists into spirals in your hands. It happens all at once and it is the best moment in the project.
Materials and Tools
- Worsted weight cotton in terracotta or a warm tan for the pot and the hanging strap
- Worsted weight cotton in bright leaf green for the vines and leaves
- Crochet hook sized a little smaller than your yarn label suggests, so the pot fabric stays dense
- Scissors
- Tapestry or darning needle
- Stitch markers, recommended
- Polyfill or scrap yarn ends for stuffing
My pot and strap are the same terracotta, which reads as one continuous piece and keeps the eye on the green. The source pattern suggests brown for the pot and leaves the strap colour open, so this is a small change on my part.
Cotton is the right choice here. The pot holds its round shape, and the vines need a yarn with enough body to hold a curl. A soft acrylic goes limp and the spirals relax out within a day.
Difficulty and Time
Intermediate, mostly because of length rather than difficulty. Every stitch in the pot is a single crochet, and the vines use only chains, single crochet, half double crochet, and double crochet.
In my experience the pot takes two to three hours, and each vine runs twenty to thirty minutes. Four vines plus assembly means a full afternoon, or two sittings if you want to keep your hands happy.
Beginner Technique Notes
- The pot works in joined rounds, not a spiral. Each round ends with a slip stitch and a chain 1, which makes counting easy but does leave a faint seam line up one side. Turn that seam to the back when you hang it.
- Back loop only and front loop only rounds appear several times. Working into only one loop leaves the other loop free, which is how the pattern creates both the flat base edge and the decorative lip near the top.
- Invisible decrease: pick up the front loops of the next two stitches, yarn over, pull through all loops. It leaves a much smoother surface than a standard decrease on a pot this size.
- The vine curl comes from the return pass. Slip stitching back along the foundation chain twists the fabric, and the tighter you work it the more the vine coils.
The Pattern
Part 1: The Pot
- Round 1: Make a magic ring and work 8 single crochet (sc) into it. Pull the tail to close, join with a slip stitch into the first single crochet, and chain 1. (8)
- Round 2: Increase in every stitch around by working 2 sc in each stitch. Skip the slip stitch and chain, join with a slip stitch to the first sc, and chain 1. (16)
- Round 3: Work 1 sc in the next stitch, then an increase in the next stitch, repeating around. Join and chain 1. (24)
- Round 4: Work 1 sc in each of the first 2 stitches, then an increase in the 3rd stitch, repeating around until 1 stitch remains, then 1 sc in the last stitch. Join in the back loop only with a slip stitch and chain 1. (32) The piece should still lie completely flat at this point, since this is the full width of the pot base.
- Round 5: Work 1 sc in the back loop only of each stitch around. Join with a slip stitch and chain 1. (32) Working only the back loops here pulls the sides upright and leaves a crisp ridge where the base ends.
- Round 6: Work 1 sc in each stitch around. Join and chain 1. (32)
- Round 7: Work 15 sc, then 1 increase, repeating around. Join and chain 1. (34)
- Round 8: Work 1 sc in each stitch around. Join and chain 1. (34)
- Round 9: Work 16 sc, then 1 increase, repeating around. Join and chain 1. (36)
- Round 10: Work 1 sc in each stitch around. Join and chain 1. (36)
- Round 11: Work 17 sc, then 1 increase, repeating around. Join and chain 1. (38)
- Round 12: Work 1 sc in each stitch around. Join and chain 1. (38)
- Round 13: Work 18 sc, then 1 increase, repeating around. Join and chain 1. (40) The alternating increase and plain rounds are what give the pot its gentle curve rather than straight sides, so resist the urge to skip the plain rounds.
- Round 14: Work 1 sc in each stitch around. Join and chain 1. (40)
- Round 15: Work 19 sc, then 1 increase, repeating around. Join in the front loop only with a slip stitch and chain 1. (42) This is the widest point of the pot, which on my version sits roughly two thirds of the way up.
- Round 16: Work 1 sc in the front loop only of each stitch around. Join and chain 1. This round sticks out as a small raised rim and is purely decorative, so keep your tension even or it will flare unevenly.
- Round 17: Fold the edge slightly to reveal the unused back loops from round 15, then work 1 sc in each of those remaining back loops around. Join and chain 1. (42)
- Round 18: Work 5 sc, then 1 invisible decrease, repeating around. (36)
- Round 19: Work 3 sc, then 1 invisible decrease, repeating around. (24)
- Round 20: Work an invisible decrease across all stitches, working in front loops only. Join and chain 1. (12) The opening is closing fast now, so check the shape from the side before going further.
- Stuffing: Pause and stuff the pot firmly with polyfill or scrap yarn ends, then shape it with your hands into an even round belly. Understuffing here is the most common problem, since a soft pot sags into an egg shape as soon as it hangs.
- Round 21: Continue decreasing across all stitches until 6 stitches remain. Join with a slip stitch and chain 1. Cut the yarn leaving a tail for sewing, pull tight, and close any remaining small gap with a darning needle.
Part 2: The Vines and Leaves
Make a set of four vines. One with 13 leaves, one with 12 leaves, and two with 10 leaves.
- Foundation: Leave a long tail, make a slip knot, and chain 10.
- Leaf: Work 1 sc in the second chain from the hook.
- Leaf: Work 1 half double crochet (hdc) in the next chain.
- Leaf: Work 1 double crochet (dc) in the next chain.
- Leaf: Work 1 hdc in the next chain.
- Leaf: Work 1 sc in the next chain.
- Leaf: Work 1 slip stitch into the final chain of that leaf group. The rising and falling stitch heights are what round the leaf out, and on my plant each of these clusters ends up as one tight green spiral.
- Repeat: Chain 10 and work the same leaf sequence again, continuing until the vine holds the number of leaves you want.
- Return pass: Once all leaves are formed, slip stitch back up through each chain of the foundation chain. This is the step that gives the vine structure and makes it curl naturally, so do not skip it or work it loosely.
- Finish: Chain 1 and cut the yarn, leaving a tail.
Part 3: Assembly and the Hanging Strap
- Thread the tail of each finished vine onto a darning needle.
- Insert the needle directly into the center top of the pot.
- Bring all the yarn tails out at the same exit point on the bottom or side of the pot.
- Tie the tails together with secure knots, using a shoelace tie so they hold, then tuck the ends inside the pot.
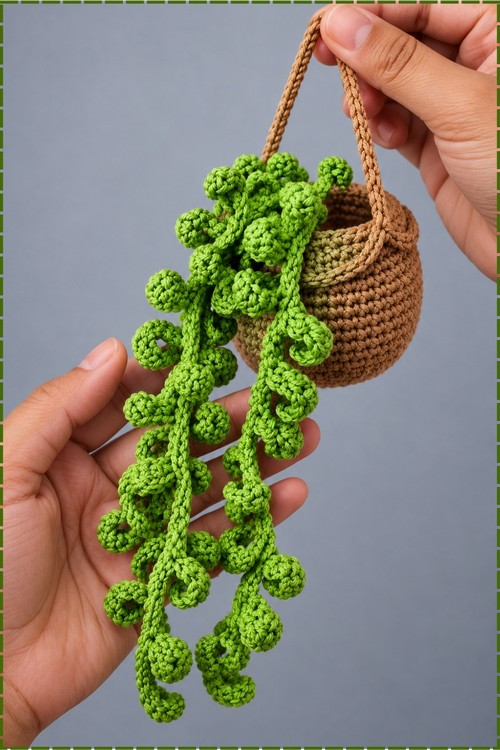
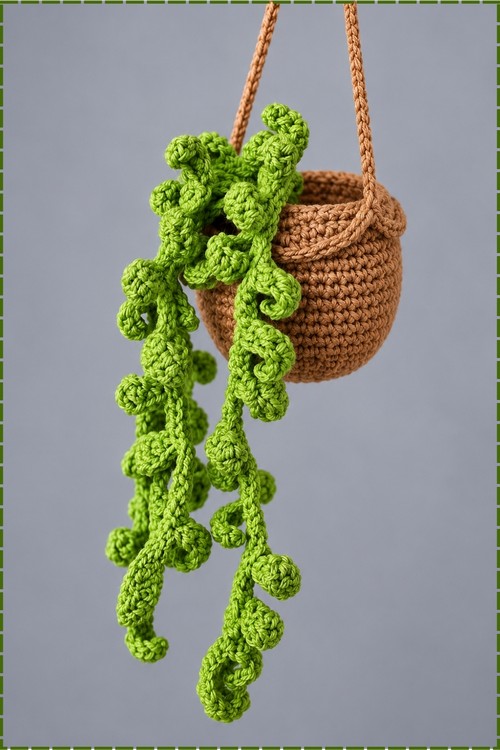
- Arrange the vines before the knots go tight. On mine they all spill over one side of the pot rather than hanging evenly all the way round, which is what gives the plant its lopsided, growing look.
- Join your strap yarn with a slip knot to any front loop stitch on the side of the pot. I used the same terracotta as the pot so the strap reads as part of it.
- Chain 60, or longer if you want the plant to hang lower.
- Secure the opposite end by slip stitching directly across to the opposite side of the pot rim. Check the strap sits level before you fasten off, because an uneven strap tilts the whole pot once it hangs.
- Chain 1, fasten off, and weave in all remaining loose ends with your darning needle.
Tips and Troubleshooting
Yarn Substitution
Cotton is strongly preferred for both parts. It gives the pot a firm wall that holds the round shape and gives the vines enough stiffness to keep a spiral.
Acrylic works for the pot at a push, though it stretches under the weight of the vines over time. For the vines themselves I would avoid it entirely, since soft acrylic curls weakly and relaxes within days.
Avoid anything fuzzy. The leaf shaping depends on seeing the half double and double crochet heights, and a halo blurs all of it into a green blob.
Customization Ideas
- Change the pot colour. Cream, sage, dusty pink, or a dark charcoal all work and shift the whole look.
- Make the strap in a contrast colour, or braid three chains together for a thicker hanger.
- Add more vines for a fuller plant, or use only two for a sparse trailing look.
- Vary the leaf count per vine beyond the four given to control how far the plant trails.
- Work the leaves in two shades of green for depth.
- Skip the strap entirely and sit the pot on a shelf, since the body stands on its own flat base.
- Add a chained loop at the top of the strap for hanging on a hook rather than over a rail.
FAQ
Why are my vines not curling?
Almost always the return pass. If you worked the slip stitches back along the chain loosely, or skipped them, the vine has nothing pulling it into a twist. Work them snug and the curl appears as you go.
How do I stop the pot sagging when it hangs?
Stuff it firmly and evenly, paying attention to the widest rounds around 13 to 15. A pot that holds its shape on the table but sags when hung was underfilled through the middle.
What is the decoration round actually doing?
Round 16 works into the front loops you left free in round 15, which creates a small raised ridge around the pot. Round 17 then picks up the back loops behind it and carries on with the body, so the ridge sits on the surface as a rim.
Can I use a real plant pot instead?
You can crochet just the vines and tuck them into a small real pot. Attach all the vine tails to a single knot and anchor that knot under some soil or a stone so they hang from one point.
How long should the hanging strap be?
Chain 60 gives a short drop suited to a shelf edge or a small hook. Chain longer for a ceiling hook. Hold the chain up against the spot before you fasten off, since it is quick to add more and annoying to undo.