
Crochet Amigurumi Ice Cream Keychain Pattern Free
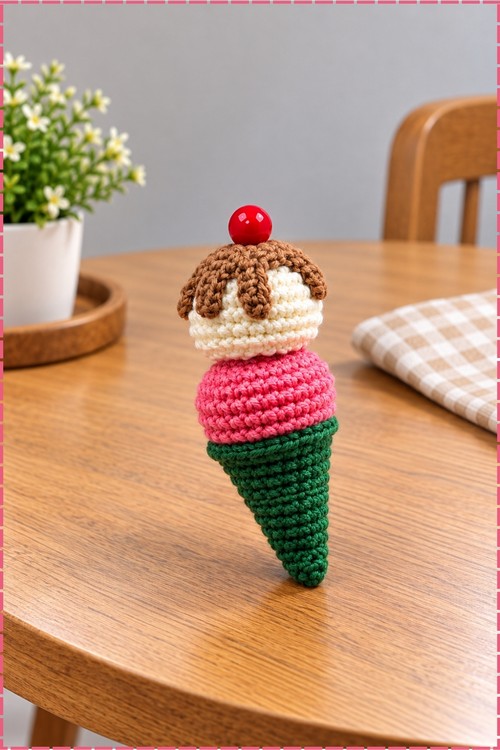
Keyrings, zip pulls and backpack straps suit the finished treat, since fine 1.6 mm acrylic on a 1.5 mm hook keeps the whole ice cream cone small. Deep green, hot pink, cream and brown build the layers, and a red pearl bead sewn on top stands in for the cherry.
Brown sauce over a cream top gives this crochet ice cream amigurumi its layered look. Three colours, one bead, no face to embroider. Good for scrap yarn. Stack the sections, add the topping, done. Anyone wanting a quick crochet ice cream amigurumi without fiddly parts can finish this one in a single sitting.
Crochet Ice Cream Amigurumi
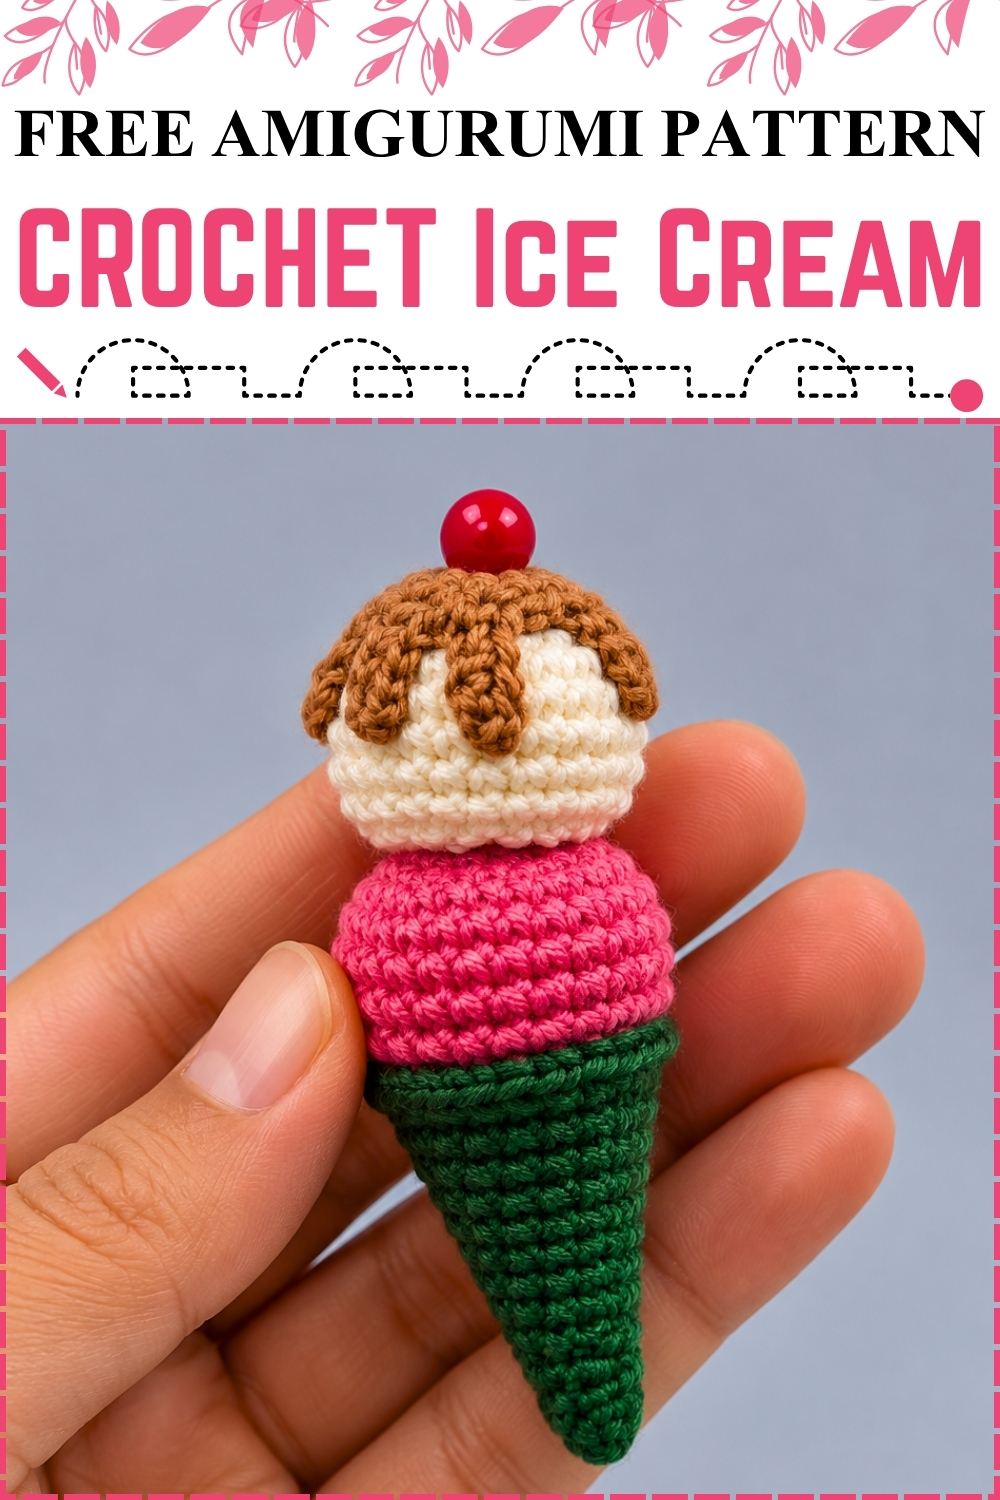
Four separate pieces stack into this crochet ice cream amigurumi, each closed and stuffed on its own before anything gets sewn. Scoops work as simple spheres, increasing to their widest round and decreasing straight back down. Below them the cone builds slowly in paired increases with plain rounds between, which is what keeps the taper long instead of flaring. Drips come from a small flat circle with chained tails worked around its edge. Mine uses deep green for the cone, hot pink for the lower scoop, cream above it and brown syrup on top.
Materials
- Fine acrylic yarn, around 1.6 mm thick, in deep green, hot pink, cream and brown
- 1.5 mm crochet hook
- Fiberfill stuffing
- A medium red pearl bead for the cherry
- Double strand sewing thread to attach the bead
- Scissors, stitch marker, sewing needle and pliers if your needle sticks in tight spots
Size and Time
The finished piece stands around 8 cm, about 3.1 inches, with the recommended yarn, though tension and yarn weight shift that either way. Mine took roughly three hours across the four pieces and the sewing, which is a slow pace for the size because a 1.5 mm hook asks for patience.
The Pattern
Small Top Scoop
- Round 1: Magic ring, written as MR, with 6 single crochet, written as sc [6 sts].
- Round 2: 6 increase, written as inc [12 sts].
- Round 3: (1 sc, 1 inc) repeated 6 times [18 sts].
- Round 4: (2 sc, 1 inc) repeated 6 times [24 sts].
- Rounds 5 to 8: 1 sc in each stitch around for 4 rounds [24 sts].
- Round 9: (2 sc, 1 decrease, written as dec) repeated 6 times [18 sts].
- Round 10: (1 sc, 1 dec) repeated 6 times [12 sts].
- Stuff the piece firmly before the opening closes further.
- Round 11: 6 dec [6 sts].
- Leave a tail, top up the stuffing if needed, run the needle through the front loops of the last 6 stitches, cinch the hole shut and hide the tail inside.
- Work this scoop in cream, which is the colour sitting second from the top on my version.
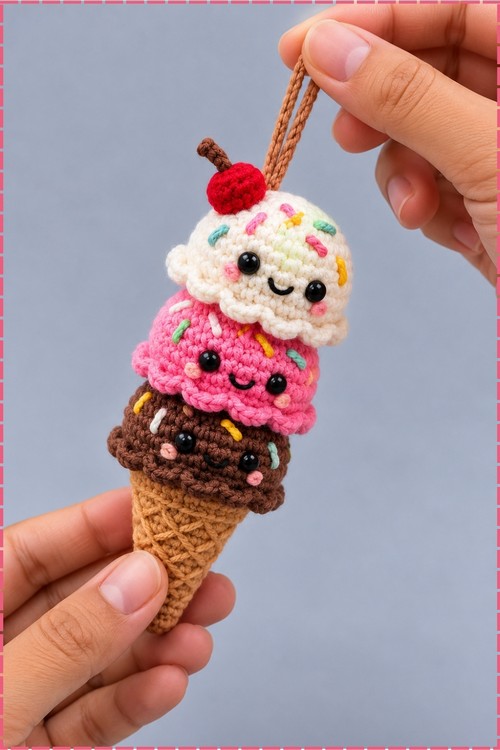
Large Bottom Scoop
- Round 1: MR with 6 sc [6 sts].
- Round 2: 6 inc [12 sts].
- Round 3: (1 sc, 1 inc) repeated 6 times [18 sts].
- Round 4: (2 sc, 1 inc) repeated 6 times [24 sts].
- Round 5: (3 sc, 1 inc) repeated 6 times [30 sts].
- Rounds 6 to 10: 1 sc in each stitch around for 5 rounds [30 sts].
- Round 11: (3 sc, 1 dec) repeated 6 times [24 sts].
- Round 12: (2 sc, 1 dec) repeated 6 times [18 sts].
- Round 13: (1 sc, 1 dec) repeated 6 times [12 sts].
- Stuff the piece firmly.
- Round 14: 6 dec [6 sts].
- Finish off leaving a long yarn tail for closing and sewing.
- Work this scoop in hot pink, which sits directly on the cone in my photo.
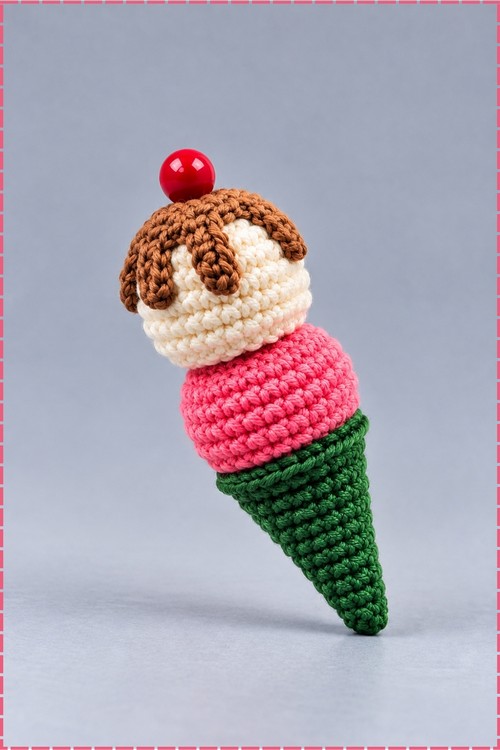
Cone
- Round 1: MR with 4 sc [4 sts].
- Round 2: 4 inc [8 sts].
- Push the piece right side out before going further.
- Round 3: 1 sc in each stitch around [8 sts].
- Round 4: (3 sc, 1 inc) repeated 2 times [10 sts].
- Round 5: 1 sc in each stitch around [10 sts].
- Round 6: (4 sc, 1 inc) repeated 2 times [12 sts].
- Round 7: 1 sc in each stitch around [12 sts].
- Round 8: (5 sc, 1 inc) repeated 2 times [14 sts].
- Round 9: 1 sc in each stitch around [14 sts].
- Start stuffing the cone gradually from here so the filling spreads evenly down to the tip.
- Round 10: (6 sc, 1 inc) repeated 2 times [16 sts].
- Round 11: 1 sc in each stitch around [16 sts].
- Round 12: (7 sc, 1 inc) repeated 2 times [18 sts].
- Round 13: (8 sc, 1 inc) repeated 2 times [20 sts].
- Round 14: 1 sc in each stitch around [20 sts].
- Round 15: (9 sc, 1 inc) repeated 2 times [22 sts].
- Round 16, the edge: (Chain 1, written as ch 1, then 1 sc into the next stitch) repeated all the way around for a textured rim.
- Finish off leaving a long tail of about 20 cm for sewing the cone to the scoop.
- Work the cone in deep green rather than a tan or brown, which is the swap I made on mine.
Chocolate Syrup
- Round 1: MR with 6 sc [6 sts].
- Round 2: 6 inc [12 sts].
- Round 3, the drips: Ch 5, then starting in the second chain from the hook work 4 sc down the chain, skip 1 stitch on the base round and slip stitch, written as sl st, into the next stitch. Repeat that sequence 6 times in total around the circle.
- Finish off with a sl st into the starting space and leave a 30 cm tail for sewing.
- Work this piece in brown so the drips read as chocolate against the cream scoop below.
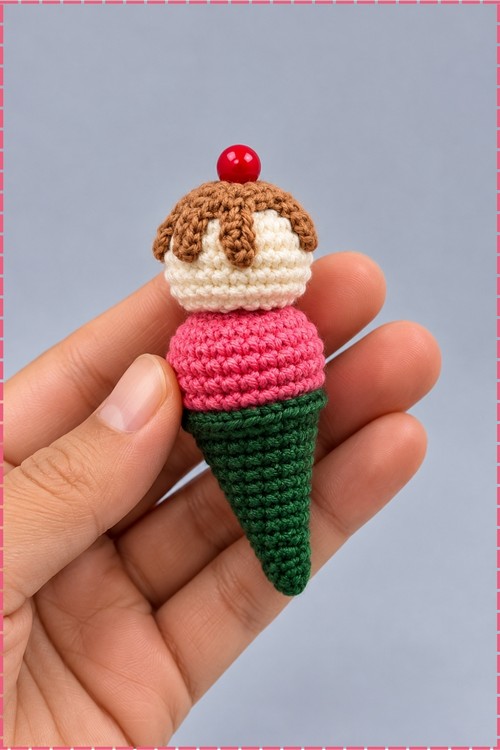
Assembly
- Sew the large pink scoop to the top of the cone using the long tail left on the cone, passing the needle under the stitches of the scoop and back through the inner loops of the cone.
- Add a little more stuffing just before you close that seam so the join stays solid.
- Pin the small cream scoop to the centre of the large scoop, then sew it down with its own tail or fresh yarn, knot securely and hide the ends inside.
- Pin the brown syrup piece over the top of the small scoop and sew it down with its long tail, placing a small stitch at the tip of each drip so none of them lift away.
- Let the drips fall at uneven angles around the scoop rather than spacing them perfectly, which is how mine sit.
- Thread a sewing needle with doubled thread, go up through the bottom or side of the small scoop and out through the top centre.
- Pass the thread through the red bead a couple of times, tie three secure knots and bury the excess inside the body.
Tips
- Close every piece before you sew anything. Stuffing a scoop that is already attached is far harder than it sounds at this size.
- Keep the cone increases paired and spaced as written. Adding extras anywhere widens the taper and the pink scoop then overhangs badly.
- Count the chain 5 drips as you go. Losing one leaves a visible gap in the syrup ring.
- Pin before every seam. On a piece this small, a scoop sewn two stitches off centre leans noticeably.
Frequently Asked Questions
Can I use thicker yarn and a bigger hook? Yes, and every count stays the same. The finished piece simply comes out larger than 8 cm, so treat the stated size as tied to the 1.5 mm hook only.
Why does my cone bend instead of standing straight? Uneven stuffing. Fill it gradually as you work rather than all at once at the end, pushing fiberfill right into the tip before the rounds narrow past reach.
Can I crochet the cherry instead of using a bead? You can, by working a tiny ball in red and sewing it to the top. The bead gives the glossy finish visible in my photo, but a crocheted version is the safer choice for anything going to a small child.