
Crochet Ice Cream Cone Pattern Free Easy Amigurumi
Red and white marled yarn turns the scoop into strawberry ripple, while the long tapered cone grows from four stitches to thirty across steady increase rounds. Plan on about two and a half hours for this easy amigurumi, with the shell drip round as the only fiddly part.
Drip edging is the fun part of making this crochet ice cream cone, the bit where it stops looking like a ball of yarn. Sprinkles go on last. Scattering them wherever you like turns the crochet ice cream cone into something you keep turning over in your hands while you decide where the next one lands.
Crochet Ice Cream Cone
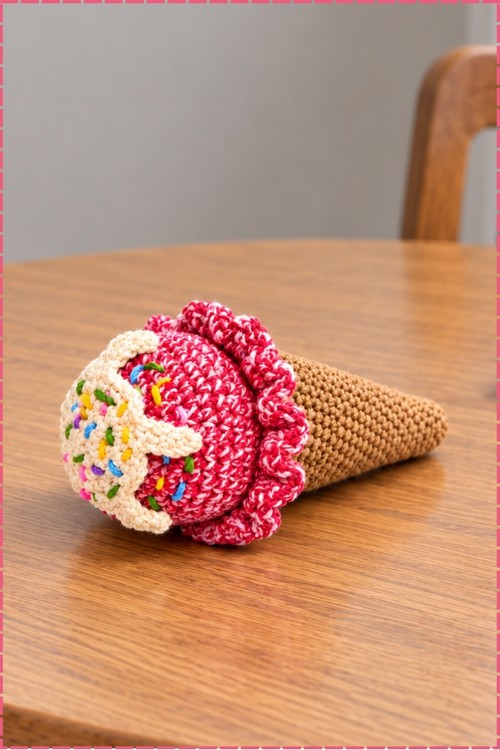
Increase rounds do all the work in this crochet ice cream cone, widening four stitches into thirty across a long tapered tube so the cone grows at a steady angle with no shaping tricks. Front loop shells on the scoop create the ruffled melted edge that flops over the rim, and the back loops left behind become the seam that joins the two halves. Mine uses a red and white marled yarn for the scoop, which breaks up the stitches like real strawberry ripple. Cream coloured drips, rainbow sprinkles and a cherry finish the top.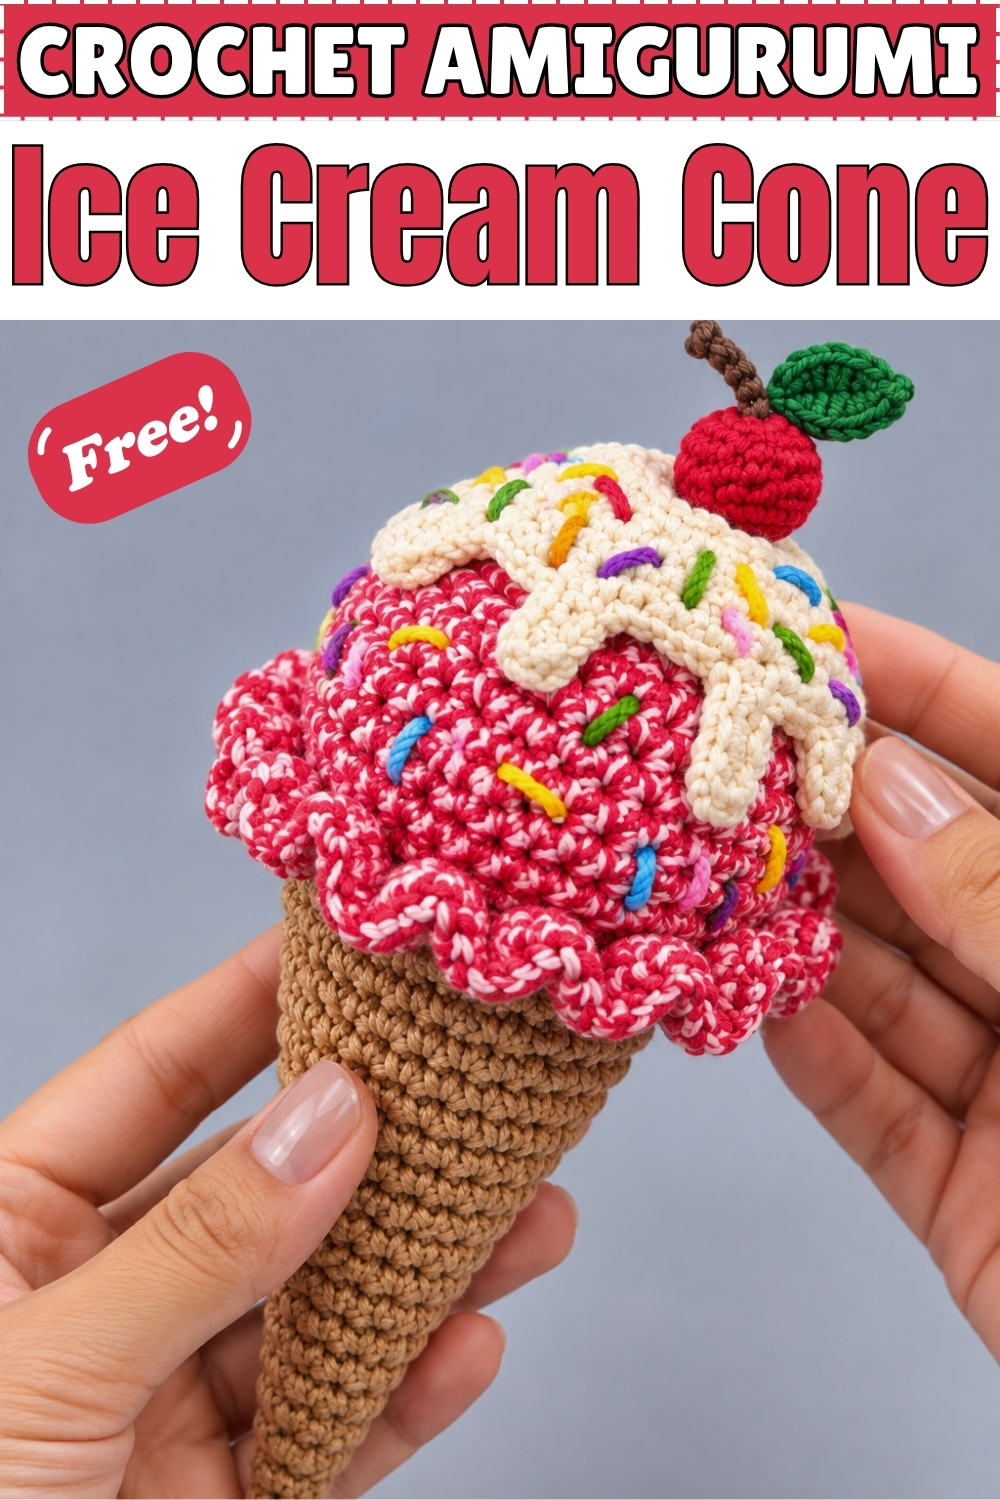
Quick Facts
- Difficulty: easy, with the shell round as the only fiddly part
- Time: around two and a half hours in my experience, most of it in the long cone
- Finished size: fits comfortably in one hand, though no measurement comes with the pattern
- Skills used: magic ring, single crochet, double crochet, increases, front loop work, whip stitch seaming
Materials and Tools
- Size 4 worsted weight yarn in a red and white marled or variegated shade for the scoop
- Tan or light brown yarn in the same weight for the cone
- Cream or off white yarn for the drip topping
- Red yarn for the cherry, brown for its stem and green for the leaf
- Scraps of yellow, blue, green, purple, orange and pink for the sprinkles
- 3.5 mm or 4.0 mm crochet hook, sized below the yarn label so stuffing stays hidden
- Polyfill stuffing
- Tapestry needle, stitch marker and scissors
- Safety eyes in 8 mm or 10 mm are optional and my version does not use them
Customization Ideas
- Pick a solid pink, mint or pale brown for the scoop instead of the marl for a cleaner flavour look.
- Add safety eyes and a smile between rounds 6 and 7 if you want a character rather than plain food.
- Skip the drip piece and let the ruffled edge carry the whole top.
- Swap the cherry for a small crochet strawberry or leave the top bare.
- Sew a hanging loop into the top and use the cone as an ornament or bag charm.
- Make a second scoop and stack it above the first for a double cone, keeping every count as written.
The Pattern
Ice Cream Scoop
- Work the scoop in your flavour colour from the top down in a continuous spiral, moving your stitch marker each round.
- Round 1: 6 single crochet, written as sc, in a magic ring, written as MR [6].
- Round 2: Increase, written as inc, in each stitch around [12].
- Round 3: [1 sc, inc] repeated 6 times [18].
- Round 4: [2 sc, inc] repeated 6 times [24].
- Round 5: [3 sc, inc] repeated 6 times [30]. The piece should sit as a shallow dome now, not a flat circle.
- Rounds 6 to 10, 5 rounds total: Single crochet in each stitch around [30]. These straight rounds give the scoop its height and rounded sides.
- Insert safety eyes between rounds 6 and 7 about 5 stitches apart and embroider a small smile if you want a face, which is optional and my own scoop leaves out.
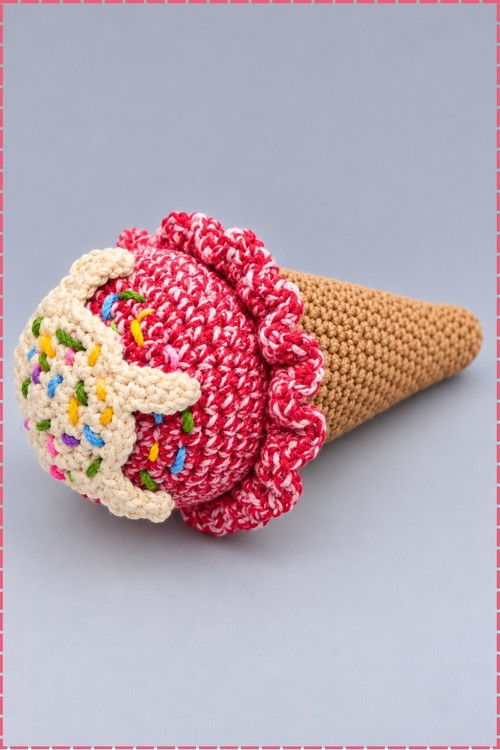
- Round 11, the ruffles: Working in front loops only, written as FLO, for this entire round, work [slip stitch, written as sl st, in next stitch, skip 1 stitch, 5 double crochet, written as dc, in the next stitch, skip 1 stitch] and repeat that scallop sequence all the way around. Keep the double crochets relaxed so the shells fall outward over the cone instead of standing up.
- Fasten off and weave in your ends on the inside of the dome.
- Note the unused back loops left behind inside the bottom of the scoop from round 10, since those loops attach the cone later.
- Embroider sprinkles across the scoop before assembly, working short straight stitches in several bright colours and angling each one differently so they look scattered.
- Spread the sprinkles over the whole visible dome rather than clustering them at the top, which is how mine sit.
Cone
- Switch to tan yarn and work the cone from the bottom tip upward in a continuous spiral.
- Round 1: 4 sc in a magic ring [4].
- Round 2: [1 sc, inc] repeated 2 times [6].
- Round 3: [2 sc, inc] repeated 2 times [8].
- Round 4: [3 sc, inc] repeated 2 times [10].
- Round 5: [4 sc, inc] repeated 2 times [12].
- Round 6: [5 sc, inc] repeated 2 times [14].
- Round 7: [6 sc, inc] repeated 2 times [16].
- Round 8: [7 sc, inc] repeated 2 times [18].
- Round 9: [8 sc, inc] repeated 2 times [20].
- Round 10: [9 sc, inc] repeated 2 times [22].
- Round 11: [10 sc, inc] repeated 2 times [24].
- Round 12: [11 sc, inc] repeated 2 times [26].
- Round 13: [12 sc, inc] repeated 2 times [28].
- Round 14: [13 sc, inc] repeated 2 times [30]. Only two increases land per round here, which is what keeps the cone long and narrow rather than bowl shaped.
- Rounds 15 to 18, 4 rounds total: Single crochet in each stitch around [30]. These straight rounds form the smooth rim the scoop sits on.
- Fasten off leaving a long tail of about 12 to 15 inches for sewing.
- My cone stays plain with no waffle texture, so leave the surface smooth unless you want to add embroidery of your own.
Cream Drip Topping
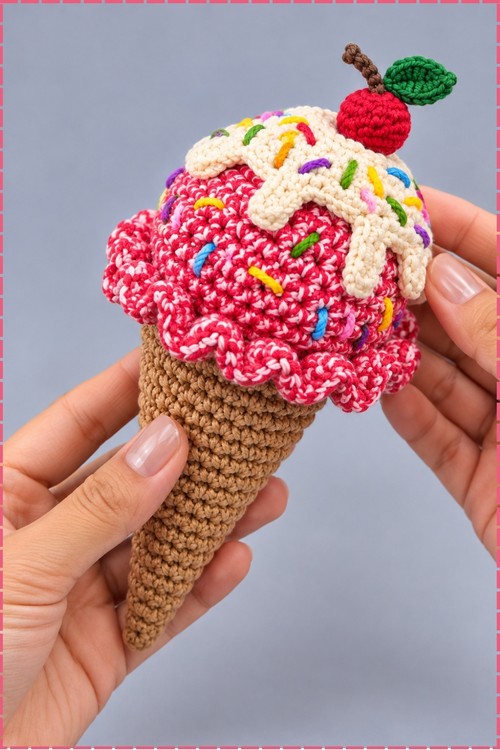
- A separate cream coloured drip piece sits over the top of my scoop, which the plain pattern does not include, so work it as a flat cap in cream yarn.
- Begin with a magic ring and work increase rounds until the circle covers the top third of the scoop.
- Shape the outer edge into uneven tongues by working short rows of varying length off the circle, letting some run long and others stop short so the drips look poured.
- Sew the piece flat onto the top of the scoop, stitching around the centre and then tacking the tip of each drip down so none of them lift away.
- Embroider a few sprinkles onto the cream piece as well, since mine carries colour across both layers.
Cherry with Leaf
- A red cherry with a brown stem and a green leaf sits on the drip topping, also absent from the plain pattern.
- Work the cherry as a small ball in red yarn, starting with a magic ring, increasing for a round or two, working straight briefly, then decreasing back down and stuffing lightly before closing.
- Chain a stem in brown yarn until it reaches your preferred length and slip stitch back along the chain.
- Work the leaf in green yarn as a small flat oval, starting with a chain and working single crochet along both sides of it, then tapering to a point at one end.
- Sew the stem into the top of the cherry, then attach the leaf to the side of the stem near the top.
- Sew the cherry to the cream topping slightly off centre, which is where mine sits.
Assembly
- Stuff the cone firmly with polyfill all the way to the top, and stuff the upper dome of the scoop the same way.
- Thread the long tan tail from the cone onto your tapestry needle.
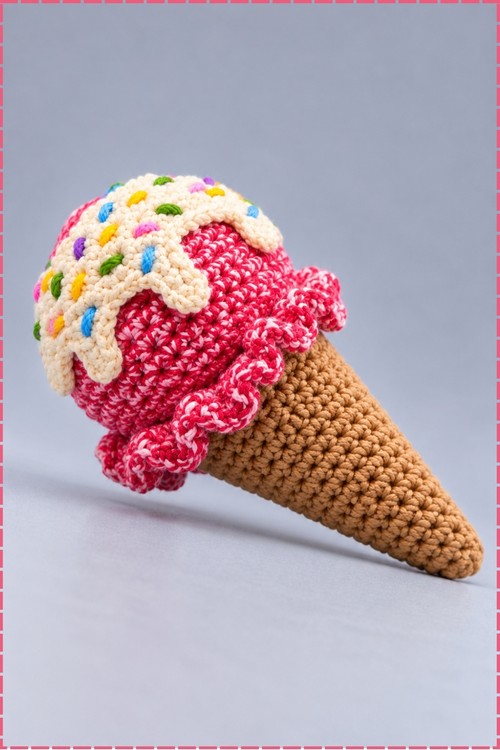
- Align the open top edge of the cone, which holds 30 stitches, with the untouched back loops inside the scoop, which also hold 30 stitches and sit tucked behind the ruffles.
- Whip stitch the two pieces together stitch by stitch all the way around, keeping your tension even so the join does not pucker.
- Stop when about an inch of the seam remains open and push extra stuffing into the gap with your fingers or the back of your hook, which is what stops the neck going floppy.
- Sew the hole completely closed, knot securely and bury the remaining tail deep inside the piece.
Tips and Troubleshooting
- Recount at round 5 of the scoop and round 14 of the cone. Both must land on 30 or the seam will not line up, and a single missed increase in the cone is easy to overlook across fourteen rounds.
- Work the sprinkles before assembly while you can still reach inside the scoop to start and finish each stitch, so no knots sit on the surface.
- If the cone tip looks rounded instead of pointed, your magic ring did not close fully. Tighten it from the inside with your needle before any stuffing goes in.
Yarn Substitution
The marled red and white yarn in my photo does a lot of work here, giving the scoop a flecked ripple look that a solid colour cannot match. Any variegated or twisted two colour yarn in worsted weight gives the same effect. Cotton holds the shell edge crisply, while acrylic softens it over time. Keep every colour at the same weight so the scoop and cone both reach 30 stitches at the same diameter, and skip fuzzy yarns since the sprinkles disappear against texture.
Frequently Asked Questions
My ruffle round stands upright instead of draping. How do I fix it? Loosen the double crochets. Tight shells lock into a stiff collar, while relaxed ones fall outward and overhang the cone rim the way they do in my photo.
Can I make this without the drip piece? Yes. The scoop and cone are complete on their own, and the ruffled edge already gives the top plenty of interest. The drip is an extra layer, not a structural part.
Why does the join between the scoop and cone look weak? Usually under stuffing at the neck. Push extra fill into the last inch of the seam before you close it, since that transition carries all the weight of the scoop.
How do I keep the sprinkles from pulling out? Anchor each stitch inside the stuffed body rather than skimming across the surface, and keep each sprinkle short. Long floats catch on fingers and work loose fast.