
Crochet Bee Amigurumi Free Pattern With Wings
Milk cotton in teal, red and grey replaces the usual yellow and black on this crochet bee amigurumi with wings. Joined rounds keep every stripe in a clean band, and the small size on a 2.5 mm hook lets you clip one onto a bag as a keychain.
Teal and red stripes turn the crochet bee amigurumi into a spring craft fair seller. Make a batch for Easter tables, garden parties, and May market stalls. Pollinator week displays too. The crochet bee amigurumi sits upright in a basket, so you can pile them without flattening the wings.
Crochet Bee Amigurumi
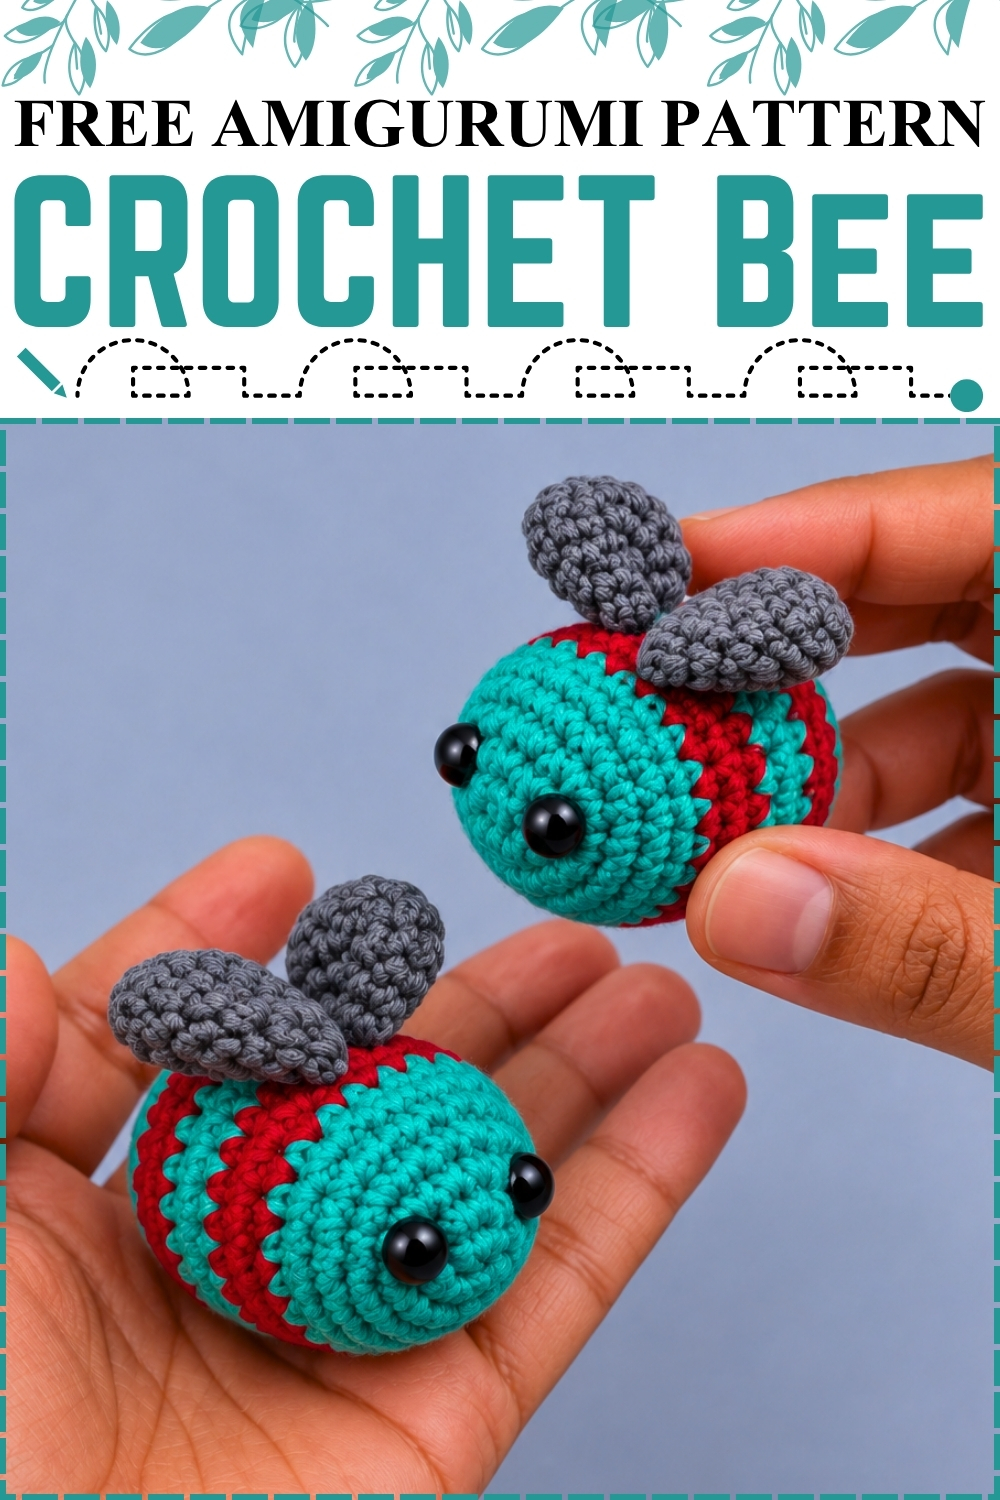
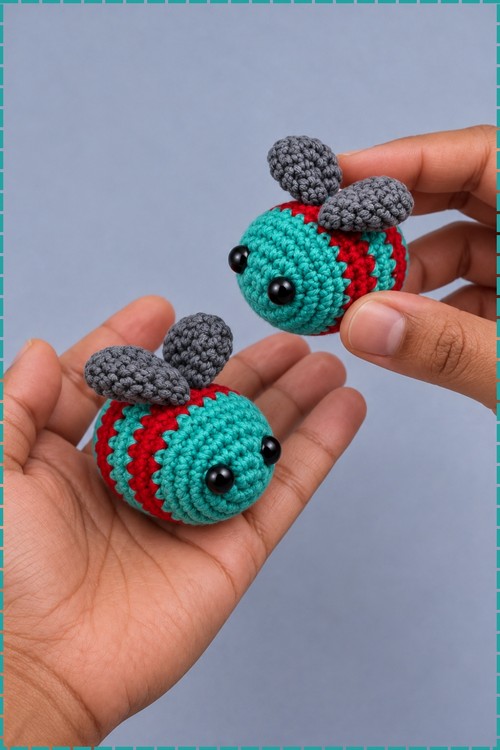
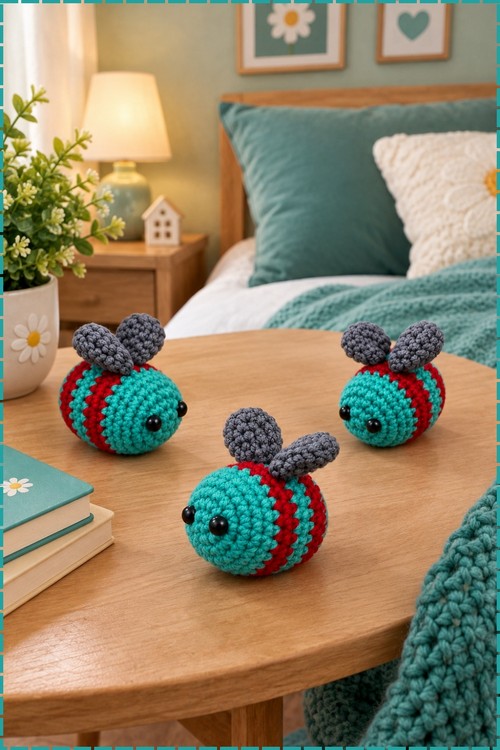
Colour changes every two rounds are what build the stripes on this body, and the whole crochet bee amigurumi works in joined rounds rather than a continuous spiral, so each colour sits in a clean horizontal band without any jog at the join. My bees use teal as the main body colour and red for the stripes, swapping out the classic yellow and black entirely, and the wings are worked in grey instead of white. Two small black bead eyes sit close together on the front face section. Both bees in the photo are identical in construction, just displayed from slightly different angles.
Why I Love This One
Teal and red together read almost festive, which means these little bees end up on bags and keychains well into winter, not just in summer. Making two at once barely adds time since you just repeat the body before moving on to the wings.
Materials and Tools
- 5-ply milk cotton yarn in teal for the main body
- 5-ply milk cotton yarn in red for the stripe rounds
- 5-ply milk cotton yarn in grey for the wings
- 2.5 mm crochet hook
- Two 6 mm black bead or safety eyes per bee
- Strong craft glue such as B-7000 or similar
- Fiberfill stuffing
- Yarn needle
- Scissors
The source pattern uses yellow, black and white. My version replaces yellow with teal, black stripes with red, and white wings with grey.
Difficulty and Time
Easy to beginner-friendly. The only techniques here are single crochet, increase, decrease and half double crochet increase, plus colour changes at the slip stitch join of each round. From my own experience one complete bee including wings takes under an hour, and making a pair adds maybe fifteen minutes since the body rhythm is already in your hands.
The Pattern
Bee Body
- Use the 2.5 mm hook and teal yarn
- Round 1: make a magic ring (MR), chain (ch) 1, work 6 single crochet (sc) into the ring [6]
- Round 2: slip stitch (sl st), ch 1, work 1 increase (inc, meaning 2 sc in the same stitch) in each stitch around [12]
- Round 3: sl st, ch 1, work 1 sc, 1 inc, repeat 6 times around [18]
- Round 4: sl st, ch 1, work 2 sc, 1 inc, repeat 6 times around [24]
- Rounds 5 and 6: sl st, ch 1, work 24 sc around [24]
- Rounds 7 and 8: change to red yarn, sl st, ch 1, work 24 sc around [24] and these two rounds form the first red stripe visible on the body
- Rounds 9 and 10: change to teal yarn, sl st, ch 1, work 24 sc around [24]
- Rounds 11 and 12: change to red yarn, sl st, ch 1, work 24 sc around [24] and the body should now show two clean red bands separated by teal, which is exactly the striped pattern visible on my bees
- Round 13: change to teal yarn, sl st, ch 1, work 24 sc around [24]
- Round 14: sl st, ch 1, work 2 sc, 1 decrease (dec), repeat 6 times around [18]
- Round 15: sl st, ch 1, work 1 sc, 1 dec, repeat 6 times around [12]
- Stuff the body firmly with fiberfill now before the opening closes
- Round 16: sl st, ch 1, work 6 dec around [6]
- Fasten off leaving a tail, weave the needle through the front loops of the remaining stitches, and pull tight to close the hole
- Optional: create a small loop with the remaining yarn tail at the top to turn the bee into a keychain, secure and hide the tail inside the body
Wings (Make 2)
- Use the 2.5 mm hook and grey yarn
- Round 1: make a MR, ch 1, work 6 sc into the ring [6]
- Round 2: sl st, ch 1, work 1 half double crochet increase (hdc inc, meaning 2 hdc in the same stitch) in each stitch around [12]
- Sl st to finish, fasten off leaving a tail for sewing or gluing, and make a second identical wing
Assembly
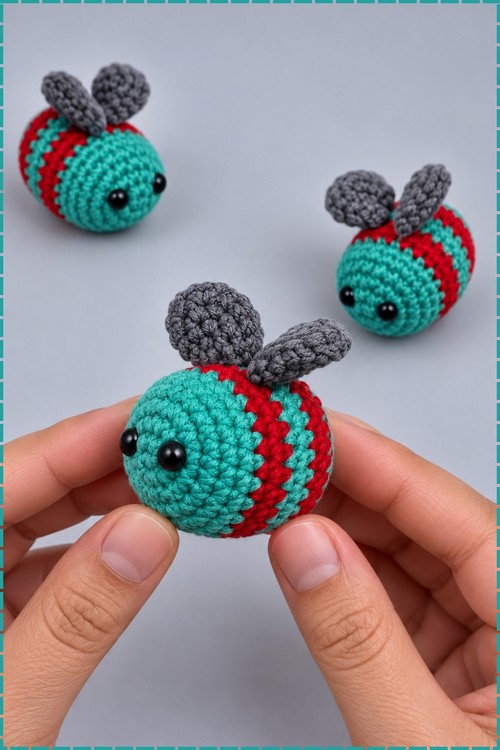
- Glue or sew both grey wings onto the top of the bee body over the red stripe section, positioning them side by side so they angle upward and slightly back, which is how they sit on both bees in my photo
- Glue the two 6 mm black bead eyes onto the front teal section of the face, placing them close together and level with each other
Tips and Troubleshooting
- Change colour at the slip stitch of each joined round, not mid-round. Picking up the new yarn at the join gives a clean horizontal stripe edge without any colour bleed into the previous round.
- Work the Round 16 decreases firmly. At six stitches the hole can stay stubbornly open if the tension is even slightly loose, and pulling the closing tail through the front loops first helps cinch it completely flat.
- Glue the wings before the eyes. Positioning the wings first gives a clear reference point for where the face sits, which makes eye placement more consistent across a pair.
- If the body looks lumpy after stuffing, the fiberfill was added in one large piece rather than small pinches. At 2.5 mm the fabric is dense enough to hide the texture only when the stuffing is distributed evenly.
Yarn Substitution
Any smooth 5-ply or fingering weight works here. The milk cotton in the source pattern gives a firm, slightly structured body that holds the round shape well after stuffing. A standard cotton fingering behaves the same way. Avoid anything with stretch or halo because the colour change rows need a clean edge and textured yarn muddies the stripe line.
Customisation Ideas
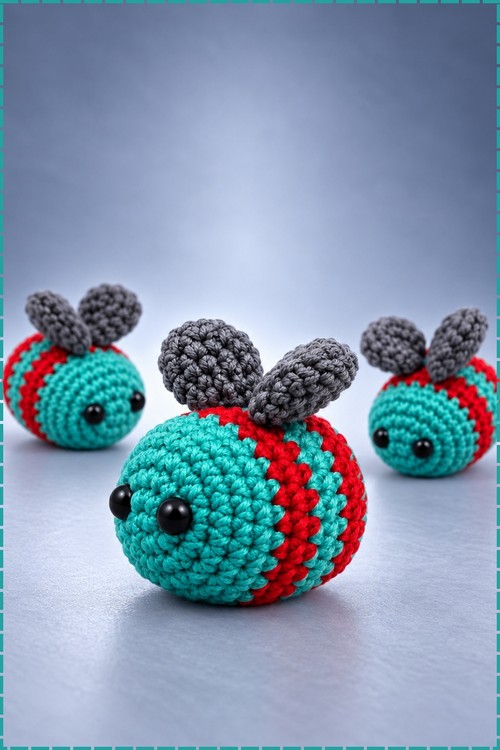
- Go back to yellow and black for the classic bee colourway.
- Make the wings in the same teal as the body for a more graphic, monochrome look.
- Try orange and brown stripes for an autumn colourway.
- Add a tiny embroidered smile below the eyes with one stitch of black yarn.
- Make several in different colourways and attach them all to one large keyring as a cluster.
- Skip the keychain loop and use them as decorative accents on a wrapped gift.
FAQ
Why do my stripes look uneven at the join? The join is where the colour change happens and any looseness there creates a visible gap between the old and new colour. Pull the slip stitch join snug after each round and change yarn on the final yarn-over of that stitch rather than at the beginning of the next.
Can I work this in continuous rounds instead of joined rounds? You can, but the colour changes will jog, meaning the stripe will staircase slightly at one point on the body. For a solid colour bee this is not noticeable. For stripes it matters more. The slip stitch join method in the pattern is specifically what produces the clean horizontal bands.
My wings keep sliding down the body after gluing. What helps? Let the glue cure fully before handling the bee. B-7000 and similar craft glues need at least an hour to set and up to 24 hours for a fully firm bond. Sewing the wings down with a few stitches through the body is more reliable for anything that will be handled daily as a keychain.
How do I make a clean keychain loop at the top? After pulling the closing tail through the last 6 stitches, do not cut it. Thread it on the needle, pass it back up through the centre of the body and out through the very top, loop it through your keyring, go back down through the same hole, pull tight, and knot to a neighbouring stitch before hiding the tail inside.