
Crochet Dahlia Flower Keychain Free Pattern
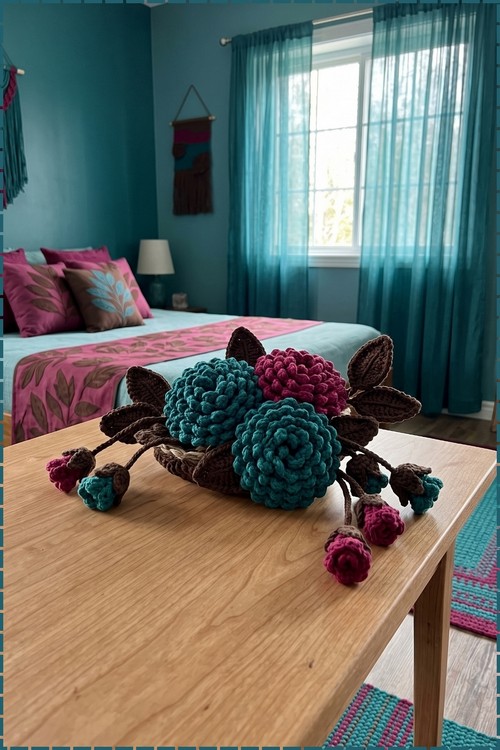
Crocheters who want a fast flower project can roll one picot strip into each layered dome of this crochet dahlia keychain. Teal and deep pink blooms rest on brown double leaves, and two small amigurumi buds swing from the cord below to finish the bag charm.
Stacked petals and hanging buds give the crochet dahlia keychain the look of something picked rather than made. It behaves like a real bloom, heavy at the head, nodding on its stems. Nothing shy about the crochet dahlia keychain. It takes over whatever bag it hangs from.
Crochet Dahlia Keychain
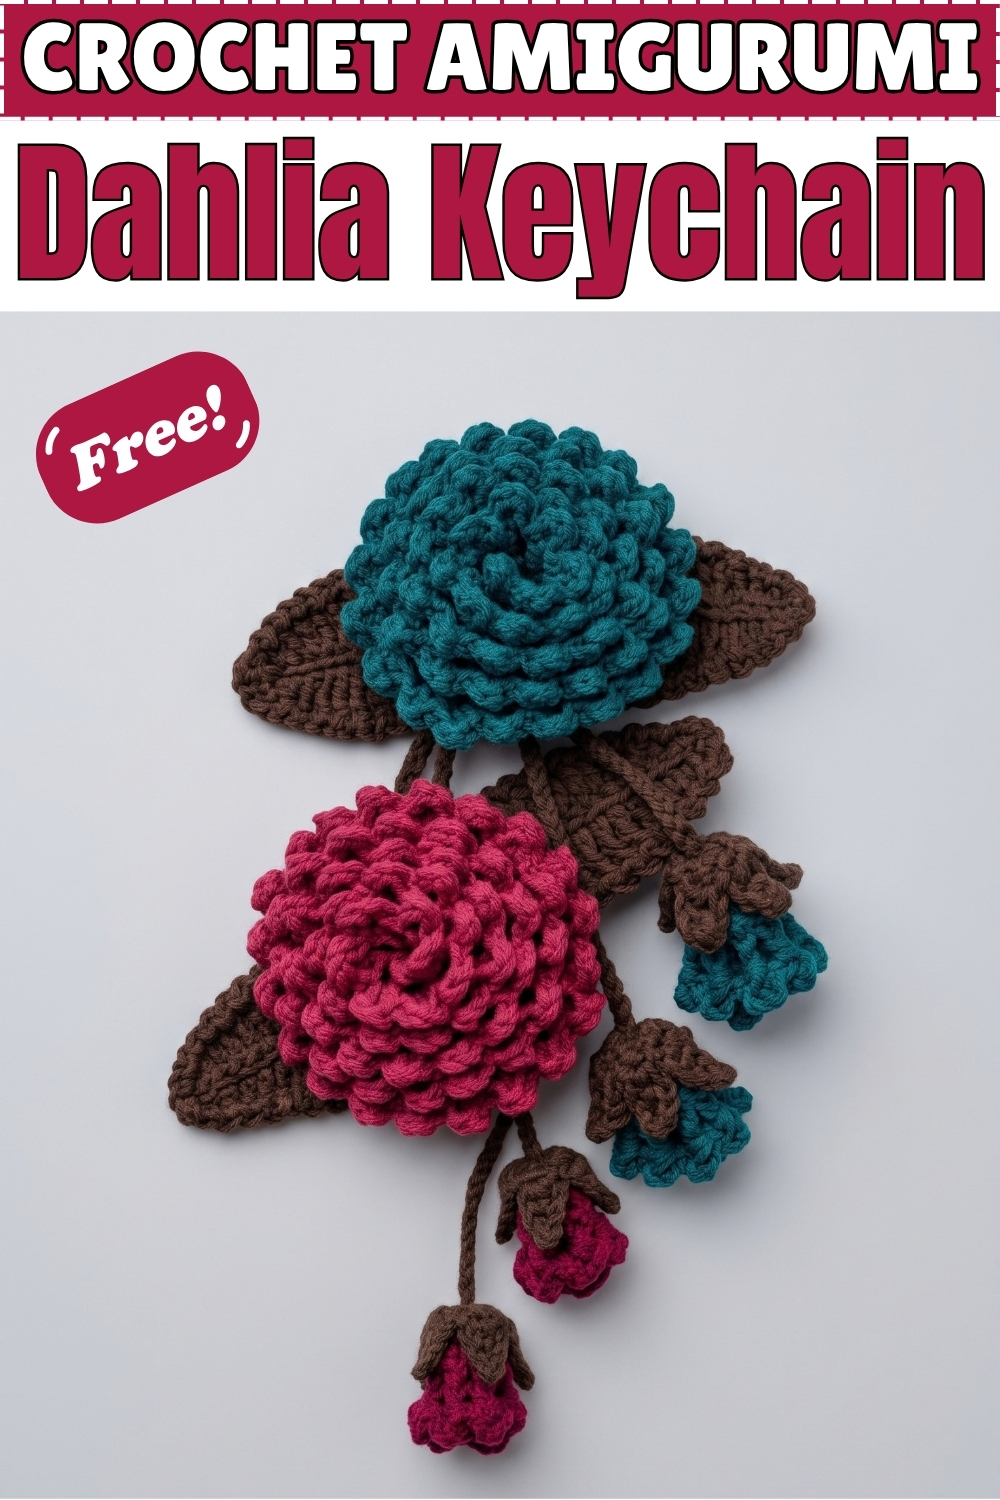
Rolling a long crocheted strip into a layered dome is how the main flower on this crochet dahlia keychain gets its depth, and every petal tip is formed by a picot worked back into the chain gap rather than a separate piece. My finished set has two dahlias, one in teal and one in deep pink, each sitting over a double leaf worked in warm brown, with a brown hanging cord carrying two small matching buds at the ends. Nothing is cast on separately for the petals. Each flower is one continuous strip, rolled and stitched flat at the base.
Materials and Tools
- 4-ply cotton yarn in teal for the large dahlia and the two teal buds
- 4-ply cotton yarn in deep pink for the large pink dahlia and the two pink buds
- 4-ply cotton yarn in warm brown for both double leaf bases, all four bud receptacles and both hanging cords
- 2.5 mm crochet hook
- Tapestry needle
- Scissors
- Hot glue or craft glue, optional, for securing the flower bases and buds; sewing works equally well
The original pattern suggests pink for the flower and green for the leaves. My version uses two flower colours across two complete sets, teal and pink, with brown replacing green throughout all leaves, receptacles and cords.
Difficulty and Time
This sits at an intermediate level. The flower strip uses only half double crochet and a repeating picot petal sequence, which is straightforward once you work through the first three or four petals. The leaf introduces a full stitch gradient from single crochet through treble crochet and back, plus surface slip stitches for the midrib. From my own experience each complete set (one large flower, two buds, two receptacles, one leaf and one cord) takes a few hours, and the rolling and securing step at the end is where patience matters most.
Beginner Technique Notes
Rolling strips into flowers is one of those techniques that looks complicated in photos but makes complete sense once the strip is in your hands. The key is keeping the roll slightly loose as you go so the petals have room to fan outward. Sewing back and forth across the flat base rather than in a spiral holds every layer locked without any one stitch doing too much work. If you have never made a picot before, it is just a chain worked back into a gap to create a raised loop at the petal tip. No new skill is needed; you are only returning the hook to a space you already made.
The Pattern
Main Dahlia Flower
- Use the 2.5 mm hook and teal or deep pink yarn
- Make a slip knot and chain (ch) 70
- Row 1: skip the 1st chain, work 1 half double crochet (HDC) in the 2nd chain from the hook, continue working 1 HDC in every chain across [69 HDC total]
- Row 2 (petals): ch 4 and turn, work 1 treble crochet (TR) in the first stitch, then ch 3 and insert the hook into the space between the ch-4 and the TR just made and work 1 single crochet (SC) to form the picot petal tip
- Continue Row 2: in the next stitch work 1 TR, ch 3, then work 1 SC into the space, and repeat this sequence (1 TR in next stitch, ch 3, 1 SC in space) in every single stitch across the row
- After the final petal, ch 3 and slip stitch (sl st) into the very last stitch, ch 1, cut the yarn leaving a 10 to 12 inch tail for sewing
- Assembly: starting from the beginning end of the strip, roll it into a flower shape and keep the roll slightly loose so the petals fan outward, thread the long tail on a needle and stitch back and forth across the flat base to secure all layers, tie a knot and trim
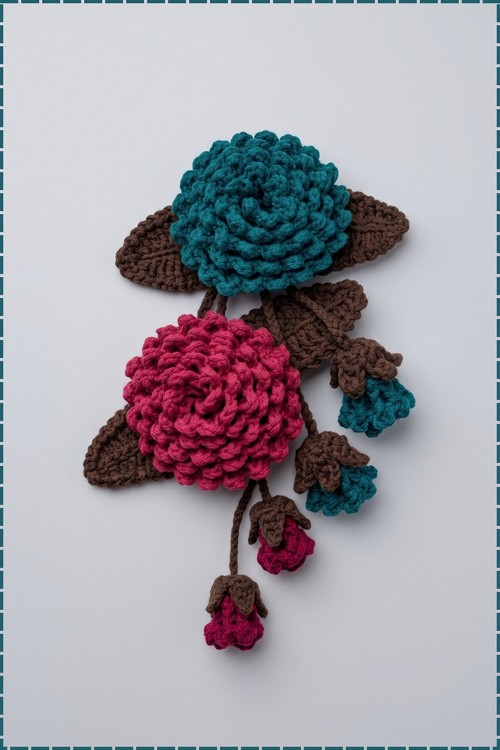
Small Flower Buds (Make 2 per Colour)
- Use the 2.5 mm hook and matching flower yarn (teal or deep pink)
- Make a slip knot and ch 15
- Row 1: skip the 1st chain, work 1 HDC in each of the remaining 14 chains [14 HDC]
- Row 2 (petals): ch 4 and turn, work 1 TR in the first stitch, ch 3, work 1 SC in the space, then repeat (1 TR in next stitch, ch 3, 1 SC in space) across all stitches
- Ch 3, sl st into the last stitch, fasten off leaving a tail for sewing
- Roll and stitch the base exactly as for the main flower, keeping the bud tighter and more closed than the large flower
- Repeat to make the second bud in the same colour
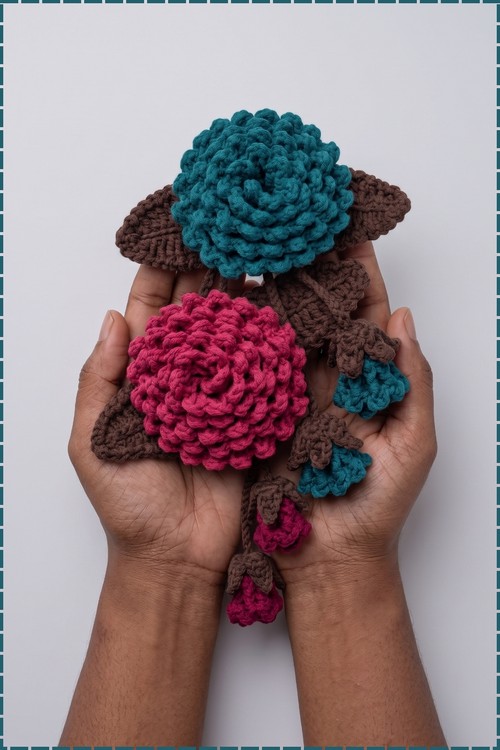
Bud Receptacles / Sepals (Make 2 per Colour)
- Use the 2.5 mm hook and brown yarn
- Make a slip knot or magic ring, ch 1
- Base: work 6 SC into the ring, pull gently to close, sl st into the first SC to join
- Sepal 1: ch 5, sl st into the 2nd chain from the hook, then work back down the remaining 3 chains with 1 SC, 1 HDC, 1 double crochet (DC), sl st into the next stitch of the 6-SC base circle to anchor the sepal
- Repeat this sequence (ch 5, sl st in 2nd ch, 1 SC, 1 HDC, 1 DC, sl st in next base stitch) until you have 5 sepals around the circle
- Sl st in the final stitch, ch 1, and cut the yarn
- Make a second receptacle the same way, and repeat the full set of four receptacles (two teal, two pink) for both complete keychains
Hanging Cord
- Use the 2.5 mm hook and brown yarn
- Make a slip knot and ch 90, cut the yarn leaving small tails at both ends
- Thread one end of the cord through the centre hole at the back of one brown receptacle and tie a sturdy knot on the inside so the cord cannot pull back out, trim the excess tail
- Repeat on the other end of the cord with the second receptacle
- Fold each bud slightly, apply glue inside the receptacle or sew it closed, and nestle the small matching bud securely inside
- On my finished piece each cord carries one teal bud and one pink bud at its ends, with both buds sitting at different heights for an asymmetrical look
Double Leaf Base
- Use the 2.5 mm hook and brown yarn
- Make a slip knot and ch 30
- Side 1 working down the chain: skip the 1st chain, work 1 SC in the 2nd chain, then work 2 HDC, 2 DC, 4 TR, 2 DC, 2 HDC, 3 SC (these 3 SC form the centre gap between the two leaves), 2 HDC, 2 DC, 4 TR, 2 DC, 2 HDC in order across the remaining chains
- In the final chain work (1 SC, ch 1, 1 SC) to turn the corner
- Side 2: working up the opposite side of the foundation chain, mirror the exact same stitch sequence and sl st into the very first SC to join
- Midrib detail: insert the hook along the centre line of both leaves and work surface slip stitches all the way across to create a vein down the middle of each leaf
- Leaf edging: ch 1, sl st in the next stitch, ch 1, and repeat this sequence all the way around the outer edge of both leaves to create a textured border, sl st to join, fasten off, and weave in the ends
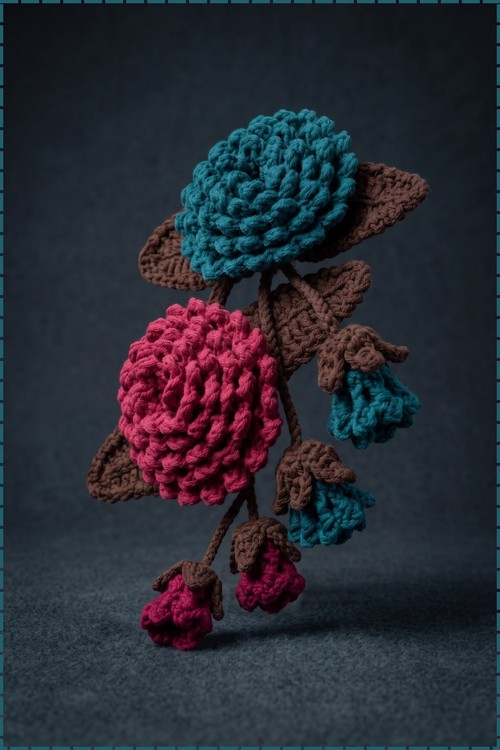
Final Assembly
- Insert the hook into the centre point of the double leaf where the 3 SC met in the gap
- Pull a loop of the 90-chain cord (with both buds already attached to the ends) through the centre of the leaves
- Adjust the cord so one bud hangs lower than the other for the asymmetrical drop visible on my finished piece
- Apply hot glue or stitch securely across the flat bottom of the large dahlia flower and press it firmly over the centre hole of the leaves, locking the cord underneath
- On my piece the teal dahlia sits over its own brown leaf with the teal and pink buds hanging below, and the pink dahlia does the same with its own separate leaf base
Tips and Troubleshooting
- Work the first three or four petals of Row 2 slowly before finding your rhythm. The chain 3 picot and the SC into the gap read more clearly in your hands than on paper, and the motion becomes fast once you have it.
- Keep the roll loose as you build the flower. A tight roll produces a flat button shape instead of a domed flower with visible layered petals.
- Sew the base in at least two full passes back and forth rather than one. A single pass lets the innermost layers work loose after a few weeks of handling.
- Test the bud inside the receptacle before gluing. The bud should sit snugly with the sepal points visible around its base, not buried inside.
- Work the cord chain at a slightly looser tension than you normally would. A very tight chain 90 will feel stiff and will not drape naturally between the buds.
- Surface slip stitching the midrib is easier if you hold the leaf flat on a table and pull each stitch snug but not tight.
- If the double leaf curls up at the tips, the foundation chain was too tight. Blocking cotton with a damp cloth and a few pins will flatten it without altering the shape.
Yarn Substitution
Any smooth 4-ply cotton holds the petal picots cleanly because the chain structure keeps its shape rather than collapsing. A sport weight acrylic at the same hook size will give slightly fluffier petals and a softer drape on the cord. Avoid anything with a halo or texture, because the picot tips and the leaf surface stitching both depend on seeing exactly where each stitch sits.
Customisation Ideas
- Make both dahlias in the same colour for a matched pair instead of two separate colourways.
- Swap the buds so both brown cords carry one teal and one pink bud, which is exactly how my version is assembled.
- Work the leaf in a true green instead of brown for a more botanical look.
- Add a third bud on a shorter cord for a fuller hanging arrangement.
- Leave the cord off entirely and glue the flower directly to a hair clip or brooch pin.
- Make a miniature version by working the chain 70 strip on fewer chains, though the petal repeat count will change to match whatever total you use.
FAQ
Why does my rolled flower look flat instead of domed? Almost always the roll was too tight from the start. If the inner layers are pressed flush against each other, the petals cannot fan outward. Try unrolling and re-rolling from scratch with a deliberate gap between each layer as you go.
Can I skip the picot and just work a TR in every stitch? You can, but the flower will look more like a frill than a dahlia. The picot is what separates each petal into a distinct pointed tip. Working it into the gap rather than into a chain takes only one extra motion and is worth doing.
How do I stop the bud from falling out of the receptacle? Sewing is more reliable than gluing for anything that will be handled daily. Run the needle through the outer edge of the bud base and into two or three sepal stitches on each side, then knot on the inside of the receptacle.
My leaf curls. Is that fixable? Yes. Dampen the leaf with water, pin it flat on a foam board, and leave it to dry fully. Cotton responds well to wet blocking and will hold its flat shape once dry.
Do both dahlias attach to a single keychain ring or do they hang separately? In my version each dahlia has its own double leaf base and its own hanging cord with two buds, so they are two independent keychains displayed together. You could thread both leaf centres onto one large split ring if you want them as a set on a single ring.