
Crochet Christmas Tree Ornaments Free Pattern With Scalloped Tier
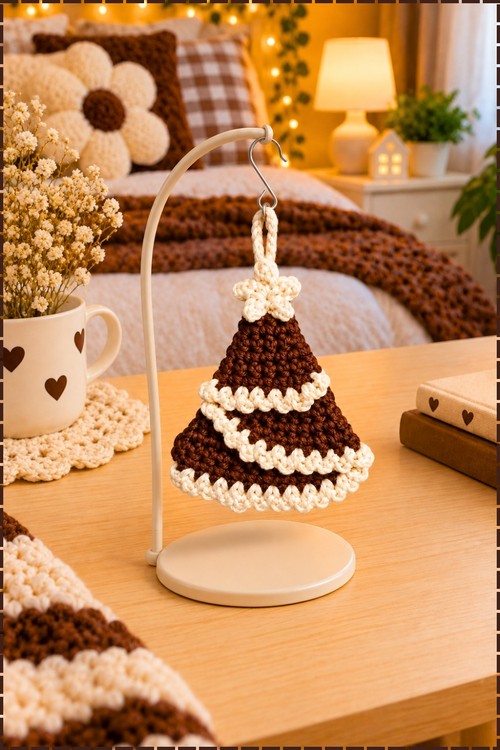
From one flat semicircle of brown rows, a single fold creates a crochet Christmas tree ornament with three scalloped tiers of cream picot trim. A cream star sits on top, a loop hangs it from any branch, and a spare one looks sweet tied onto a child's present.
Trees go up the last weekend of November in plenty of houses, and this Crochet Christmas Tree Ornament earns a front branch. Cream ruffles catch the lights. Hang the Crochet Christmas Tree Ornament on a gift box in December instead of a bow, or make a set for the advent countdown and add one each morning.
Crochet Christmas Tree Ornament
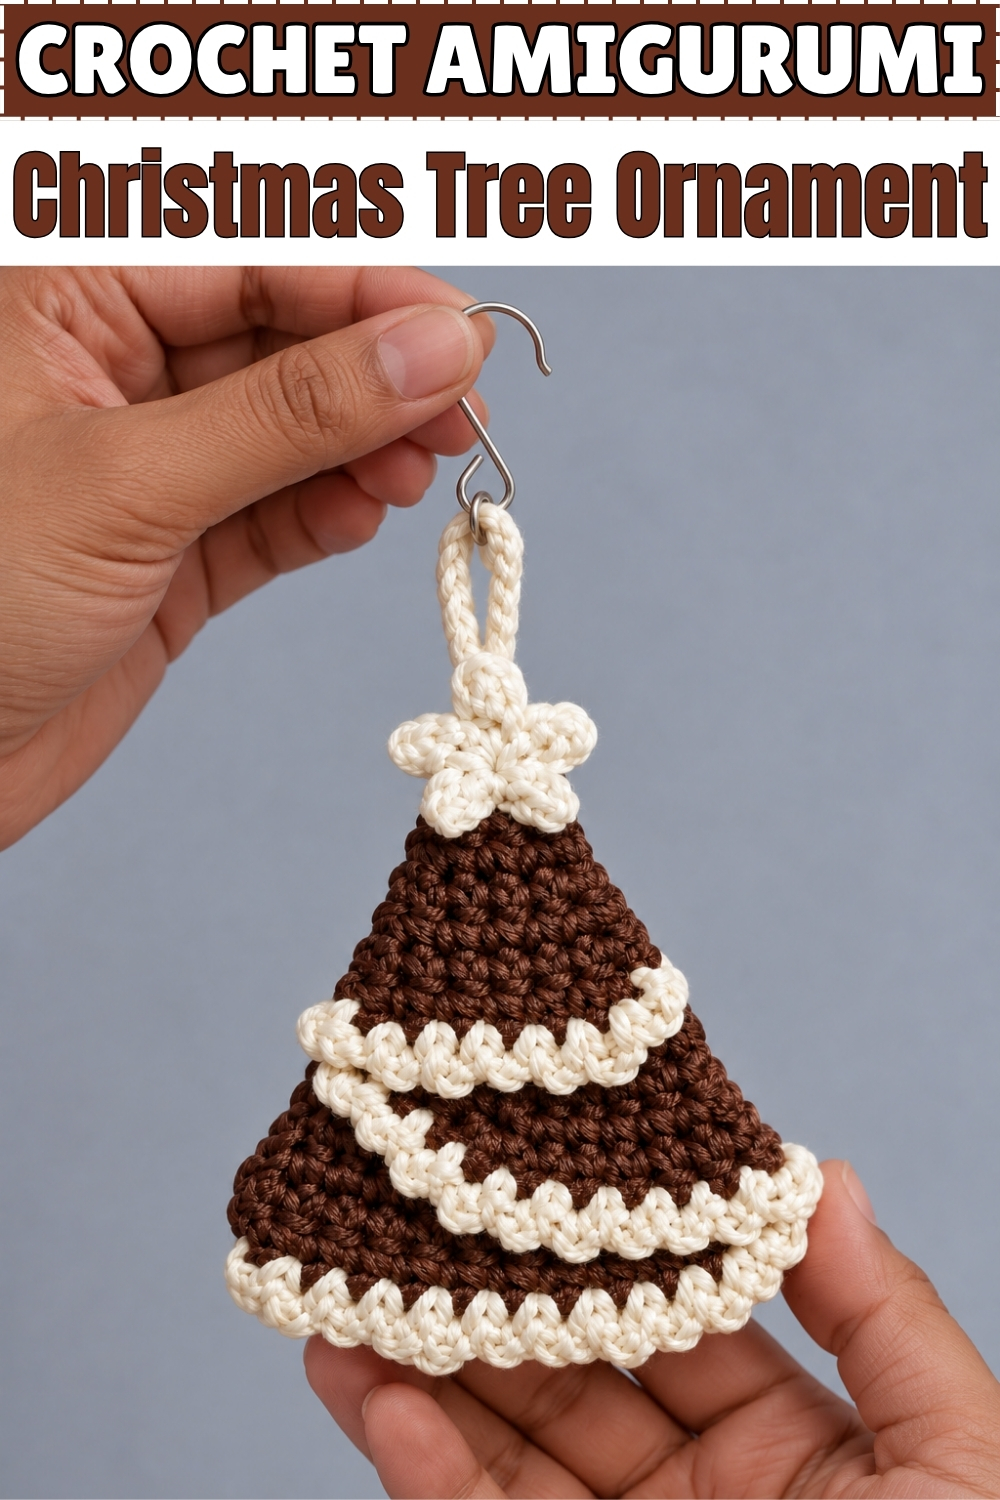
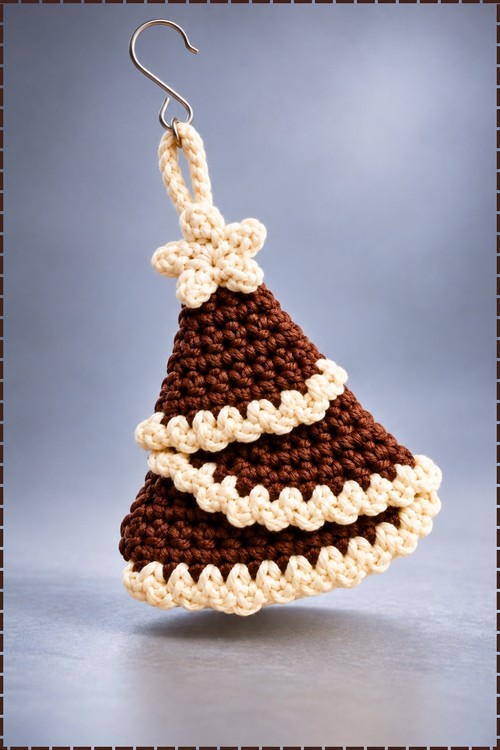
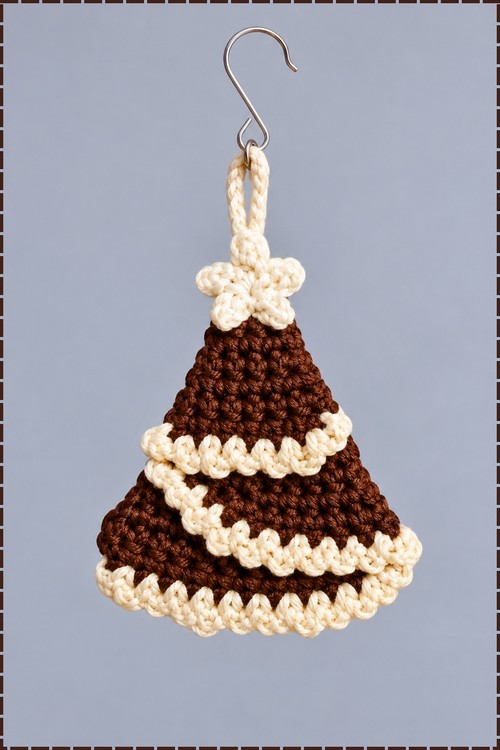
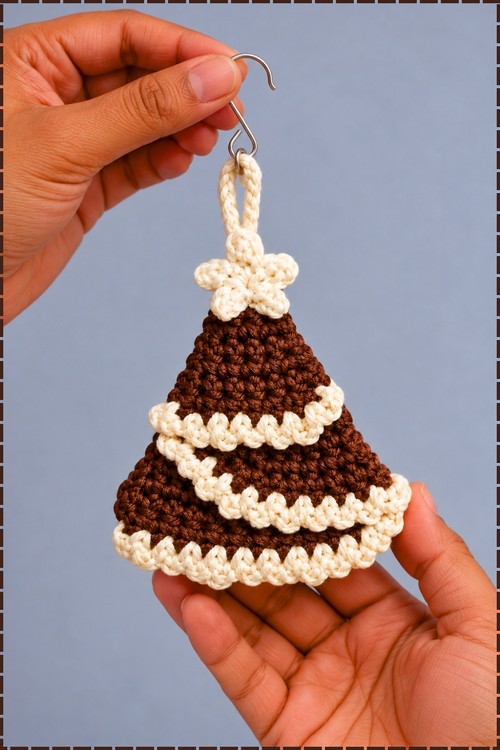
Rows of increases build a flat green semicircle first, and only when you fold it does the crochet Christmas tree ornament become a tree at all. Mine came out in deep chocolate brown with cream trim, because that is what was left in the scrap basket one December evening. Folding the two straight edges inward stacks the picot border into three scalloped tiers, which is where the whole shape comes from. Cream yarn also makes the five point star and the hanging loop. Finished size sits around four inches tall in my hands.
Why I Love This One
No stuffing, no shaping in the round, no seams to match. You make a flat piece, fold it twice, and suddenly you are holding a tree.
Materials and Tools
- Medium weight yarn in brown for the tree body, or any scrap colour you have going spare
- Medium weight yarn in cream for the edging trim, the star, and the hanging loop
- Crochet hook sized to your yarn, with a size H-8 (5.0 mm) working well
- Tapestry or darning needle
- Scissors
- Optional ornament hook for hanging
Difficulty and Time
Easy, and quick once the first one teaches you the fold. Mine took under an hour from first chain to hanging loop, though the folding and tacking always takes longer than you expect the first time.
The Pattern
Tree Body in Brown
- Row 1: chain 3, then work 3 single crochet into the first chain, treating that chain like a magic ring [3].
- Row 2: chain 1, turn, then work an increase, meaning 2 single crochet in the same stitch, across all 3 stitches [6].
- Row 3: chain 1, turn, then repeat 1 single crochet and 1 increase across [9].
- Row 4: chain 1, turn, then repeat 2 single crochet and 1 increase across [12]. The piece should be opening out into a clear fan by now.
- Row 5: chain 1, turn, then repeat 3 single crochet and 1 increase across [15].
- Row 6: chain 1, turn, then repeat 4 single crochet and 1 increase across [18].
- Row 7: chain 1, turn, then repeat 5 single crochet and 1 increase across [21].
- Row 8: chain 1, turn, then repeat 6 single crochet and 1 increase across [24].
- Row 9: chain 1, turn, then repeat 7 single crochet and 1 increase across [27]. Keep your rows lying flat, since a curling fan means your tension is tightening as the rows grow.
- Row 10: chain 1, turn, then repeat 8 single crochet and 1 increase across [30].
- Row 11: chain 1, turn, then repeat 9 single crochet and 1 increase across [33].
- Row 12: chain 1, turn, then repeat 10 single crochet and 1 increase across [36]. You now have a half circle with two straight edges and one long curved edge.
- Fasten off the brown yarn, leaving a short tail, and weave the end in with your hook or darning needle.
Decorative Edging Trim in Cream
- Attach the cream yarn to the first stitch at the start of row 12 along the outer curved border.
- Repeat chain 3 then slip stitch into the next stitch all the way across the curved edge. The picots should sit shoulder to shoulder with no flat gaps, because every gap will show once the tiers stack.
- Fasten off and leave a tail to weave in. My trim is cream rather than silver, and it is the only edging on the piece.
Folding and Assembly
- Lay the semicircle flat with the cream edge facing down.
- Fold both outer straight edges inward toward the centre, overlapping them slightly in a cone shape so the cream edge forms scalloped layers down the front. Mine sits with three visible tiers of cream, so play with how far you overlap before you sew anything.
- Thread a length of brown yarn onto your darning needle, then pass it through all the overlapping layers at the bottom and along the sides to hold the folds in place. Tack loosely first and check the tree from the front, since a fold pulled too tight makes one side shorter than the other.
- Work your needle up through the back seam to stitch the open folds flat and neat.
- Weave in all loose yarn tails at the back where they will not show.
Star Topper in Cream
- Chain 2.
- Work point 1 with chain 5, then slip stitch back into the centre base chain.
- Work point 2 with chain 5, then slip stitch into the centre.
- Work point 3 with chain 5, then slip stitch into the centre.
- Work point 4 with chain 5, then slip stitch into the centre.
- Work point 5 with chain 5, then slip stitch into the centre.
- Fasten off leaving a tail, pull the centre tight, and shape the 5 loops into star points with your fingers. Pinching each loop firmly is what turns soft loops into proper points.
- Sew the star onto the peak of the tree using the yarn tail. Mine sits flat against the front of the peak in cream to match the trim, tilted very slightly to one side.
Hanging Loop in Cream
- Attach cream yarn to the top peak of the tree behind the star. My loop is cream rather than matching the body, which ties it to the star and the trim.
- Chain 20, or chain until the loop reaches the length you want.
- Slip stitch back into the top peak, tie off securely, and weave the remaining tails inside the back stitches.
Tips and Troubleshooting
- Count your stitches at the end of every row. A single missed increase throws off the curve and the fan will not fold evenly.
- Work the picot trim with a relaxed hand. Tight picots pull the curved edge in and flatten the scallops.
- Pin the fold with sewing pins before you sew. Two minutes of pinning saves unpicking a whole seam.
- Steam the finished tree lightly if the tiers refuse to sit flat. Cotton responds well to this and holds its shape afterwards.
- Make a batch in one sitting. The second and third take half the time of the first.
Yarn Substitution
Cotton gives the crisp picots and clean stitch definition visible in my photo, and it holds a fold well. Acrylic works and stays soft, though the tiers sit a little rounder. Skip fluffy or fuzzy yarns, since the scalloped edge is the whole design and a halo will swallow it. Keep both colours in the same weight so the trim does not overwhelm the body.
Customization Ideas
- Work the body in classic green with white or silver trim for a snowy look
- Swap the cream star for gold or a small button sewn at the peak
- Add tiny seed beads along the picot edge for lights
- Use a variegated scrap for the body and a solid trim to keep it readable
- Make a set in different colourways and string them along a garland
- Write a name on a small tag and tie it to the hanging loop to use as a gift tag
FAQ
Can I use this as a gift tag instead of an ornament? Yes. The hanging loop slips straight over a ribbon or a gift bag handle. Keep the loop short if you are tying it to a parcel.
Why does my tree fold unevenly? Almost always an uneven row count somewhere in the fan. Lay the semicircle flat and check both straight edges are the same length before folding.
Can I make it bigger? Keep repeating the same increase logic with thicker yarn and a larger hook, and the fan grows in proportion. Changing yarn weight is the simplest way to scale.
Does the ornament need blocking? Not usually. A light steam helps cotton tiers lie flat, but the folding and tacking do most of the shaping work.